How to Clean Tower Fan Blades
Dust accumulates quickly on tower fan blades, even in homes that seem clean. That invisible buildup reduces airflow, strains the motor, creates annoying noise, and circulates allergens throughout your living space. Learning how to clean tower fan blades properly keeps your fan running efficiently and protects your indoor air quality. This guide covers every cleaning method, from quick surface dusting to deep cleaning removable blades on serviceable models like DREO and similar units.
You will discover exactly how often to clean based on your usage, which tools work best, and the critical safety steps that prevent damage. Whether your tower fan has a sealed grille or removable panels, these instructions help you restore full airflow and extend your fan’s lifespan.
Signs Your Tower Fan Needs Cleaning
Recognizing Buildup Indicators
Your tower fan will tell you when it needs attention. Watch for these clear signals that dust has accumulated on the blades and inside the vents. The fan may sound louder than usual, push noticeably weaker air, or emit a dusty odor when you first turn it on. These symptoms indicate the motor is working harder than necessary to compensate for restricted airflow.
Even without obvious performance changes, visible dust on the exterior or around the base signals it is time for maintenance. Addressing buildup early prevents long-term damage to the motor and ensures consistent cooling performance.
Recommended Cleaning Frequency
Cleaning frequency depends on your household conditions and how often you use the fan.
- Every two weeks: Heavy daily use, homes with pets, or allergy sufferers
- Monthly: Regular use for several hours each day
- Every two to three months: Occasional use in low-dust environments
Add a quick exterior wipe weekly to prevent heavy buildup and delay deep cleaning sessions.
Essential Tools for Tower Fan Blade Cleaning
Basic Cleaning Supplies
You need only household items to clean tower fan blades effectively. Gather microfiber cloths that are lint-free and soft enough to avoid scratching plastic surfaces. A vacuum with a soft brush attachment removes loose dust from vents and grilles without causing damage. Soft-bristled brushes like old makeup brushes, small paintbrushes, or toothbrushes work perfectly for reaching tight spaces between grille slats.
A screwdriver becomes necessary for models with screw-secured panels. Keep compressed air cans handy for sealed units where you cannot access blades directly.
Optional Deep Cleaning Items
For a thorough job, add mild dish soap and warm water for removable grilles. A hairdryer on the cool setting speeds drying time without risking heat damage to plastic. Cotton swabs reach narrow crevices around the motor housing. Avoid bleach, alcohol, or abrasive cleaners, as these crack plastic and damage finishes.
Cleaning Sealed Tower Fan Units
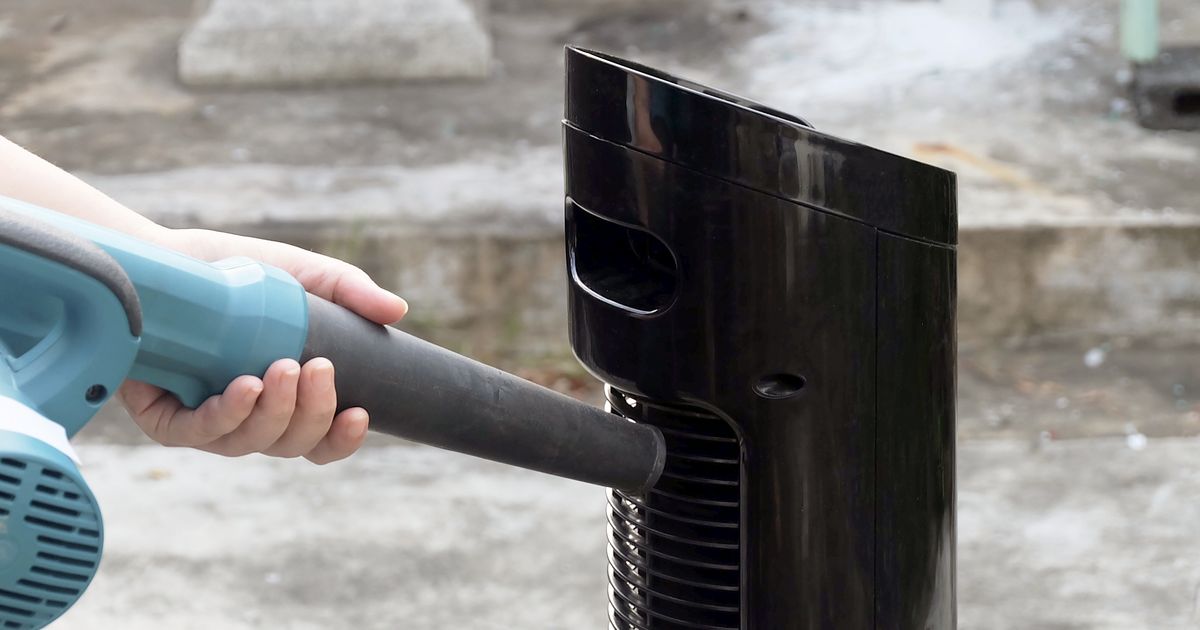
Many tower fans have fixed grilles that do not remove. You cannot reach the blades directly, but you can still eliminate most dust using external methods.
Wipe the Exterior Surfaces
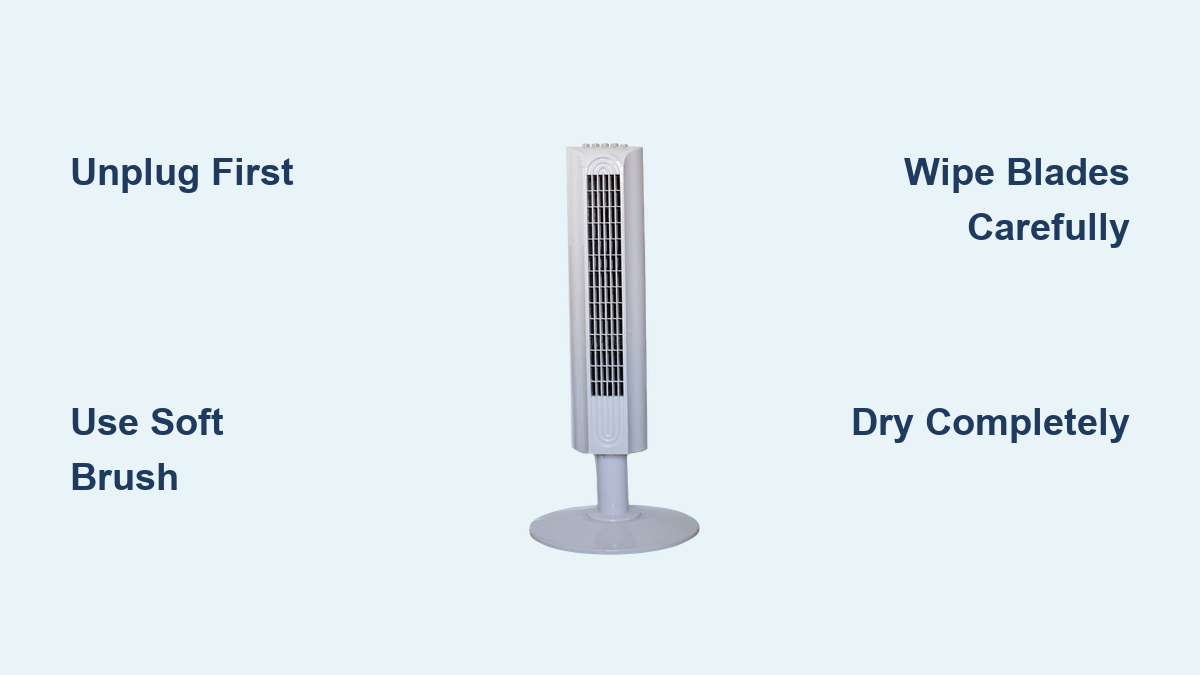
Always unplug the fan before cleaning. Use a dry microfiber cloth to wipe the outer casing from top to bottom. For sticky spots or fingerprints, dampen the cloth slightly with water, but never spray liquid directly onto the fan. Keep moisture away from the base, control panel, and electrical areas.
Vacuum the Vents and Grilles
Attach the soft brush head to your vacuum hose. Gently run it over the front and back grilles, focusing on air intake and exhaust slots where dust collects most heavily. Work from top to bottom in slow, overlapping strokes. This method removes approximately 70 to 80 percent of loose debris without opening the unit.
Use Compressed Air Effectively
Hold the compressed air canister upright and use short bursts to blow dust from the vents. Angle the nozzle to reach behind grille slats and dislodge trapped particles. Perform this step near an open window or doorway so dislodged dust escapes outside rather than resettling indoors.
Never tilt the canister while spraying, as liquid propellant can spray out and damage internal electrical components.
Detail Tight Spaces
Use a makeup brush or soft toothbrush to loosen dust between grille slats. Follow immediately with vacuuming to capture what you have freed. Repeat until no additional dust emerges from the vents.
Deep Cleaning Removable Blade Models
Several tower fan models, including DREO Pilot Max, Nomad One, and Cruiser series, feature removable grilles designed for user maintenance. This design allows direct access to the blades for thorough cleaning.
Remove the Grille Safely
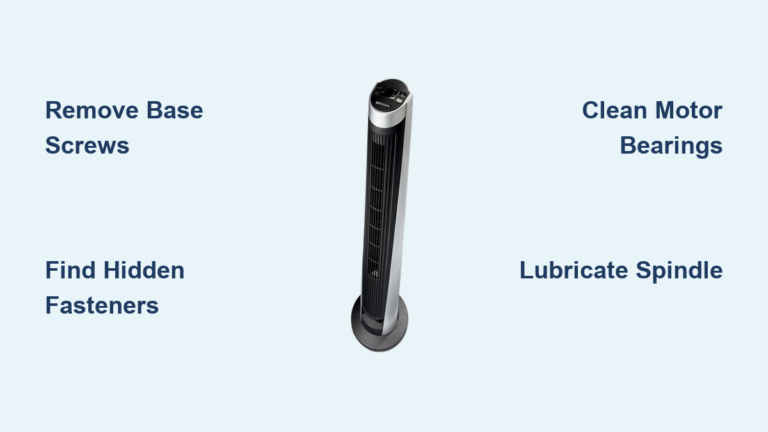
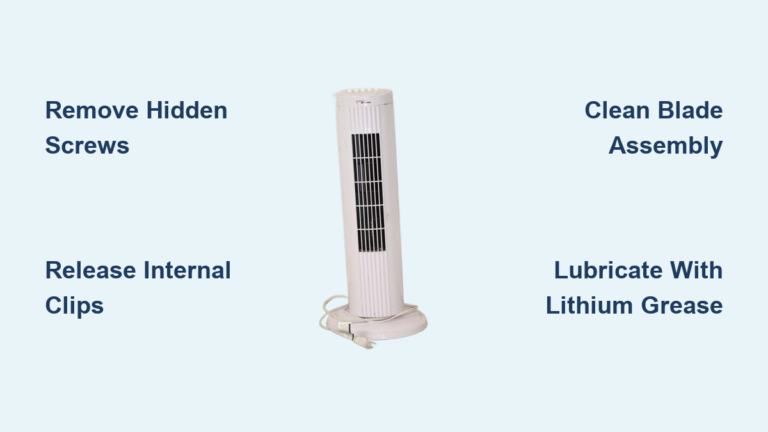
Unplug the fan and inspect the top and bottom edges of the front or rear panel. Look for screws, which may be visible or hidden beneath caps. Some models use snap-on panels that pull away gently without tools.
For screwed models, remove each screw carefully and place it aside in a secure container. For snap-on models, pull the grille away from the body evenly around the edges. If resistance occurs, check for additional fasteners rather than forcing the panel.
Take a photograph before disassembly to remember screw placement and orientation for reassembly.
Access and Clean the Blades
With the grille removed, you can see the internal blades and motor hub clearly.
Use the vacuum brush attachment to suction loose dust from each blade and the interior base. Alternatively, wipe gently with a dry microfiber cloth. Never grab or twist the blades, as this can unbalance them and cause annoying noise during operation.
Lightly moisten a microfiber cloth with water or mild soapy water. Wring it thoroughly until it does not drip. Wipe each blade from base to tip, using a soft toothbrush to scrub near the hub where dirt accumulates most heavily. For stubborn grime, let the damp cloth sit on the spot for 10 to 15 seconds before wiping.
Never soak the blades or let water pool in the motor housing, as moisture damages electrical components.
Clean the Fan Housing Interior
Wipe the interior walls and base with a damp cloth or cotton swab. Avoid touching exposed electrical windings or components. Focus on corners and crevices where pet hair and dust clump together.
Wash and Dry the Removed Grille

Take the detached grille to a sink for washing.
Rinse it thoroughly under running water. For stuck-on dirt, wash with warm soapy water and scrub gently with a sponge or soft brush. Rinse again to remove all soap residue, which can attract more dust if left behind.
Allow the grille to air dry completely before reassembly. Speed the process with a hairdryer on the cool setting only, as heat warps plastic. Check screw holes specifically for moisture before reinstalling.
Reassemble and Test Operation
Secure the Grille Properly
Align the panel carefully with the fan body. For snap-on models, press evenly around the edges until all clips click into place. For screw models, replace the screws but do not overtighten, as this cracks plastic housing.
Wipe the exterior one final time to remove fingerprints and any dust accumulated during reassembly.
Verify Normal Operation
Plug in the fan and turn it on at low speed first, then switch to high. Listen carefully for unusual sounds.
Rattling indicates a loose grille or remaining debris inside. Grinding suggests a bent blade or obstruction. Weak airflow means some parts may still be damp or a blockage remains.
If any noise occurs, unplug immediately and recheck alignment and drying before trying again.
Tackling Stubborn Cleaning Challenges
Remove Dried-On Grime
For residue that does not wipe away easily, dampen a cloth with mild soap solution and lay it over the spot for 20 seconds. Wipe gently with a toothbrush, then dry immediately with a clean cloth. Avoid vinegar or chemical cleaners unless the manufacturer specifically recommends them.
Reach Difficult Areas
Use makeup brushes to sweep dust from narrow grille slats. Angle compressed air behind blade mounts to dislodge hidden particles. Cotton swabs work well around motor housing edges where larger tools cannot fit.
Eliminate Musty Smells
A musty odor after cleaning usually means trapped moisture or mold somewhere inside. Let the fan dry for 24 hours in a warm, ventilated room. Wipe interior surfaces with a vinegar-water solution (one part vinegar to one part water), then dry completely. Check for pet hair stuck in rear intake vents that may have been missed.
Critical Safety Steps for Tower Fan Cleaning
Prohibited Actions
Never plug in the fan while cleaning, as this risks electrical shock or injury. Never spray water or cleaning solutions inside the motor housing, as moisture causes short circuits. Never bend or force the blades, which creates imbalance and annoying noise. Never use harsh chemicals like bleach or alcohol, which damage plastic and create toxic fumes when the fan eventually runs.
Required Precautions
Always unplug the fan before any cleaning. Use only damp (not wet) cloths, and ensure all parts are completely dry before reassembly. Handle blades by the edges to avoid bending. Keep all cleaning solutions away from electrical components.
Fix Common Post-Cleaning Problems
| Problem | Cause | Solution |
|---|---|---|
| Noisy operation | Bent blade, loose grille, leftover debris | Recheck blade alignment, tighten grille, re-vacuum interior |
| Weak airflow | Damp blades or incomplete drying | Let dry for 12 or more hours, then retest |
| Fan won’t turn on | Moisture in motor or base | Unplug immediately, dry for 24 to 48 hours, try again |
| Grille won’t fit | Misalignment or missing screw | Verify orientation and ensure all screws are present |
If problems persist after trying these solutions, consult your user manual or contact the manufacturer for support.
How to Extend Your Tower Fan’s Lifespan
Maintain Regular Cleaning Cycles
A clean fan runs cooler, quieter, and more efficiently. Users who clean every one to three months report significantly fewer breakdowns and consistent performance over five or more years of use.
Store Properly During Off-Seasons
When the fan will sit unused for extended periods, perform a full deep clean first. Ensure every component is 100 percent dry. Wrap the cord loosely without tight kinking. Cover with a dust-proof bag or store in the original box. Keep the fan in a dry, temperature-stable space like a closet, avoiding garages or attics where humidity and heat degrade plastic components.
Model-Specific Cleaning Considerations

DREO and Similar Serviceable Models
The DREO Pilot Max, Nomad One, and Cruiser series are specifically designed for user maintenance. The removable rear grille exists specifically to allow blade cleaning that is impossible on sealed units. Always remove the grille for a true deep clean, as skipping this step means missing approximately 60 percent of accumulated dust on the blades.
Sealed or Generic Tower Fans
If no screws or clips are visible and the grille does not budge, do not force it open. Forcing open sealed units breaks plastic clips and voids warranties. Stick to vacuuming, compressed air, and exterior wiping as your primary methods. Use a long, flexible duster with a microfiber tip to reach between front grille slats as a workaround.
Frequently Asked Questions About Cleaning Tower Fan Blades
How often should I clean my tower fan blades?
Clean tower fan blades every two weeks in homes with pets or allergy sufferers. Monthly cleaning works for average daily use of several hours. Occasional users can extend this to every two to three months.
Can I use water to clean the blades directly?
Yes, but the cloth must be damp, not dripping wet. Wring out excess water thoroughly before wiping blades. Never soak blades or allow water to enter the motor housing.
What if my tower fan has a sealed grille?
For sealed units, use vacuuming with a soft brush attachment, compressed air in short bursts, and exterior wiping. You cannot access the blades directly, but these methods remove most surface dust.
Why is my fan noisy after cleaning?
Noise usually indicates a bent blade, loose grille, or debris still inside the unit. Unplug and check blade alignment. Ensure the grille is snapped or screwed on securely. Vacuum the interior again to remove any remaining particles.
Can I use vinegar or chemical cleaners on tower fan blades?
Avoid vinegar, bleach, ammonia, and abrasive cleaners unless the manufacturer specifies they are safe. These chemicals can discolor plastic, crack housings, and damage finishes. Stick to mild soap and water for stubborn grime.
Why does my fan smell musty after cleaning?
A musty smell means moisture is trapped inside, potentially causing mold growth. Let the fan dry completely for 24 hours in a warm, ventilated area. Wipe interior surfaces with a vinegar-water solution and dry thoroughly before use.
Key Takeaways for Cleaning Tower Fan Blades
Regular cleaning directly impacts your tower fan’s performance, noise level, and longevity. Clean blades mean better airflow, reduced motor strain, and improved indoor air quality. Always unplug before cleaning, and never use harsh chemicals that damage plastic components.
For sealed units, rely on vacuuming and compressed air. For models with removable grilles like DREO, take advantage of direct blade access for thorough cleaning. Ensure every part is completely dry before reassembly, and test operation at multiple speeds to verify quiet, efficient performance.
Set a calendar reminder based on your usage patterns. Every two weeks for pet homes, monthly otherwise. Making cleaning a habit keeps your tower fan running like new for years to come.