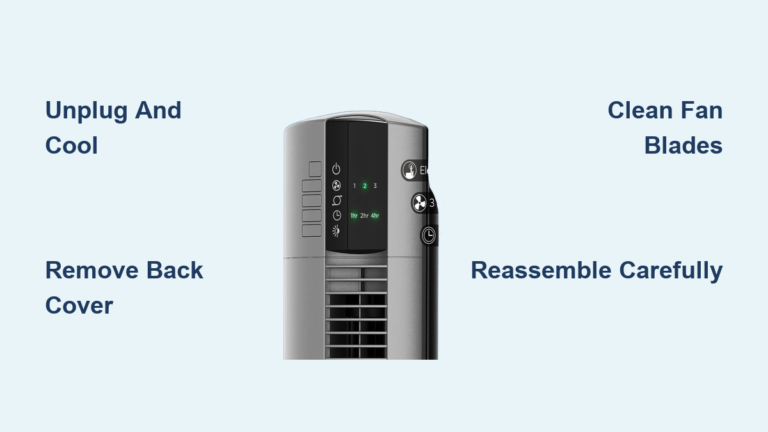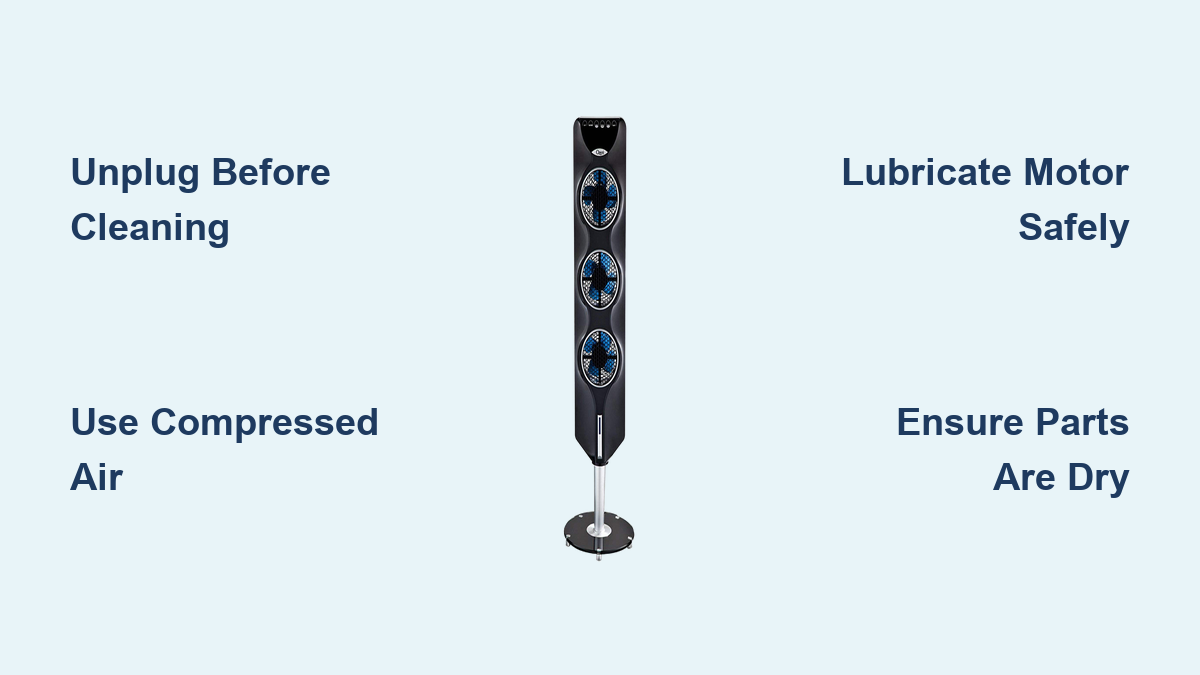
How to Clean Ozeri Tower Fan
Dust buildup doesn’t just make your Ozeri tower fan look dirty. It chokes airflow, strains the motor, and circulates allergens like dust mites, pet dander, and pollen through your home. A clogged fan runs hotter, louder, and less efficiently, shortening its lifespan. The good news is that cleaning your Ozeri tower fan takes under 30 minutes and can restore full power with minimal tools. Whether you skip disassembly for quick maintenance or dive deep to lubricate the motor, this guide covers every step safely and effectively.
Safety First: Unplug & Prepare
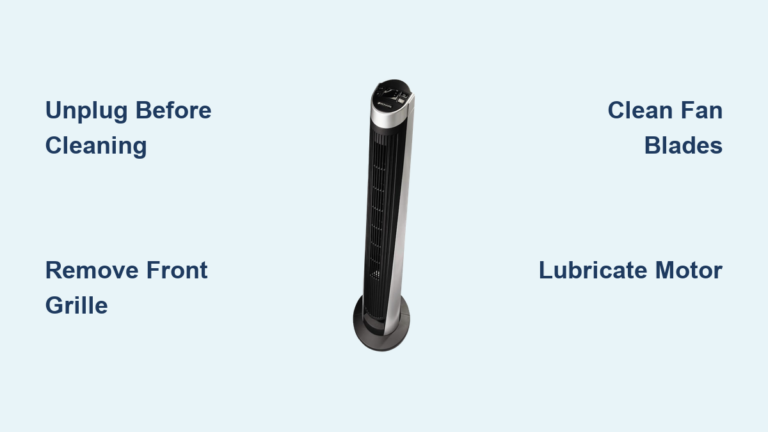
Before touching any part of your fan, unplug it from the wall. This prevents electrical shock and accidental blade activation during cleaning. Even if the fan is off, leaving it plugged in poses a risk if buttons are pressed or internal components shift. Check your model’s manual for warranty warnings before proceeding.
Avoid water, bleach, or harsh chemicals near internal parts. Never spray cleaner directly onto the fan. Instead, mist it onto a cloth first. Keep all electronics dry, especially the motor housing and wiring. Use only a silicone-based lubricant, not WD-40, for motor bearings. While WD-40 can free stuck parts temporarily, it’s not a long-term lubricant and may degrade plastic components over time.
Essential Tools You Will Need
Gather these items before starting your cleaning session:
- Vacuum cleaner with brush attachment
- Can of compressed air
- Flat-head screwdriver for prying clips
- Phillips screwdriver if screws are present
- Microfiber cloths (2-3)
- Soft-bristled brush or toothbrush
- Mild cleaner or vinegar-water mix
For deep cleaning, add a silicone lubricant and optional toothpick for debris removal.
How Often to Clean Your Ozeri Fan
Cleaning frequency depends on usage and your home environment. Understanding when to clean prevents performance decline and extends fan life.
Heavy Use or Pet Homes
If you run the fan daily, have pets, or suffer from allergies, clean every two weeks. Pet hair and dander accumulate fast, reducing airflow and triggering respiratory symptoms. This schedule keeps allergens under control and maintains optimal performance.
Moderate Daily Use
For several hours of daily operation, a monthly cleaning schedule keeps performance at peak levels. This balances maintenance effort with cleanliness needs for typical household use.
Occasional Use
Fans used seasonally or part-time need cleaning only every two to three months. Dust still accumulates during storage, so occasional attention prevents long-term buildup problems.
Minimum Maintenance Rule
Even with light use, perform a full clean at least twice a year. Clean before summer peak use and after winter storage to prevent long-term dust compaction and motor strain.
Surface Cleaning: No Disassembly Needed

This method removes approximately 80% of dust without opening the fan. It is ideal for routine upkeep when you need quick results.
Vacuum All Vents Thoroughly
Lay the fan on its side or back to access bottom intake vents. Attach the brush nozzle to your vacuum and slowly move it across front, back, and base grills. The soft bristles loosen dust without scratching plastic. Focus on crevices where lint collects. Work from top to bottom to catch falling debris. Avoid poking deep into vents with hard objects, as this can damage internal wiring or blades.
Blast With Compressed Air
Take the fan outdoors or near an open window. Use short bursts of compressed air to blow dust from all vent openings. Angle the nozzle up and down along the grill lines. Rotate the fan to cover every side. Hold the can upright to prevent liquid propellant from spraying out. Let the fan sit for a minute afterward so loose particles settle.
Run Fan to Clear Internal Dust
Plug the fan back in and point it outside or toward a door. Set to highest speed for two to three minutes. This forces out dislodged dust trapped inside the housing. Afterward, unplug again before wiping down the exterior.
Wipe Exterior With Damp Cloth
Lightly dampen a microfiber cloth with water, vinegar solution (1:1 ratio), or natural surface cleaner. Wipe the entire casing, handle, and control panel. Never soak the cloth, as excess moisture can seep into seams. Dry immediately with a second cloth. Ensure no dampness remains near vents or buttons.
Deep Cleaning: Disassemble for Full Access

This method is required when airflow drops significantly, the motor hums, or the fan overheats. Disassembly gives full access to blades and motor components.
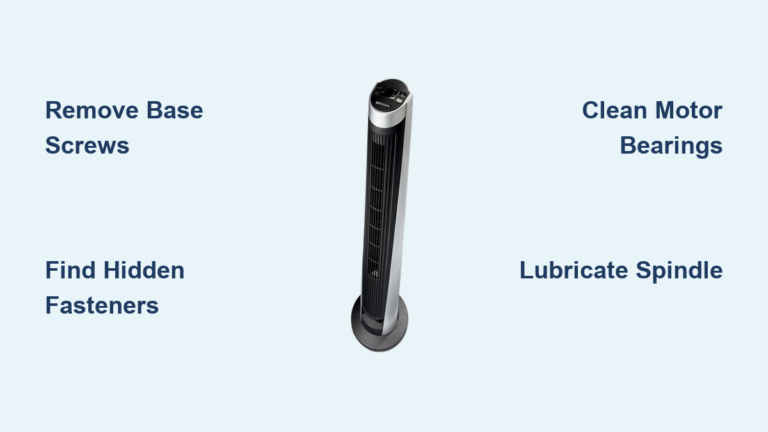
Remove Rear Screws
Locate the two screws on the back panel, usually near the handle or top edge. Use a Phillips screwdriver to remove them completely. Set aside safely in a small container. Some models may have only clips, so check carefully before forcing.
Release Side Clips With Screwdriver
Find the seam between front and back panels. Insert a flat-head screwdriver into the gap at the top corner. Gently twist or slide downward to release the internal plastic clip. You will hear a distinct pop when it disengages. Repeat on the opposite side. Apply even pressure and do not force it. If resistance is high, check for hidden screws.
Slide Panel Off Safely
Do not pull the back panel straight off. It is held by vertical slots that must be slid downward. Once clips are released, grip the panel and slide it down and away from the main body. Forcing it upward will break the plastic tabs. Now the cylindrical blade column and motor housing are exposed.
Clean Blades & Motor Housing
Spray With Compressed Air
Hold the can two to three inches from the blade column. Spray in short bursts while rotating the blades by hand to clean all sides. Dust hides between fins, so rotate fully to expose every angle. For stubborn buildup, alternate with vacuum suction using the brush attachment.
Vacuum Internal Surfaces
Use the vacuum hose with a narrow brush tip to clean the interior walls of the casing. Focus on corners and base where dust settles. Remove any visible lint or debris with tweezers if needed. This step prevents particles from re-circulating once the fan is running.
Lubricate Motor Bearings
If the fan struggled to spin or made grinding noises, lubrication is critical. Apply two to three drops of silicone-based lubricant into the motor housing and at the base of the shaft. Do not over-lubricate, as excess oil attracts dust. Wait five minutes for penetration before testing.
Test Motor Before Reassembly
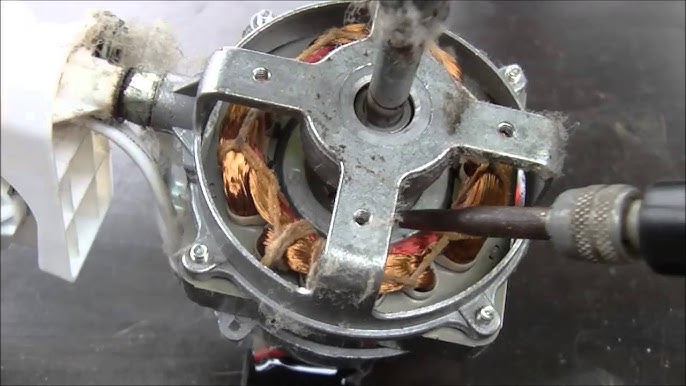
Leave the back panel off. Plug the fan in and turn it on. If blades spin freely, turn off and unplug. If they do not start, gently nudge them with your finger, then pull away quickly. Some motors need a push to overcome static friction. If still unresponsive or making grinding sounds, the motor may be burnt out. Never run the fan long without the panel, as it is unsafe and can throw debris.
Reassemble Without Breaking Clips
Align Clips With Slots
Position the back panel so the side tabs line up with the vertical slots on the main body. Take time to ensure proper alignment before applying pressure.
Slide and Snap Into Place
Gently slide the panel upward until you hear a click or pop as the clips engage. Do not press from the center, as this can crack the plastic. If it does not seat easily, double-check alignment. Forcing it causes rattles during operation.
Tighten Screws Gently
Reinsert the two rear screws. Tighten just until snug. Over-tightening strips plastic threads or warps the housing. A gentle touch prevents damage during reassembly.
Bladeless Ozeri Fan Cleaning Tips

Some Ozeri models mimic bladeless designs with enclosed airflow systems. These require slightly different care.
Wipe Outer Ring
Use a dry or slightly damp microfiber cloth on the amplifier loop (outer ring). Avoid getting moisture into the base. The smooth surface wipes clean easily without disassembly.
Clean Base and Inner Vents
Vacuum the intake grills at the base. Use compressed air on the inner ring openings to clear airflow channels. These areas collect dust that restricts the bladeless airflow technology.
Avoid Internal Moisture
Never immerse or rinse any part. Bladeless fans rely on precise internal ducts, and water damage can ruin airflow dynamics permanently. Keep all liquids away from internal components.
Troubleshooting Common Issues

Fan Won not Turn On After Cleaning
Check these common causes. Are clips fully engaged? Misaligned panels can cut power. Are screws pinching wires? Inspect behind the panel. Is the motor lubricated? Dry bearings prevent startup. If nudging does not help, the motor may be burnt out and require replacement.
Rattling or Vibrating Noise
Several issues cause these sounds. A broken plastic tab results from forced disassembly. A loose screw may be inside the housing. Debris could be caught in blades. Reopen and inspect carefully. Replace damaged parts if possible.
Reduced Airflow After Cleaning
Likely causes include vents still clogged. Re-vacuum and re-blast with air. Blades may not be spinning freely, so re-lubricate the motor. Incorrect reassembly means the panel is not fully seated. Check alignment and retry.
Maintenance Tips for Long Life
Weekly Dusting Routine
Wipe exterior vents with a dry cloth once a week. This prevents deep buildup and maintains airflow between deep cleaning sessions. A few minutes weekly saves hours of difficult cleaning later.
Place Away From Dust Sources
Avoid positioning the fan near carpets (they stir up dust), pet beds (they collect hair), or open windows (they bring in pollen). Strategic placement reduces cleaning frequency and improves air quality.
Use a Dust Cover When Stored
During off-seasons, cover the fan or store it in a closet. A simple cloth bag stops dust accumulation during months when the fan is not in use.
Pair With Air Purifier
Running an air purifier reduces airborne particles. This keeps your fan cleaner longer and improves indoor air quality throughout your home.
Never Operate With Wet Parts
Ensure all cleaned components are 100% dry before reassembly. Moisture near electronics risks short circuits and permanent damage to the motor.
When to Replace Instead of Repair
Consider replacing your Ozeri tower fan if the motor fails after lubrication and cleaning, the plastic casing is cracked or clips are broken beyond repair, an electrical smell persists after cleaning, or the unit is over five years old with declining performance. Most Ozeri fans last three to seven years with proper care. Regular cleaning maximizes lifespan and efficiency.
Frequently Asked Questions About Cleaning Ozeri Tower Fans
How do I know when my Ozeri tower fan needs cleaning?
Noticeable signs include reduced airflow, the motor feeling hot to the touch, unusual noises like rattling or humming, and increased allergy symptoms when the fan runs. Cleaning is needed when wind strength decreases noticeably or dust is visibly accumulated on vents.
Can I use WD-40 to lubricate my Ozeri fan motor?
No, avoid WD-40 for motor lubrication. It is not a long-term lubricant and can degrade plastic components. Use silicone-based lubricant instead. WD-40 works temporarily to free stuck parts but does not provide lasting lubrication for bearings.
Is it safe to wash my Ozeri tower fan with water?
Only the exterior casing can be wiped with a damp cloth. Never submerge any part of the fan or spray water directly into vents or internal components. Moisture damages electronics and the motor. Always ensure parts are completely dry before reassembly.
How long does deep cleaning an Ozeri tower fan take?
Deep cleaning with disassembly takes under 30 minutes for most models. Surface cleaning without taking apart the fan requires about 10 to 15 minutes. Both methods are quick maintenance tasks that do not require professional service.
Why does my fan rattle after reassembly?
Rattling usually indicates a broken plastic tab from forced disassembly, a loose screw inside the housing, or debris caught in the blades. Reopen the fan and inspect for damage. Replace broken clips if possible or consider whether replacement is more cost-effective.
How often should I deep clean my Ozeri tower fan?
Deep cleaning with full disassembly is recommended every three to six months for daily users. Occasional users can extend this to twice yearly. Heavy use or pet-heavy homes may require more frequent deep cleaning to maintain optimal performance.
Key Takeaways for Maintaining Your Ozeri Tower Fan
Cleaning your Ozeri tower fan is not just about appearance. It is essential for performance, safety, and health. Dust-clogged fans circulate allergens and work harder, increasing energy use and heat. With this guide, you can perform surface cleans in 10 minutes or deep maintenance in under 30 minutes.
Always unplug before cleaning, use silicone lubricant instead of WD-40, protect plastic clips during disassembly, and ensure all components are completely dry before reassembly. A clean fan runs quieter, cools better, and lasts longer. Make cleaning part of your seasonal routine, and enjoy fresh, powerful airflow all summer long.