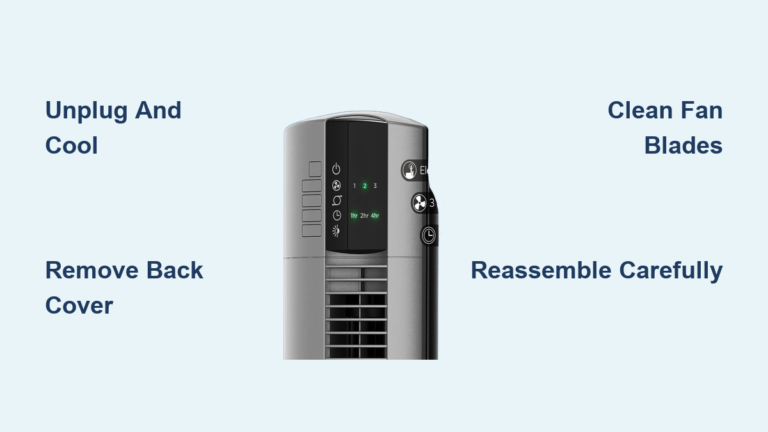
How to Take Apart a Bionaire Tower Fan
If your Bionaire tower fan is making strange noises, stalling on low speed, or just needs a deep clean, taking it apart is the first step to restoring peak performance. While Bionaire fans are built to last, years of dust buildup and dried lubricant can cause motors to strain, bearings to squeal, and airflow to weaken. The good news is that most models can be disassembled with common tools and a bit of patience. However, do not be fooled by the sleek exterior hidden screws, reverse-threaded caps, and Loctite-sealed bolts make this more than a simple screw-removal job.
This guide walks you through the exact steps to safely disassemble multiple Bionaire tower fan models, including the BTF 4002, ETF 4026, BT440RC-CN, BSF 1731 RC, and BT014-AU. You will learn where to find hidden fasteners, how to overcome locked screws, and what to do when plastic clips refuse to release.
Gather Essential Tools and Set Up Your Workspace
Before touching any screws, gather the right tools and set up a safe workspace. Rushing in can lead to stripped screws, cracked plastic, or electrical hazards.
Tools You Will Need
Keep these items within reach before starting your disassembly project.
- Phillips screwdrivers (size #1 for mini models like BT014-AU, standard #2 for most others)
- Flathead screwdriver for prying clips and releasing latches
- Thin knife or dental pick for engaging narrow latches (about one-half inch wide)
- Plastic pry tool to separate housing halves without scratching
- Pliers and clamp for stubborn screws sealed with Loctite
- Hacksaw as a last resort for cutting off seized motor screws
- Cleaning supplies including isopropyl alcohol, Q-tips, soft brush, and Dawn dish detergent
Critical Safety Steps
Always unplug the fan before starting any work. Work on a clean, well-lit surface with plenty of space to lay out screws in an organized manner. Avoid touching circuit boards directly to prevent static damage. Keep grease and oil away from motor windings and only lubricate bearings and spindles.
Remove the Base and External Panels
Most Bionaire models require base removal to access internal components. This step also reveals hidden screws and helps stabilize the unit during disassembly.
Detach the Base
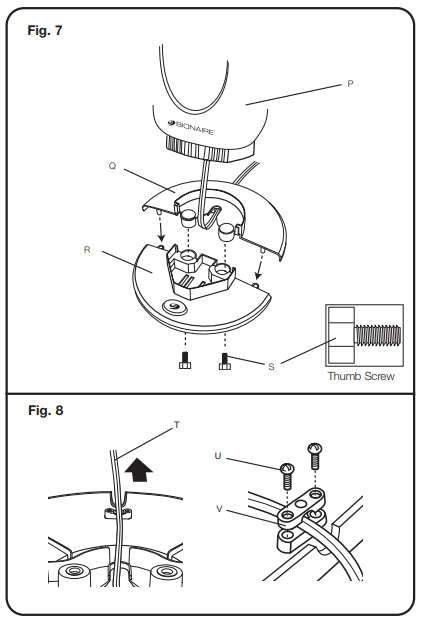
Flip the fan upside down and locate the screws on the bottom, usually four in a square pattern. Remove them with a Phillips screwdriver and gently lift the base off. The power cord often detaches easily from internal terminals. Expect thick dust, cobwebs, or insect debris inside the base area vacuum the area before proceeding.
Pop Off Side or Front Panels
Depending on your specific model, the panel removal process varies. For BT440RC-CN, silver-effect side panels snap off with gentle pressure. For BT014-AU, the top casing relies on internal divots so pry carefully from the bottom seam. For BTF 4002, a front compartment near the handle contains hidden screws. Plastic clips and divots are fragile so use even pressure and avoid twisting to prevent breakage.
Open the Housing and Find Hidden Fasteners
The outer shell hides more than just the motor it conceals screws, latches, and locking mechanisms designed to deter casual disassembly.
Locate All Concealed Screws
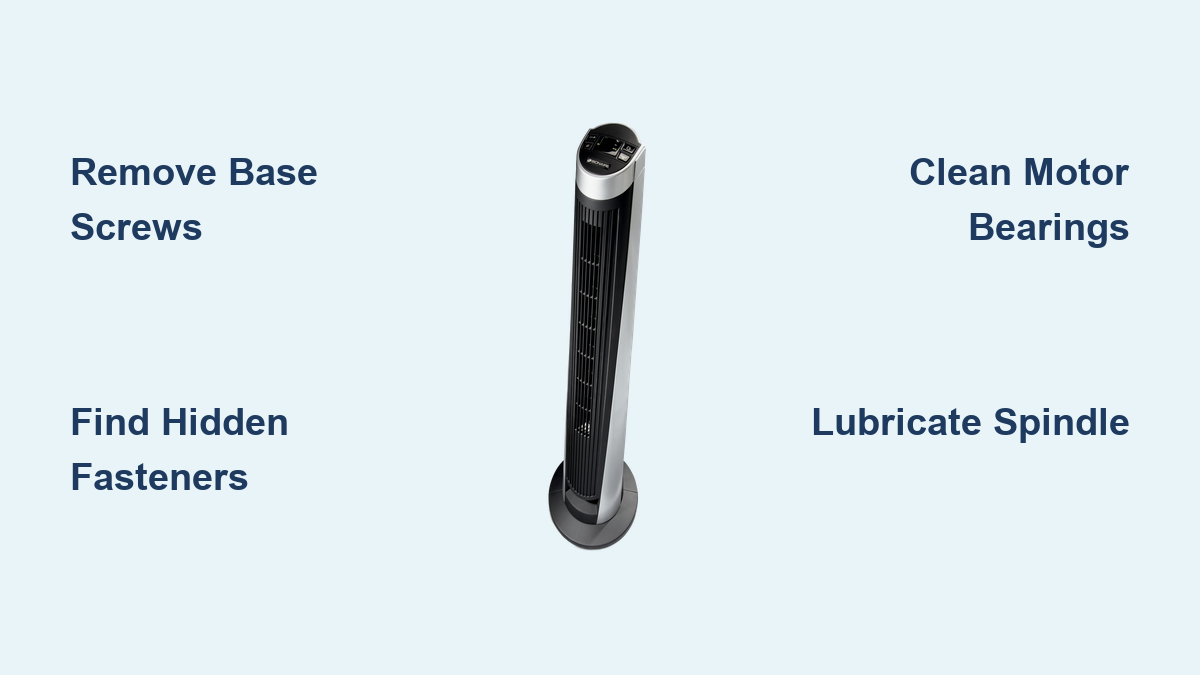
Check these common hiding spots before attempting to split the housing. Look inside the handle on BTF 4002 models. Check under rubber feet or labels. Examine along the lower back edge. Inspect the upper back panel (three screws on BT440RC-CN). Remove every visible screw before attempting to pry the housing apart.
Release Plastic Clips and Divots
Once all screws are removed, use a flathead screwdriver to gently pry along the seam. For models like the BT014-AU, push internal plastic divots inward while pulling the panel away. On the ETF 4026, hidden back panel clips require careful prying with a flashlight to spot attachment points. Some clips break during removal, which is normal simply replace them with small screws during reassembly.
Access the Motor and Blade Assembly
With the housing open, you can now reach the motor, rotor, and blade assembly. This is where most performance issues originate.
Remove the Fan Blade

Blade attachment varies significantly by model. For BSF 1731 RC pedestal models, the front mounting cap uses reverse threading. To remove the blade, turn the cap clockwise. To install it, turn counter-clockwise. Lift the blade straight up after loosening. When reinstalling, rotate clockwise until you hear a distinct click this confirms the lock is engaged.
For ETF 4026 and BT440RC-CN models, the blade is secured by a set screw often sealed with Loctite. Use a screwdriver with clamped pliers for extra torque. If the screw will not budge, cut the head off with a hacksaw and replace it later. Never force the rubber coupling on BT440RC-CN models it is designed to dampen vibration and should not be removed.
Disassemble the Motor Housing

Now that the blade is off, you can extract the motor for cleaning and lubrication.
Remove Motor Mounting Screws
For BT440RC-CN, four screws hold the motor to the frame and two secure the top column bearing. For ETF 4026, after blade removal, two screws remain to free the motor bracket. For BT014-AU, two screws at the base of the motor housing require firm downward pressure to remove. These screws often have thread-locking compound applied. If they resist, apply steady force but avoid sudden jerks that can strip the threads.
Extract the Rotor
Pull the rotor straight out to expose the spindle and bearing bore. Inspect for black, greasy residue this is old lubricant mixed with dust and heat buildup. Clean thoroughly with isopropyl alcohol and a Q-tip. Do not touch motor windings and avoid getting any lubricant on the coils.
Clean and Lubricate the Bearings
A sluggish fan on low speed is almost always caused by bearing friction. This step restores smooth operation.
Recognize Bearing Failure Symptoms
Watch for these telltale signs. The fan spins when horizontal but stalls upright. You hear squealing or grinding noises. The startup is slow or airflow feels weak.
Deep Cleaning Steps
Soak a Q-tip in isopropyl alcohol. Wipe the spindle shaft and bearing interior until no grime remains. Use a soft brush for stubborn buildup. The goal is to remove every trace of that black, hardened residue that creates drag.
Apply the Right Lubricant
The best choice is high-temperature lithium-based grease because it lasts long and resists heat. A suitable alternative is 3-in-1 oil for light lubrication but use it sparingly. Apply a tiny amount using a toothpick or small brush. Too much grease attracts dust and causes future drag. Rotate the spindle by hand to distribute the lubricant evenly. Before reassembly, reinsert the rotor and verify it spins freely with no resistance.
Fix Common Electrical and Control Issues
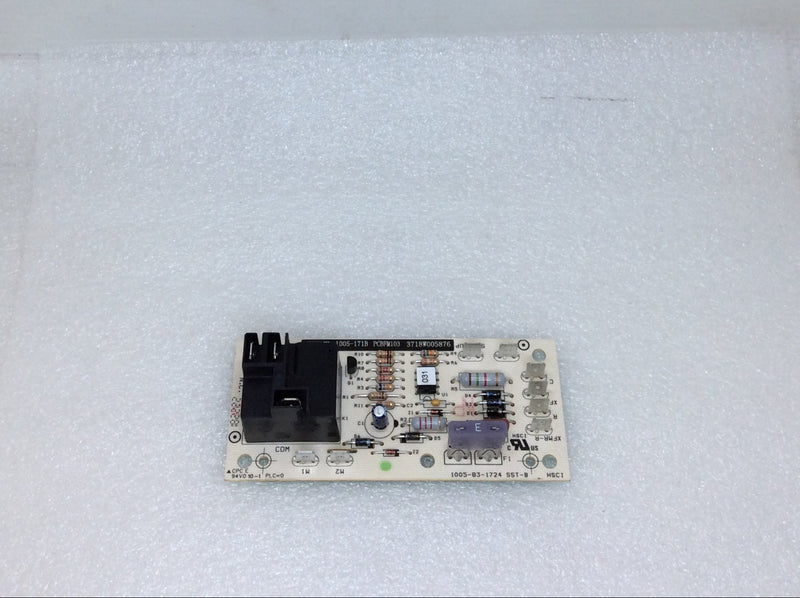
While the motor runs the blades, electronics control speed, oscillation, and power delivery.
Stop Annoying Beeping Sounds
On BTF 4002 models, beeping is caused by a loose speaker or misaligned circuit board cover. Pop off the speaker lid (it snaps on from the side). Remove two screws securing the circuit board cover. Reposition or remove the small round speaker (about one-half inch diameter). If you lack tools, use a dental pick to lift the speaker edge and pop it off.
Troubleshoot Button Failures
If a speed button will not stay pressed, the internal switch may be worn. Clean contacts with alcohol or replace the switch module entirely. Avoid pressing buttons too hard because Bionaire switches are sensitive and can be damaged by excessive force.
Check Oscillation Problems
If the fan blows but does not swing, inspect the oscillation gear train, the linkage to the base, and power delivery to the small oscillation motor. Manually turn the oscillation knob to test if it is stiff clean and lubricate the gears to restore function.
Reassemble with Care and Confidence
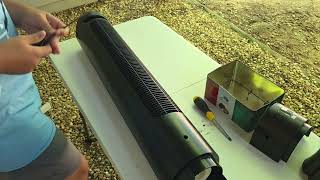
Putting the fan back together is just as important as taking it apart. Misalignment or loose screws can cause noise, vibration, or safety hazards.
Align Housing Halves Properly
Ensure all divots and clips line up before pressing panels together. For BT014-AU models, snap each divot inward one at a time. On ETF 4026 models, if clips will not re-engage, replace them with screws for a secure fit.
Replace Damaged or Seized Screws
Any screw removed with a hacksaw must be replaced. Use a ceiling fan motor screw of matching size and thread. Replace rusted base screws to prevent future seizure.
Reinstall the Blade Correctly
For BSF 1731 RC, align the metal bar on the blade with the motor slot. Rotate clockwise until you hear the distinct click. For other models, ensure the blade sits flush and spins freely. Plug in the fan and test all speeds and oscillation before finishing.
Maintain Your Bionaire Fan for Years of Service
A well-maintained Bionaire fan can last over a decade. Keep it running smoothly with a simple maintenance schedule.
Recommended Care Routine
Clean the blades, grill, and motor housing every six to twelve months to prevent dust buildup. Lubricate the spindle and bearings every six to twelve months to reduce friction and noise. Vacuum intake and exhaust grills as needed to maintain airflow. When storing long-term, cover with a cloth or bag to minimize dust accumulation.
Pro Tips for Maximum Longevity
Avoid cheap lubricants because they attract dust and gum up faster. In dusty environments, clean every six months rather than waiting a full year. Never use the fan near air fresheners or oily aerosols because residue clogs the internal components.
Frequently Asked Questions About Taking Apart a Bionaire Tower Fan
Can I take apart my Bionaire tower fan without prior experience?
Yes, most Bionaire tower fans can be disassembled by homeowners with basic tools. The process requires patience more than expertise. Hidden screws and plastic clips add complexity, but following a model-specific guide makes it manageable.
What tools do I need to disassemble a Bionaire tower fan?
You will need Phillips screwdrivers (#1 and #2), a flathead screwdriver, a thin knife or dental pick, pliers, and optionally a hacksaw for seized screws. Cleaning supplies like isopropyl alcohol, Q-tips, and lithium grease are essential for maintenance.
Why does my Bionaire fan stall on low speed after cleaning?
This indicates bearing friction from residual debris. The spindle and bearing bore must be completely clean with no black residue remaining. Reapply a small amount of lithium-based grease and test that the rotor spins freely before reassembly.
How do I handle stripped or seized screws?
For Loctite-sealed screws, use the clamp-and-pliers method to add torque. Clamp pliers to the screwdriver handle for extra leverage. If all else fails, a hacksaw can cut the screw head off to preserve the housing, then replace with a matching ceiling fan motor screw.
Is it normal for plastic clips to break during disassembly?
Yes, plastic clips and divots are fragile and often break during removal. This is normal and not a major concern. Simply replace broken clips with small screws during reassembly to maintain structural integrity.
Key Takeaways for Disassembling Your Bionaire Tower Fan
Taking apart a Bionaire tower fan does not have to be intimidating. With the right tools, patience, and this guide, you can fix beeping sounds, eliminate squeals, and restore powerful airflow. The key is knowing where hidden screws are located, how to handle Loctite-locked bolts, and when to replace fragile clips with screws. Whether you own a compact BT014-AU or a full-sized ETF 4026, disassembly is possible and often the best way to breathe new life into an aging unit.
After reassembly, expect stronger airflow, quieter operation, and a longer spin-down time a sure sign your motor is running cleanly and efficiently. Stick to a six-to-twelve-month maintenance schedule to keep your Bionaire fan performing like new for years to come.