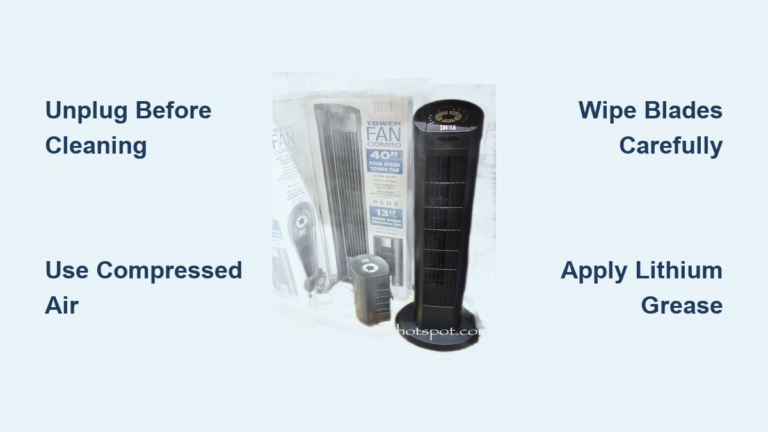
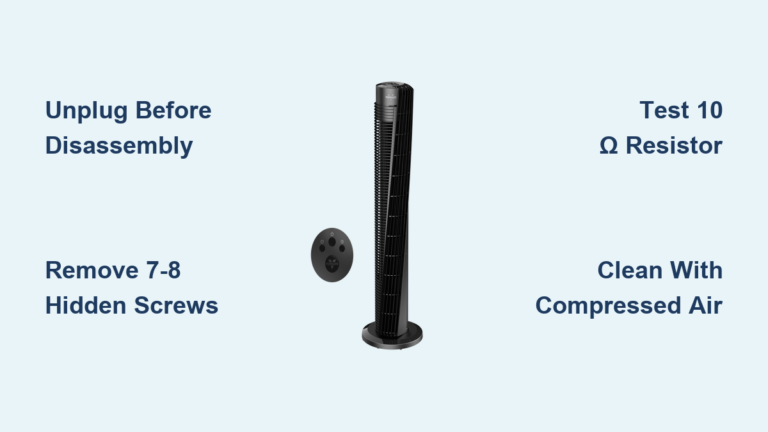
How to Clean Mini Fan Without Opening
Dust builds up fast on mini fans, especially in corners, vents, and between tight grilles. This buildup reduces airflow, increases noise, and circulates allergens throughout your space. The good news: you can clean a mini fan without opening it using simple tools and proven techniques that safely remove grime while protecting internal components.
This guide covers everything you need to know about non-invasive fan cleaning. From quick dust removal with compressed air to the powerful spin-clean method using toothpaste, these strategies will help you maintain efficient, quiet, and healthy fan operation without ever exposing the motor or risking electrical damage.
Safety First: Unplug and Prepare
Before cleaning your mini fan, safety must be your top priority. Even a quick wipe can become dangerous if moisture reaches live electrical components.
Always Unplug the Fan
Never clean a plugged-in fan. Even low-voltage models can short-circuit if liquid seeps into the motor. Always disconnect power completely before starting. For ceiling or wall-mounted units, turn off the circuit at the breaker to ensure no power reaches the fan.
Set Up a Safe Work Area
Move the fan to a well-ventilated space like a garage or driveway if using sprays, hoses, or blowers. Indoors, lay down an old towel or sheet to catch falling dust. For tower or oscillating fans, lay them on their side for better vent access and easier cleaning reach.
Know Your Fan Limits
Check the manual for warnings about moisture, cleaning agents, or structural weak points. Some fans have sealed housings, while others have removable grilles you can access without full disassembly. Avoid prying plastic seams, as many break easily and are difficult to repair.
Choose the Right Cleaning Solution

Using the correct cleaning solution makes a big difference, especially when you cannot easily rinse or dry internal parts.
Use Mild Soap for Routine Cleaning
Mix warm water with a drop of mild dish soap. Dampen a microfiber cloth, then wring it until almost dry. Wipe grilles, blades through the cage, and base. Avoid soaking the cloth, as excess soap leaves a sticky residue that attracts more dust.
Try the Spin-Clean Toothpaste Method
For stubborn grime, mix these ingredients in a spray bottle:
- 1 tablespoon toothpaste
- 7 ounces piping hot water
- 2 tablespoons dish soap
- 2 tablespoons white vinegar
Spray lightly on the fan guard, avoiding the motor area. Cover with a plastic bag, then plug in and run the fan on medium speed for exactly 2 minutes. The spinning action lifts dirt. Wipe dry immediately with a lint-free cloth.
Pro Tip: This spin-clean method works best on table fans with accessible blades. Never use it on bladeless tower fans.
Avoid Harsh Chemicals
Skip ammonia, bleach, or strong degreasers unless cleaning outdoors. If used indoors, rinse with a water-dampened cloth and let the fan dry fully in sunlight. Never spray cleaners directly into vents or toward the motor housing.
Essential Tools for No-Disassembly Cleaning
You do not need fancy equipment. These tools reach deep into grilles and vents without opening the fan.
Microfiber Cloth on a Stick
Wrap a microfiber cloth around a ruler, butter knife, or broom handle. Slide it between grilles to wipe blades from center to edge. For narrow tower fan slats, use a toothbrush with a damp cloth wrapped around the bristles for controlled cleaning.
Soft Brushes and Cotton Swabs
Use a clean toothbrush or small paintbrush to loosen dust in crevices. Follow immediately with a vacuum to prevent resettling. Cotton swabs clean corners, blade edges, and control panels with precision.
Vacuum With Brush Attachment
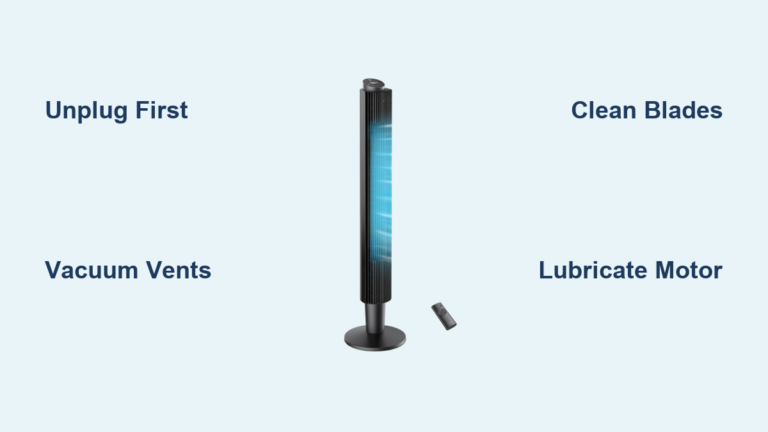
Set your vacuum to low suction with a soft brush nozzle. Gently go over front and back grilles, the motor housing, and the base. For tower fans, vacuum all intake and exhaust vents on the front, sides, and top.
Warning: Do not press hard. Loose plastic parts can crack under pressure from the vacuum.
Compressed Air or Hairdryer
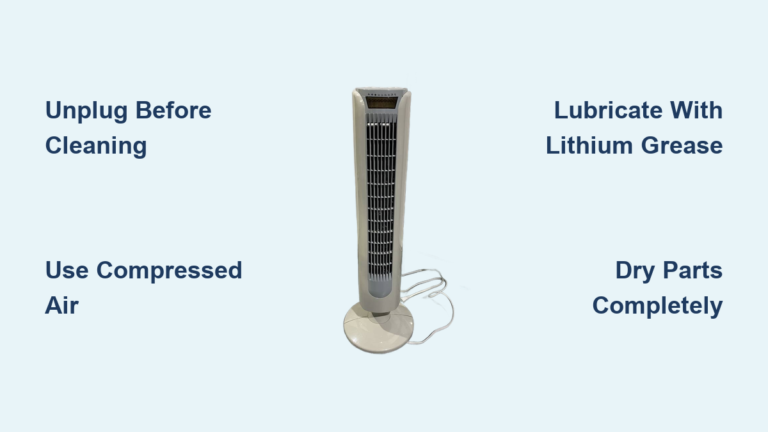
Use short bursts of compressed air held upright to blow dust from vents and the motor housing. Alternatively, use a hairdryer on the cool setting to push debris outward. Always point the airflow away from the fan to avoid forcing dust deeper into internal components.
Five Proven Cleaning Methods
Each method targets different types of buildup, from loose dust to greasy film.
Blow Dust Out With Compressed Air
This method works best for quick monthly maintenance.
- Unplug the fan.
- Take it outside or to a garage.
- Use a can of compressed air or small air compressor.
- Hold the nozzle 6 to 8 inches from vents and grilles.
- Use short bursts to dislodge dust.
- Follow with a vacuum pass to catch blown-out debris.
Note: Air compressors remove approximately 90 percent of loose gunk. This method is ideal before storing the fan or during seasonal transitions.
Vacuum Every Vent Slit
This method works best for tower and oscillating fans with hidden dust.
- Unplug and lay the fan on its side.
- Use a vacuum with a soft brush attachment.
- Slowly run over all vent slits, including front, back, sides, and base.
- Use a small brush to agitate dust, then vacuum immediately.
- Clean corners with cotton swabs.
Visual Cue: Watch for gray puffs of dust exiting the fan as you clean.
Run the Spin-Clean Trick
This method works best for sticky film on blade surfaces.
- Mix the toothpaste, vinegar, soap, and hot water solution.
- Spray lightly on the front guard, avoiding the motor.
- Cover the fan with a contractor-grade plastic bag.
- Plug in and run on medium speed for 2 minutes.
- Unplug, remove the bag, and wipe dry with a lint-free cloth.
Why It Works: Centrifugal force spreads the cleaning solution across blades, lifting grime without you touching them.
Use Sand or Salt for Dry Cleaning
This method works best for removing loose dust without liquids.
- Lay the fan flat on a sheet with blades facing up.
- Pour clean, dry sand or salt through the front grill.
- Let it flow over blades and out the back.
- The abrasive action knocks off dust.
- Shake out remaining sand and wipe the exterior clean.
Caution: Do not use this method if the motor housing is not sealed. Sand can jam moving parts.
Hose Down Outdoors Only
This method works best for extremely dirty fans with removable grilles.
- Take the fan outside on a sunny day.
- Cover the motor with a dinner plate or plastic wrap.
- Spray with all-purpose cleaner like Formula 409 or Clorox.
- Let sit for 3 to 5 minutes.
- Use a hose jet to rinse, avoiding direct motor spray.
- Dry in full sun for 24 to 48 hours before use.
Optional: After drying, apply one drop of sewing machine oil to the motor shaft if accessible.
Fan-Specific Cleaning Tips
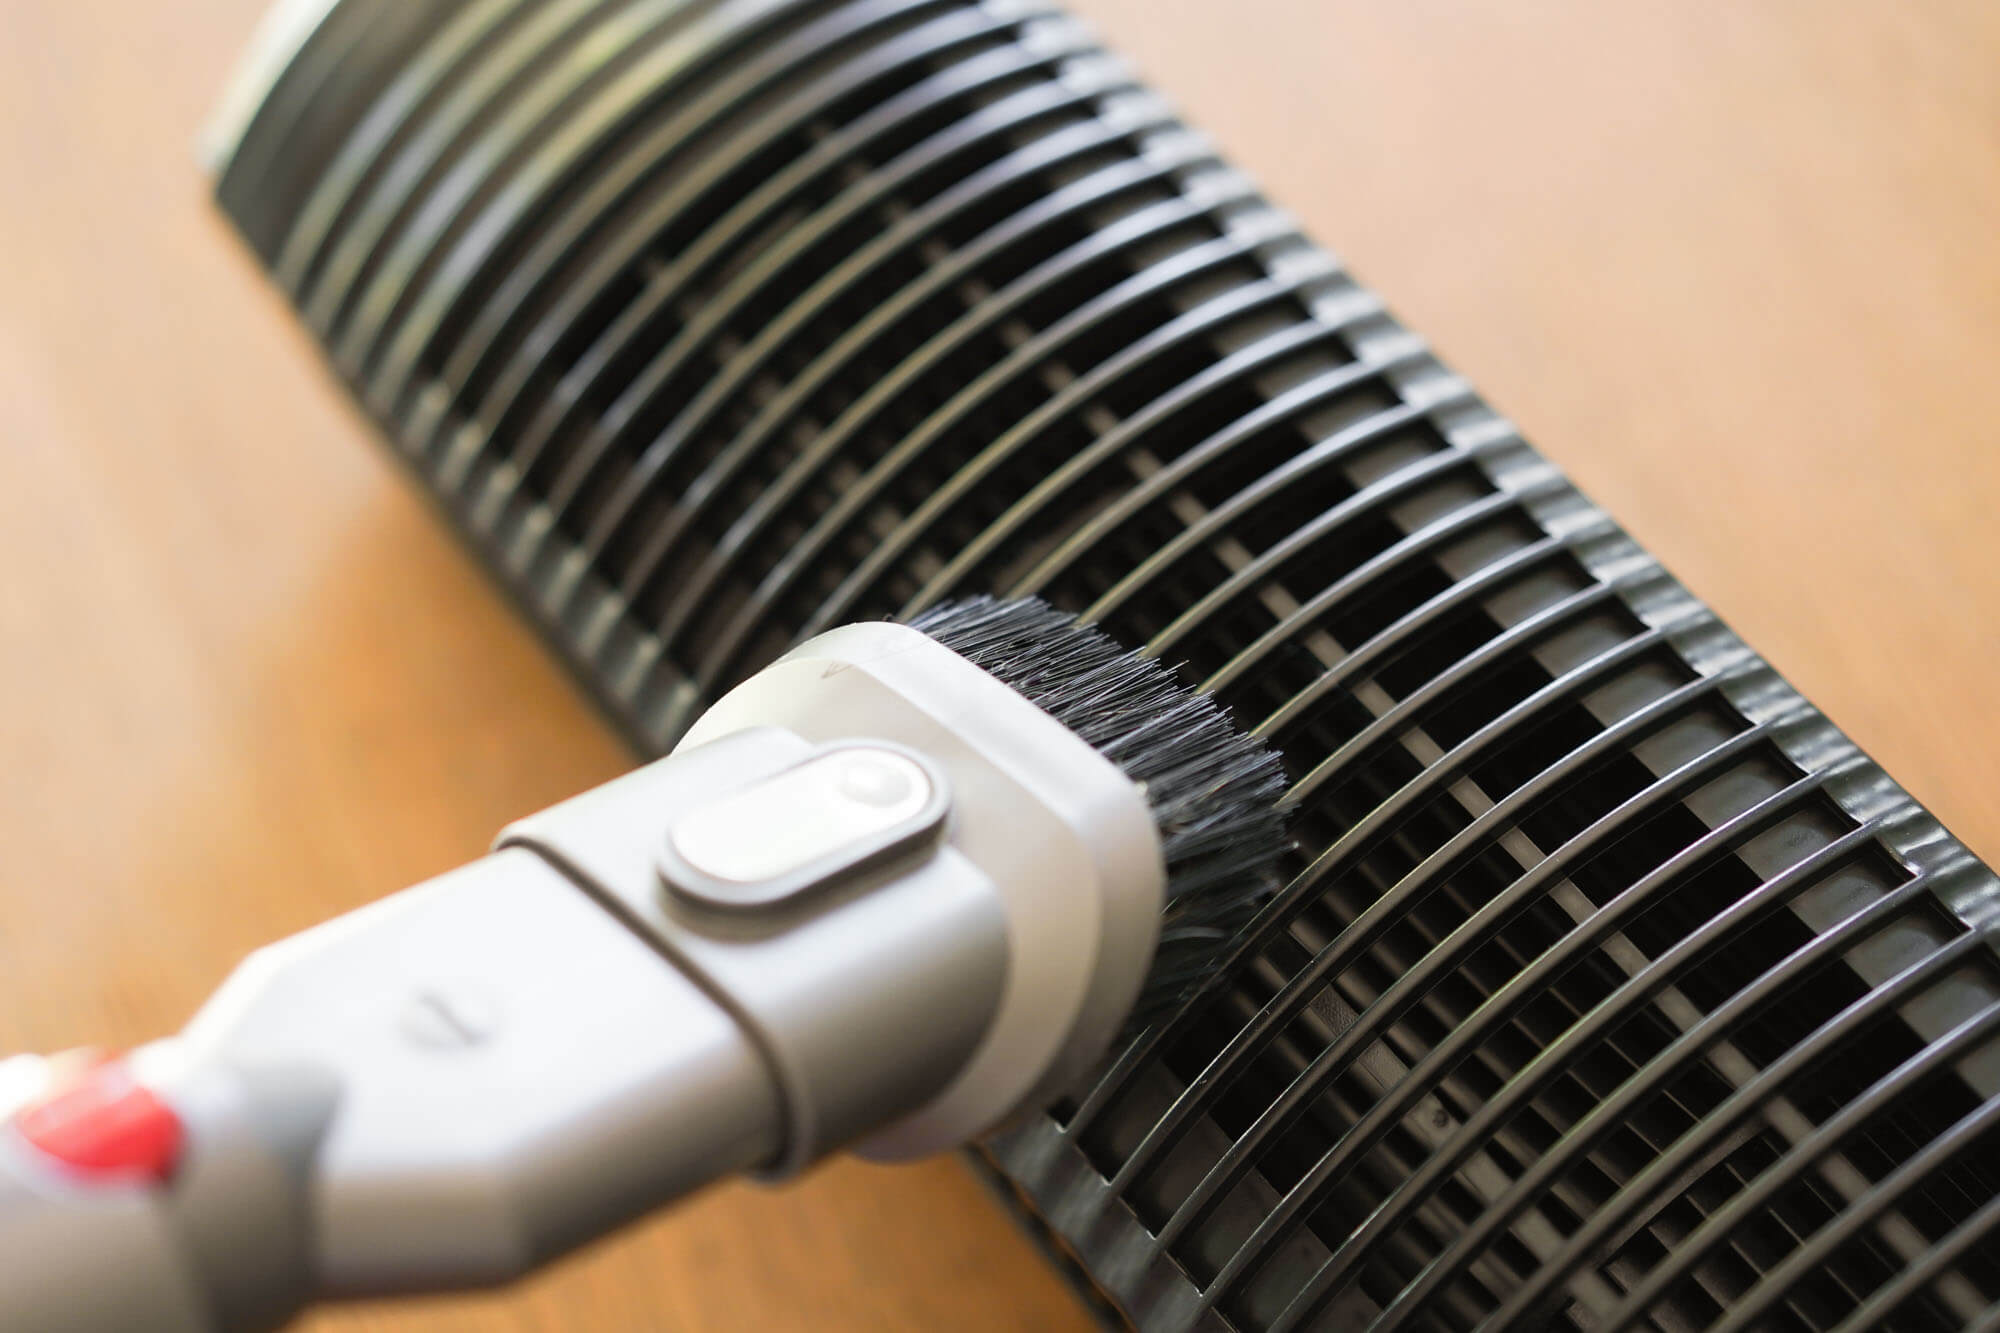
Different fan designs need tailored approaches, even without opening.
Mini and Table Fans
Small grilles block access to internal components. Use cotton swabs for edges and a toothbrush with a damp cloth wrapped around the bristles for precision cleaning. The spin-clean method works well if blades are visible through the cage. Avoid prying the casing, as many snap-fit housings break easily.
Tower and Bladeless Fans
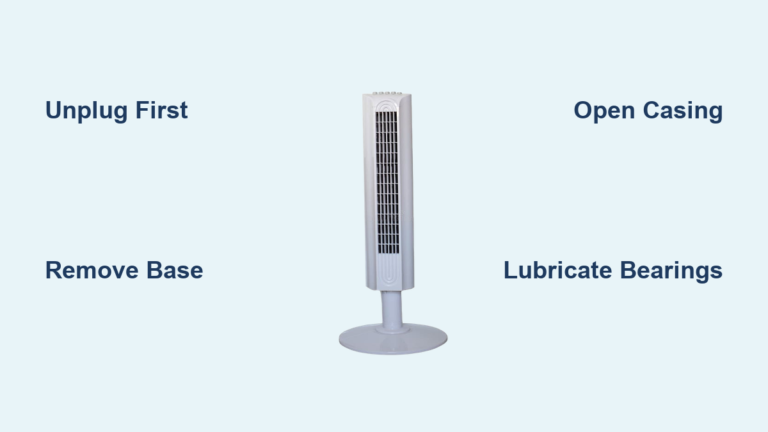
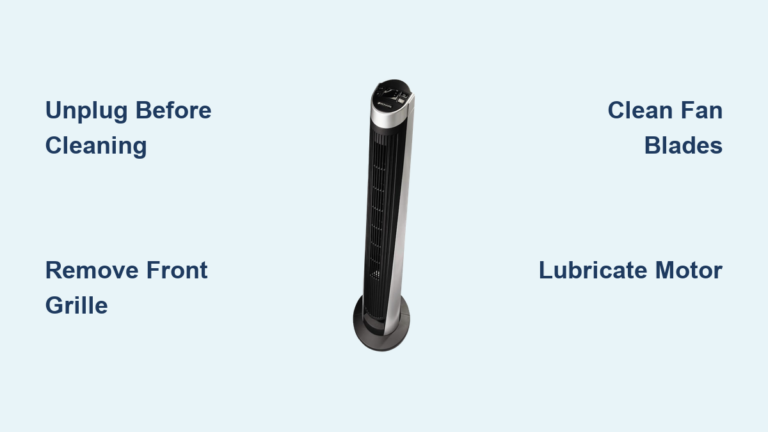
Blades are hidden, but dust clogs intake and exhaust slits. Lay the fan on its side, then vacuum every vent line with a brush attachment. Wipe inside slats with a cloth-wrapped toothpick. Use compressed air from the bottom up to push dust out of the system.
Pro Tip: Run the fan on low after cleaning to help dry any internal moisture.
Ceiling Fans With Sealed Covers
You cannot remove the housing. No problem.
- Turn off power at the breaker.
- Use a long-handled microfiber duster.
- Wipe blade edges with a damp cloth wrung completely dry.
- Clean the cover with a cotton swab.
- Run the fan on low to circulate air and dry remaining moisture.
Window and Box Fans
These collect thick dust layers and are best cleaned outdoors.
- Remove the fan from the window if possible.
- Use a leaf blower or air compressor to blast both sides.
- Alternatively, shield the motor and hose down the blades.
- Dry completely in the sun for at least 2 full days before reinstalling.
Warning: Never hose down a fan while it is mounted. Water can drip into walls or outlets.
Prevent Gummy Residue and Damage
Mistakes during cleaning can make things worse. Avoid these common errors.
Do Not Use Too Much Dish Soap
Dish detergent leaves a sticky film that becomes a dust magnet. If you have used it, wipe again with a vinegar-water mix in a 1-to-1 ratio to neutralize the residue.
Never Spray Water Near the Motor
Moisture causes short circuits. Always apply liquid to a cloth, not directly to the fan. When in doubt, dry cleaning methods are safer than wet cleaning.
Avoid Ammonia Without Rinsing
Ammonia cuts grease effectively but must be rinsed with a water-dampened cloth. Otherwise, fumes and residue linger and can damage plastic surfaces over time.
Do Not Over-Wet Plastic Parts
Wet plastic can warp or crack, especially when exposed to sunlight. Wipe immediately and dry in the shade if possible.
Maintenance Schedule for Long Life
Regular cleaning prevents buildup and extends your fan is lifespan.
Clean Every Two to Three Months
During summer or high-use periods, clean monthly. At minimum, clean at the start and end of each season to prevent accumulated grime from affecting performance.
Store Properly
- Clean before storing for the season.
- Cover with a contractor is plastic bag, not grocery bags that tear easily.
- Store in a dry, dust-free place like a closet or shelf.
Lubricate Annually If Accessible
If you can reach the motor shaft, apply one drop of lightweight oil like sewing machine oil once a year. Do not over-lubricate, as excess oil attracts dust and can gum up internal components.
Add Scent Optionally
Tape a cotton ball with a few drops of essential oil to the front grill, facing outward. The airflow disperses fragrance naturally and safely throughout the room.
Troubleshoot Common Post-Cleaning Issues
Even careful cleaning can sometimes cause problems. Here is how to fix them.
Fan Will Not Turn On
Moisture in the motor is the number one cause of failure after cleaning. Leave the fan in direct sunlight for 1 to 2 days. Do not plug in until it is completely dry.
Fan Is Still Noisy After Cleaning
Dust may remain inside the housing. Try compressed air again or vacuum more deeply. If noise persists, internal wear may require professional repair or replacement.
Dust Comes Back Fast
Your home may have high particulate levels. Consider using an air purifier. Also, clean fan filters if present and change HVAC filters regularly to reduce airborne dust.
Plastic Cracked During Cleaning
Repair with a twist tie or colored wire for a temporary fix. For future cleanings, avoid applying pressure and never pry at seams.
Frequently Asked Questions About Cleaning Mini Fans Without Opening
Can I clean a mini fan without taking it apart?
Yes. You can effectively clean a mini fan without opening it using methods like compressed air, vacuuming, the spin-clean toothpaste technique, and manual wiping with appropriate tools. These approaches remove surface dust and grime while keeping internal components protected.
What happens if water gets inside the fan?
If water enters the motor housing, the fan may stop working or run noisily. Unplug the fan immediately and let it dry in direct sunlight for 1 to 2 days. Do not use the fan until completely dry to avoid short circuits.
How often should I clean my mini fan?
Clean mini fans every 2 to 3 months during heavy use. During peak summer months, monthly cleaning is recommended. At minimum, clean at the beginning and end of each fan season to maintain optimal performance.
Can I use the spin-clean method on all types of fans?
The spin-clean method works best on table fans and mini fans with visible blades behind a cage. It is not recommended for bladeless tower fans, as the cleaning solution cannot reach the internal blade assembly and may damage electronic components.
Is it safe to use a leaf blower on my fan?
Yes, a leaf blower is safe and effective for cleaning fans outdoors. Use it at the start or end of the season before dust solidifies. This method works best for loose dust and is less effective on greasy, stuck-on residue.
What is the best way to clean a tower fan without opening it?
Focus on the vent slits. Lay the fan on its side and vacuum all intake and exhaust vents with a brush attachment. Use a cloth-wrapped toothpick to wipe inside slats, and follow with compressed air to push out remaining dust.
Key Takeaways for Cleaning Your Mini Fan Without Opening

You do not need to open your mini fan to keep it clean and efficient. With the right tools, solutions, and techniques, you can remove dust, restore airflow, and extend its lifespan safely and effectively.
Remember these core principles. Always unplug before cleaning and protect the motor from moisture. Use dry cleaning methods like compressed air and vacuuming as your first line of defense. Reserve wet cleaning like the spin-clean toothpaste method for stubborn grime, and always dry thoroughly before plugging back in.
Maintain a regular cleaning schedule of every 2 to 3 months, and your fan will run quieter, cooler, and healthier for years to come. Your lungs will thank you too, especially if you suffer from allergies or asthma.