How to Clean a Portable Fan
Dust, pet hair, and grime silently build up on your portable fan, turning it into a hidden source of allergens and reducing its cooling power. If you’ve ever turned on your fan only to feel a puff of stale, dusty air, you’re not cleaning it enough. Most people wipe the outside and think they’re done, but that creates a false sense of cleanliness. The real dirt hides behind the grill and on the blade edges, waiting to blow into your room with every use.
Knowing how to clean a portable fan properly isn’t just about hygiene. It boosts airflow, reduces noise, and extends the life of your unit. Whether you have a compact desk fan, a tall tower model, or a rugged outdoor version, each requires specific care. In this guide, you’ll learn the safest, most effective cleaning methods by fan type, the right tools to use, and how often to clean, so your fan runs smoothly and keeps your air fresh.
Essential Safety Steps Before Cleaning
Unplug the Fan First
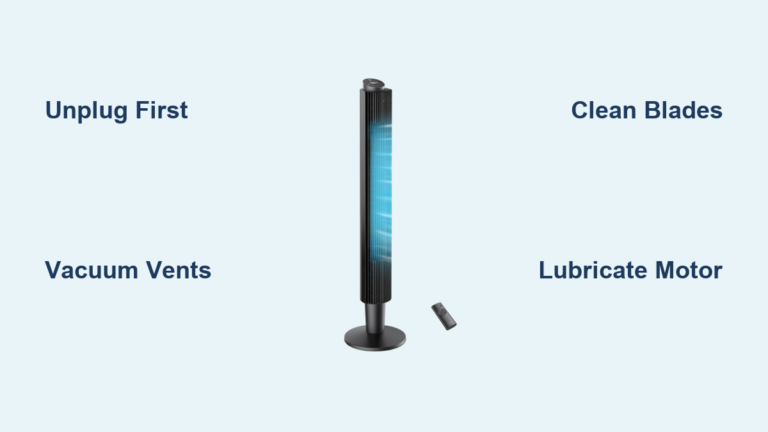
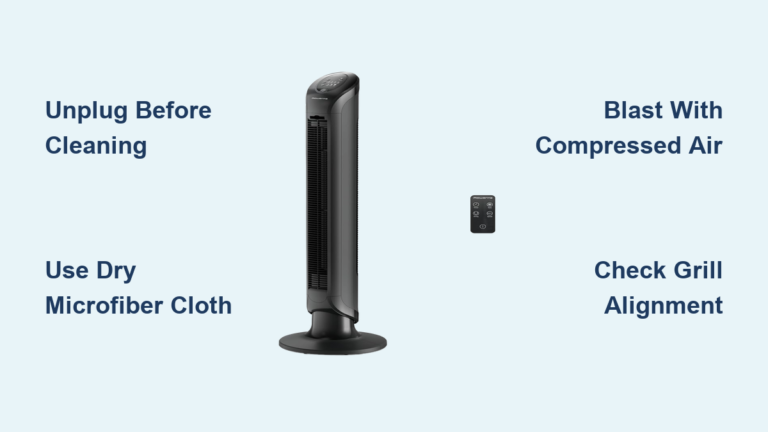
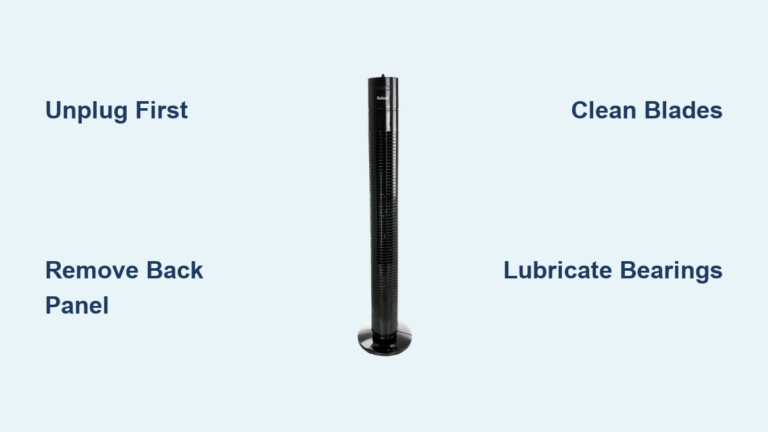
Always start by turning off and unplugging the fan. This is non-negotiable. Even a brief contact with a live electrical component while wiping blades or using a damp cloth can lead to shock. Never clean a fan that’s still plugged in, no exceptions.
Protect the Motor and Wiring
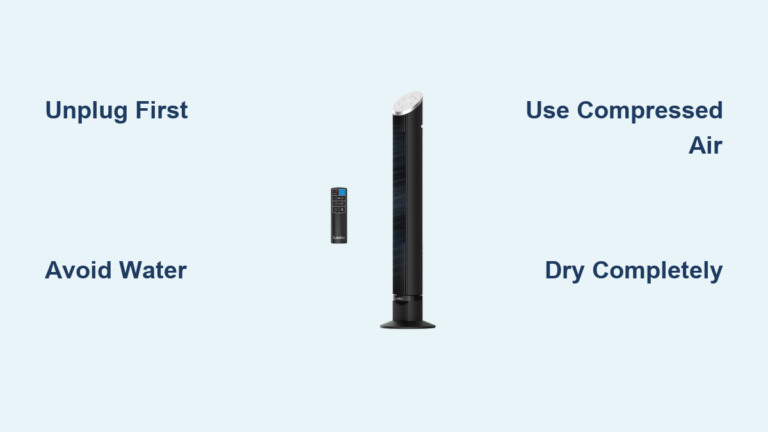
Avoid spraying any liquid near the motor housing, electrical vents, or base controls. Water or cleaner seeping into internal components can cause permanent damage or create a fire hazard. Use only damp cloths, not wet ones, and never hose down or submerge any part of an assembled fan.
Handle Blades with Care
Fan blades are lightweight but easily bent. If a blade warps during cleaning, it will cause wobbling and loud vibrations when the fan runs. Hold blades gently when wiping, and never force them to stop or rotate quickly. Use a soft touch to avoid misalignment.
Gather the Right Cleaning Tools
Having the correct supplies makes cleaning faster and safer. Here’s what you’ll need.
Required Tools List:
- Microfiber cloths (not paper towels) that trap dust instead of spreading it
- Soft-bristled brush or old toothbrush for scrubbing tight spaces
- Handheld vacuum with brush attachment to remove loose debris before wiping
- Cotton swabs for cleaning blade mounts and corners
- Mild dish soap and water for safe cleaning of plastic parts
- Screwdriver if needed for grills secured with screws
- Compressed air (optional) to blow dust from vents and crevices
- Dry towel for final drying before reassembly
Avoid harsh chemicals, abrasive sponges, or high-pressure water. These can damage plastic finishes or corrode metal parts.
Clean Desk, Stand, and Box Fans

Remove and Clean the Grill
Most portable fans have a front (and sometimes rear) protective grill. Start by removing it. Some use clips. Press the tabs and pull. Others have screws. Use a screwdriver to loosen them. Set screws aside safely.
Once removed, inspect both sides. Dust and hair accumulate heavily here. Use a soft brush to scrub both sides, then wipe with a microfiber cloth dampened with soapy water. For stubborn buildup, soak the grill in warm, soapy water for 10 to 15 minutes, rinse, and air dry completely.
Clean the Fan Blades
With the grill off, the blades are accessible. First, use a handheld vacuum with a brush nozzle to suck up loose dust from the blades and motor housing. This prevents mud when you apply moisture.
Then, dip a microfiber cloth in soapy water, wring it well, and wipe each blade from center to tip. Use a cotton swab for the hub and tight spots where dust collects. If the blades can be removed (check your manual), take them off, wash with water, and let them dry fully before reinstalling.
Wipe Interior and Reassemble
Lightly dampen a cloth to wipe the inside casing and motor housing. Never spray directly. Avoid electrical connections. Use a dry cloth afterward to ensure no moisture remains.
Once all parts are dry, reattach the blades (if removed) and snap or screw the grill back into place. Make sure everything is secure. Plug in the fan and test it. Listen for odd noises. Those could mean a blade is bent or misaligned.
Clean Tower Fans Safely
Do Not Force Disassembly
Most tower fans are sealed units. Never pry open the casing unless your manual says it’s safe. The internal blower wheel is fragile and not designed for user access. Instead, focus on non-invasive cleaning.
Vacuum and Blow Out Vents
Use a handheld vacuum with a narrow nozzle to pull dust from the vertical air intake slots. Move slowly up and down both front and back grills. Then, use compressed air to blow dust out from the inside. Hold the can upright and spray in short bursts.
For best results, alternate. Blow from one side, vacuum from the other. This pushes trapped dust out instead of deeper in.
Wipe Exterior with Damp Cloth
Mix mild dish soap with water. Dampen a microfiber cloth and wipe the entire outer surface. Pay attention to the control panel. Use a cotton swab for crevices. Never let liquid drip into buttons or vents.
Dry thoroughly with a clean towel. Let it sit for 10 minutes before plugging back in.
Outdoor Fan Cleaning Tips

Clean More Often
Outdoor fans face pollen, dirt, and moisture. Clean every 1 to 2 weeks during use. Even weather-resistant models can suffer from clogged vents and corroded parts if neglected.
Focus on Vent Clearance
Use a soft brush or compressed air to clear debris from blades and grills. Wipe the body with soapy water to remove sticky residue from bugs or sap. Rinse lightly if needed, but avoid soaking electrical bases.
Ensure Full Drying
Even if the fan is labeled outdoor-rated, moisture inside the motor can cause rust. After cleaning, leave it in a dry, shaded area to air dry completely before use or storage.
Why Deep Cleaning Matters

Stop Recirculating Dust
A fan that looks clean on the outside can still blow allergens into your space. Dust, pet dander, and oily residue cling to the back of blades and inside grills. When you run the fan, it kicks all that into the air. Disassembling and cleaning inside stops this cycle.
Restore Airflow and Quiet Operation
Dust buildup changes how blades cut through air. This reduces cooling power and makes the fan work harder. A clean fan delivers stronger airflow and runs quieter because balanced blades don’t vibrate.
Extend Fan Lifespan
Dust clogs motor vents and insulates heat. Over time, this causes overheating and premature motor failure. Regular cleaning prevents this, helping your fan last years longer.
How Often Should You Clean

Standard Cleaning Schedule
- Every 2 to 4 weeks for regular indoor use
- Every 1 to 2 weeks if you have pets, smoke, or live in a dusty area
- Before storage. Always clean before packing the fan away for winter
- After storage. Wipe down before first seasonal use
Allergy sufferers should clean every 1 to 2 weeks to minimize airborne irritants.
Signs It’s Time to Clean
- Visible dust on the grill or blades
- Unusual noise or wobbling when running
- Reduced airflow despite full speed
- Musty smell when first turned on
Don’t wait. Clean as soon as you notice any of these.
Avoid Common Cleaning Mistakes
Never Spray Water Directly
Using a spray bottle on a fan, even if unplugged, risks moisture entering the motor. Instead, dampen your cloth, not the fan. This gives you control and prevents leaks.
Do Not Use Paper Towels
Paper towels push dust around and leave lint behind. Microfiber cloths grab and hold particles, giving a truly clean surface.
Skipping the Vacuum Step
Wiping a dusty fan without vacuuming first turns grime into mud. Always vacuum first, then wipe. This makes cleaning faster and more effective.
Reassembling While Damp
Putting a fan back together while parts are wet can lead to electrical shorts or rust. Let all components dry completely, overnight if necessary, before reassembly.
Troubleshoot Post-Cleaning Issues
Fan Vibrates or Makes Noise
This usually means a blade is bent, loose, or wet. Turn off the fan and check the following.
- Is the blade alignment correct
- Are all screws or clips tight
- Are blades fully dry and balanced
If noise continues, one blade may be warped. Replace it or the entire blade assembly.
No Airflow After Cleaning
Check that the grill is installed correctly. Some grills have directional airflow. Installing backward blocks output. Also, ensure the internal blower (in tower fans) isn’t obstructed by leftover debris.
Fan Won’t Turn On
Most likely, moisture got into the motor or base. Unplug immediately and let it dry in a warm, dry place for 24 to 48 hours. If it still doesn’t work, the motor may be damaged. Avoid spraying liquids near electronics.
Frequently Asked Questions About Cleaning Portable Fans
How do I clean a portable fan without taking it apart?
For tower fans and sealed models, use a handheld vacuum with a narrow attachment to pull dust from vents. Wipe the exterior with a damp microfiber cloth and mild soap. Use compressed air to blow dust out from inside toward the vacuum intake.
Can I use water to clean fan blades?
Yes, but only if the blades are fully removed from the unit. Wash them with water and mild dish soap, then dry completely before reinstalling. Never spray water directly on assembled fans.
Why does my fan still smell dusty after cleaning?
The smell comes from dust and debris on the back of the blades or inside the grill. Surface cleaning only addresses exterior parts. You need to remove the grill and wipe the blades thoroughly to eliminate the odor.
How often should I clean my portable fan?
Clean every 2 to 4 weeks for regular indoor use. Clean every 1 to 2 weeks if you have pets, smoke, or live in a dusty area. Outdoor fans need cleaning every 1 to 2 weeks during use.
Can I use paper towels to clean fan blades?
No. Paper towels push dust around and leave lint behind. Use microfiber cloths instead. They trap dust particles within their fibers for a truly clean surface.
What happens if I don’t clean my fan regularly?
Dust builds up on blades and inside the motor, reducing airflow and forcing the motor to work harder. This causes overheating, increases noise, and shortens the fan’s lifespan. Dirty fans also recirculate allergens into your room.
Key Takeaways for Cleaning Your Portable Fan
Cleaning your portable fan properly takes just 15 to 30 minutes but pays off in better air quality, quieter operation, and longer life. The most important step is unplugging the fan before cleaning. Never spray water directly onto any fan component. Always vacuum loose dust first before wiping with damp cloths.
The key is regular, deep cleaning, not just surface wiping. By disassembling desk and stand fans to clean behind the grill, using compressed air and vacuuming for tower fans, and cleaning outdoor units more frequently, you’ll eliminate hidden dust and restore full airflow.
Make fan cleaning part of your monthly routine. Your lungs and ears will thank you.