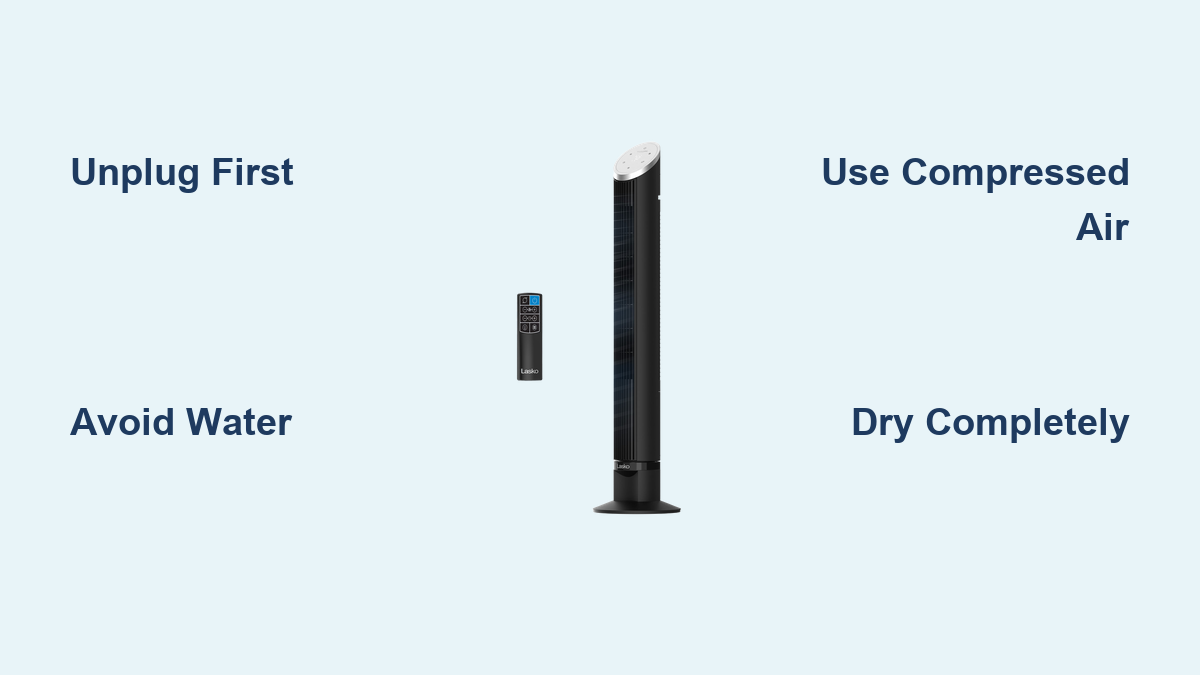
How to Clean Lasko Tower Fan
Is your Lasko tower fan blowing weaker air than before? Does it sound louder or emit a dusty odor when running? You’re not alone. Over time, dust, pet hair, and allergens accumulate inside the blade column and motor housing, reducing airflow, increasing noise, and even posing health risks. Knowing how to clean a Lasko tower fan properly is essential to restore performance, extend its lifespan, and maintain cleaner indoor air.
Most users stick to wiping the outside, but true cleaning goes deeper. While Lasko officially recommends only non-invasive methods like vacuuming, many owners achieve like-new results by disassembling the unit for a full internal clean. This guide covers both safe surface cleaning and advanced deep-cleaning techniques, including what tools to use, what to avoid, and how to reassemble everything correctly.
Safety First: Critical Precautions
Before touching any part of your fan, safety must come first. Electrical appliances even when unplugged can pose risks if mishandled.
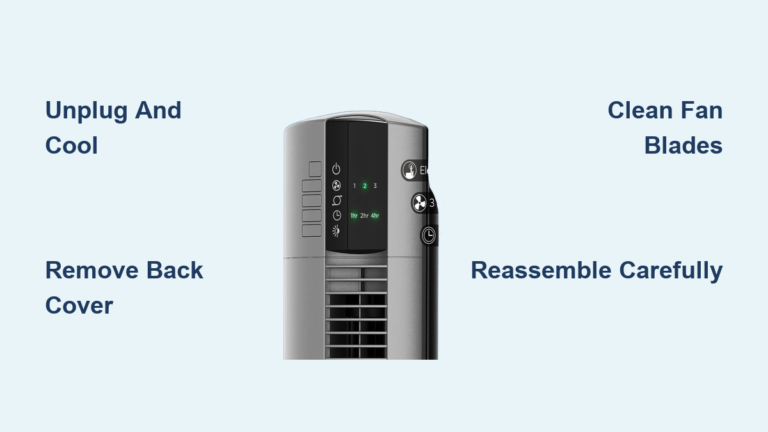
Unplug and Cool Down Always
Unplug the fan from the wall outlet before starting. If it is a heater-fan combo, let it cool completely after use to avoid burns.
Avoid Water and Moisture
Never immerse the fan in water. Do not spray liquids directly onto blades, motors, or heating elements. Water can damage internal electronics or create a fire hazard, especially in models with heating coils.
Protect Your Warranty
Lasko warns that opening the unit may void the warranty. If your fan is new or still under warranty, stick to non-invasive cleaning. Only disassemble if the unit is older or no longer covered.
Tools You Need for the Job
The tools depend on your cleaning depth. Start simple and upgrade only if needed.
Basic Cleaning Tools
A vacuum cleaner with brush attachment is essential for routine maintenance. Microfiber cloths, both dry and slightly damp, work well for wiping surfaces. A soft-bristled brush like a toothbrush or detailing brush helps reach tight spots. Mild dish soap applied via cloth only tackles stubborn grime.
Deep Clean Tools for Disassembly
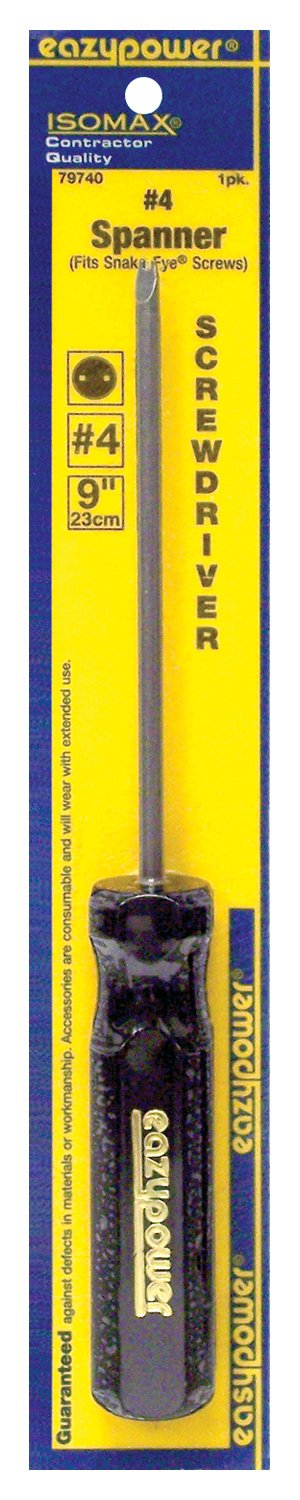
A spanner screwdriver set is critical because Lasko fans use security screws that standard drivers cannot remove. A 5-piece bit set costs approximately $11 and is a one-time investment. A Phillips head screwdriver with a long shaft reaches deep-set top screws. A garden hose rinses plastic parts. Compressed air or an air compressor blows out deep dust. A magnet holds screws securely during disassembly.
Pro Tip: Spanner screws have two small pin holes instead of a full slot. Standard screwdrivers will not work on these.
Surface Cleaning: Weekly Maintenance
This method keeps your fan clean without opening it. It is ideal for preserving warranty and routine care.
Wipe Exterior Surfaces
Use a dry microfiber cloth to remove dust from the casing. For smudges, dampen the cloth slightly with water, then dry immediately. Avoid chemical cleaners that could damage plastic.
Vacuum Intake and Exhaust Vents
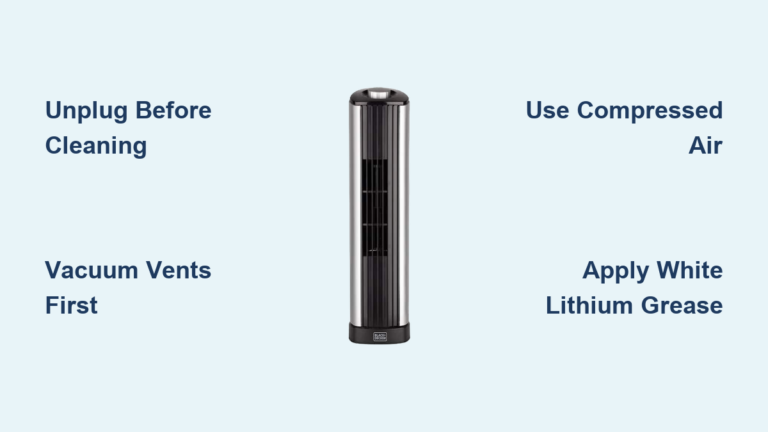
Attach the brush tool to your vacuum hose. Focus on the side and rear intake vents where dust enters, and the front grill where air exits. Move the vacuum slowly to pull out trapped dust. Do this every one to two weeks for best results.
Use Compressed Air for Deep Dust
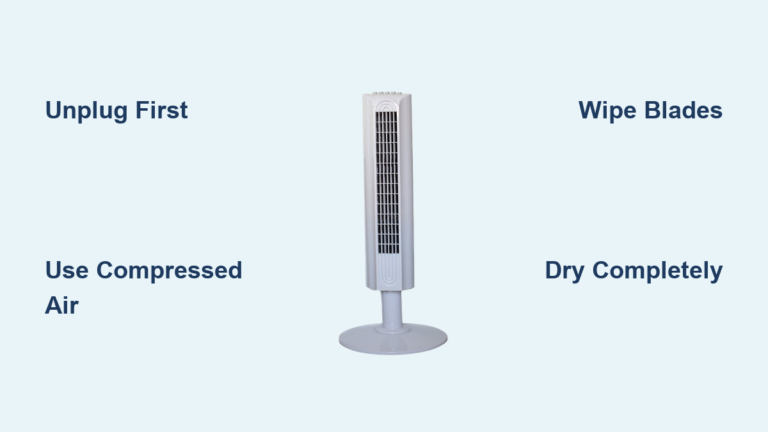
If vacuuming is not enough, use canned air or an air compressor to blow dust out from the front. Pair it with vacuuming the back to capture dislodged particles.
Warning: Never use water or spray cleaners inside the vents.
Deep Cleaning: Disassembling Your Fan

When airflow drops or noise increases, it is time for a deep clean. This method removes built-up dust from the blade column and motor housing.
Remove Base and Housing Screws
Flip the fan over. You will find four screws at the base. These are usually a mix of Phillips and spanner security screws. Remove all with the correct tools.
Open the Housing
After removing screws, gently separate the two plastic shells. Watch for internal clips. They are fragile. Pry slowly with a flat tool if needed, but never force it.
Extract the Blade Column
Locate the blade assembly, which is the vertical column. To remove it, unscrew the two Phillips screws holding the fin bracket. Loosen but do not remove the set screw at the base of the shaft. Gently pull the blade column straight off the motor shaft.
Note: There are no separate bearings. A small grease spot on the shaft is normal. Preserve it.
Clean Internal Components

Now that the fan is open, clean each part carefully.
Wash Blade Column and Housing
Rinse the blade column, fan basket, and plastic housing shells with a garden hose. Use a soft brush to scrub stubborn dust. Do not wash the motor assembly or wiring.
Dry All Parts Completely
Let parts air dry in sunlight or use compressed air. Zero moisture is required before reassembly. Damp parts can cause electrical damage or mold.
Clean Motor and Interior
For the motor housing, wipe with a damp microfiber cloth. Vacuum motor fins and corners. Use a dry cotton swab for tight spaces. For heater models, never use moisture near heating coils. Use only dry brushes and vacuum.
Reassembling Your Lasko Fan

Rebuilding correctly ensures smooth, quiet operation.
Align Shaft and Blade Hub
Before sliding the blade column back on, match the flat side of the motor shaft with the set screw on the hub. Misalignment causes wobbling and noise.
Reattach Bracket and Screws
Slide the column on fully, then tighten the set screw lightly. Reinstall the fin bracket and secure with two Phillips screws.
Test Before Closing
Plug in the fan with housing still open and test whether the blade spins smoothly. Check if oscillation is working. Listen for any unusual noise. If all sounds good, unplug, snap the back panel in, and reattach all screws.
Optional Upgrade: Replace spanner screws with standard Phillips for easier future cleaning.
Model-Specific Cleaning Tips
Different Lasko fans have unique cleaning needs.
Standard Tower Fans
Focus on the bottom of the blade column. Dust collects heavily there. Vacuum intake vents weekly.
Wind Trainer and Rectangle-Port Models
These have tight internal spaces that trap dust. Disassembly is harder due to fragile clips. Stick to non-invasive cleaning unless absolutely necessary.
Heater-Fan Combos
Critical warning: Heating elements must stay dry at all times. Use only dry tools. No damp cloths near coils. Check for lint blocking airflow, which can overheat the unit.
Maintenance Schedule for Optimal Performance
Prevent problems before they start with regular care.
Weekly: Vacuum intake and exhaust vents.
Monthly: Wipe exterior and check for dust buildup.
Every 6 Months: Deep clean if used daily.
Annually: Full disassembly if comfortable and warranty allows.
Pro Tip: Take photos during disassembly to help with reassembly.
Troubleshooting Common Issues
Why Is Airflow Weak
Dust-clogged blades or intake vents cause reduced airflow. Vacuum vents or deep clean the blade column.
Why Is the Fan Noisy
Dust imbalance or misaligned blade hub creates noise. Clean blades and realign the shaft-flat with the set screw.
Why Does It Smell Dusty
Dust burning on motor or heating element causes odors. Deep clean interior using dry method only for heaters.
Why Will Not It Oscillate
Debris in gears or misalignment after reassembly stops oscillation. Check mechanism before closing housing.
Frequently Asked Questions About Cleaning Lasko Tower Fans
Can I use water to clean the inside of my Lasko fan
No. Never spray water or any liquid directly onto blades, motors, or heating elements. Use a damp cloth for wiping only. For deep cleaning, rinse removable plastic parts with a garden hose, but never the motor assembly.
How often should I clean my Lasko tower fan
Vacuum the intake vents weekly. Perform a thorough exterior wipe monthly. Deep clean by disassembling every six months to one year depending on usage.
Will cleaning my Lasko fan void the warranty
Lasko states that opening the unit may void the warranty. If your fan is still under warranty, stick to non-invasive cleaning methods like vacuuming and compressed air.
What tools do I need to open a Lasko tower fan
You will need a spanner screwdriver set because Lasko uses security screws with pin holes. Standard Phillips screwdrivers will not work on these fasteners.
Can I clean a Lasko fan with a heater function
Yes, but with extreme caution. Use only dry methods near heating elements. Never use moisture, damp cloths, or liquids around heating coils. Use dry cotton swabs and vacuum attachments only.
Why does my fan still smell dusty after cleaning
Dust may be burning on the motor or heating element. Deep clean the interior components. For heater models, ensure the heating area is completely dry and free of debris.
Key Takeaways for Maintaining Your Lasko Tower Fan
Cleaning a Lasko tower fan does not have to be complicated. With the right tools and care, you can restore its performance, reduce noise, and breathe cleaner air. Regular vacuuming of intake vents is the most effective way to delay the need for deep cleaning. Always ensure all parts are completely dry before reassembling the unit. Consider investing in a spanner screwdriver set if you plan to disassemble the fan regularly, as these security screws require special tools.
Whether you stick to vacuuming or go all-in with disassembly, regular maintenance is the key to keeping your fan running strong for years.