How to Clean Pelonis Tower Fan
Dust and debris silently sabotage your Pelonis tower fan’s performance, reducing airflow, increasing noise, and shortening its lifespan. If your fan seems weaker than before or makes odd sounds, it is likely overdue for a clean. The good news is that with the right steps, you can restore it to like-new condition. This guide shows you exactly how to clean a Pelonis tower fan safely and effectively, whether you are doing a quick surface wipe or a full deep clean with disassembly.
You will learn how to remove stubborn dust from vents, lubricate key parts, and avoid common mistakes that could damage your unit. We cover everything from weekly maintenance to complex disassembly, including the long-lasting FS10-S6A model.
Unplug Before You Start
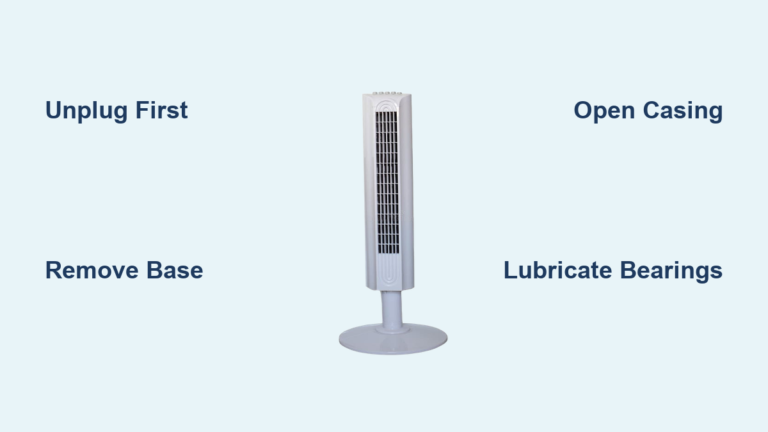
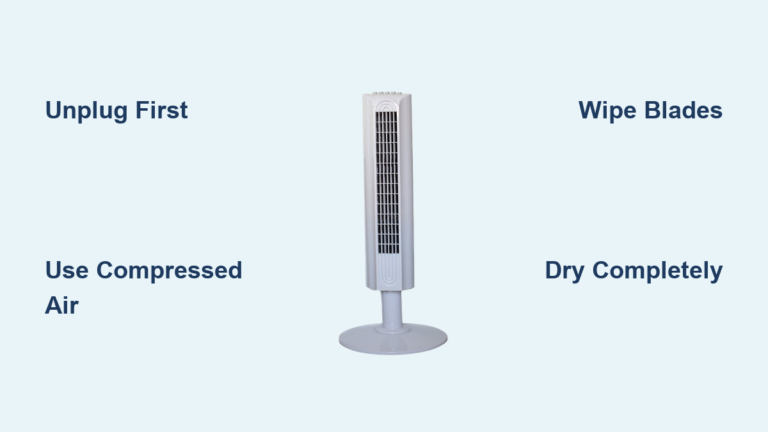
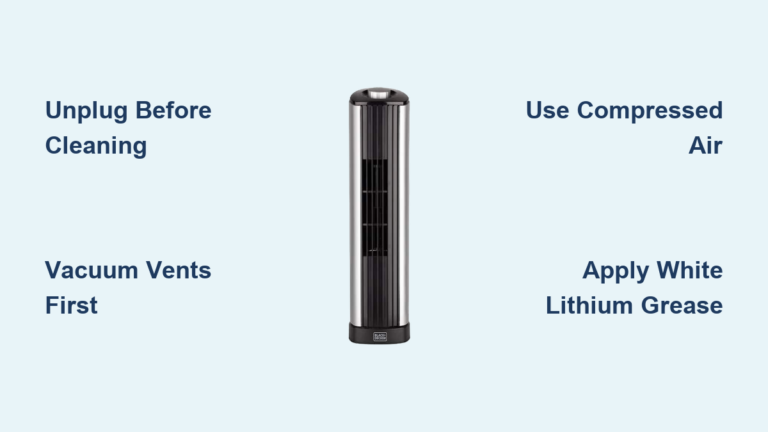
Safety comes first. Always unplug the fan before any cleaning. Even a quick wipe can become dangerous if the unit accidentally powers on. This simple step prevents electrical shock and protects internal components during handling.
Never skip this step, especially when using compressed air or opening panels. A live circuit near metal tools or moisture is a serious hazard. Confirm the power cord is fully disconnected from the outlet before proceeding.
Set Cleaning Frequency by Use
How often you clean depends on your environment and usage:
- Light use (occasional): Clean every two to three months
- Daily use (a few hours): Clean monthly
- All-day use or pets: Clean every two weeks
Signs you need to clean now include reduced airflow, visible dust on vents, unusual noise or vibration, and oscillation stuttering. Dust blocks air paths and forces the motor to work harder. Regular cleaning prevents overheating and keeps energy use low.
Gather Cleaning Tools
Use the right supplies to avoid damage and ensure a thorough job:
- Microfiber cloth for dusting exteriors
- Soft brush or toothbrush for tight grill spaces
- Vacuum with brush attachment to remove surface dust
- Compressed air canister to blast internal dust
- Warm soapy water for removable grills
- Flat-tip screwdriver for prying clips safely
- Fan-specific oil to lubricate motor bearings
- WD-40 for base pivot points
Avoid harsh chemicals or soaking electrical parts. Only wash non-electric components.
Wipe Down Exterior Surfaces
Start with the outside. Use a dry microfiber cloth to wipe the entire fan body. Focus on air intake and exhaust vents, the handle, and oscillation joints, as these trap the most dust.
For stuck particles, use a soft toothbrush to gently scrub between grill slats. Then, pass the vacuum brush attachment over all vents to pull out loose debris. Do this weekly to prevent deep buildup. It takes less than five minutes and keeps airflow strong between deep cleans.
Blow Out Internal Dust
For fans you cannot or should not disassemble, compressed air is your best tool.
Hold Fan Outdoors
Take the fan outside or near an open door. Dust will fly out, and doing this indoors just redistributes it.
Use Short Air Bursts
Insert the nozzle into the bottom intake and top exhaust vents. Press short bursts (one to two seconds) to dislodge dust from blades, motor housing, and ducts. Tilt the fan slightly to let debris fall out. Rotate the unit to cover all vent angles. This method clears seventy to eighty percent of internal dust without opening the case.
Avoid Overuse
Too much pressure can push dust deeper or damage plastic fins. Stick to quick bursts, not continuous spraying.
Remove Back Panel Safely
For deep cleaning, you will need access inside. Most Pelonis models have a removable back panel.
Unscrew and Release Clips
- Remove the two screws near the handle (some models have base screws too).
- Grip the top edges and gently pull to create a gap.
- Insert a flat-tip screwdriver into the gap.
- Slide it down while pressing the panel edge inward. Listen for a pop as each clip releases.
- Repeat on the other side.
Never yank the panel off. Clips are fragile. If resistance is high, check for hidden screws or unreleased clips.
Lift and Slide Off
Once all clips are loose, slide your hand along the side, lift the panel upward, then pull it out. Some models require lifting first before removal.
Disassemble Complex Models

Older or oscillating models like the FS10-S6A need extra steps.
Remove Base and Side Screws
- Unscrew two base screws. This exposes two more on the side. Remove those too.
- Now the front guard can be released.
Release Front Guard Clip
Find the small clip near the top of the front grill. Press it inward and lift the guard off. This exposes internal housing screws.
Remove Internal Housing
Now disassemble the core:
- Remove six screws securing the air duct
- Remove one screw for the base metal plate
- Remove one screw for the stabilizing piece
- Remove two top screws for the bearing housing
Watch for hidden tabs. These units have interlocking plastic parts, and force can break them. Work slowly.
Clean Blades and Duct
With the housing open, dust is visible on blades, duct walls, and motor.
Brush or Blow Dust
Use a soft brush or compressed air to clean:
- Fan blades (both sides)
- Air duct interior
- Motor casing
- Internal frame
Dust here restricts airflow and insulates the motor, causing overheating.
Wash Removable Parts
If grills or covers come off, wash them in warm soapy water. Rinse well and air dry completely before reassembly. Never submerge the motor or wiring.
Inspect and Lubricate Motor
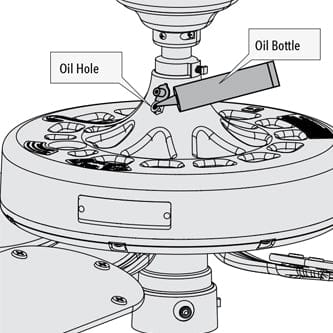
A dry motor causes noise, slow start-up, or failure.
Check Wiring and Connections
Look for frayed wires or loose connections. Secure any wire junctions with wire nuts. Use tie wraps to keep wires clear of blades.
Lubricate Key Points
Apply oil to:
- Motor shaft: two to three drops of fan-specific oil
- Upper bearing: same oil, sparingly
- Base ball bearing: critical for load-bearing models like FS10-S6A
- Base pivot: use WD-40 for smooth oscillation
Over-lubrication attracts dust. Use just enough to coat.
Access Motor Shell If Needed
On some units, the motor shell is held by plastic tabs. Carefully pry it open with a flat tool to reach internal bearings. After oiling, snap it back securely.
Reassemble in Reverse Order
Put everything back carefully.
Reset Motor and Housing
- Place the motor back in position.
- Reattach the air duct with six screws.
- Refasten the metal plate and stabilizer screw.
- Secure the bearing housing with two top screws.
- Reconnect the oscillation arm to the motor shaft.
Ensure the air duct is clear with no tools or debris left inside.
Snap Panel Back On
Align the back panel clips with their slots. Slide or press it into place until you hear each pop. If it will not close, check for misaligned tabs or unseated wires.
Tighten All Screws
Replace and tighten:
- Handle-area screws
- Base screws
- Any side or front screws removed
Tight screws prevent vibration and rattling during use.
Test Fan After Cleaning
Never skip testing.
Perform Initial Spin Test
Plug in the fan and turn it on. If the motor does not start, gently nudge the blades with your finger, then pull your hand away. This breaks static friction from lubricant.
Check All Functions
Verify:
- All speed settings work smoothly
- Oscillation moves evenly side to side
- No vibration or wobbling
- Quiet operation with no grinding or squeaking
If issues persist, recheck blade balance, lubrication, or wiring.
Observe Spin-Down Time
Turn the fan off and watch how long the blades keep spinning. A long spin-down (five plus seconds) means low friction and good lubrication. A quick stop suggests remaining resistance.
Prevent Future Dust Buildup
Keep your fan cleaner longer with these habits.
Wipe Weekly
Spend two minutes weekly with a microfiber cloth. This prevents heavy accumulation.
Use Air Purifier
Reduces airborne dust in the room, so less enters the fan.
Avoid High-Dust Locations
Do not place the fan near carpets, pet beds, or open windows during dusty seasons.
Cover When Stored
Use a dust-proof cover during off-seasons. Store in a dry place.
Fix Common Post-Clean Issues
Fan Will Not Start
Check the power outlet and cord. Ensure all wires are connected and secured. Try nudging blades to start. Re-lubricate if the motor is stiff.
No Oscillation
Verify the oscillation arm is attached to the motor shaft. Lubricate the base pivot point with WD-40. Ensure no wires are blocking movement.
Noise or Vibration
Tighten all screws. Clean blades, as dust imbalance causes wobble. Re-lubricate bearings if squeaking persists.
Why Pelonis Fans Last So Long

The FS10-S6A model, known to last fifteen plus years, shows why maintenance pays off. Its durability comes from robust plastic frame construction, a base ball bearing that handles most motor load, and a fully enclosed motor protected from dust. With regular cleaning and lubrication, these fans outlive cheaper models by a decade.
Maintenance Schedule Summary
| Part | Clean With | Lubricate | Frequency |
|---|---|---|---|
| Exterior and vents | Cloth, vacuum | No | Weekly or monthly |
| Internal blades | Compressed air | No | Every two to three months |
| Motor bearings | Air (external) | Fan oil | Annually or if noisy |
| Base pivot | Wipe clean | WD-40 | Annually |
| Removable grills | Soapy water | No | As needed |
Sticking to this schedule ensures strong airflow, quiet operation, and long life.
Key Takeaways for Cleaning Your Pelonis Tower Fan
Regular cleaning is not just about dust removal. It is about maintaining performance, ensuring safety, and extending your fan’s lifespan. The most critical steps are unplugging before cleaning, establishing a regular cleaning schedule based on your usage, and properly lubricating the motor bearings annually. Whether you perform quick weekly wipes or complete annual disassembly, these routines prevent reduced airflow, unusual noises, and premature motor failure. By investing a few minutes each month in maintenance, you can keep your Pelonis tower fan running efficiently for fifteen years or longer. Your fan and your lungs will thank you for the effort.
Frequently Asked Questions About Cleaning Pelonis Tower Fans
How often should I clean my Pelonis tower fan?
Cleaning frequency depends on usage. Light use warrants cleaning every two to three months, daily use requires monthly cleaning, and heavy use or homes with pets need cleaning every two weeks.
Can I use water to clean the inside of my Pelonis tower fan?
No. Never submerge the motor or electrical components in water. Only wash removable non-electric parts like grills in warm soapy water, and allow them to dry completely before reassembly.
Why is my Pelonis fan still noisy after cleaning?
Noise after cleaning usually means insufficient lubrication or loose screws. Apply fan-specific oil to the motor bearings and base pivot point. Tighten all screws securely to eliminate vibration.
Do I need to lubricate the motor every time I clean it?
No. Motor lubrication should be done annually or when the fan becomes noisy. Over-lubrication attracts dust and can cause buildup. Use only fan-specific oil, and apply sparingly.
Can I use a hairdryer to dry internal components after washing?
No. Do not use heat to dry internal components. Allow all washed parts to air dry completely in a well-ventilated area before reassembly. Heat can damage plastic parts and wiring.
How do I know if my Pelonis fan needs deep cleaning versus surface cleaning?
Signs you need deep cleaning include significantly reduced airflow, visible dust accumulation inside vents, unusual grinding or squeaking sounds, and stuttering oscillation. Surface cleaning is sufficient when the fan still performs well but shows light dust on exterior surfaces.