How to Assemble Dreo Tower Fan
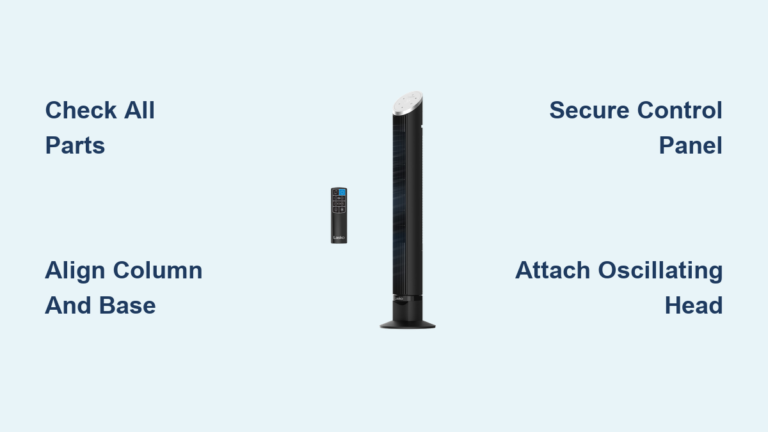
Setting up your new Dreo tower fan should be quick, simple, and tool-free, just like the brand promises. Designed for fast, intuitive assembly in under two minutes, the Dreo tower fan uses a smart pin-and-slot system that clicks securely into place without screws or extra tools. Whether you are setting it up in a bedroom, office, or living room, proper assembly ensures stability, safety, and optimal performance. In this guide, you will learn exactly how to assemble your Dreo tower fan step by step, avoid common mistakes, and get it running smoothly with correct cord management and final checks.
No more fumbling with confusing instructions. This clear, actionable walkthrough covers everything from base connection to power testing, with tips tailored to popular models like the Cruiser Pro T3, Nomad One, and Pilot Max S.
Build the Base Securely

Before attaching the fan tower, you must first assemble the two-piece base. This foundation provides balance and houses the cord routing system. Taking an extra moment to properly construct the base prevents wobbling and ensures your fan operates safely for years to come.
Align Base Pieces Correctly
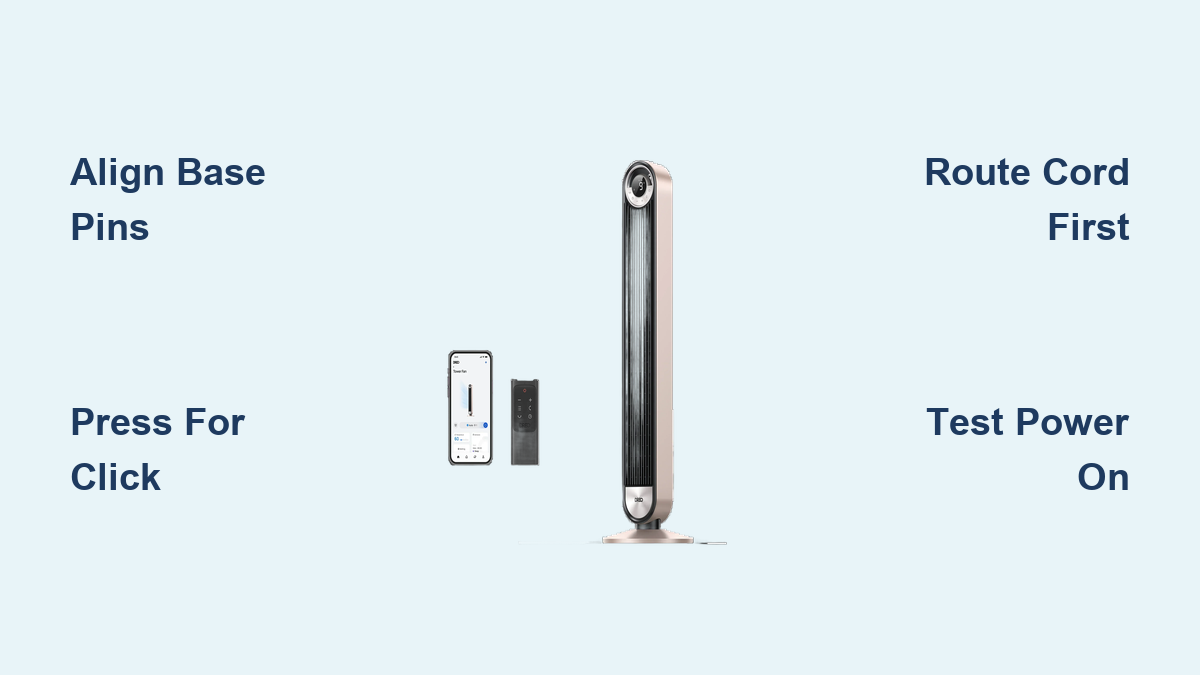
Locate the two base components. One piece has protruding alignment pins underneath, and the other has matching holes. Turn both pieces so the smooth, flat sides face up. Carefully line up the holes of the top base with the pins on the bottom. Misalignment is a common error, so ensure the pins slide straight into the holes without forcing them.
Press Until You Hear a Click
Once aligned, press down firmly on the top base piece. You will feel resistance, followed by a distinct click. This confirms the pins have fully engaged. Do not wiggle or twist during this step. If no click occurs, lift the pieces and re-align. A secure base prevents wobbling and enhances safety during operation.
Attach Fan Tower to Base
With the base assembled, it is time to mount the main tower unit. This step locks the fan into place and activates any safety mechanisms that prevent operation if improperly connected. The click you hear is not just satisfying, it is a critical safety feature.
Route Power Cord First
Before lowering the fan onto the base, feed the power cord through the entry slot on one side of the base. This prevents having to re-route it later and keeps the cord hidden. Pull it through the internal channel until it exits the opposite side.
Align Legs and Lock Firmly
Hold the fan upright and locate the two connector legs at its bottom. Line these up precisely with the slots in the base. Then, press straight down with steady pressure. When fully seated, you will hear another click. Some models may require a slight twist after initial snap-in to engage a secondary lock. Follow your model is cues.
Pro Tip: If the fan will not click into place, double-check that the cord is not caught between the tower and base. A pinched cord can block full engagement.
Manage Cord for Safety and Stability
A neatly routed power cord is not just about looks. It prevents tripping hazards and helps keep the fan from tipping over during use. Proper cord management also keeps your space tidy and prevents accidental damage to the cable.
Use Internal Base Channels
The base includes built-in cord guides on both sides. Insert the cord into the input hole, then gently guide it through the internal pathway. Avoid sharp bends or kinks. Pull the excess cord out from the exit hole on the opposite side.
Keep Cord Clear of Floor Traffic
Position the fan so the cord runs along a wall or under furniture, away from walkways. Never place heavy objects on the cord or run it under rugs. A damaged cord can create electrical hazards and void warranties.
Verify Assembly and Test Operation
After physical assembly, perform a quick verification to ensure everything is secure and functional before regular use. This final check catches any issues before they become problems during daily operation.
Check for Stability
Place the fan on a flat, level surface. Gently nudge it from different sides to test for wobbling. If unstable, disassemble and inspect the base and tower connection. Ensure all rubber feet are intact and seated properly.
Power On and Test Functions
Plug the fan into a working outlet. Press the power button on the control panel or remote. Confirm that the display lights up if applicable, the fan spins at the selected speed, oscillation engages when toggled, and the remote control responds correctly. If the fan does not turn on, revisit the base connection. Some models have a safety interlock that disables power unless the click is fully achieved.
Model-Specific Setup Tips

While all Dreo tower fans share the same core assembly method, key differences exist across models that affect setup and usage. Understanding your specific model helps you get the most from your fan.
Cruiser Pro T3 (Model 508)
Ideal for bedrooms, this model operates as low as 28dB in Sleep Mode. During assembly, ensure the base clicks firmly. Its lightweight design depends on a solid lock for vibration-free silent operation.
Best Use: Bedside cooling. Pair with Sleep Mode for quiet, dimmed-night airflow.
Nomad One (Model 307)
Features a hidden handle for portability. After assembly, always lift by the base, not the handle, when moving. Recheck the tower-to-base lock after transport to maintain safety.
Pro Tip: Use the slim profile to slide between furniture. Never block airflow from intake or output grilles.
Pilot Max S (Smart Model)
Offers app control via Wi-Fi and 12-speed granularity. After mechanical assembly, download the Dreo app to unlock advanced features like pre-cooling, voice control with Alexa or Google, and custom oscillation from 30 to 120 degrees.
Setup Sequence:
• Assemble physically
• Power on
• Connect to 2.4GHz Wi-Fi
• Set schedules via app
High-Velocity 519 Model
Delivers airflow up to 28 ft/s, ideal for large rooms. Due to higher motor power, verify the final click during tower attachment is unmistakable. Any looseness can lead to increased vibration.
Safety Note: Place at least 20 inches from walls to maximize airflow reach and minimize noise bounce.
Avoid Common Assembly Mistakes
Even with a simple process, users often make small errors that affect performance or safety. Avoiding these pitfalls ensures your fan works exactly as intended.
Forcing Misaligned Parts
Never use excessive force to make pieces fit. If the base or tower does not click easily, realign first. Forcing can crack plastic joints and compromise structural integrity.
Skipping Cord Routing
Inserting the cord after attaching the tower leads to tension and instability. Always route it before locking the fan into the base.
Ignoring the Click Confirmation
The audible click is a critical safety signal. Operating the fan without it may trigger electrical cutoffs or cause detachment during use.
Confusing Tower with Pedestal Assembly
Critical Warning: Do not use instructions meant for Dreo pedestal fans like the Polyan 512. Those require Allen keys and bolts. Tower fans are 100% tool-free. If you see screws, you are reading the wrong guide.
Optimize Performance After Setup

Once assembled, use these settings to get the most from your Dreo tower fan. Proper configuration transforms basic cooling into customized comfort for any situation.
Choose the Right Operating Mode
Dreo fans offer four core modes. Normal Mode provides constant breeze for work or daytime use. Natural Mode varies speeds to mimic outdoor wind. Sleep Mode auto-dims the display and gradually slows for bedtime. Auto Mode uses sensor-driven adjustments on smart models only.
Set Oscillation Angle
On advanced models like Pilot Max S and Pro Max, select oscillation range based on your needs. Use 30 to 60 degrees to focus airflow on a person or desk. Choose 90 degrees for general room circulation. Select 120 degrees to cool large, open spaces.
Use Timer for Energy Savings
Set the timer from 1 to 12 hours to shut off automatically. This is perfect for falling asleep or leaving the house without wasting energy.
Maintain Long-Term Reliability
Proper care after assembly extends your fan is lifespan and keeps airflow strong. Regular maintenance takes just a few minutes but prevents bigger problems down the road.
Clean Filter Monthly
Most Dreo tower fans include washable filters. Remove, rinse under water, and let dry completely before reinserting. Clogged filters reduce efficiency and increase noise.
Wipe Exterior Regularly
Dust buildup affects appearance and heat dissipation. Use a soft, damp cloth to clean the tower and base. Avoid harsh chemicals.
Inspect for Wear
Every few months, check the base connection for looseness, the power cord for fraying, and the intake grille for debris. If the fan wobbles or makes unusual noise, disassemble and reattach with attention to the click.
Final Thoughts on Assembling Your Dreo Tower Fan
Assembling your Dreo tower fan is designed to be effortless. Just align, click, and go. By following these precise steps, you ensure a safe, stable, and fully functional setup in under two minutes. Whether you own the quiet Cruiser Pro T3 or the smart-enabled Pilot Max S, correct assembly unlocks peak performance, whisper-quiet operation, and years of reliable use. Remember, no tools, no screws, just one solid click.
Take a moment to verify stability and test all functions before regular use. Download the Dreo app for smart models to access full features, and set up your preferred mode and oscillation angle for maximum comfort. With proper assembly complete, your Dreo tower fan is ready to deliver refreshing airflow wherever you need it.
Frequently Asked Questions About Assembling Dreo Tower Fans
Do I need tools to assemble a Dreo tower fan?
No. All Dreo tower fans are 100% tool-free. The assembly uses a pin-and-slot system that clicks together by hand. This distinguishes tower fans from Dreo pedestal fans, which require an Allen key and screwdriver.
How long does assembly take?
The entire process takes under two minutes for most users. Base assembly takes about 30 seconds, tower attachment another 30 seconds, and cord management adds minimal time.
What does the click mean during assembly?
The click is an auditory and tactile confirmation that parts are fully engaged and locked in place. It indicates structural integrity and, in some models, activates safety mechanisms that allow the fan to power on. Never operate the fan without hearing the click.
Can I assemble any Dreo tower fan the same way?
Yes. The core assembly method is identical across all Dreo tower fan models, including the Cruiser Pro T3, Nomad One, Pilot Max S, and 519. However, smart models like the Pilot Max S require additional app setup after physical assembly.
Why will not my Dreo fan turn on after assembly?
If the fan will not power on, the base connection is likely not fully secured. Some models have a safety interlock that prevents operation unless the tower is properly clicked into the base. Disassemble and reattach, ensuring you hear the distinct click.