How to Take Apart Aloha Breeze Tower Fan
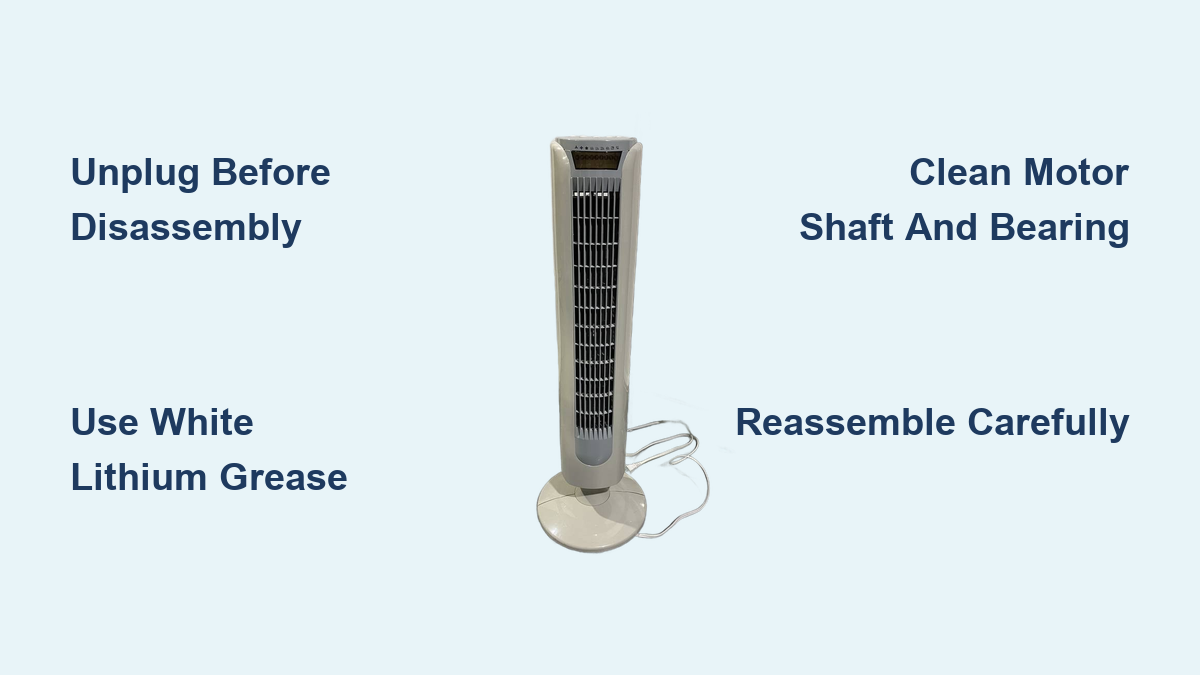
If your Aloha Breeze tower fan is squeaking, jerking on startup, or losing power, the fix might be simpler than you think. Most issues stem from dried-out motor bearings and dust buildup—problems that a thorough disassembly, cleaning, and lubrication can resolve. This guide walks you through how to take apart an Aloha Breeze tower fan, specifically the popular 27″ Model 07586, so you can restore quiet, smooth operation. Whether you’re troubleshooting noise or just performing routine maintenance, this step-by-step breakdown ensures you do it safely and correctly.
Using white lithium grease instead of WD-40 can extend your fan’s life by 12 to 18 months per service. With just a few common tools and 20 minutes, you’ll have your fan running like new.
Prepare for Disassembly

Before taking anything apart, safety and preparation are critical.
Unplug and Clear Workspace
Always unplug the fan before starting. Even a small electrical fault during disassembly can be dangerous. Place the fan on a soft, clean surface like a towel or carpet to avoid scratching the casing.
Gather Your Tools
Use only the right tools to avoid cracking plastic or stripping screws. You will need:
- Phillips screwdriver (medium size)
- Small flat-head tool or plastic spudger
- Light hammer or mallet (for cap removal)
- Compressed air canister
- Microfiber cloth, Q-tips, paper towels
- White lithium grease (essential, do not use WD-40 as a lubricant)
Warning: Never use WD-40 on motor bearings. It evaporates quickly and leaves a dust-attracting residue that worsens friction over time.
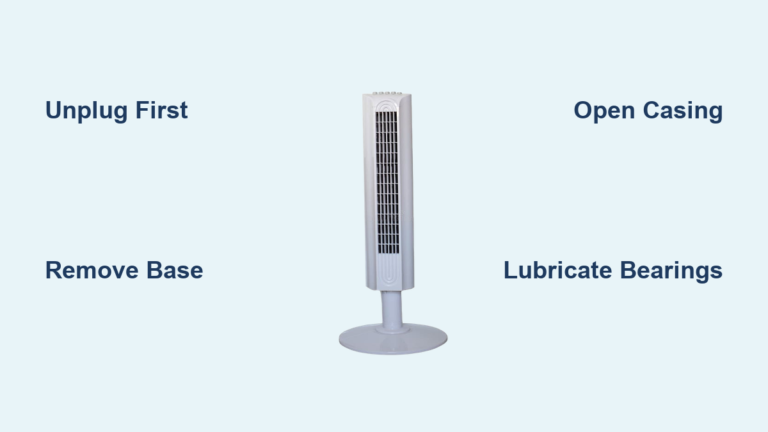
Remove the Base

The base hides the first set of screws and secures the power cord.
Flip Fan Upside Down
Lay the fan on its back carefully. This gives access to the base screws and protects the front grill.
Pop Off the Plastic Cap
One screw is covered by a small plastic cap. Gently tap it with a hammer and flat tool to loosen it. Do not force it. This cap is reusable and helps maintain a clean finish.
Unscrew and Lift Off Base
Remove both base screws (one under the cap). Keep any washers. Some models include them. Then, unclip the cable tie securing the power cord to the base frame. Lift the base straight off.
Visual cue: Once removed, you’ll see the internal frame and two screws securing the main housing.
Open the Main Housing
Now you can access the internal components.
Remove Frame Screws
With the base off, locate two screws on the exposed frame. These hold the vertical housing together. Remove them and set aside.
Separate the Housing
Gently pull the front and back housing panels apart. If they do not come free, check for hidden clips, especially near the top.
Release Top Panel Clips
The top cap often uses plastic tabs instead of screws. Insert a plastic spudger into the seam and gently pry around the edges. Work slowly to avoid snapping the clips.
Pro tip: If you hear a snap, stop. Locate the next clip before applying more pressure. Broken clips make reassembly unstable.
Once all tabs release, lift off the housing. The motor, fan blades, and internal cage are now fully exposed.
Access the Motor and Blades

This is where the noise usually originates.
Remove Motor Housing Screws
The motor is enclosed in a plastic housing secured by six screws (three on each side). Remove them all, noting which screw had a washer if any. Keep screws organized.
Detach Top Bracket
Two screws hold the top bracket of the internal cage. Remove them to free the upper support and gain full access to the motor shaft.
Disconnect the Fan Blade
Locate the retaining screw that fastens the cylinder blade to the motor shaft. Unscrew it and slide the blade assembly off the shaft. Set it aside for cleaning.
Free the Motor
A single screw on top secures the motor to the frame. Remove it, then carefully lift the motor out. You now have full access to the shaft and bearing.
Clean and Lubricate Critical Parts
This is the core of the repair. Cleaning removes old gunk, and lubrication prevents future noise.
Blow Out Dust
Use compressed air to clean:
- Fan blades
- Motor housing vents
- Internal crevices
- Around the shaft and bearing
Avoid high pressure directly on the motor windings. You could damage delicate wires.
Wipe Down Components
Use a dry microfiber cloth for surfaces. For stubborn grime, lightly dampen the cloth but never spray water or cleaner near electrical parts.
Clean the Motor Shaft and Bearing
If the fan was treated with WD-40 before, wipe the shaft and bearing hole completely dry. Old residue mixes with new grease and creates grinding paste.
Use a clean cloth or Q-tip to remove all gunk. Repeat until no black residue appears.
Apply White Lithium Grease
This is the only lubricant that lasts.
Target Key Friction Points
Apply grease to:
- Motor shaft (the metal rod)
- Bearing hole (where the shaft spins)
- Blade mounting point
- Side wheel (for oscillation)
- Top of shaft and cage mount
Use a Q-Tip for Precision
Dip a Q-tip into white lithium grease and apply a moderate amount inside the bearing hole. Do not flood it. Grease does not compress, and too much can leak.
Work the Lubricant In
Reinsert the shaft and gently push and rotate it by hand. This distributes grease deep into the bearing.
Apply a thin layer to the top of the shaft and blade connection.
Why white lithium: It resists heat, does not dry out, and will not attract dust like WD-40. It is designed for metal-on-metal use and lasts over a year.
Wipe Excess
Use a rag to clean up any drips. Grease should stay tacky, not runny.
Avoid getting grease on wiring, plastic housing, or blade surfaces.
Reassemble the Fan
Now reverse the process with care.
Reinstall the Motor
Slide the motor back into place. Secure it with the top screw. Ensure it sits flush.
Reattach the Fan Blade
Slide the cylinder blade back onto the shaft. Tighten the retaining screw firmly, but do not over-tighten.
Replace Motor Housing
Reattach the housing using the six screws. Replace washers in their original positions. Tighten until snug. Over-tightening can warp plastic and misalign parts.
Secure Top Bracket
Reinstall the two screws holding the top cage bracket.
Close the Housing
Align and Snap Panels
Slide the front and back housing together. Press along the seams until all plastic clips click into place.
Reattach Base
Line up the base and insert the two screws. Replace the plastic cap over the covered screw.
Reconnect Power Cord
Thread the power cable through the cord guard and clip it back into the base tie.
Test the Fan
Now plug it in and verify the repair.
Check for Smooth Operation
Turn on the fan and observe:
- Startup: Should be smooth, no jerking or hesitation
- Noise: Silent or near-silent at all speeds
- Speed: Reaches full RPM without stuttering
- Oscillation: Head turns evenly, no binding
If noise persists: Reopen and check the bearing. If the shaft is pitted or the motor hums abnormally, the bearings may be worn out. Lubrication will not fix mechanical damage.
Troubleshoot Common Issues
Fan Still Squeaks
- Cause: Old WD-40 residue blocking grease adhesion
- Fix: Disassemble again, clean shaft with isopropyl alcohol, reapply white lithium grease
Grinding Noise After Lubrication
- Cause: Worn motor bearings or bent shaft
- Fix: Motor likely needs replacement. At this point, assess whether a new fan is more cost-effective.
Vibration or Wobble
- Cause: Bent blades or misaligned cylinder
- Fix: Inspect blades for warping. Ensure the blade assembly is straight on the shaft.
Prevent Future Problems
Keep your fan running smoothly with simple habits.
Clean Every 6 Months
- Use compressed air on vents
- Wipe exterior with a dry cloth
- No need to disassemble unless you hear noise
Full Service Every 12 to 18 Months
- Complete disassembly
- Clean blades and motor
- Re-lubricate with white lithium grease
Repair time: Approximately 20 minutes once you know the steps.
Why This Fix Works
The Aloha Breeze 27 inch tower fan (Model 07586) uses a synchronous motor (E347927) designed for quiet, low-speed operation. But over time, factory lubricant dries out, causing metal-on-metal contact. Most users try WD-40. It silences noise briefly, but the solvent evaporates and leaves a sticky film that attracts dust. White lithium grease solves this permanently by providing durable, heat-resistant lubrication.
Final Tips
- Label screws if you are unsure. Tape them to a paper with notes.
- Take photos during disassembly to guide reassembly.
- Never force parts. If something does not move, check for hidden screws or clips.
- Buy quality grease. A six-dollar tube lasts for years and multiple repairs.
By learning how to take apart an Aloha Breeze tower fan, you have not only fixed a noisy appliance. You have gained a skill that saves money and reduces waste. With proper care, your fan can run smoothly for years.
Frequently Asked Questions About Taking Apart Aloha Breeze Tower Fans
What tools do I need to take apart my Aloha Breeze tower fan?
You will need a Phillips screwdriver (medium size), a small flat-head tool or plastic spudger, a light hammer or mallet, compressed air, microfiber cloths, Q-tips, and white lithium grease. A plastic spudger is essential for releasing clips without cracking the housing.
How often should I lubricate my Aloha Breeze tower fan?
Perform full disassembly and lubrication every 12 to 18 months with regular use. For routine maintenance, clean the exterior and vents every 6 months without fully disassembling the unit.
Can I use WD-40 to fix a squeaky Aloha Breeze fan?
No. WD-40 is a solvent that evaporates quickly and leaves a gummy residue that attracts dust. It provides only temporary noise reduction. Always use white lithium grease for long-lasting results on motor bearings and friction points.
How long does it take to take apart and reassemble the fan?
Once you are familiar with the process, complete disassembly, cleaning, lubrication, and reassembly takes approximately 20 minutes. The first time may take longer as you familiarize yourself with the steps.
What should I do if the fan still makes noise after lubrication?
If noise persists after proper lubrication, the motor bearings may be worn out or the shaft may be pitted. Physical wear cannot be fixed with lubrication alone. You may need to replace the motor or consider purchasing a new fan.
Key Takeaways for Maintaining Your Aloha Breeze Tower Fan
Taking apart an Aloha Breeze tower fan is a straightforward DIY repair that can extend the life of your appliance by 12 to 18 months. The process requires only basic tools, and the key to success lies in using white lithium grease rather than WD-40 for lubrication. Always clean the motor shaft and bearing thoroughly before applying new grease to ensure proper adhesion. Regular maintenance every 12 to 18 months will keep your fan running quietly and efficiently for years to come.