How to Oil a Table Fan
Is your table fan making a squeaking, grinding, or rattling noise? Does it struggle to spin freely or run slower than it used to? These are classic signs that the motor’s sleeve bearings have dried out and need lubrication. Oiling a table fan is a simple, low-cost maintenance task that can restore smooth operation, reduce noise, and extend the life of your appliance by years. Most fans with sleeve bearings benefit from lubrication every 6 to 12 months, especially if used daily or in dusty environments.
This guide walks you through how to safely and effectively oil your table fan using common tools and household-compatible lubricants. You’ll learn to identify if your fan needs oil, choose the right lubricant, clean the motor properly, and reassemble everything for quiet, efficient performance.
Determine If Your Fan Needs Oiling

Before disassembling your fan, confirm it actually requires lubrication and that it’s serviceable.
Listen for Warning Noises
Unusual sounds are often the first clue. If your fan emits a squeaking, grinding, whirring, or rattling noise during operation, the bearings are likely dry. A healthy fan should run quietly with only a soft whoosh of air. Persistent noise after cleaning the blades and grills usually points to internal motor friction.
Test for Resistance and Performance
Turn off and unplug the fan. Spin the blades by hand. If they don’t rotate smoothly, feel gritty, or stop abruptly, the bearings need attention. Other signs include the fan stalling at low speeds, running slower than normal, the motor housing getting excessively hot, or the blades wobbling or vibrating.
Check for Serviceable Design
Not all fans can be oiled. Look for an oil hole or cap on the motor housing near the shaft, removable motor covers held by screws, or a user manual that mentions lubrication. If your fan has a fully sealed motor with no access points, it likely uses maintenance-free ball bearings. Forcing oil into such units can damage them.
Gather the Right Tools and Oil
Using the correct materials ensures safety and long-term performance.
Choose the Best Lubricant
Use light, non-detergent machine oil designed for small electric motors. Recommended options include 3-in-1 Electric Motor Oil, sewing machine oil, non-detergent 10-weight motor oil, or turbine oil. These oils wick properly into sleeve bearings and provide lasting lubrication.
Avoid vegetable or cooking oils because they gum up and attract dust. Avoid WD-40 standard formula since it evaporates quickly. Avoid heavy grease since it’s too thick for high-speed sleeve bearings. Avoid detergent motor oils since they inhibit oil wicking.
Essential Tools and Supplies
You will need Phillips and flat-head screwdrivers for removing grills and housing, a small dropper or syringe for precise oil application, cotton swabs and lint-free cloths to clean old oil and debris, compressed air to blow dust from bearings, and a soft brush or leather tool to pull out hair and fibers. Work in a clean, well-lit area with good ventilation.
Unplug and Prepare the Fan
Safety comes first. Never work on a powered fan.
Disconnect Power Completely
Always unplug the fan before starting. Even a small shock from a capacitor can be dangerous. Never attempt to oil a fan while it is running or plugged in.
Set Up a Clean Workspace
Lay out a towel or mat on a sturdy table. Place a small container nearby to hold screws and small parts. Use a magnetic tray if available to prevent losing screws during disassembly.
Wipe Down the Exterior
Clean the outside of the fan with a damp cloth before disassembly. This prevents loose dust from falling into the motor during the oiling process.
Remove Grills and Fan Blade
Access begins with careful disassembly.
Take Off the Front Grill
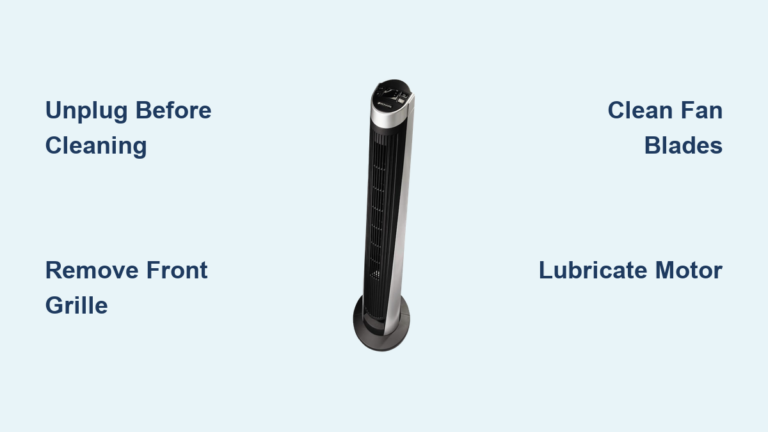
Most table fans have a front cage held by clips or a retaining ring. Look for a small tab, often at the 3 o’clock position, and gently pry it with a flat-head screwdriver. For screw-held models, remove the screws and lift off the grill.
Detach the Fan Blade
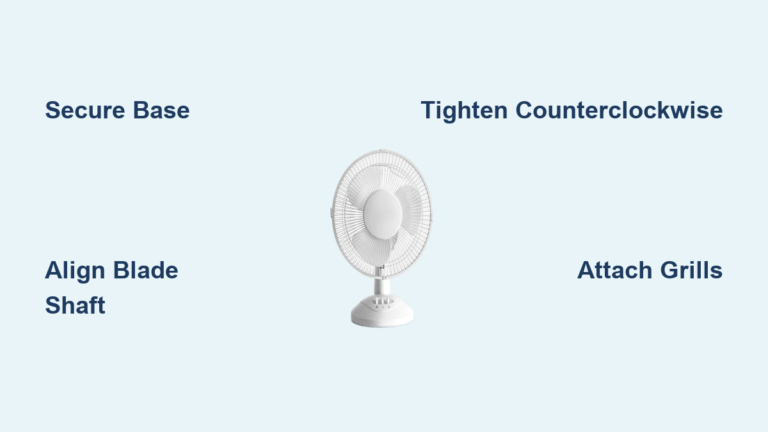
The blade is secured by a central nut or screw. Many fan blade nuts have reverse threads, meaning you turn clockwise to loosen. If it resists, try the opposite direction. Once loose, pull the blade straight off the shaft.
Remove the Rear Grill
Unscrew or unclip the back cage. Some models use a large plastic knob that turns counter-clockwise. Set aside safely to avoid damage.
Access the Motor Bearings

Expose the shaft and bearings for cleaning and oiling.
Open the Motor Housing
Locate screws on the motor casing, often one near the switch or on the back. Remove them, then gently pry apart the front and back housing using a flat-head screwdriver. Be careful not to crack plastic tabs.
For oscillating fans, you may need to remove the oscillator pin and gear system. Use a screwdriver to pry off the retaining ring and set aside the pin and gears.
Locate the Bearings
Once open, you will see the motor shaft entering the housing at both ends. These are the front and rear sleeve bearings, your oiling points. If your fan has oil ports, they will be small holes near the shaft.
Clean the Motor and Shaft
Cleaning is critical. Oiling a dirty motor creates abrasive sludge that accelerates wear.
Remove Hair and Debris
Use tweezers, a leather tool, or a small pick to pull out hair, dust bunnies, and fibers. One fan owner reported a spiderweb nest blocking the shaft, which is common in homes with pets.
Wipe Old Oil and Grime
Dampen a cotton swab with isopropyl alcohol or use a dry lint-free cloth to clean the shaft and bearing areas. Remove all dried oil and dust completely.
Blast With Compressed Air
Use a can of compressed air to blow out fine dust from inside the bearings. Do this near a window or outdoors to avoid spreading dust. A blow dryer on cool setting can help if no air can is available.
Spin the Shaft by Hand
After cleaning, rotate the shaft. It should turn smoothly with no grinding. If resistance remains, clean again before applying oil.
Apply the Right Amount of Oil

Less is more. Over-oiling causes leaks and attracts dust.
Position the Fan Correctly
Tilt the fan so the shaft is vertical, with the oil point facing up. Gravity helps the oil wick into the bearing properly.
Drip 1 to 3 Drops Per Bearing
Use a dropper or the oil bottle’s spout to apply 1 to 3 drops of oil where the shaft enters the housing, both front and rear. If using oil ports, drip oil directly into the hole. Never flood the motor because excess oil can drip onto wiring, the capacitor, or cause electrical shorts.
Work the Oil In
Immediately spin the shaft by hand 20 to 30 times. This spreads the oil through the sleeve bearing via capillary action. Continue until rotation feels smooth and silent.
For Worn Bearings
If the fan still wobbles or grinds, the bearing may be worn. Try a slightly thicker oil or repeat the process after 10 minutes to let the first dose soak in.
Reassemble the Fan Carefully

Put everything back in reverse order.
Reattach Motor Housing
Snap or screw the motor casing halves back together. Ensure no wires are pinched. Tighten screws firmly but do not strip them.
Reinstall Oscillator Parts
If removed, reinsert the oscillator pin and gear. Replace the retaining ring and test that oscillation moves smoothly.
Replace the Rear Grill and Blade
Slide the rear cage back on and secure it with the knob or screws. Place the blade onto the shaft and tighten the central nut. Remember that if you turned clockwise to loosen, turn counter-clockwise to tighten due to the reverse thread.
Secure the Front Grill
Snap the front cage into place. Re-engage the locking tab or replace the retaining ring.
Test the Fan Before Use
Verify your work is successful.
Spin the Blades Manually
With the fan unplugged, give the blades a spin. They should rotate freely and coast for several seconds without noise.
Power On and Monitor
Plug in the fan. Start at the lowest speed. Listen for squeaking or grinding indicating incomplete lubrication, rattling indicating loose screws or unbalanced blades, or humming indicating a possible capacitor issue. Gradually increase speed. The fan should run quietly with steady airflow.
Troubleshoot Persistent Noise
If noise continues, check for loose screws on the blade, housing, or base. Inspect for bent or unbalanced blades. Clean again if dust remains. Consider a failing capacitor if it hums but will not start.
Maintain Every 6 to 12 Months
Prevent future issues with regular care.
Follow a Maintenance Schedule
Oil every 6 months for daily use or dusty rooms. Oil once a year for occasional use. Oil before summer season to ensure peak performance.
Clean Blades Weekly
Wipe down blades and grills weekly to reduce dust migration into the motor.
Store Properly
If storing for winter, clean and oil the fan first. Cover it to keep out dust.
Avoid Continuous High Speed
Running at max speed increases wear. Use the lowest effective setting to extend the fan’s lifespan.
Frequently Asked Questions About Oiling a Table Fan
What type of oil should I use on my table fan?
Use light, non-detergent machine oil such as 3-in-1 Electric Motor Oil, sewing machine oil, or non-detergent 10-weight motor oil. These oils wick properly into sleeve bearings and provide lasting lubrication without gumming up the motor.
How do I know if my table fan has sleeve bearings or sealed bearings?
Look for an oil hole or cap on the motor housing, or check if the motor has removable covers. If your fan has no visible access points and the manual states it is maintenance-free, it likely has sealed ball bearings that should not be opened or oiled.
How often should I oil my table fan?
Oil your table fan every 6 to 12 months. If you use the fan daily or in dusty environments, consider oiling every 3 to 6 months. Always oil before the summer season to ensure peak performance during heavy use.
Can I use WD-40 to oil my table fan?
No. Standard WD-40 is a solvent, not a long-term lubricant. It evaporates quickly and can leave bearings dry. Use WD-40 only for cleaning and displacing water, then follow up with proper machine oil for lubrication.
What happens if I over-oil my table fan?
Over-oiling causes oil to drip onto wiring, the capacitor, or the motor housing. This can create electrical hazards, attract excessive dust, and cause leaks. Apply only 1 to 3 drops per bearing and work the oil in by spinning the shaft by hand.
Key Takeaways for Oiling Your Table Fan
Oiling a table fan takes just 10 to 15 minutes but can add years to its life. By using the right oil, like 3-in-1 electric motor oil or non-detergent 10W, and following this step-by-step process, you will eliminate noise, improve efficiency, and avoid unnecessary replacements. This simple act of maintenance saves money, reduces waste, and keeps your space cool and quiet.
Remember to clean thoroughly before oiling becauselubricating a dirty motor creates abrasive sludge that accelerates wear. Apply only 1 to 3 drops per bearing and work the oil in by hand. If your fan has sealed bearings, enjoy the convenience, but for serviceable models, a few drops of oil go a very long way.