How to Clean Aloha Breeze Tower Fan
Dust buildup in your Aloha Breeze tower fan doesn’t just make it look dirty. It can reduce airflow, increase noise, and even shorten the unit’s lifespan. Over time, dust clogs the vents and coats the internal blade assembly, forcing the motor to work harder and potentially overheat. A fan that once cooled your room efficiently may now struggle to circulate air or emit an annoying squeak. The good news is that with the right steps, you can restore peak performance in under an hour.
This guide covers both quick surface cleaning and deep maintenance for the Aloha Breeze tower fan. Whether you are doing routine upkeep every few months or tackling a noisy, dust choked unit, you will learn how to clean safely, lubricate properly, and reassemble without damage. Most importantly, you will avoid common mistakes like using WD-40 or forcing plastic clips that could ruin your fan.
Power Down and Prepare Your Workspace
Before touching any part of your Aloha Breeze tower fan, safety must come first. Electrical components are sensitive, and accidental activation during cleaning can cause injury or damage to the unit.
Unplug the Fan Immediately
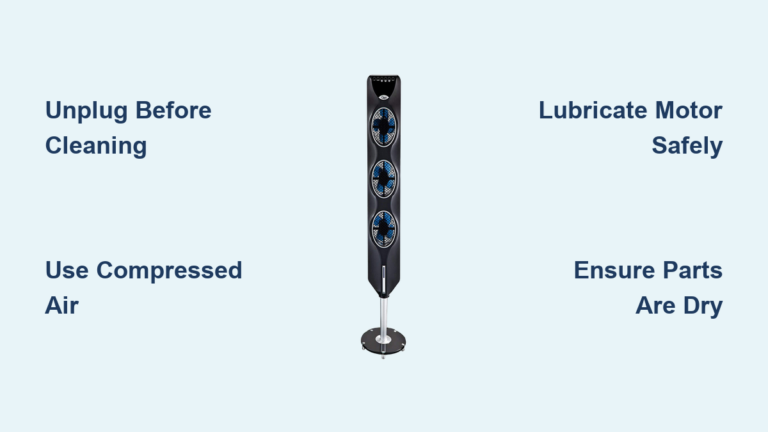
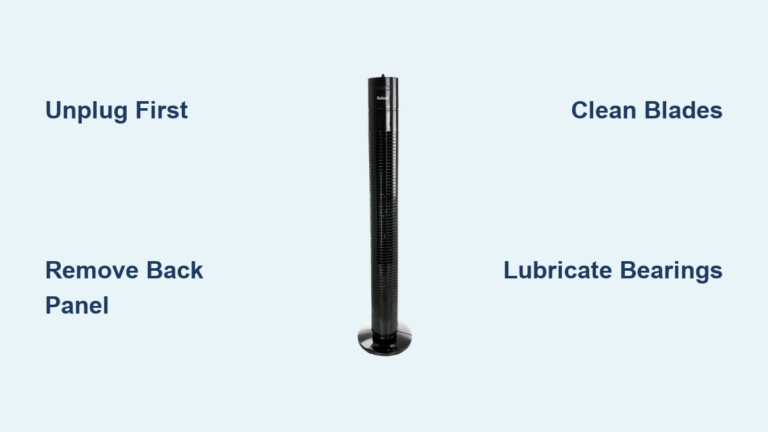
Always disconnect the fan from the power outlet before starting. Never rely on the power button alone. Unplugging ensures no electricity flows to the motor, and this step is non-negotiable whether you are wiping the surface or removing the casing.
Set Up a Safe Cleaning Area
Choose a well lit, clean space for disassembly. If using compressed air or a vacuum, work near an open window or outdoors to prevent dust from spreading throughout your home. Lay down a soft cloth or towel to protect plastic parts from scratches during the process.
Gather Required Tools
Have these tools ready before you begin your cleaning project.
- Phillips head screwdriver (standard and small sizes)
- Flat head screwdriver with magnetized tip
- Soft brush or microfiber cloth
- Vacuum with brush attachment
- Compressed air canister or air compressor
- Mild dish soap for blade washing
- White Lithium Grease for lubrication
Perform Surface Cleaning Every 2 to 3 Months
For regular maintenance, deep disassembly is not needed. Surface cleaning removes most dust and keeps airflow strong without risking damage to internal clips and seals.
Vacuum Front and Back Vents
Use a vacuum with a soft brush attachment. Gently run it over both front and back grilles where air enters and exits. Work the brush between the slats to pull out trapped dust and lint. This step alone can improve airflow by up to 30 percent.
Blast Dust With Compressed Air
Spray short bursts of compressed air into the vents. Hold the nozzle close and move vertically across the entire surface. Focus on dense areas where dust clumps form. This loosens debris stuck deep inside the casing that vacuuming cannot reach.
Blow Out Internal Dust
Plug the fan back in and point it outside or toward an open window. Turn it to the highest speed and run for 3 to 5 minutes. This forces out any dislodged particles still trapped inside the unit.
Wipe Exterior With Dry Cloth
Unplug the fan again. Use a dry microfiber cloth to wipe down the entire outer surface. Avoid wet cloths during this step because moisture can seep into vents and damage electronics.
Pro Tip: Perform this surface cleaning monthly if you have pets or live in a dusty environment.
Disassemble for Deep Cleaning

When your fan starts making noise or feels weaker, it is time for a full teardown. Annual deep cleaning prevents motor strain and eliminates squeaks caused by dry bearings.
Remove Housing Bolts
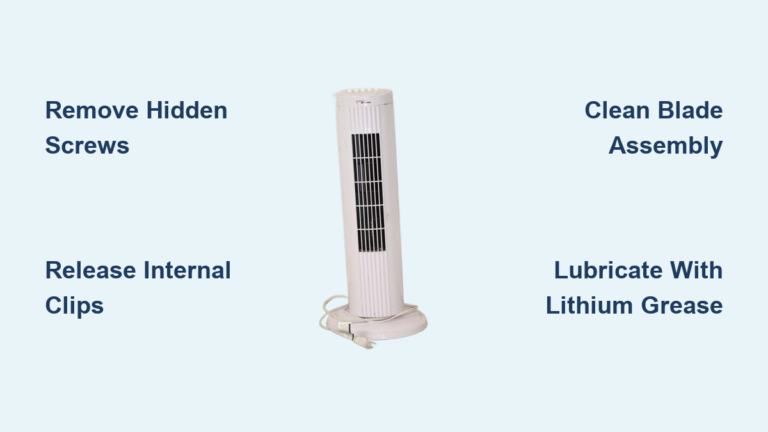
Locate the two bolts at the top and the one bolt at the bottom of the tower. Use a Phillips screwdriver to remove all three. Keep them in a small container so they do not get lost during the process.
Release Hidden Plastic Clips
Find 3 to 4 narrow slots along the vertical seam of the casing. Insert a flat head screwdriver into the bottom slot first. Twist gently until you hear a pop. This releases one clip. Hold the loosened section and move upward, repeating at each slot until the entire side is free.
Warning: Never yank the casing forcefully. Broken clips cause rattling and prevent secure reassembly.
Detach Top Fan Assembly
Once the side is fully unclipped, remove the two screws securing the top fan housing. Carefully lift it off to expose the blade column and motor shaft underneath.
Slide Off Blade Assembly
Locate the black cylindrical blade unit in the center of the fan. At its base, find the set screw holding it to the motor shaft. Loosen this screw completely, then slide the blade column straight off the shaft.
Clean Internal Components Safely

Now that the fan is open, clean each part according to its material and function. Never submerge electrical parts in water.
Wash Blade Column
Rinse the blade assembly under lukewarm water. Use mild soap and a soft brush to scrub away grime. Rinse thoroughly and air dry completely. This may take 2 to 4 hours. Reassembly with wet parts risks electrical damage and short circuits.
Wipe Casing Interior
Use a damp microfiber cloth to clean the inside of the tower shell. For stubborn dust, lightly dampen the cloth with soapy water, but never pour liquid inside the unit. Dry immediately with a second clean cloth.
Dust Motor and Housing
Use a soft brush or vacuum with a narrow nozzle to clean around the motor. Avoid touching wires. For tight spots, use compressed air with a rubber tip to blow dust out from multiple angles.
Critical Rule: Never immerse the motor or base in water. Only the blade and casing shells are washable components.
Lubricate for Silent Operation
Squeaking noises come from dry motor bearings. Proper lubrication stops friction and extends motor life. Using the right grease makes all the difference in restoring quiet operation.
Target Key Lubrication Points
Apply lubricant to these specific areas.
- Motor shaft where it connects to the blade
- Bearing grooves at top and bottom of the shaft
- Base rotation point
- Cage pivot joint if the fan tilts
- Silver or black bearing rings where blade meets casing
Choose Correct Lubricant
Use White Lithium Grease. Its thick, tacky texture resists dust and lasts longer than oil. Silicone spray or light machine oil are acceptable alternatives if White Lithium Grease is unavailable.
Never use WD-40. It dissolves existing grease, evaporates quickly, and actually attracts dust, worsening noise over time.
Apply Grease Correctly
Use a small amount, just enough to coat contact points. Work the shaft in and out to spread the grease evenly. Wipe away excess to prevent buildup. If using spray lubricant, ventilate the area well.
Reassemble Fan Carefully
Reassembly is essentially the reverse of disassembly, but alignment matters. Rushing can break clips or misalign the blade, causing future problems.
Reattach Blade Assembly
Slide the fully dry blade column back onto the motor shaft. Tighten the set screw at the base until snug. Over tightening can strip the threads, so stop when secure.
Secure Top Housing
Reinstall the top fan housing and fasten the two screws. Ensure the unit sits flush with no gaps between components.
Snap Casing Back Into Place
Align the two halves of the tower. Starting at the bottom, press the casing together until clips snap into slots. You should hear distinct clicks as each clip engages properly.
Pro Tip: Do not lift the panel. Slide it down gently to engage clips smoothly without breaking them.
Reinstall All Bolts
Replace the two top bolts and one bottom bolt. Tighten securely, but avoid over torquing plastic threads.
Test Fan After Cleaning
Before declaring the job done, verify that everything works safely and quietly.
Power On and Check Spin
Plug in the fan and turn it on. If the motor does not start immediately, gently nudge the blade with one finger, then pull away quickly. This overcomes static friction in newly lubricated shafts.
Listen for Noise Issues
Run the fan on all speed settings. Pay attention to squeaks or grinding which indicates poor lubrication. Watch for rattling which suggests loose casing or broken clips. Note any uneven oscillation if applicable.
Run High Speed Dust Flush
Point the fan toward a window and run on high for 3 to 5 minutes. This clears any residual dust stirred up during reassembly.
Maintain Fan Long Term
Regular upkeep prevents future problems and keeps your Aloha Breeze running like new for years.
Follow Cleaning Schedule
Perform surface cleaning every 2 to 3 months using vacuum and compressed air. Schedule full disassembly, wash, and lubrication once a year. Re lubricate every 1 to 2 years if noise returns.
Store Properly Off Season
Before storing, clean thoroughly and wrap in a breathable cloth. Avoid plastic bags which trap moisture. Store upright in a dry place away from humidity.
Replace If Bearings Fail
If squeaking persists after proper lubrication, the bearings may be worn out. At that point, replacement is safer than continued repair attempts.
Frequently Asked Questions About Cleaning Your Aloha Breeze Tower Fan
How often should I clean my Aloha Breeze tower fan?
Surface cleaning with a vacuum and compressed air should be done every 2 to 3 months. Deep cleaning with full disassembly is recommended annually or whenever you notice reduced airflow or unusual noise.
Can I use WD-40 to lubricate my tower fan motor?
No, you should never use WD-40 on a tower fan motor. WD-40 is a degreaser that strips existing lubrication, evaporates quickly, and attracts dust. This worsens noise and can cause premature motor failure. Use White Lithium Grease instead.
What should I do if the plastic clips break during disassembly?
If plastic clips break during disassembly, the casing may rattle during operation. You can secure loose panels with tape temporarily, but replacement clips or professional repair may be needed for a permanent fix.
Can I wash the motor housing with water?
No, never wash the motor housing with water or any liquid. Only the removable blade assembly and outer casing shells should be washed. The motor and electrical components must stay dry.
Why is my fan still noisy after cleaning and lubricating?
If noise persists after proper cleaning and lubrication, the motor bearings may be worn out beyond repair. In this case, replacing the fan is the safest and most cost effective solution.
Key Takeaways for Cleaning Your Aloha Breeze Tower Fan
Cleaning your Aloha Breeze tower fan is straightforward when you follow the right steps. Always unplug the fan before any cleaning, and use White Lithium Grease for lubrication instead of WD-40 which causes more harm than good. Surface cleaning every few months maintains airflow, while annual deep cleaning with full disassembly eliminates stubborn dust and quiets squeaky motors.
The plastic clips holding the casing are fragile, so work gently and locate the correct slots before prying. Allow all washed components to dry completely before reassembly to avoid electrical damage. With proper maintenance, your Aloha Breeze tower fan will deliver quiet, powerful airflow for many years.