How to Remove Locking Nut on Honeywell Tower Fan
If your Honeywell tower fan needs deep cleaning or internal maintenance, removing the locking nut is the essential first step. This small circular component, also called the collar, secures the fan housing to the weighted base. Without removing it, you cannot access the interior for cleaning or repairs. Below, you will find the exact positioning, twisting technique, and safety steps needed to remove the locking nut on a Honeywell tower fan correctly.
This guide covers everything from safety preparation to reassembly, including troubleshooting tips and manufacturer warnings about warranty implications.
Safety First: Unplug and Prepare Your Work Area
Before touching any part of your Honeywell tower fan, electrical safety must be your top priority. The locking nut removal process requires physical manipulation of the fan, making it essential to eliminate any risk of shock.
Unplug the Fan From the Wall
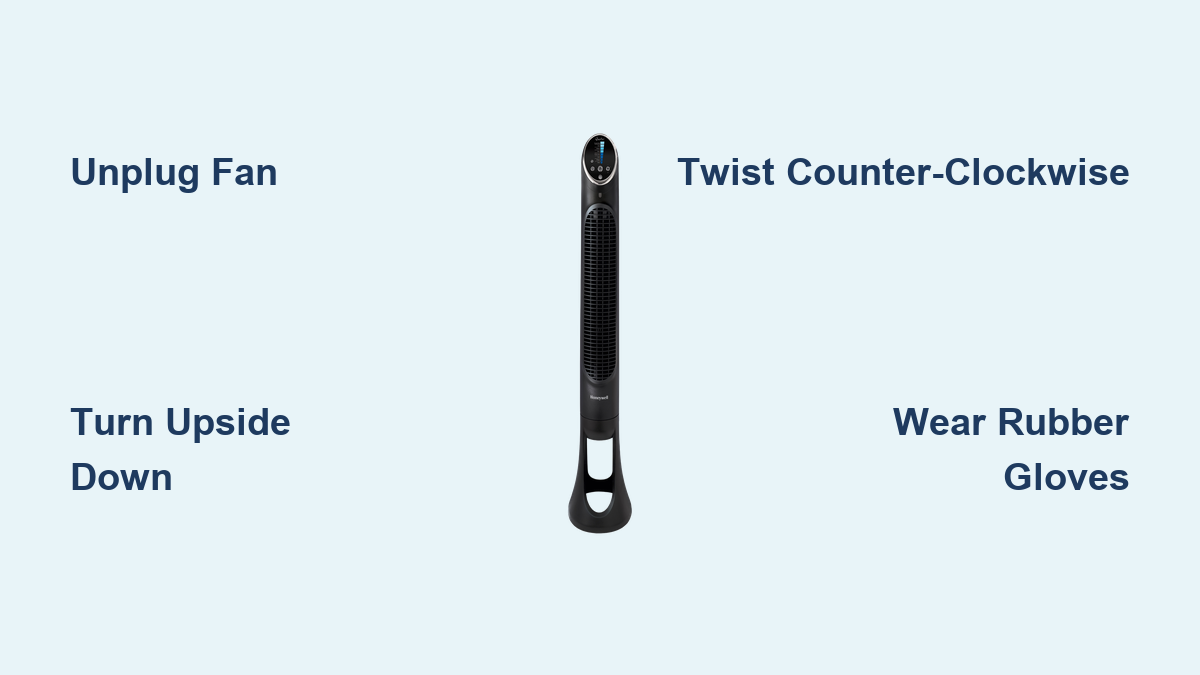
Always disconnect the power cord from the wall outlet before attempting any disassembly. Even when the fan is in standby mode, live components inside can pose an electrocution risk. This step is non-negotiable and applies to every model regardless of age or condition.
Choose a Suitable Work Space
Select a clean, well-lit area with a hard surface like a table or countertop. Place a towel or cloth underneath the fan to catch dust and prevent scratches during the process. Working outdoors is ideal since disassembly releases accumulated dust and allergens.
Position the Fan for Stable Removal

Proper positioning gives you the leverage and stability needed to twist the locking nut free. Without a secure setup, you risk the fan slipping or rotating instead of releasing the collar.
Turn the Fan Upside Down
The manufacturer-recommended method is to turn the entire unit upside down. With the power cord facing upward, the base becomes stable and cannot slide around while you apply force. This orientation also provides a better ergonomic grip for your hands.
Grip the base firmly with one hand while using the other to twist the collar. This counter-pressure maximizes torque and prevents your hands from slipping.
Lay Fan on Its Side as an Alternative
If turning the fan upside down feels unstable, lay it flat on its side with the back panel facing upward. Place a towel beneath the unit to protect the housing from scratches. This method offers less control and increases the chance of the unit shifting during removal.
Locate the Locking Nut at the Base
Finding the correct component saves time and prevents confusion. The locking nut has specific visual characteristics that make identification straightforward across most Honeywell models.
Find the Collar Where Power Cord Exits
The locking nut is a circular component located at the bottom of the fan housing, directly where the power cord exits the tower. It connects the vertical fan section to the weighted circular base.
Identify the Red Collar
On many Honeywell tower fan models, the collar is bright red, making it easy to spot against neutral-colored housings. Even on models without a red collar, it stands out as a distinct ring that does not blend with the main casing. The collar is designed to be gripped by hand, so no tools are required for this step.
Twist Off the Locking Nut
This is the core action that separates the housing from the base. The process is straightforward but requires the right technique to avoid damaging the plastic component.
Grip and Rotate Counter-Clockwise
Firmly grip the circular collar with your fingers. Apply steady pressure and twist counter-clockwise, which is the lefty-loosey direction. Continue rotating until the housing detaches from the base completely. Most units require only moderate hand strength, though older or rarely cleaned fans may have a tighter fit due to dust buildup.
Handle a Stuck or Stubborn Collar
If the locking nut will not budge, ensure the fan is securely positioned. The upside-down method provides the best stability. Wear rubber gloves or use a microfiber cloth for extra grip. Never use pliers or wrenches, as these tools can crack or deform the plastic collar. Forcible tools may damage the locking nut, making reassembly difficult or impossible without replacement.
Access Internal Components After Removal

With the locking nut removed, the fan housing is free from the base, revealing access points for deeper maintenance if needed.
Remove Hidden Screws
Once the collar is off, you will see one or two Torx screws underneath. These secure the back panel and require a T10 or T15 star bit for removal. Some models include a third Torx screw slightly above the base. Additionally, four Philips-head screws are typically located on the back of the fan near the top.
Separate the Casing Halves
After removing all screws, the housing remains held together by plastic snap tabs. Use a flathead screwdriver to gently pry the halves apart, starting at the edges. Apply even pressure around the perimeter. Snapping a plastic tab can compromise the fan’s structural integrity and create fitting problems during reassembly.
Clean the Fan Interior Thoroughly

Removing the locking nut opens access to the internal components that accumulate dust over time. Proper cleaning improves air quality and motor efficiency.
Use Dry Cleaning Methods First
Use a vacuum with a brush attachment, a soft-bristled nylon brush, or compressed air to remove dry dust. A medium-sized paintbrush works well for tight corners, and cotton swabs can reach small spaces. Dry methods are preferred because they avoid water damage to electronics.
Avoid spraying water directly into the motor or control panel. If you must use a damp cloth, wring it out thoroughly and only wipe non-electronic surfaces.
Clean the Fan Core and Blades
With the casing open, remove the fan core by unscrewing two Philips screws on top. Locate the set screw at the base of the core and loosen it just enough to slide the core off the motor shaft. Clean the blades with a soft brush or compressed air. Do not remove the set screw completely, as it can be easily lost during cleaning.
Reassemble the Fan Correctly

Proper reassembly ensures the fan operates safely and quietly. Rushing this step often leads to problems that require disassembly again.
Align Components Before Tightening
Before securing any screws, ensure all wires are routed exactly as they were originally. Snap the casing halves fully together before inserting screws. Replace Torx and Philips screws in their correct locations to avoid cross-threading.
Test the Fan After Reassembly
Reattach the locking nut by twisting clockwise until snug. Plug in the fan and test all speed settings. Listen for unusual sounds, as rattling or squeaking indicates something is loose or misaligned. If noise occurs, disassemble again and verify screw tightness and component seating.
Tools You May Need for Deeper Maintenance
While the locking nut itself requires no tools, deeper disassembly requires specific equipment.
The essential toolkit includes a Torx bit for removing the screws under the collar, a Philips-head screwdriver for the fan core and top housing screws, a flathead screwdriver for prying apart plastic casing tabs, a soft brush or vacuum for dust removal, and rubber gloves for extra grip on stubborn collars.
Keep screws organized on a labeled sheet to avoid confusion during reassembly.
Warranty and Safety Warnings to Consider
Before proceeding beyond the locking nut, understand the risks involved with deeper disassembly.
Disassembly May Void Your Warranty
Honeywell does not recommend user disassembly beyond basic cleaning. Removing screws or opening the casing can void your warranty, especially if damage occurs during the process. Weigh the need for deep cleaning against the potential loss of coverage.
Avoid Common Mistakes
Keep water away from the motor and electronics, as this causes permanent damage. Do not over-tighten screws, which can strip threads or crack plastic. Apply gentle pressure when prying apart casing tabs to avoid breaking them. Always keep the set screw attached to the fan core to prevent loss.
Troubleshooting Common Issues
Even with careful work, problems can arise. Here is how to address them quickly.
Locking Nut Will Not Turn
If the collar won’t budge, the cause is likely age, grime, or static friction. Reconfirm the fan is unplugged, turn it upside down for stability, wear rubber gloves for better grip, and twist firmly without forcing the motion.
Casing Will Not Separate After Screw Removal
If the housing remains stuck after removing all screws, hidden snap tabs are still engaged. Run your finger along the seam to find resistance points and use a flathead screwdriver to gently pry at each tab location. Work slowly around the perimeter rather than forcing one spot.
Fan Makes Noise After Reassembly
Rattling or squeaking after reassembly means a component is loose or misaligned. Disassemble and recheck all screws, ensuring the fan core is fully seated on the motor shaft. Verify no tools or debris were left inside the unit.
Final Thoughts on Removing Locking Nut From Honeywell Tower Fans
Removing the locking nut on a Honeywell tower fan is a straightforward process when done correctly. By turning the fan upside down and twisting the collar counter-clockwise, you can safely separate the housing from the base for cleaning or inspection. The process requires no tools for the initial step, though a screwdriver becomes necessary for deeper disassembly.
Remember that Honeywell warns user disassembly may void your warranty. For most owners, removing the locking nut and wiping accessible areas is sufficient for regular maintenance. Stick to dry cleaning methods, keep track of all screws, and always reassemble carefully. With this complete roadmap, you now have the knowledge to maintain your Honeywell tower fan efficiently and safely.
Frequently Asked Questions About Removing Locking Nut on Honeywell Tower Fans
Do I need tools to remove the locking nut on a Honeywell tower fan?
No, the locking nut is designed to be removed by hand. Grip the collar firmly and twist counter-clockwise. No tools are required for this initial step.
Which direction do I turn the locking nut to remove it?
Turn the locking nut counter-clockwise, which is the lefty-loosey direction. This separates the fan housing from the base.
Why is my locking nut stuck and won’t turn?
The collar may be stuck due to age, dust buildup, or static friction. Ensure the fan is unplugged, turn it upside down for stability, and wear rubber gloves for better grip before trying again.
Will removing the locking nut void my warranty?
Removing the locking nut alone typically does not void the warranty. However, going further by removing screws and opening the casing may void warranty coverage according to Honeywell.
Can I clean the inside of my Honeywell tower fan after removing the locking nut?
Yes, once the locking nut is removed, you can access the interior for cleaning. Use dry methods like a vacuum or brush. Avoid water near the motor or electronics.