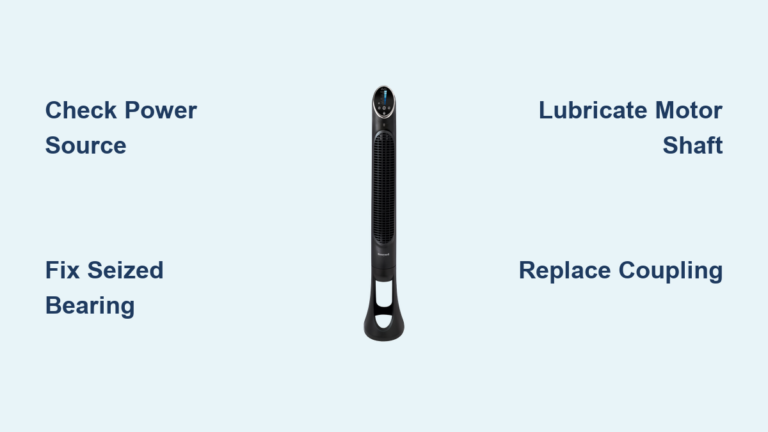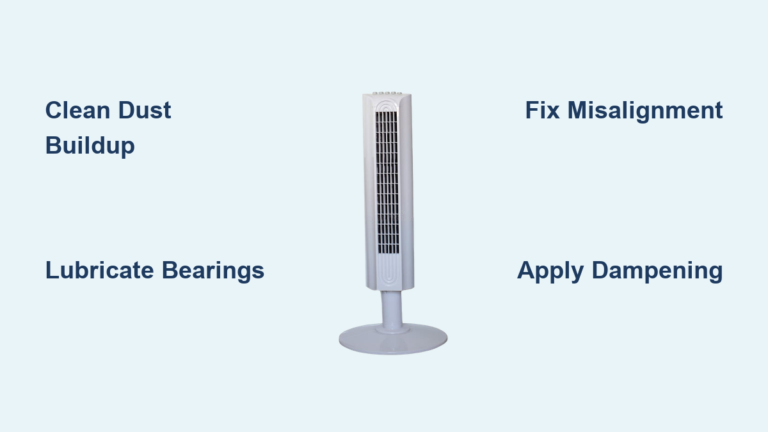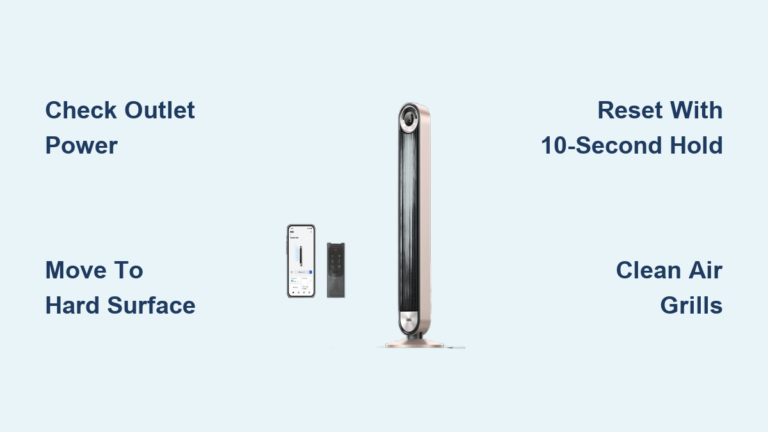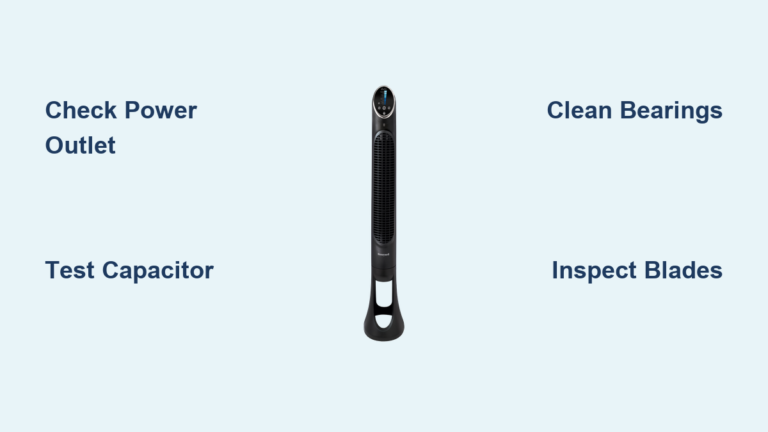
Fix Tower Fan Blades Not Spinning
If your tower fan blades aren’t spinning, you’re not alone. This common issue usually stems from mechanical blockages, electrical faults, or worn internal components. The good news? Most problems can be diagnosed and fixed at home with basic tools and a little patience. In this guide, you’ll learn how to pinpoint the exact cause and restore full operation, often in under an hour.
Decode Your Tower Fan Symptoms First
Before disassembling your fan, identify the specific failure pattern. The behavior you observe will guide your repair path and save valuable time.
Humming Motor But No Blade Movement
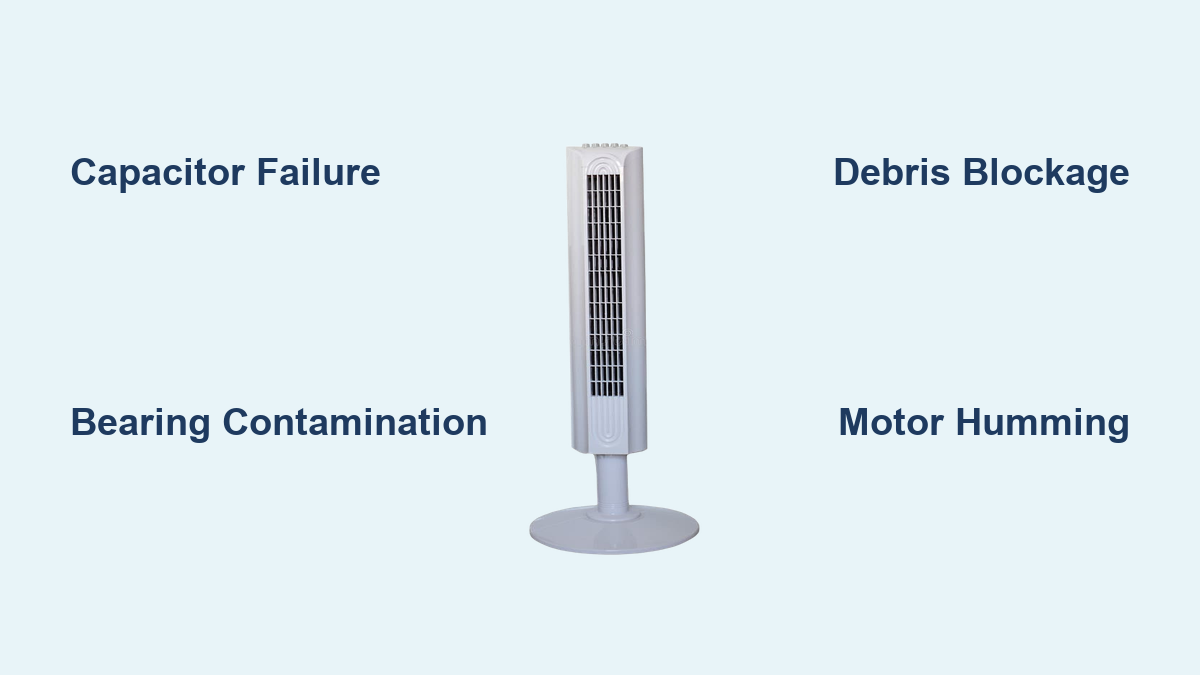
If the motor hums but the blades don’t turn, the motor is receiving power but can’t generate enough torque to start. This classic sign points to capacitor failure or mechanical binding. The capacitor provides the initial boost to start the motor; if it’s dead, the motor tries but fails to rotate. Check for a swollen or leaking capacitor near the motor. Also, manually spin the blades. If they move freely, the issue is likely electrical. If they resist, inspect for debris or dried grease.
Fan Works Horizontally But Fails Upright
When your tower fan spins only when lying down but stalls when upright, especially on low speed, bearing contamination is almost certainly the culprit. Over time, the factory lubricant in the motor bearing dries out, mixes with dust, and forms a sticky, black residue. In the horizontal position, gravity reduces pressure on the bearing, allowing temporary movement. But upright, the rotor weight increases friction beyond what the motor can overcome at low speeds. This orientation-dependent failure is a definitive diagnostic clue.
Silent Motor With No Response
If the fan is completely silent, check the power source first. But if lights and oscillation work while the blades remain still, the control board is active, and the fault lies in the motor circuit. Use a multimeter to test for voltage at the motor terminals. No power? The issue could be a tripped thermal switch, loose wiring, or a failed relay on the control board.
Clear Physical Obstructions and Debris
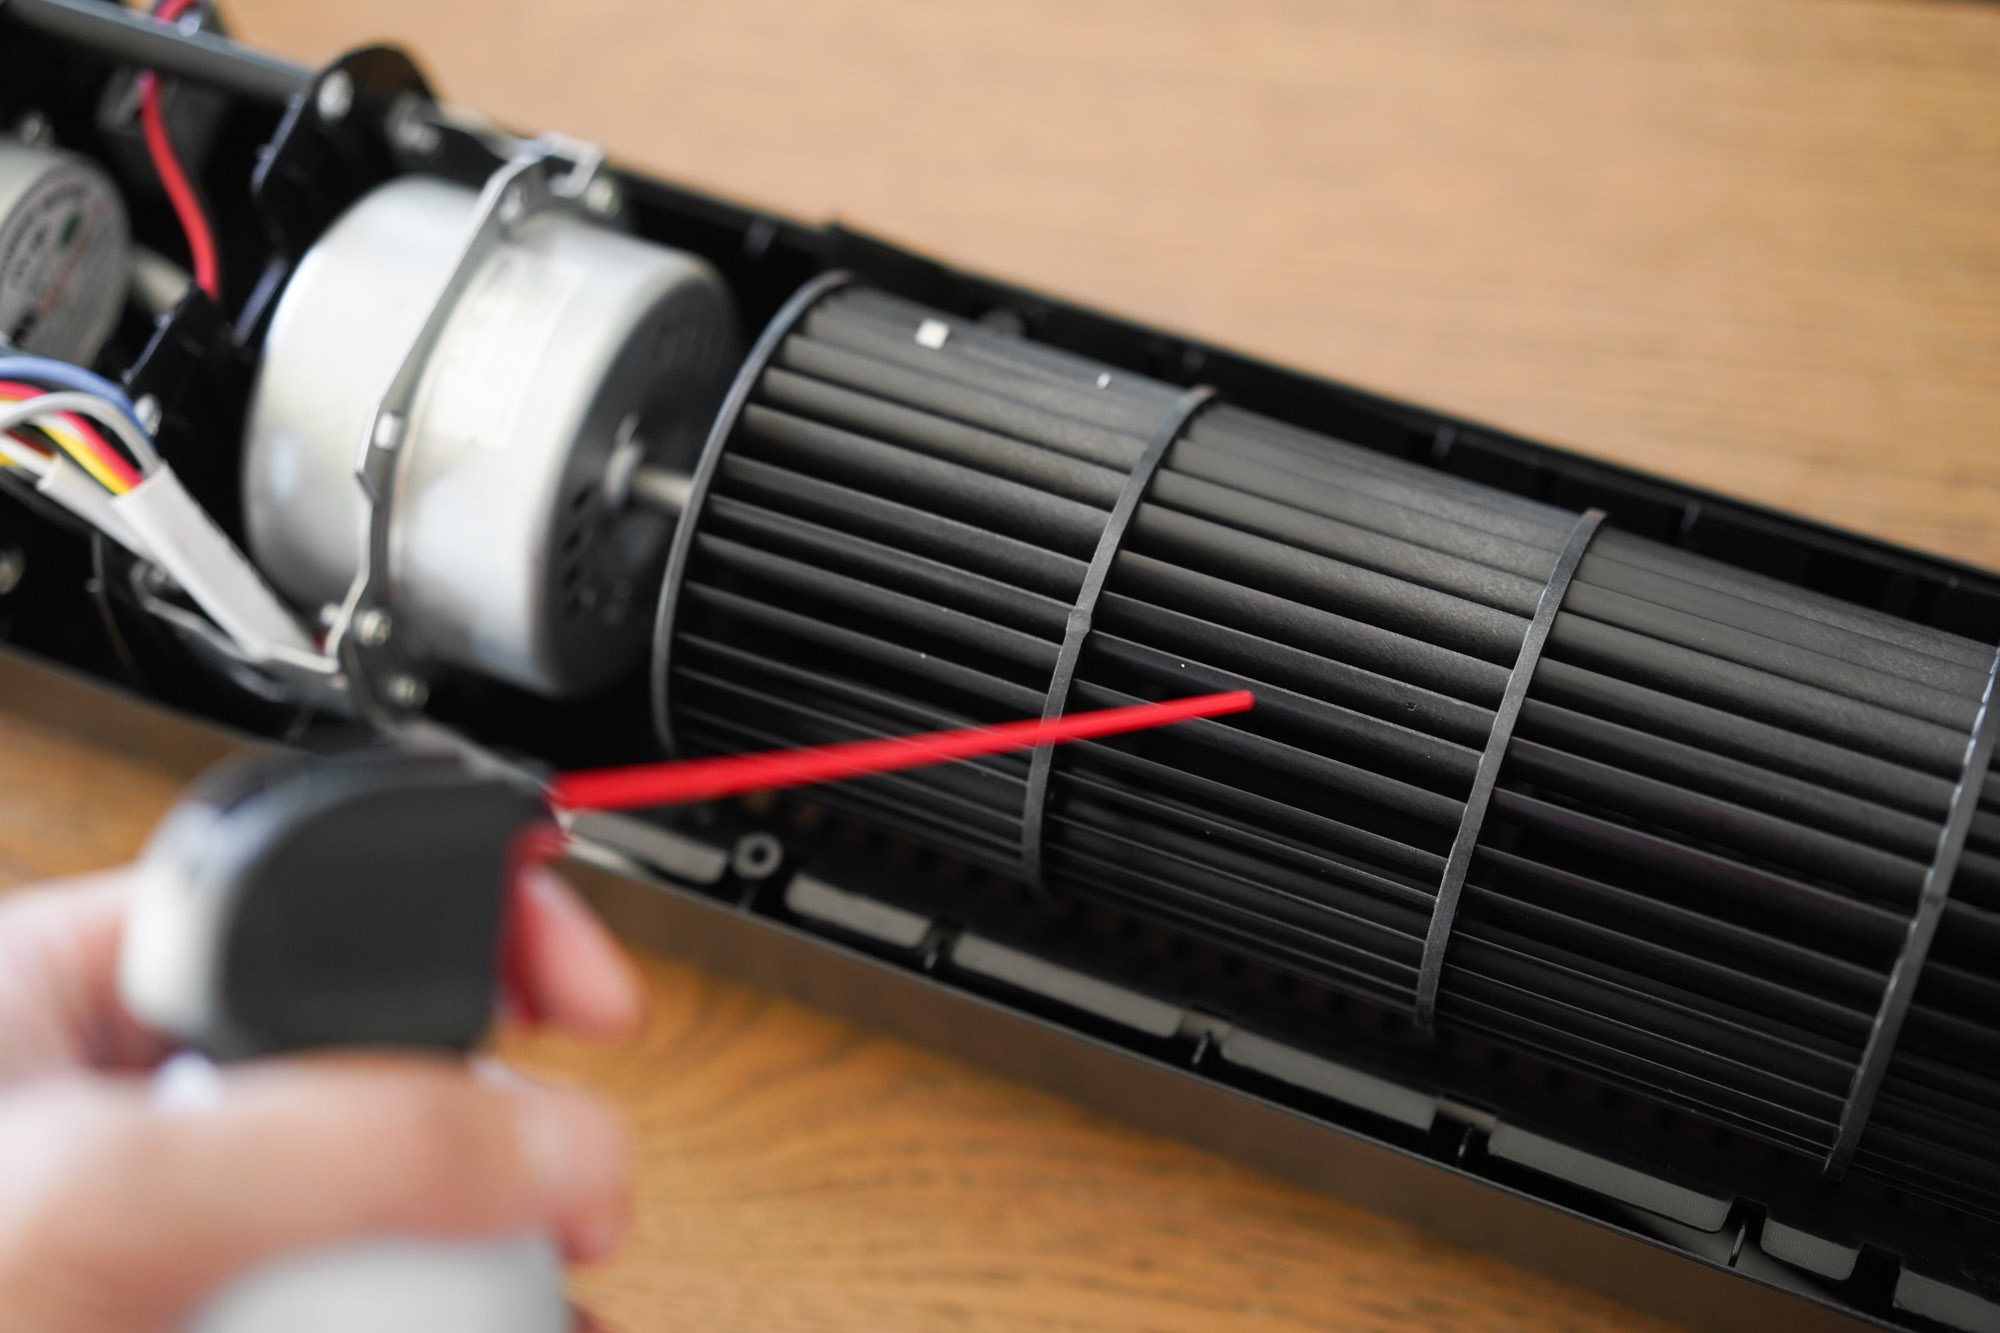
Even minor blockages can stop blade rotation. Start with the simplest fixes before moving to internal components.
Remove Dust and Debris From All Intake Areas
Dust buildup is the number one enemy of tower fans. Over time, it packs around the blade housing, motor shaft, and intake grilles. Use compressed air or a vacuum with a brush attachment to clean the front and rear grilles, blade surfaces, and motor shaft entry point. Remove the casing if needed. Shine a flashlight inside. If you see clumps of dust or pet hair wrapped around the shaft, carefully pull it out with tweezers or a toothpick. Never use metal tools that could scratch the shaft.
Inspect Blades for Damage and Misalignment
Bent, cracked, or misaligned blades create drag and imbalance. Remove the front grille and spin the blades by hand. Look for blades rubbing against the housing, visible warping or cracks, and wobbling during rotation. If blades are bent, try gently bending them back into shape. If cracked or severely warped, replace the entire blade assembly. Also, check the rubber coupling between the motor shaft and the blades. If it’s dried out, cracked, or loose, it won’t transfer power.
Stabilize a Wobbly Base
A cracked or unstable base can tilt the internal rotor, causing it to bind against the stator. Place the fan on a flat, level surface. If it still shakes, tighten base screws and replace broken plastic lugs. Add rubber feet or a weighted mat if needed. Ensure the fan sits straight, as any tilt can increase internal friction.
Diagnose Electrical Component Failures
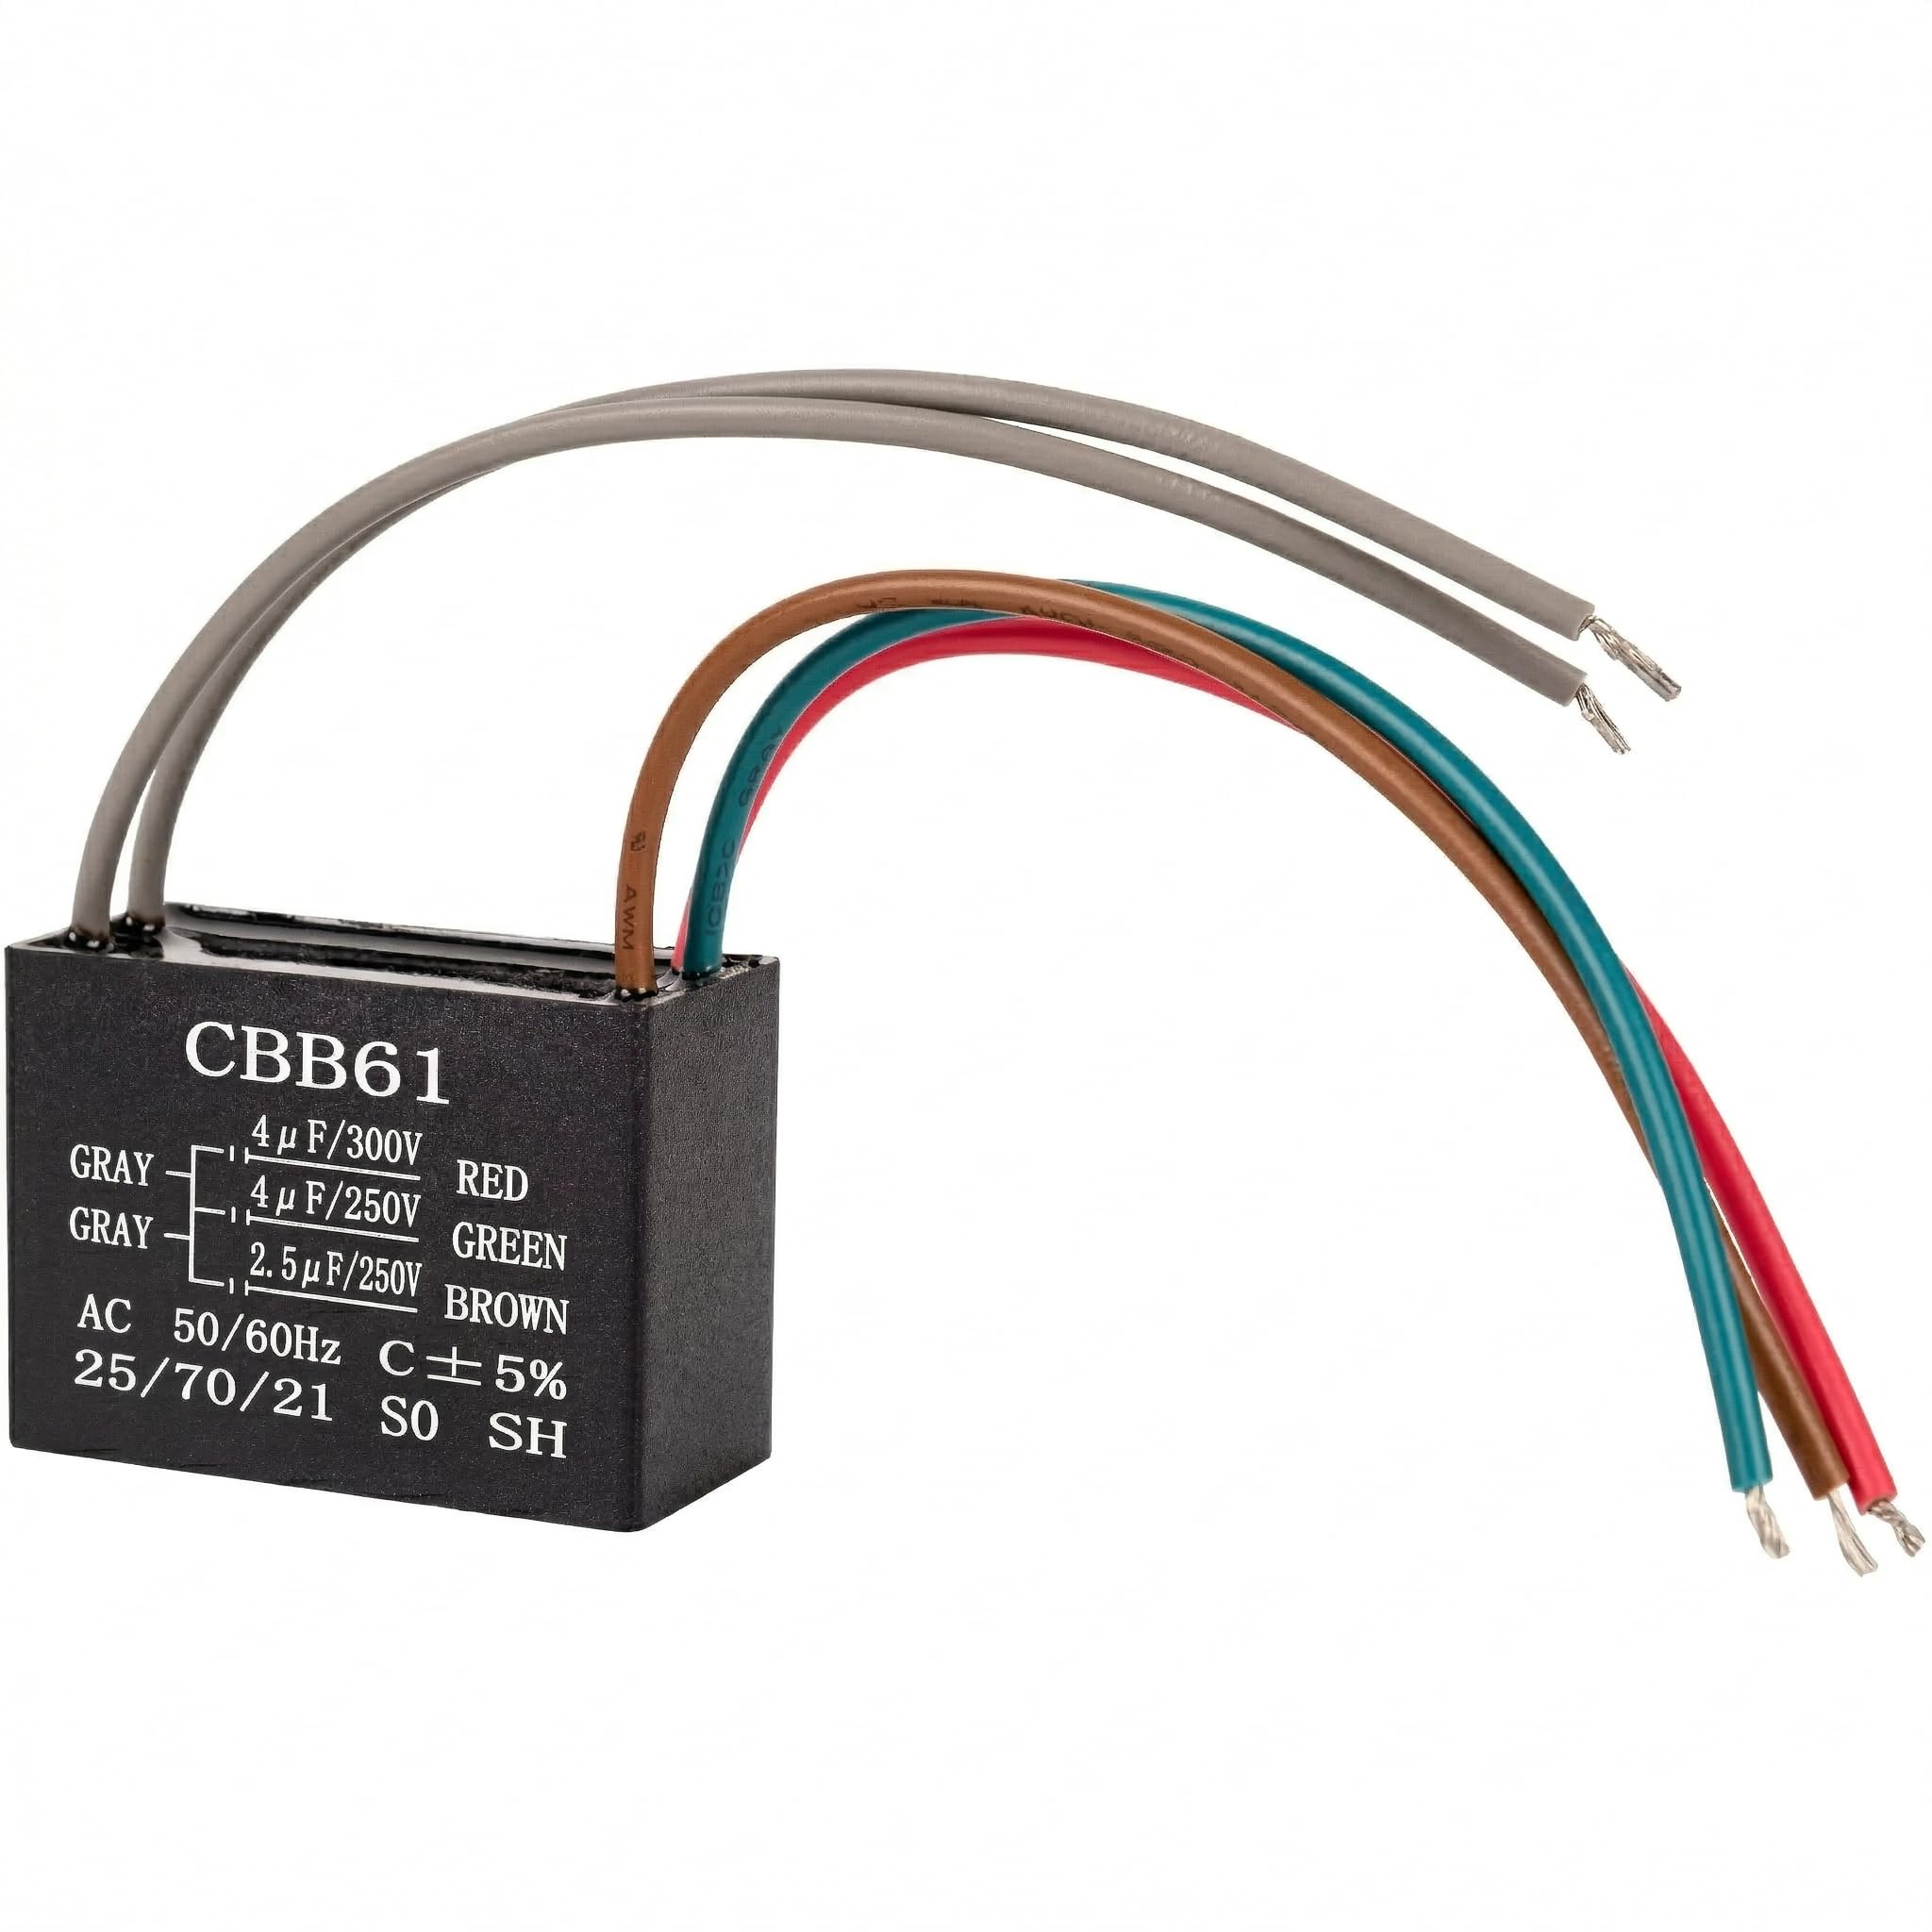
When mechanical issues are ruled out, focus on the electrical system. Many blade-spin failures trace back to a single faulty component.
Test and Replace the Start/Run Capacitor
The capacitor is the most common point of failure in tower fans. It gives the motor the initial jolt to start spinning.
Signs of capacitor failure include:
- Motor hums but won’t start
- Fan needs a manual push to begin
- Bulging, leaking, or burn marks on the capacitor
How to test the capacitor:
- Unplug the fan and discharge the capacitor by shorting its terminals with an insulated screwdriver.
- Remove it from the circuit.
- Use a multimeter with capacitance mode. Standard resistance mode won’t work.
- Compare the reading to the label. If it’s off by more than 10%, replace it.
Replacement specifications:
- Type: CBB61
- Capacitance: 2.5µF (common)
- Voltage: 250VAC
- Temperature rating: +70°C
Solder the new capacitor in place, ensuring shiny, smooth joints. Never reuse old leads.
Check Thermal and Centrifugal Safety Switches
Some motors have internal safety switches that cut power when overheating.
Thermal switch testing: If the fan previously overheated, the switch may have tripped and failed to reset. Test for continuity with a multimeter. No continuity means the switch is open. If confirmed dead, replace the motor or bypass it (bypassing is not recommended for beginners).
Centrifugal switch function: This switch disconnects the start capacitor once the motor reaches speed. If stuck closed or open, the motor won’t start properly. Access requires motor disassembly, so only attempt this if you’re experienced.
Inspect All Wiring and Solder Connections
Vibrations can loosen wires or crack solder connections over time. Check all wire terminals at the motor and control board. Look for dry joints, which appear as dull, cracked solder instead of shiny, smooth connections. Resolder any suspect joints and test for continuity in wires leading to the motor. Oxidation on wire ends can also block current. Lightly sand the tips to expose fresh metal.
Repair Contaminated Motor Bearings
If the fan works lying down but stalls upright, clean and re-grease the motor bearing to restore proper function.
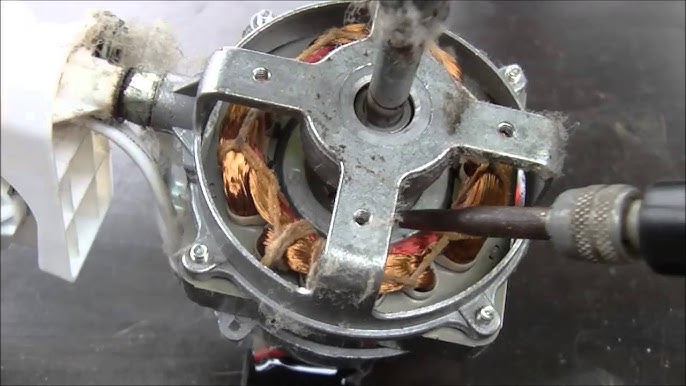
Remove the Motor Safely
- Unplug the fan and remove the base and back panel screws.
- Gently pry apart the casing with a plastic tool to avoid cracking the housing.
- Unscrew the four motor mounting screws. If seized, cut them off with a hacksaw.
- Pull the rotor out of the stator carefully.
Clean the Bearing and Shaft Thoroughly
Use a lint-free cloth or Q-tip to remove black, gummy residue from the shaft and inner bearing. Avoid metal tools that could scratch the shaft, as scratches increase friction. Wipe until both surfaces are smooth and clean. The contamination is often visible as a dark discoloration on the shaft or felt as grittiness when manually attempting to turn the rotor.
Apply the Right Lubricant
Apply a small amount of high-temperature grease (lithium or silicone-based) to the inner bearing surface. Spread evenly, as too much grease attracts dust and creates new problems. Reinsert the rotor and reassemble the motor. Replace mounting screws if you had to cut them. Reattach the column bearing and reassemble the casing.
Reassemble and Test Your Fan

After repairs, reassemble carefully and test thoroughly to verify the fix worked.
Secure All Components Properly
Snap casing halves together evenly and tighten all screws. Ensure no wires are pinched between the housing pieces. Reconnect the power cable and verify all connections are secure before testing.
Test Every Speed Setting
Test each speed setting systematically. Low speed is most sensitive to residual friction, so watch for hesitation. High speed should start smoothly without manual help. Confirm oscillation still works properly. Listen for rattling (loose parts), squeaking (under-lubricated bearing), or buzzing (electrical issue). If the fan stalls on low speed, revisit the bearing clean or check the capacitor value.
Prevent Future Blade Spin Failures
Stop the problem from recurring with simple maintenance habits.
Monthly Cleaning Routine
Vacuum grilles and blades every four weeks during use. Use compressed air to blow dust from intake vents. Keep twelve inches of clearance around the fan to prevent overheating and ensure proper airflow.
Annual Deep Clean
Disassemble and clean the internal motor and blades once a year. Re-grease bearings if noise increases. This prevents the gradual buildup that leads to bearing contamination and stalling.
Optimal Fan Placement
Avoid placing the fan near pets, lint-producing furniture, or smoky rooms. Store it covered during off-seasons to prevent dust ingress. Listen for early warning signs like new squeaks or rattles, and address them immediately before they cause complete failure.
When to Replace Instead of Repair
Repair is usually cheaper than replacement, but some situations call for a new fan.
Consider replacement if the motor windings are shorted (you’ll smell burning and the breaker will trip). Replace if the control board is fried with no continuity. Replace if the casing is cracked beyond repair. If repair costs exceed 50% of a new fan, upgrading makes more financial sense.
Frequently Asked Questions About Tower Fan Blades Not Spinning
Why does my tower fan hum but the blades won’t move?
This typically indicates capacitor failure or severe mechanical binding. The motor is receiving power but can’t generate enough starting torque. Test the capacitor with a multimeter in capacitance mode, or check for debris wrapped around the motor shaft.
My fan works when lying down but not upright. What’s wrong?
This orientation-dependent failure is a definitive sign of bearing contamination. The dried grease and debris create excess friction that the motor can’t overcome at low speeds when upright. Clean and re-grease the motor bearing to fix this issue.
Can I replace the capacitor myself?
Yes, with basic tools. Remove the old capacitor, noting the specifications (typically CBB61, 2.5µF, 250VAC). Solder the new capacitor in place with shiny, smooth joints. Always unplug the fan and discharge the old capacitor first by shorting its terminals.
How much does it cost to repair a non-spinning tower fan?
Most repairs cost under $10. Capacitors run about $5, and grease is negligible. Even if you need to replace motor mounting screws or the blade assembly, the total remains far below the cost of a new fan.
How often should I clean my tower fan to prevent this issue?
Clean the exterior grilles monthly during peak usage. Perform a deep clean of internal components annually. This prevents dust accumulation that leads to bearing contamination and electrical issues.
Key Takeaways for Fixing Tower Fan Blades Not Spinning

A tower fan with blades not spinning is rarely a lost cause. Most issues stem from three root causes: capacitor failure, bearing contamination, or debris blockage. By systematically diagnosing the symptoms, you can isolate the problem and apply the right fix. Capacitors cost under $5, bearing cleaning takes under an hour, and debris removal requires no tools at all. Stay proactive with monthly cleaning and annual deep maintenance, and your fan will keep you cool for years to come.