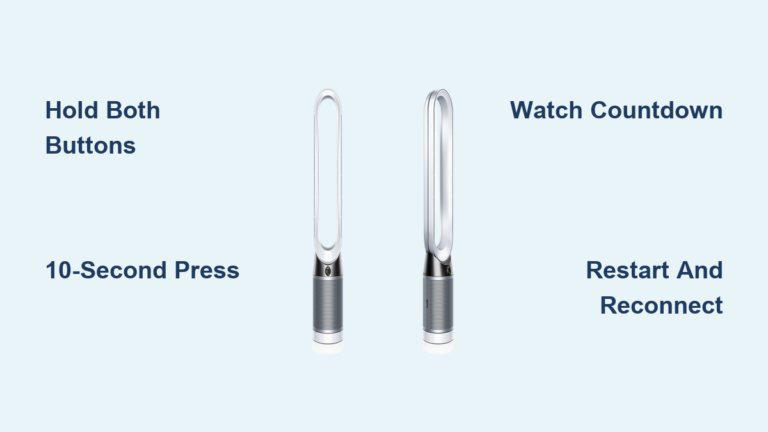
Fix Dyson Cool Tower Fan Not Oscillating
Your Dyson Cool tower fan powers on, delivers air, but sits stubbornly still. No side-to-side sweep, no smooth rotation. You press the oscillation button, check the remote, even restart it, but nothing changes. You are not alone. A Dyson cool tower fan not oscillating is one of the most common complaints, and the fix is often simpler than you think.
The culprit is usually a small piece of factory-installed protective tape left in place after unboxing. Dyson installs this tape to lock the oscillation mechanism during shipping. If it is not removed, the fan cannot rotate. Worse, trying to force oscillation with the tape in place can damage internal gears. While mechanical or electronic failures are possible, most non-oscillating cases resolve by removing this hidden tape.
In this guide, you will learn exactly where to look, how to check for other issues, and when to contact Dyson support. Whether you own an AM07, AM06, TP04, or similar bladeless tower model, this step-by-step troubleshooting plan will get your fan moving again.
Remove Protective Shipping Tape

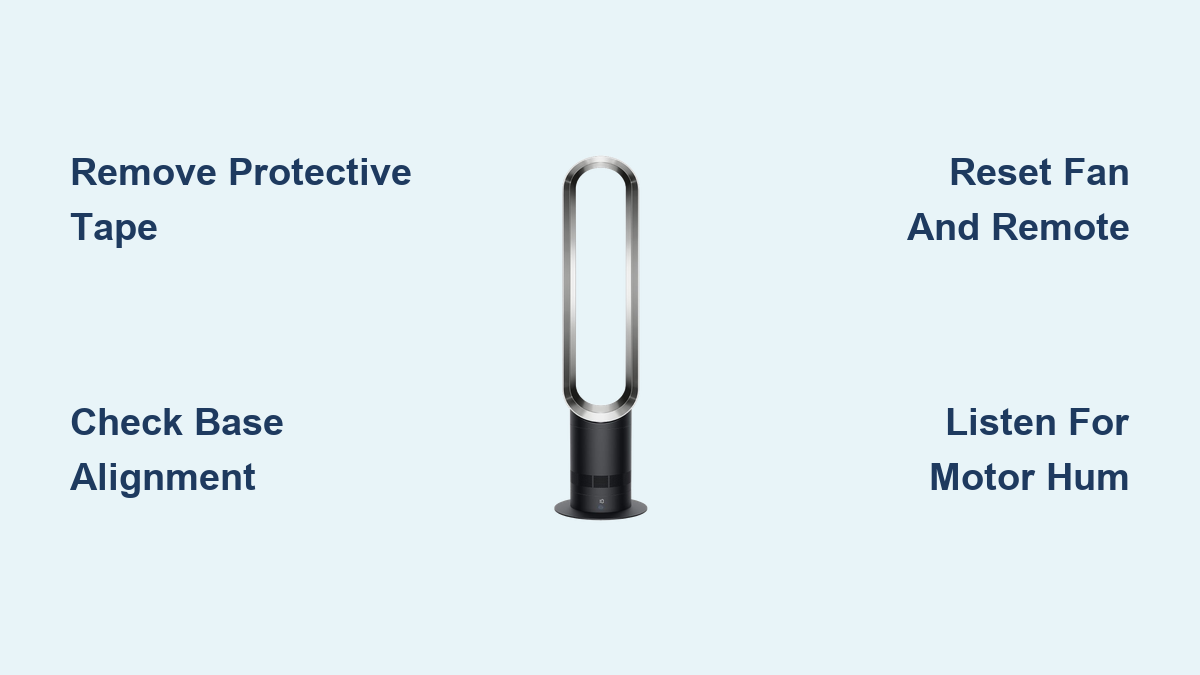
The single most likely reason your Dyson fan is not oscillating is factory-installed tape still locked in place. This tape secures the base during transit and must be removed before first use. If overlooked, it blocks all rotation.
Find the Hidden Tape on Base
This tape blends in. It is often white or blue and runs along the seam where the fan column meets the circular base. It may appear as a trim or slight ridge rather than a traditional sticker.
The tape is located on the lower base body, specifically the split line between the rotating and fixed sections. White tape on a white base or blue tape on a blue plinth makes it hard to spot. Run your finger around the base. If you feel a thin, raised edge or sticky residue, it is likely the restraint tape.
Many users miss this tape because instructions do not highlight it clearly. One owner admitted they swore there was no tape, then realized the blue trim was actually a lock.
Peel Tape to Restore Movement
Once found, remove the tape carefully. Turn off and unplug the fan. Gently lift one edge with a fingernail or plastic tool. Peel away completely. Do not leave residue. Plug back in and test oscillation.
In most cases, the fan begins oscillating immediately. No reset, no tools, no cost.
Warning: Do not attempt to force oscillation with tape in place. The motor may hum but cannot turn, risking gear stripping or motor burnout.
Verify Proper Fan Assembly
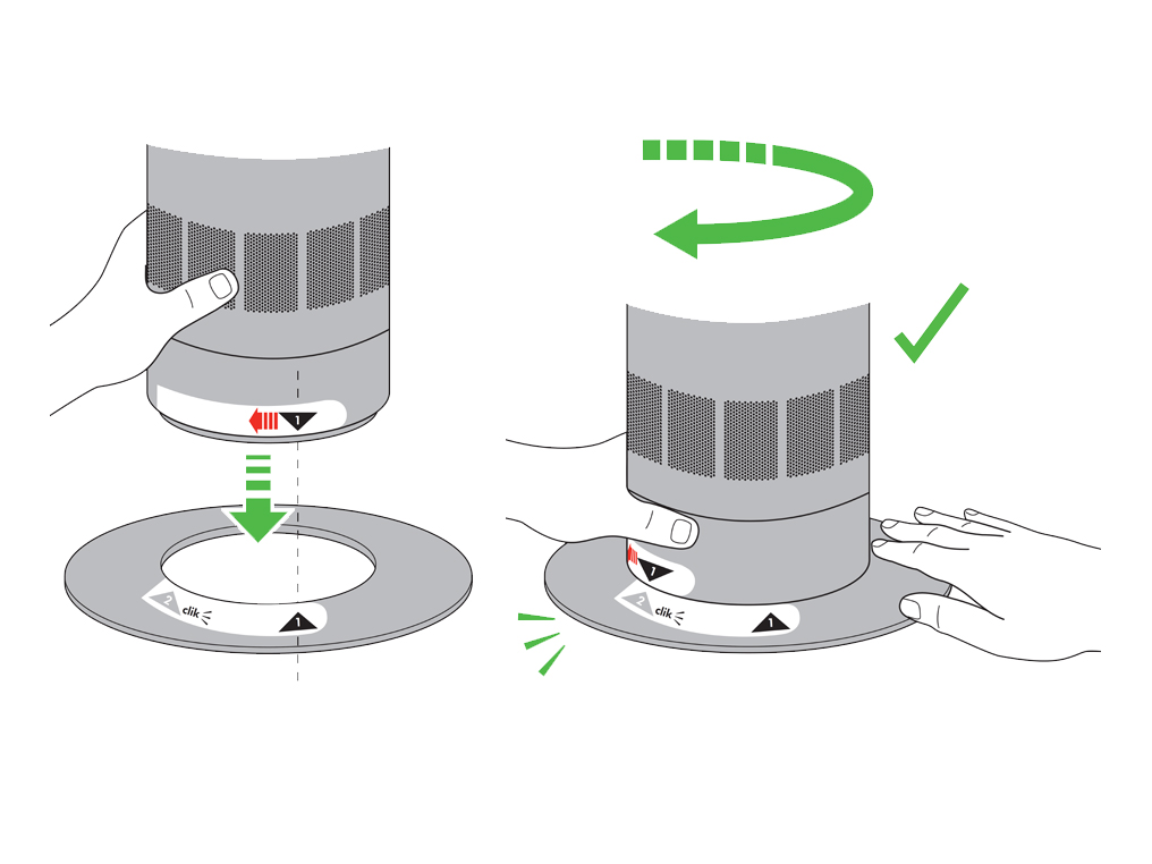
Even with tape removed, improper assembly can prevent oscillation by misaligning the drive shaft and internal gears.
Check Column Base Alignment
Ensure the fan column is fully seated and locked into the base. The unit should sit flush with no gaps or tilting. Listen for a click when attaching. This confirms mechanical engagement. If loose or wobbly, detach and reseat firmly.
A misaligned column breaks the connection between the oscillation motor and the rotating head, making movement impossible.
Test Manual Rotation
With the fan unplugged, gently rotate the head side-to-side by hand. If it moves freely, the mechanical path is clear and the issue may be electronic. If it is stuck or tight, an obstruction is still present. This could be tape remnant, debris, or an internal jam.
If manual rotation is blocked, recheck for leftover tape or foreign objects in the base gap.
Reset Fan and Remote System
Electronic glitches or remote issues can mimic mechanical failure. Resetting clears temporary faults and verifies control signals.
Power Cycle the Fan
A quick reboot often fixes unresponsive functions. Unplug the fan from the wall. Wait 10 to 15 seconds to discharge internal circuits. Plug back in. Press the oscillation button.
This resets the control board and reinitializes motor functions.
Replace Remote Batteries
Dead or weak batteries prevent the remote from sending commands. Open the battery compartment on the remote. Replace with fresh AAA batteries. Test oscillation again.
Even if other buttons work, low power can weaken the IR signal enough to fail on certain commands.
Aim Remote Correctly
Dyson remotes use infrared and require direct line of sight. Point the remote directly at the eye, a small IR sensor on the front of the fan base. Stand within 10 feet, facing the unit. Avoid angles or obstructions.
Users often report success simply by repositioning themselves and aiming carefully.
Use Fan Physical Controls
If your model has touch buttons on the unit, press the oscillation icon, usually arrows pointing left and right. If it works here but not with the remote, the issue is isolated to the remote or its signal.
This helps determine if the problem is input-related or internal.
Diagnose Internal Mechanical Failure
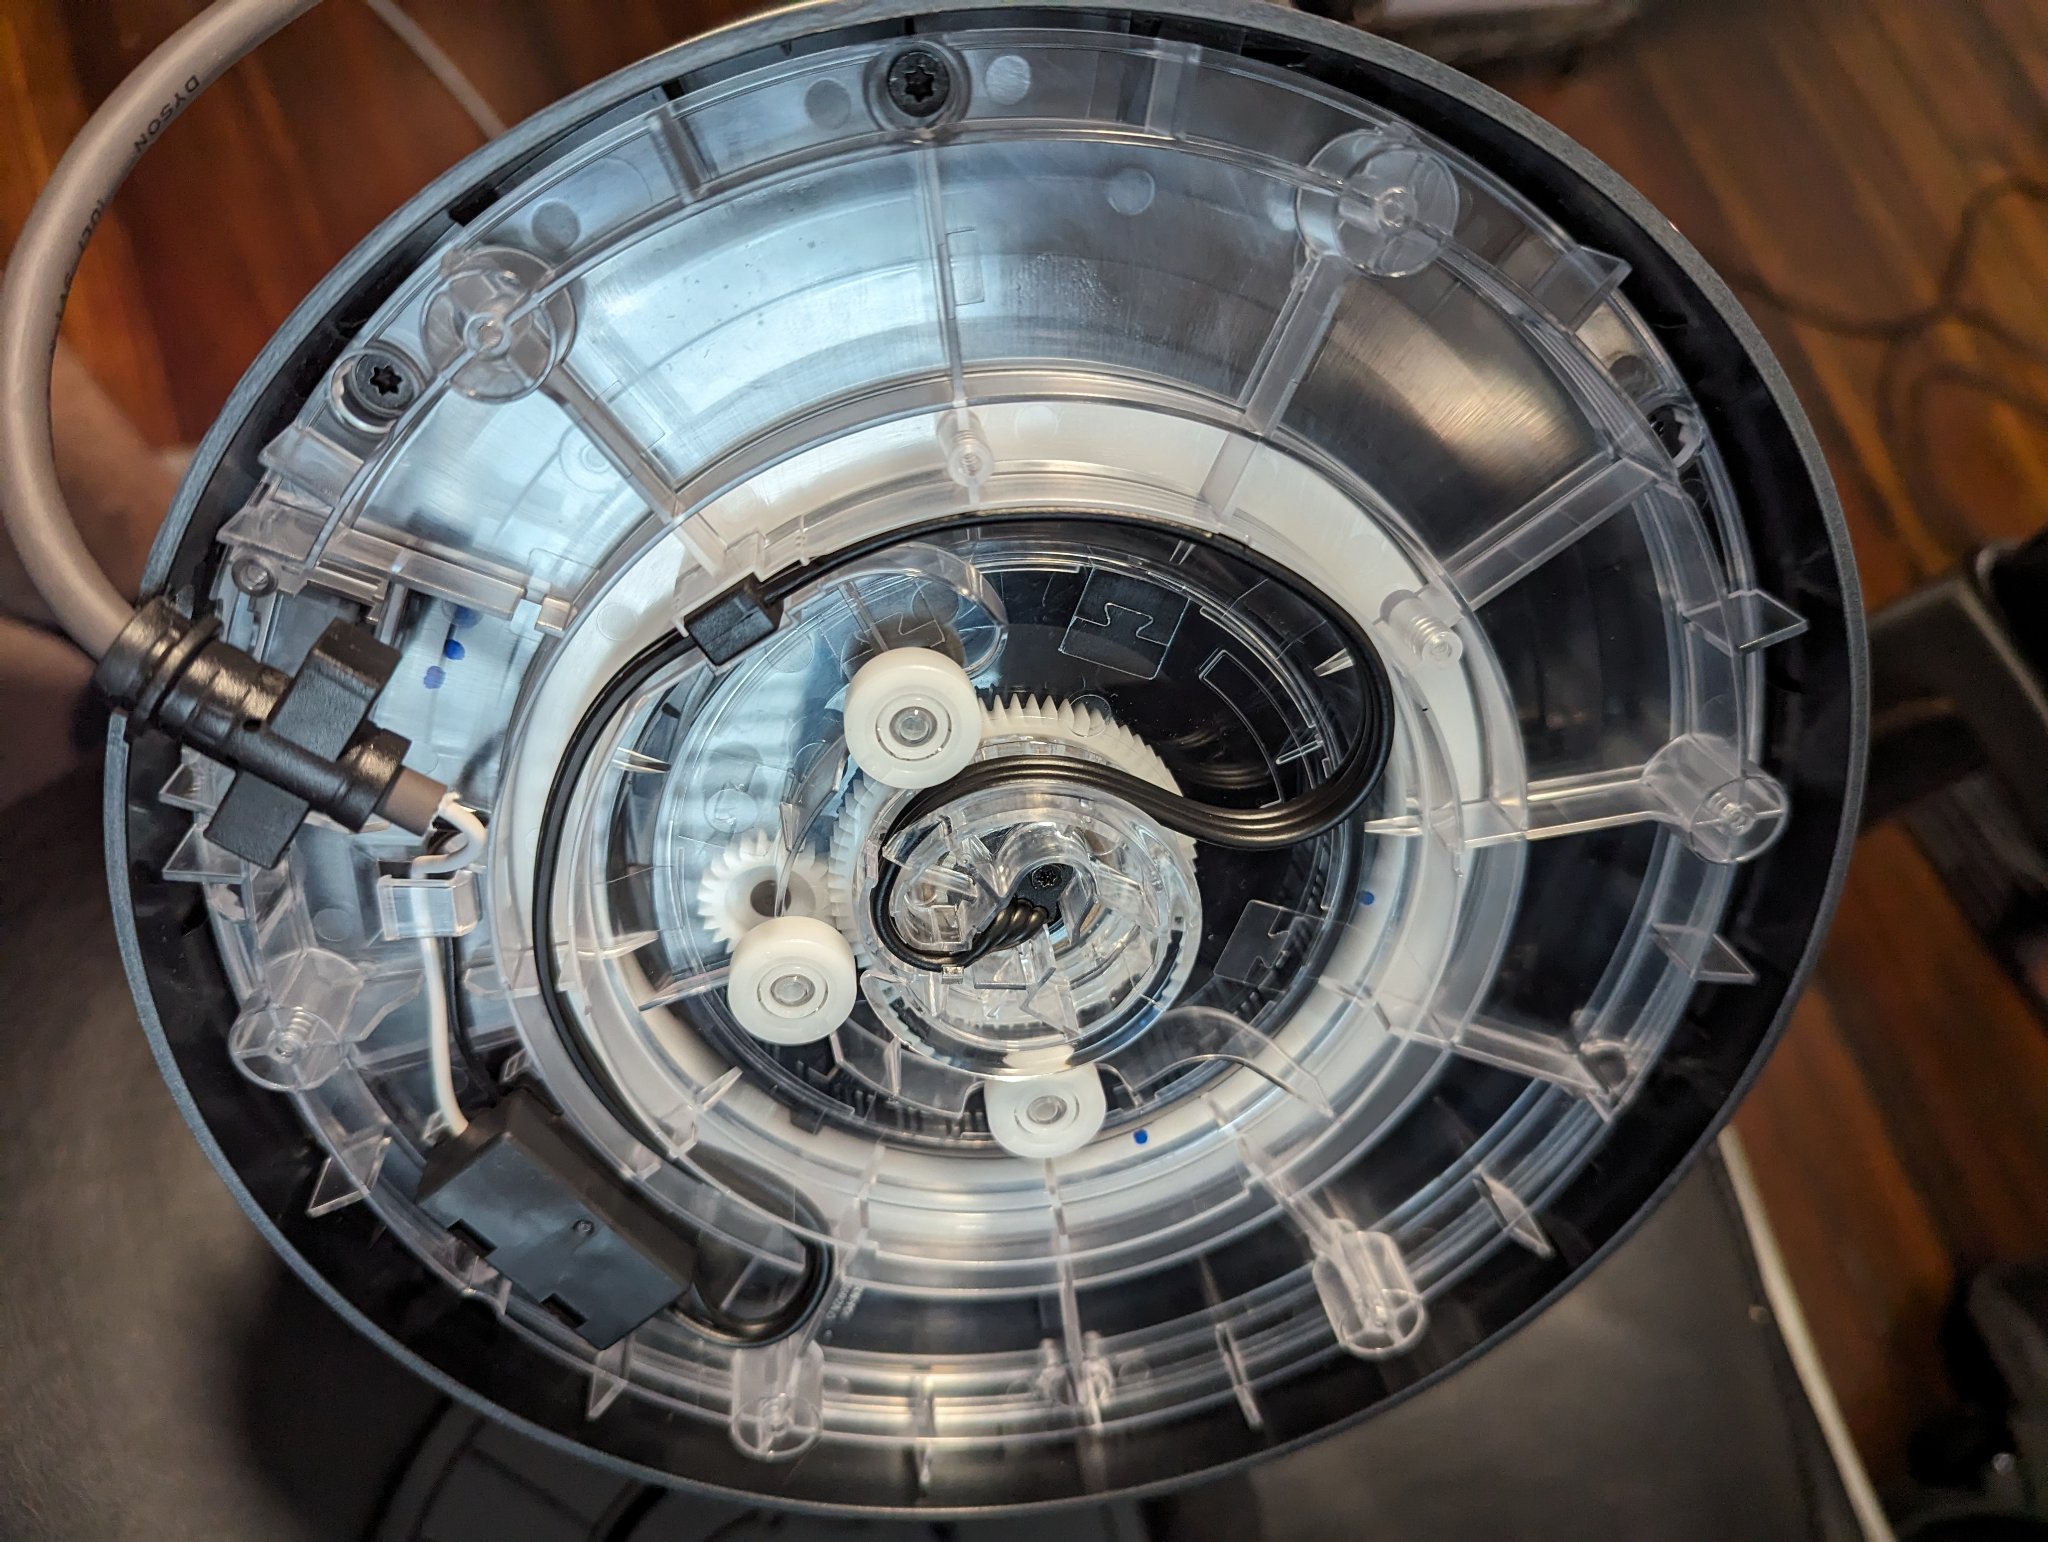
If tape is gone, assembly is correct, and controls respond, but the fan still will not rotate, internal damage may be the cause.
Listen for Motor Hum
Press oscillation and listen closely. A humming or buzzing with no movement means the motor is powered but blocked. This likely indicates stripped gears or a broken drive mechanism. Complete silence means no power to the motor. This could be a wiring fault, blown fuse, or failed control board.
A humming motor after tape removal suggests prior damage from forced operation.
Inspect for Internal Gear Damage
The oscillation motor drives a small gear train in the base. If the fan was used with tape in place, gears can strip or crack. Plastic teeth may shear off, preventing torque transfer.
This requires professional repair. Do not attempt disassembly unless under warranty.
Clear Base of Debris
Over time, dust, hair, or small objects can jam the rotation gap. Shine a flashlight into the seam between the base and column. Look for visible obstructions. Use compressed air or a soft brush to clean gently.
While rare in new units, this can affect older models used in dusty environments.
Contact Dyson Support for Repair
When all troubleshooting fails, it is time to escalate. Dyson offers strong warranty coverage for genuine defects.
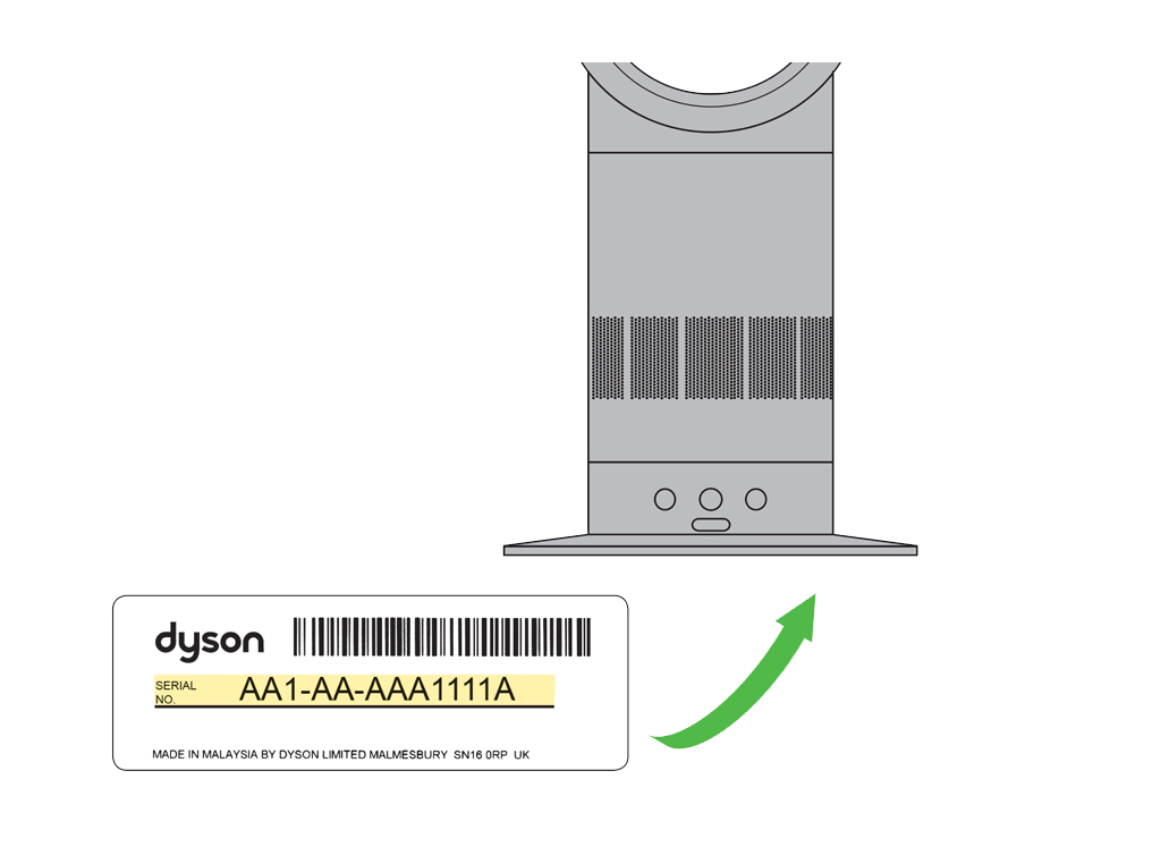
Locate Serial Number
Support will need your fan serial number. It is found on a label on the base of the unit. The format is typically 123-AU-A12345 or AB1-US-B65432. Usually only the first three digits are needed for model identification.
Have this ready before contacting support.
Request Warranty Service
If the fan is under 2 years old, contact Dyson via askdysonus@dyson.com or the official support portal. Explain the steps taken, including tape removal, reset, and remote test. Mention any humming noise or resistance.
Even if tape was left on initially, many users report Dyson honoring warranties for gear damage, especially if undiscoverable due to poor contrast.
Avoid Unauthorized Repairs
Dyson bladeless design uses proprietary components. Internal disassembly voids warranty. Certified technicians are required for motor or gear replacement.
Do not open the base unless instructed by Dyson.
Prevent Future Oscillation Issues
Keep your Dyson fan running smoothly with simple maintenance and awareness.
Clean Base Gap Monthly
Dust buildup can restrict movement over time. Wipe the oscillation seam with a dry microfiber cloth. Use a soft brush or compressed air to clear debris. Do this every 30 to 60 days, especially in pet-friendly homes.
Double-Check Setup Steps
When unboxing a new or stored fan, inspect the base for tape. Assume it is there. Verify flush column alignment. Test oscillation before regular use.
Make tape removal a non-negotiable first step.
Store Remote Safely
Prevent future control issues. Keep the remote near the fan. Replace batteries annually if used infrequently. Avoid dropping it. Internal IR emitters can break.
Key Takeaways for Fixing Your Dyson Cool Tower Fan
A Dyson cool tower fan not oscillating is almost always fixed by removing the factory shipping tape. This tape is often white or blue and camouflaged on the base. If that does not work, verify assembly, reset the system, and test the remote. When humming occurs but no movement, internal gear damage is likely. Contact Dyson support with the serial number for warranty repair. With proper setup and care, your fan should deliver smooth, quiet oscillation for years.
Frequently Asked Questions About Dyson Cool Tower Fan Oscillation
Why does my Dyson fan not oscillate after unboxing?
The most common reason is factory-installed protective tape left on the base. This tape locks the oscillation mechanism during shipping and must be removed before use. Check the base carefully for white or blue tape.
How do I know if the tape is still on my Dyson fan?
Inspect the lower base body where the column meets the circular base. Run your finger around the circumference. If you feel a thin, raised edge or sticky residue, the tape is likely still there.
Can I damage my Dyson fan by forcing oscillation?
Yes. If the protective tape is still in place, forcing the oscillation function can strip internal gears or burn out the motor. Always check for tape first.
What does it mean if my Dyson fan hums but does not oscillate?
A humming motor with no movement indicates the motor is powered but physically blocked. This usually means either tape is still present or internal gears have been damaged from prior forced operation.
How do I reset my Dyson fan to fix oscillation issues?
Unplug the fan from the wall. Wait 10 to 15 seconds to discharge internal circuits. Plug back in and press the oscillation button. This resets the control board.
Where is the serial number on my Dyson fan?
The serial number is on a label located on the base of the unit. It is typically formatted as 123-AU-A12345 or similar. Support often only needs the first three digits to identify the model.