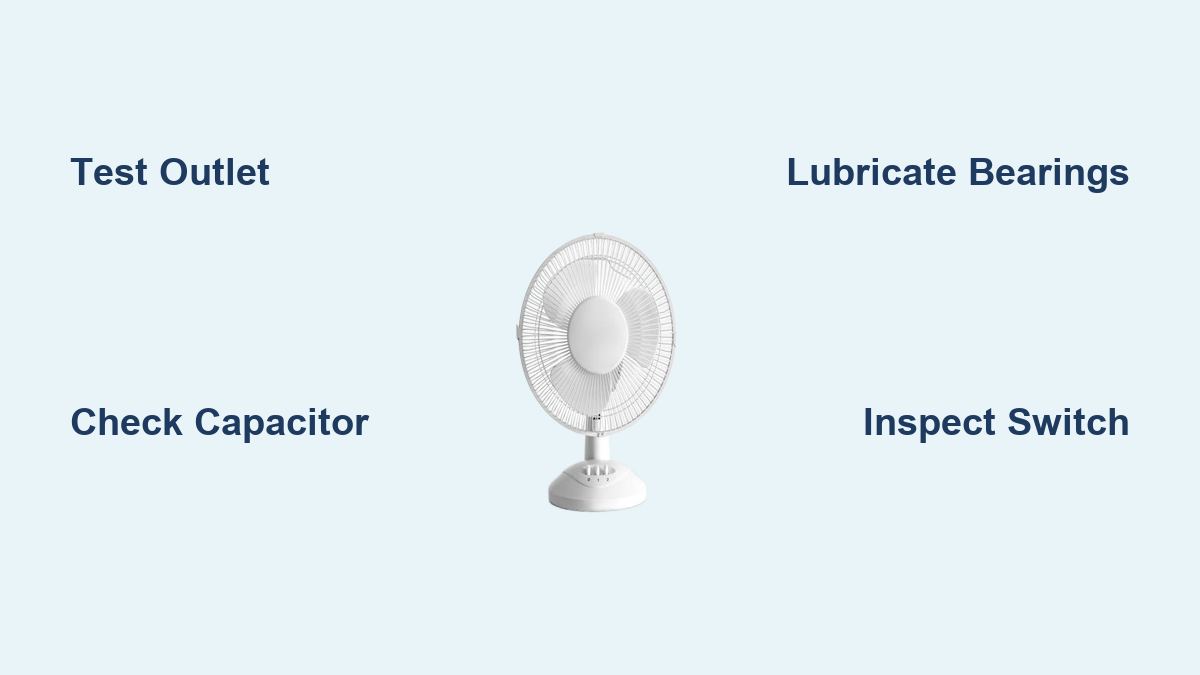
How to Fix Table Fan Not Working
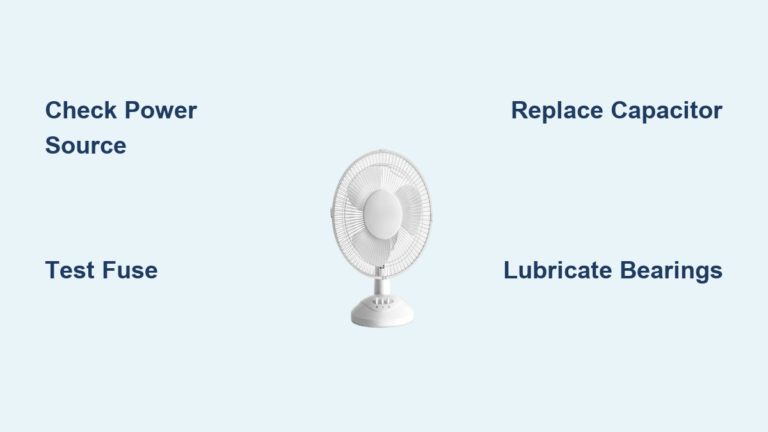
Is your table fan suddenly silent, humming without spinning, or struggling to push air? You’re not alone. Millions of fans fail each year due to simple, fixable issues, and the good news is that 9 out of 10 non-working table fans can be repaired at home with basic tools and a little patience. Whether it’s a seized bearing, failed capacitor, or blown fuse, this guide will walk you step-by-step through diagnosing and fixing your fan, saving you money and avoiding premature disposal.
We’ll cover every common failure point: power delivery problems, electrical faults, mechanical binding, and motor issues. You’ll learn how to use a multimeter effectively, when to replace parts, and when it’s time to call it quits. Let’s get your fan spinning again.
Diagnose Your Fan by Listening to Its Sound
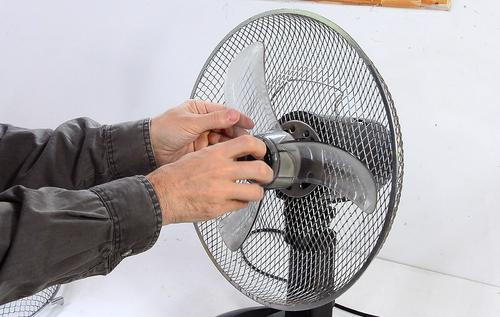
The first clue to your fan’s problem lies in what happens when you turn it on. Don’t open the casing yet. Start with observation and simple tests.
No Sound, No Movement
If the fan is completely dead with no lights, hum, or response, power isn’t reaching the motor. Begin with external checks:
- Test the outlet by plugging in a lamp or phone charger to confirm the socket is live
- Inspect the plug and cord for fraying, kinks, or melted areas
- Some plugs have built-in fuses, particularly in UK/EU models; check for a blown fuse
- Try a different outlet to rule out circuit issues
If the outlet works but the fan doesn’t, move to internal electrical testing.
Humming but Blades Won’t Spin
A humming sound means power is reaching the motor, but something is blocking rotation. Two main causes exist:
- Seized bearings – The shaft feels stiff or locked when turned by hand
- Failed run capacitor – The shaft spins freely but the motor won’t start on its own
Unplug the fan and manually rotate the blades. If they’re hard to turn, bearings are likely seized. If they spin easily, suspect the capacitor.
Slow or Weak Airflow
When the fan runs but lacks power, consider these common culprits:
- Deteriorating capacitor holding partial charge
- Partially seized bearings creating drag
- Dust buildup on blades or motor housing reducing efficiency
Clean the fan first, then test the capacitor if the problem persists.
Intermittent Operation
If the fan works only when wiggled or tapped, the issue is likely:
- Faulty switch with worn internal contacts
- Loose wiring at switch, capacitor, or motor terminals
Cycle the switch multiple times. If it works occasionally, replace the switch.
Test Power Source and Cord
Before disassembling, verify the fan is getting electricity.
Check the Outlet and Plug
Use a known-working device in the same outlet. If it doesn’t power on, the issue is external. Try a different outlet.
Inspect the fan’s plug for these warning signs:
- Melted plastic
- Discoloration
- Loose prongs
If the plug has a fuse, open it if accessible and check the filament. Replace with the same amperage, typically 3A or 5A.
Inspect Power Cord for Damage
Run your hands along the entire cord. Look for these problems:
- Cuts or exposed wires
- Kinks or crushing
- Stiffness indicating an internal break
Even minor damage can interrupt power and pose a fire risk.
Use Multimeter to Test Continuity
- Unplug the fan
- Set multimeter to continuity or resistance mode
- Cut power cord from fan if possible, or access terminal ends inside housing
- Touch probes to each wire end, live and neutral
Expect a beep or near-zero resistance. No continuity means replace the entire power cord.
Pro Tip: If the cord is molded into the housing, you may need to cut and rewire it. Match wire colors and insulate connections with heat-shrink tubing.
Test the Switch and Internal Fuse

Once power delivery is confirmed, test internal components.
Locate and Test the Fan Switch
Most table fans have a rotary or slide switch for speed control.
- Open the housing by removing screws on the base or rear
- Identify the switch, usually connected to 4-5 wires (common input plus 3 speed outputs)
- Set multimeter to continuity mode
Testing steps involve placing one probe on the input wire (often gray or black) and the other on each speed output wire (blue, brown, red). Toggle the switch to each setting.
A good switch shows continuity in each ON position. A bad switch shows no continuity in one or more settings.
Common failure: Contacts wear out, especially on high speed. Replace with an identical switch matching voltage and current rating.
Find and Test Internal Fuse
Many fans have a 5A or 10A thermal fuse near the motor or power entry point.
- Locate the fuse, often a small glass tube or ceramic block
- Remove it or test in-circuit with multimeter on continuity mode
A good fuse beeps or shows 0Ω resistance. A blown fuse shows no sound and infinite resistance.
Replace only with a same-rated fuse. If it blows again immediately, a short circuit exists, likely in the motor or capacitor.
⚠️ Never bypass a fuse because it’s a critical fire safety device.
Replace the Run Capacitor If Needed
The run capacitor is the most common electrical failure in table fans.
Locate the Capacitor
Find a small cylindrical component (black, gray, or white) near the motor. It will have labels like 4 µF (microfarads) and 450V AC.
Inspect for Physical Damage
Look for these warning signs:
- Bulging or swelling
- Leaking oil
- Cracked casing
Even if it looks fine, the capacitor could still be faulty.
Discharge Before Testing
Capacitors store charge even when unplugged. To discharge safely:
- Unplug fan
- Touch both terminals with an insulated screwdriver (metal shaft bridges the gap)
- A small spark indicates normal discharge
Measure Capacitance
- Set multimeter to capacitance mode (symbol: –|(–)
- Disconnect one lead of the capacitor
- Touch probes to the two terminals
For a capacitor labeled 4 µF, a healthy reading is 3.8-4.2 µF. Below 3.5 µF indicates replacement needed. Zero or OL means definitely failed.
Replace with Correct Specifications
Buy a replacement with the same µF rating and same or higher voltage rating. Solder the new capacitor in place, matching wire positions. Use electrical tape or heat shrink for insulation.
✅ Success rate: Replacing a bad capacitor fixes 60% of humming-but-not-spinning cases.
Fix Seized Bearings

If the shaft won’t turn by hand, dried lubricant is the culprit.
Disassemble the Fan
- Unplug and lay fan on a soft surface
- Remove front grill (usually clips or screws)
- Take off fan blade, noting that the retaining nut is often left-hand thread (tightens counterclockwise, loosens clockwise)
- Remove rear grill and housing screws
- Separate front and back housing to expose motor
Apply Penetrating Oil
Use WD-40 or PB Blaster:
- Spray directly into front and rear bearing caps where shaft enters motor
- Let it soak for 10-15 minutes
- Gently rotate shaft back and forth with pliers or fingers
Repeat until shaft spins freely.
⚠️ Do not force the shaft, as you could damage the bushings.
Re-lubricate with Machine Oil
WD-40 is a solvent that cleans but evaporates. For lasting lubrication:
- Apply 2-3 drops of 3-in-1 oil or sewing machine oil to each bearing
- Rotate shaft to distribute oil
- Let sit for 10 minutes
Never use grease because it’s too thick and will slow the motor.
Reassemble and Test
- Reattach blade (hand-tighten the nut without overtightening)
- Reinstall grills and housing
- Plug in and test
✅ Pro Tip: This repair often makes old fans run smoother than new ones.
Check Motor Windings and Thermal Fuse
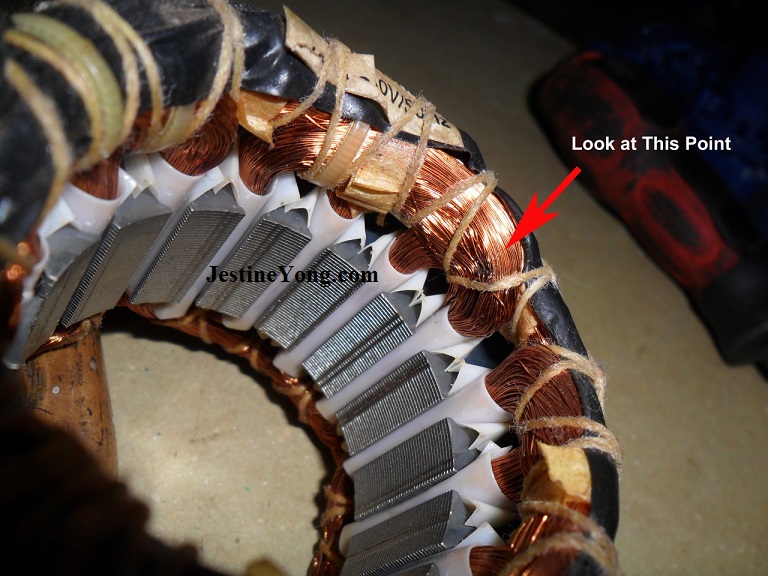
If all else checks out, the problem may be internal to the motor.
Look for Burnt Windings
Open the motor casing if possible:
- Look for blackened or blue-tinted copper coils
- Smell for burnt insulation (sharp, acrid odor)
If windings are damaged, replacement is the only option.
Test Thermal Cutoff
Some motors have a one-time thermal fuse embedded in the windings.
- Locate two thin wires leading from the coil bundle
- Test for continuity with multimeter
No continuity means the thermal link is blown.
⚠️ Repair note: Replacing this requires desoldering and sourcing an exact match. For most users, this isn’t practical.
Decide: Repair or Replace
Ask yourself these questions:
- Is the motor sealed or crimped shut? → Hard to repair
- Are replacement parts unavailable? → Likely not worth fixing
- Is the fan older than 5 years? → Consider upgrading
Rule of thumb: If motor or housing is damaged, replace the fan.
Follow Critical Safety Steps
Never skip safety steps when working with electricity.
Always Unplug Before Working
Even testing continuity should be done with the fan unplugged.
Discharge the Capacitor
Always short the terminals before touching. A charged capacitor can deliver a painful shock.
Use Insulated Tools
Prevent accidental shorts with rubber-handled screwdrivers and pliers.
Match Replacement Parts Exactly
Using a 6 µF capacitor on a 4 µF motor can overheat the windings. Same applies to voltage and fuse ratings.
Work in a Dry Area
Moisture increases shock risk significantly.
Prevent Future Failures
Keep your fan running longer with simple maintenance.
Clean Annually
Dust buildup causes overheating. Remove grills and wipe blades, motor, and housing with a damp cloth.
Lubricate Every 2 Years
Even if not seized, bearings dry out. Apply 1-2 drops of machine oil to shaft ends.
Avoid Overheating
Don’t run the fan with blocked airflow or tilted at extreme angles.
Store Properly
If storing long-term, place in a dry area. Consider removing the blade to reduce bearing pressure.
Key Takeaways for Repairing Your Table Fan

Most table fan problems are simple to fix, especially seized bearings and failed capacitors. With a multimeter, some oil, and basic tools, you can revive a dead fan in under an hour. Focus on testing power delivery first, then check the switch, fuse, and capacitor. If those components check out and the motor is damaged, replacement is the smarter choice. By repairing instead of discarding, you save money and reduce e-waste. Now go fix that fan.
Frequently Asked Questions About Table Fan Repair
Why does my table fan make a humming sound but not spin?
This usually indicates one of two problems. Either the bearings are seized and the shaft can’t rotate, or the run capacitor has failed and can’t provide the initial torque to start the motor. Manually rotate the blades by hand. If they turn with difficulty, the bearings are seized. If they spin freely, the capacitor needs replacement.
Can I repair a table fan myself at home?
Yes, most table fan repairs are DIY-friendly. Common fixes like replacing the capacitor, cleaning and lubricating bearings, or replacing a faulty switch require only basic tools and a multimeter. More complex motor repairs involving windings or thermal fuses are usually not cost-effective for consumer fans.
How much does it cost to repair a table fan?
Simple repairs cost between $0-10. A replacement capacitor runs $3-8, a new switch costs about $5, and a power cord is $5-10. Motor replacement costs $25 or more, which typically exceeds the value of the fan. New table fans cost $20-40, so replacement is smarter when repairs approach half that cost.
How do I know when to replace my table fan instead of repairing it?
Replace the fan if the motor windings are burnt, the plastic housing is cracked, the thermal fuse is blown and inaccessible, or replacement parts can’t be sourced. Also consider replacement if the fan is older than 5 years and requires major repairs.
What tools do I need to repair a table fan?
You’ll need a multimeter (continuity, resistance, and capacitance modes), Phillips and flathead screwdrivers, needle-nose pliers, penetrating oil (WD-40), machine oil (3-in-1), and a soldering iron if replacing components like capacitors or switches. Insulated tools are essential for safety.