How to Fix Honeywell Tower Fan Not Turning On
You’re ready to beat the heat, but your Honeywell tower fan won’t turn on. No lights, no sound, just silence. This is a frustrating situation, but the good news is that most Honeywell tower fans not turning on can be fixed without buying a replacement. The problem usually stems from a few common issues: a blown fuse in the power plug, a seized motor bearing, or a faulty power switch. This guide walks you through every diagnostic step, from the simplest checks you can do in minutes to more advanced repairs that require basic tools.
By the end of this article, you’ll know exactly what’s wrong with your fan and whether it’s worth fixing yourself or if you should replace the unit entirely.
Power Source and Outlet Check
Before opening your fan, rule out simple power problems that have nothing to do with the unit itself. Many fans that appear dead are actually victims of external electrical issues.
Test the Wall Outlet
Plug a working device like a lamp or phone charger into the same outlet your fan uses. If the device doesn’t power on, the outlet is the problem, not your fan. Head to your home’s electrical panel and look for a tripped breaker switch. If you’re using a GFCI outlet in a bathroom or kitchen, locate the reset button and press it firmly.
Inspect the Power Cord and Plug
Examine the entire length of the power cord for visible damage. Look for frayed wires, bent prongs on the plug, or any scorch marks near the base. A damaged cord interrupts power flow and can make your fan appear dead. Gently wiggle the cord near the plug while the fan is plugged in. If the fan flickers or turns on briefly, internal wiring is loose and needs attention.
Try a Different Outlet
Move your fan to another room and plug it into an outlet you know works. This simple test confirms whether the original outlet is the culprit. Avoid using extension cords during testing, as they can reduce voltage and prevent the fan from starting properly.
Remote Control and Front Panel Test
If your fan has power but won’t turn on, the issue might be with the control inputs rather than the motor or electrical system.
Replace Remote Batteries
Dead or weak batteries are the number one cause of remote control failure. Open the battery compartment on your remote and replace both batteries with fresh alkaline ones, even if one looks okay. After replacement, aim the remote directly at the fan’s infrared sensor and press the power button.
Clear Line of Sight
Honeywell remotes use infrared signals that require a clear path. Remove any objects blocking the space between the remote and the fan. Clean the IR sensor window on the fan with a dry cloth. Test the remote from within 10 feet, aiming straight at the sensor.
Use Front Panel Buttons
If the remote doesn’t work, try turning on the fan using the power button on the unit itself. If the fan turns on this way, the remote is the issue. If neither the remote nor the front panel buttons work, the problem is internal and requires further troubleshooting.
Check for Built-In Fuse in Plug

Many Honeywell QuietSet models and similar towers have a fuse built directly into the power plug. This safety feature trips during power surges and is the most common reason a fan suddenly stops working.
Locate the Fuse Compartment
Examine your fan’s power plug carefully. Some models have a small sliding door on the side or bottom of the plug. Use your fingernail or a flat tool to gently open it. Inside, you’ll see a small glass or ceramic fuse and often a spare fuse stored in the same housing.
Remove and Inspect the Fuse
Pull out the fuse carefully and inspect it. A blown fuse will have a broken filament inside or show dark discoloration. If it looks blown, replace it with the spare fuse stored in the plug. Match the rating, which is typically 3A and 250V.
Replace and Test
Insert the new fuse, snap the cover shut, and plug the fan in. Press the power button on the front panel to test. If the fan powers on, you’ve found the fix.
If the Fuse Blows Again
A fuse that blows immediately after replacement suggests a deeper problem. Try plugging the fan into a different circuit in your home. If the fuse blows on a different circuit too, the fan has an internal short in the wiring or motor, and professional repair may be needed.
Diagnose Internal Thermal Fuse

If the plug fuse is fine but your fan remains dead, the thermal fuse on the motor may be blown. This fuse cuts power if the motor overheats, which is a common failure in models like the HYF023WC.
Access the Motor Assembly
Unplug the fan and lay it on a soft surface like a towel. Remove the base cover, which is usually held by four screws on the bottom. Gently lift off the housing to expose the motor and its wiring.
Locate the Thermal Fuse
The thermal fuse is a small component wrapped in a heat-resistant sleeve on the motor windings. It appears as a white or gray tube with two wires extending from it. Use caution when cutting any zip ties that hold the sleeve in place.
Test with a Multimeter
Set your multimeter to continuity mode, which beeps when there’s a connection. Touch one probe to each terminal of the thermal fuse. If the multimeter doesn’t beep, the fuse is blown and has no continuity.
Replace the Thermal Fuse
Purchase a replacement thermal fuse with the same temperature and amperage rating, commonly 167°C and 10A. To install it safely, solder one wire end first. Wrap the other wire tightly around its terminal, then solder quickly to avoid heat damage to the new fuse. Reassemble the fan and test.
Inspect Power Switch and Wiring

The power switch is a frequent failure point, especially in older Honeywell tower fans that have been used extensively.
Test the Power Switch
Use a multimeter to test the switch for continuity. Disconnect the switch wires and set the multimeter to ohms. Press the switch: the resistance should drop to near zero if it’s working. If the reading stays high, the switch is faulty.
Replace with Universal Toggle Switch
A universal toggle switch rated for 120V and 10A works as a replacement for most models. Desolder the old switch, connect the new one, and secure it inside the base. Reassemble the fan and test the power function.
Check for Loose or Disconnected Wires
Vibrations from normal operation can loosen crimp connectors inside the fan. Trace all wires from the plug to the motor and circuit board. Look for wires pulled from terminals, burnt insulation, or corroded contacts. Reconnect any loose wires using crimp connectors or solder.
Address Seized Bearings (Humming but Not Spinning)
If your fan hums when powered on but the blades don’t turn, the top bearing is likely seized. This is a well-known issue in models like the HYF013W.
Confirm the Symptom
Turn on the fan and listen carefully. A low hum with slight motor vibration but no blade movement indicates a seized bearing. Proceed with the bearing repair process.
Manually Rotate the Blades
Try spinning the blades by hand. If they’re stiff or won’t turn at all, the bearing is dry or jammed and needs cleaning and lubrication.
Disassemble to Access the Bearing
Remove the two screws at the top of the fan housing. Use a bent paperclip or small hook to gently lift the plastic retaining clip without breaking it. Carefully pry off the top housing to reach the motor and bearing.
Clean and Lubricate the Shaft
Spray 3M Contact Cleaner into the bearing to dissolve old, hardened grease. Let it sit for five minutes, then wipe away residue. Apply one to two drops of precision lubricant like sewing machine oil or 3M blue fan lubricant directly to the shaft. Rotate the shaft by hand to distribute the oil evenly.
Reassemble Properly
Slide the bearing back into position, aligning the small tab with the housing slot. Reattach the top cover and secure the screws. Plug in the fan and test.
Blade Coupling and Gear Failures

In some models like the HS-1655, the motor runs but the blades stay still, indicating a failed coupling or stripped gears.
Diagnose the Coupling
Remove the front grill to access the blade assembly. Manually spin the motor shaft visible at the base of the blade hub. If the shaft spins but the blades don’t move, the plastic coupling is broken. If the shaft won’t spin, the motor or bearings are seized.
Replace the Coupling
Couplings are often model-specific and hard to find for discontinued units. Search online using your model number plus “blade coupling.” If the part is unavailable, repair may not be cost-effective, and replacement might be the better option.
Avoid WD-40 on Gears
WD-40 is not a lubricant for internal gears. Use a light machine oil or silicone-based grease if you’re reusing the coupling, but know that a broken coupling usually requires replacement.
Control Panel and Button Issues
If your fan has power but buttons don’t respond, the control panel may be faulty or dirty.
Clean Stuck Buttons
Dirt and oils can cause buttons to stick. Disassemble the control panel and clean underneath with isopropyl alcohol and a cotton swab. Let it dry completely before reassembling.
Test Circuit Board
Look for burn marks, swollen capacitors, or broken traces on the circuit board. Use a multimeter to test button contacts for continuity when pressed. No response indicates the board needs replacement.
Check Scent Module (HY-204 Models)
Febreze-enabled fans have a scent knob that can cause issues in rare cases. Ensure the cartridge is seated properly and the knob isn’t turned fully off. A misaligned compartment can trigger a sensor lockout.
Model-Specific Fixes and Tips
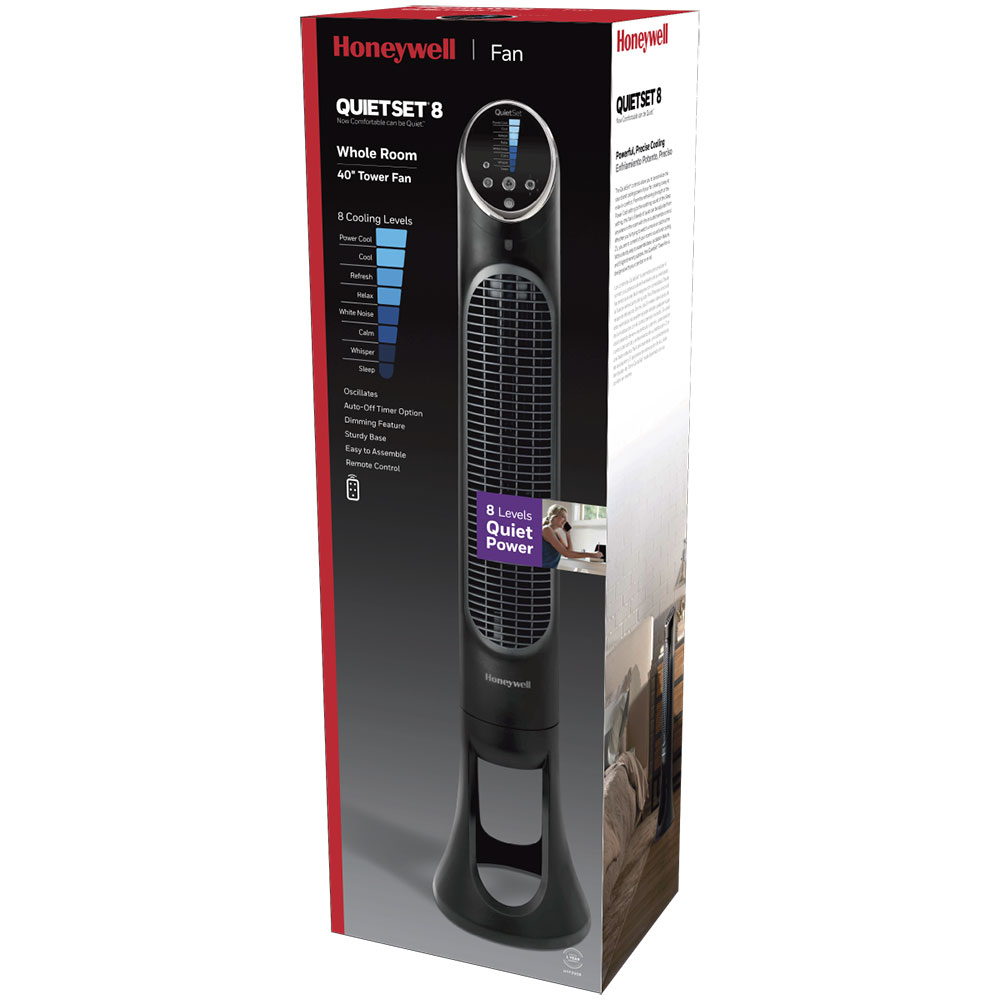
Different Honeywell models fail in predictable ways. Use this reference to guide your troubleshooting.
QuietSet Series: Always check the fuse in the plug first. This is the most common fix, and these models include a built-in spare.
HYF023WC: If there’s no light and no sound, test the thermal fuse on the motor windings and replace if blown.
HYF013W: A humming sound with no spin means clean and lubricate the top bearing, which is a known weak point.
HS-1655: If the motor runs but blades don’t, the rubber coupling has likely failed. Parts are scarce, so consider replacement.
Fake or Knockoff Units: Some “Honeywell-style” fans are counterfeits. Check for a UL certification label and genuine model number. These units often have poor wiring and no safety fuses, making them unsafe to repair.
Tools and Parts You’ll Need
Gather these items before starting your repair.
• Screwdrivers (Phillips and flathead)
• Multimeter (for continuity tests)
• Soldering iron (for fuse and switch replacement)
• 3M Contact Cleaner (red) and fan lubricant (blue)
• Replacement fuses (3A, 10A, 15A as needed)
• Universal toggle switch (120V, 10A)
• Crimp connectors and wire strippers
• Plastic spudger or thin tool for prying
Safety First: Critical Warnings
• Always unplug the fan before any disassembly.
• Never touch internal components while the fan is plugged in.
• Wait five minutes after unplugging to let capacitors discharge.
• Never bypass fuses. They protect against fire hazards.
• If the unit smells burnt or has melted parts, stop immediately and replace the fan.
• Opening the unit voids the warranty. Contact Honeywell first if your fan is still covered.
Prevent Future Failures
Keep your fan running longer with regular maintenance.
• Use a surge protector to prevent blown fuses from electrical spikes.
• Clean the fan every three to six months. Dust buildup strains the motor.
• Lubricate bearings annually on older models with a drop of precision oil.
• Store the fan in a dry place. Moisture causes corrosion and electrical shorts.
Final Verdict: Repair or Replace?
Most Honeywell tower fans can be repaired for under $20. A blown fuse, seized bearing, or bad switch makes repair worthwhile. However, discontinued models with no available parts, burnt motors, or counterfeit units are not worth fixing.
If your fan is under warranty, contact Honeywell support first. If not, start with the plug fuse check, as nine out of ten times, that’s the fix. With the right approach, your fan can cool you for years to come.
Frequently Asked Questions About Honeywell Tower Fan Not Turning On
Why does my Honeywell tower fan have power but won’t turn on?
This usually indicates a problem with the control inputs. Try replacing the remote batteries first, then test the front panel buttons. If neither works, check for a blown internal fuse or a faulty power switch.
How do I know if my fan has a blown fuse?
If your fan is completely dead with no lights, no sound, and no response to controls, a blown fuse is likely. Check the fuse in the power plug first, then test the thermal fuse on the motor if the plug fuse is intact.
Can a seized bearing be fixed, or do I need a new fan?
A seized bearing can usually be fixed by cleaning out old lubricant and applying fresh oil. This is a common repair that often restores full functionality without needing a replacement fan.
Why does my fan hum but the blades don’t spin?
This symptom points to a seized bearing or mechanical binding. The motor is getting power and trying to turn, but the bearing won’t allow rotation. Clean and lubricate the bearing to fix this.
Is it worth repairing an old Honeywell tower fan?
If the repair costs under $20 for parts like fuses or a switch, it’s worth fixing. If the model is discontinued with no available parts or the motor is burnt out, replacement makes more sense.
Key Takeaways for Fixing Your Honeywell Tower Fan
The majority of Honeywell tower fans that won’t turn on have simple fixes. Start by checking the outlet and the fuse in the power plug, as this solves the problem in most cases. If the fan hums but doesn’t spin, the bearing needs cleaning and lubrication. Always use a multimeter to test components before replacing them, and prioritize safety by unplugging the fan before any disassembly. With basic tools and this guide, you can save money and extend the life of your fan without professional help.