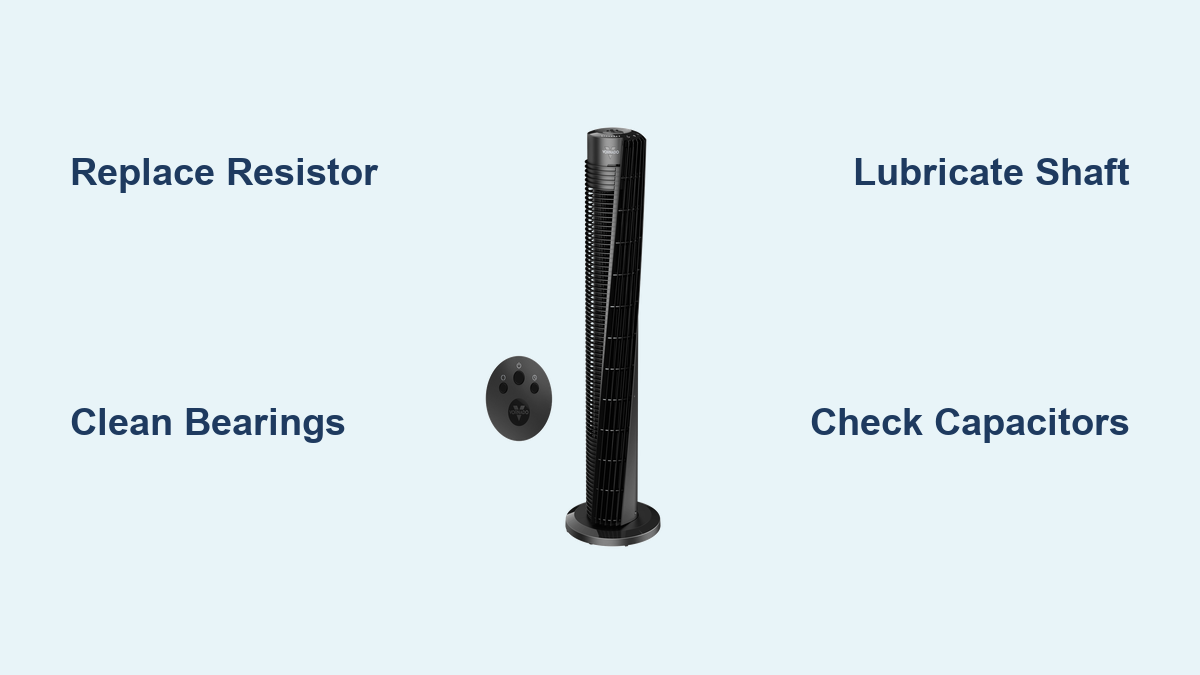
How to Fix Vornado Tower Fan
Is your Vornado tower fan suddenly dead, with no lights, no sound, and no airflow? Or maybe it’s humming but the blades simply won’t spin. You’re not alone. Vornado fans are built for powerful whole-room circulation, but like any appliance, they can fail over time. The good news is that most common issues are fixable at home with basic tools and a bit of know-how. Whether it’s a blown resistor, seized motor bearings, or a cut power cord, this guide shows you exactly how to diagnose and repair your Vornado tower fan, saving you money and extending its life.
You’ll learn how to safely disassemble the unit, test key electrical components, clean and lubricate the motor, and restore full function in under an hour. Let’s get your fan spinning again.
Diagnose Electrical Failure First

When your Vornado tower fan won’t turn on, with no lights and no noise, you’re likely dealing with an electrical fault. This is common in older models like the Vornado 184 and Duo. The problem is rarely the motor itself. Instead, it’s usually a small, inexpensive component on the circuit board. Before tearing into the motor, confirm power flow and test internal components.
Check Power and Cord Connection
Start with the basics. Plug the fan into a known-working outlet and listen for any response. No sound? Test the outlet with another device. Still nothing? The issue could be the power cord, a frequent failure point especially if the fan has been pulled by the cord.
Unplug the fan and inspect the cord for these issues:
• Cuts, kinks, or fraying near the plug or housing
• Visible wire exposure
• Loose connection at the housing entry point
If damaged, strip the ends and reconnect using wire nuts or solder. But if the cord looks fine, move inside. Remove the rubber feet from the base, each hides a screw. Unscrew them, then lift off the bottom plate. With the housing open, trace the cord to where it connects to the circuit board. Use a multimeter to test for 120V AC at the board input while the fan is plugged in. Use extreme caution with live tests. If voltage is missing, the cord or plug is faulty. If 120V is present, the board is receiving power, so the fault lies deeper.
Test the 10-Ohm Resistor
In Vornado 184 models, the most common cause of total power loss is a failed 10-ohm, 2-watt resistor located near the power input terminals. This small component regulates current flow. If it opens up, the entire circuit shuts down.
Unplug the fan. Set your multimeter to resistance (ohms). Place probes on each leg of the resistor. A healthy reading should be close to 10 ohms. If it reads infinite or several megaohms, the resistor is blown.
Replace it with an identical 10-ohm, 2-watt resistor. Desolder the old one, insert the new one, and solder securely. This fifty-cent fix resolves the majority of dead fan cases.
Inspect Capacitors and Diodes
Two electrolytic capacitors, 1000 µF and 10 µF, are critical for motor operation. Over time, especially in hot environments, they degrade. A 1000 µF cap reading below 900 µF has lost too much capacitance and should be replaced.
Use your multimeter’s capacitance mode. Disconnect power and discharge the caps by shorting their leads with a screwdriver (carefully). Measure each. Replace both if either is out of spec, cheap insurance against future failure.
Next, test the diodes. Desolder one lead of each to isolate them. In diode mode, you should see a forward voltage drop (like 0.5V) and no continuity in reverse. If either fails, replace it.
Verify the Thermal Fuse
A white-sleeved thermal fuse is often mounted on the circuit board. It trips if the motor overheats, cutting power permanently unlike a resettable breaker.
Test for continuity with the multimeter. A good fuse will beep, showing near 0 ohms. No beep means it’s blown. While less common than resistor failure, a blown fuse suggests the fan overheated, so check for dust blockage or lubrication issues after replacement.
Fix Motor Humming and No Spin
If your Vornado powers on, lights work and buttons respond, but the blades don’t turn and you hear a low humming noise, the motor is trying to start but is mechanically blocked. This is a bearing seizure issue, not electrical. Dust, hair, and dried grease bind the motor shaft, preventing rotation.
This problem affects both the Vornado 184 and Duo models. The fix involves cleaning and lubricating the bearings.
Disassemble Using Hidden Screws
Vornado tower fans use a clean, screw-free exterior design. The screws are hidden under the rubber feet on the base.
Flip the fan over and peel back each foot to reveal a Phillips screw. Remove all four (or five depending on model). Also remove the central screw in the middle of the base. Lift off the bottom plate. You’ll see the motor housing secured by additional screws.
Remove the central motor screw and the four perimeter screws. Gently slide the motor assembly upward because it’s attached to an internal arm and power cable. Carefully disconnect or reroute the power cable from its plastic channel. Avoid pulling wires loose. Once free, lift off the front housing to expose the blade and motor shaft.
Clean Seized Bearings Thoroughly
Focus on the lower bearing where the motor shaft rotates. This area collects dust, hair, and old grease, forming a sticky paste that locks the shaft.
Use a soft brush or compressed air to remove loose debris. Then apply electrical contact cleaner, a strong solvent that cuts through grime and varnish. Spray sparingly around the shaft and bearing housing. Let it sit for a minute, then wipe clean with a lint-free cloth.
Avoid water or household cleaners because they can damage electrical components. Work in a well-ventilated area since contact cleaner has strong fumes.
Spin the shaft by hand. If it’s still stiff, repeat the cleaning. The goal is zero resistance. It should rotate freely.
Lubricate with 3-in-1 Oil
Once clean, apply lubrication. Do not use WD-40 because it’s a degreaser, not a long-term lubricant.
Use 3-in-1 lightweight machine oil or equivalent. Apply one drop directly to these points:
• The motor shaft
• The bearing housing
• The lower bearing seat
Then spin the shaft several times to distribute the oil. It should move smoothly. Over-lubrication can attract dust, so use sparingly.
Reassemble in reverse: slide the motor housing back, reconnect the cable, secure all screws, and snap the front panel and rubber feet back in place.
Replace Faulty Circuit Board Components
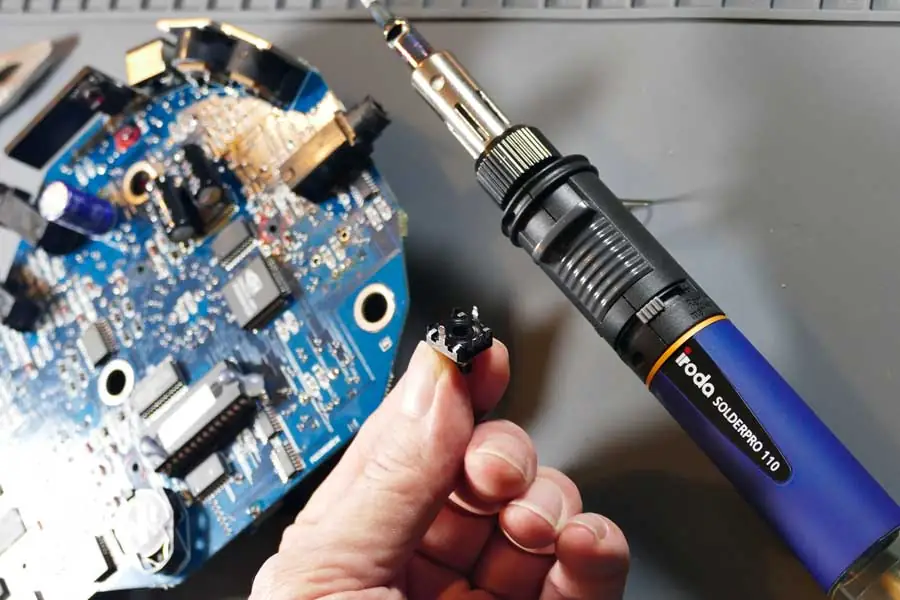
If electrical testing reveals multiple failed parts, a full board refresh may be needed. This is common in aging Vornado 184 units with repeated power issues.
Identify Common Failure Points
The circuit board in Vornado tower fans is minimal but critical. Key components include:
• 10-ohm resistor (most common failure)
• 1000 µF and 10 µF capacitors
• Thermal fuse (white sleeve)
• Diodes and IC chip
If the fan has suffered heat stress or power surges, multiple components may degrade. Even if one part tests okay, replacing all three (resistor, caps, fuse) ensures reliability.
Solder New Parts Correctly
You’ll need a basic soldering iron (60W recommended), solder, and desoldering wick or pump.
Follow these steps:
- Heat the joint with the iron
- Use the desoldering tool to remove old solder
- Pull out the failed component
- Insert the new one
- Apply fresh solder to both leads
Ensure clean, shiny joints because cold solder joints cause intermittent failures. Let the board cool before retesting.
Use exact replacements. The resistor should be 10 ohms, 2 watts. Capacitors need the same µF rating and voltage (typically 25V or 50V). The fuse must match temperature and current rating.
After replacement, plug in and test. Lights should illuminate and the fan should respond to controls.
Prevent Future Failures
A repaired fan can last years longer with proper care. Most Vornado issues stem from dust buildup and poor cable management. Prevent recurrence with simple maintenance.
Clean Vents Monthly
Dust blocks airflow and overheats the motor. Use compressed air to blow out front and rear grilles every 30 days. Do this with the fan unplugged and in short bursts to avoid forcing debris deeper.
For heavy buildup, remove the front panel if accessible without full disassembly and wipe with a damp cloth. Never submerge the fan.
Secure Internal Wiring
Loose cables strain solder joints and can short-circuit. During reassembly, check the internal cable restraint clip. If it’s broken or loose, apply a small dab of hot glue to anchor the wire.
This prevents tugging on connections when moving the fan, especially important if the cord was previously cut from strain.
Avoid Cord Pulling
Never yank the fan by its power cord. This damages the plug connection and can pull wires loose inside the base. Always grip the housing when moving.
Also, unplug when not in use for long periods. This reduces capacitor stress and prevents surge damage.
Troubleshoot Using Symptom Guide
Can’t identify the issue? Use this quick-reference table to match symptoms to solutions.
| Symptom | Likely Cause | Fix |
|---|---|---|
| No power, no lights | Blown 10-ohm resistor | Replace resistor |
| No power, cord intact | Failed capacitors | Replace 1000 µF & 10 µF caps |
| Humming, no spin | Seized bearings | Clean & lubricate shaft |
| Intermittent operation | Loose wiring | Secure cable with hot glue |
| Fan cuts out after minutes | Overheating | Clean vents, check lubrication |
Note that most Vornado tower fans (like the 184 and Duo) are non-oscillating. They rely on V-Flow technology for wide circulation. If your model doesn’t pivot, this is by design.
Repair Cost vs Replacement

Fixing a Vornado tower fan typically costs under six dollars in parts and less than an hour of your time.
| Repair | Parts Cost | Time |
|---|---|---|
| Replace 10-ohm resistor | $0.50 | 10 min |
| Replace capacitors | $0.50 | 20 min |
| Clean & lubricate motor | $3.00 (oil) | 30 min |
| Reconnect power cord | $0.00–$5.00 | 15 min |
Compare that to buying a new Vornado fan, fifty to one hundred dollars. Repairing is almost always the smarter choice.
Even if you lack soldering skills, cleaning the motor and lubricating the shaft can resolve humming issues without opening the circuit board.
Frequently Asked Questions About Vornado Tower Fan Repair
Why does my Vornado tower fan have no power even though it’s plugged in?
The most common cause is a blown 10-ohm, 2-watt resistor on the circuit board. This component regulates current flow, and when it fails, it prevents power from reaching the motor. Test the resistor with a multimeter set to ohms. A reading of infinite or several megaohms means the resistor is blown and needs replacement.
Can I fix a Vornado fan that hums but doesn’t spin?
Yes. This symptom indicates motor bearing seizure, not an electrical failure. Dust, hair, and dried grease bind the motor shaft. Remove the motor housing, clean the bearings with electrical contact cleaner, and apply one drop of 3-in-1 lightweight machine oil. The shaft should spin freely after treatment.
How do I access the motor on a Vornado tower fan?
The screws are hidden under the rubber feet on the base. Peel back each foot to reveal a Phillips screw. Remove all four or five screws plus the central screw in the base. Lift off the bottom plate, then remove the motor housing screws to access the internal components.
Are Vornado tower fans supposed to oscillate?
Most Vornado tower fans like the 184 and Duo models are non-oscillating. They use V-Flow technology to create whole-room circulation rather than directional oscillation. If your model doesn’t pivot, this is normal design, not a defect.
How much does it cost to repair a Vornado tower fan?
Most repairs cost under six dollars in parts. A 10-ohm resistor costs about fifty cents. Capacitors cost about fifty cents total. Oil for lubrication costs around three dollars. Compare this to fifty to one hundred dollars for a new fan.
What tools do I need to repair a Vornado tower fan?
You’ll need a multimeter for electrical testing, a soldering iron (60W recommended) for component replacement, a precision screwdriver set for the hidden screws, electrical contact cleaner for cleaning, and 3-in-1 oil for lubrication. A hot glue gun helps secure loose cables during reassembly.
Key Takeaways for Fixing Your Vornado Tower Fan

Fixing a Vornado tower fan doesn’t require advanced skills, just patience and the right steps. Most dead fan issues trace back to a fifty-cent resistor or dirty bearings. By following this guide, you’ve diagnosed electrical faults, cleaned and lubricated the motor, and secured internal wiring to prevent future problems.
Regular dusting and avoiding cord strain will keep your fan running for years. And if it ever fails again? Now you know exactly how to bring it back to life. The repair typically costs under six dollars and takes less than an hour, making it far more economical than replacement.