How to Fix a Noisy Tower Fan
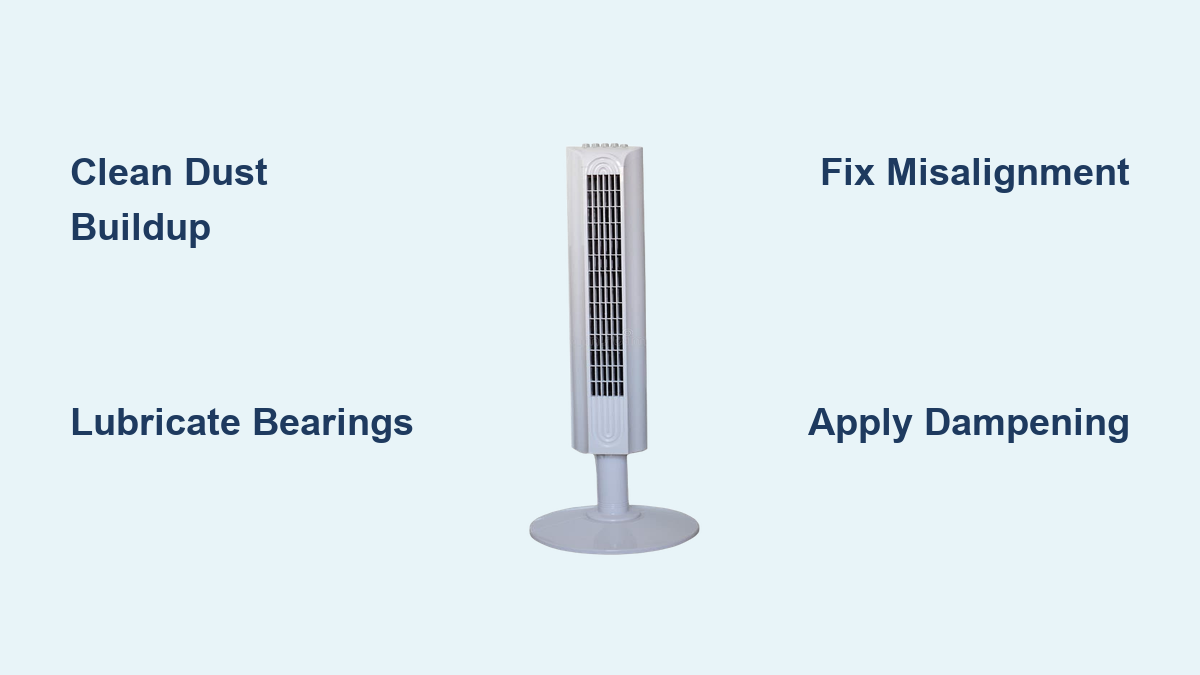
Is your once-quiet tower fan now growling, squeaking, or clicking like a broken metronome? You are not alone. A noisy tower fan is a common household annoyance, but it is almost never a sign the motor is dead. In fact, 80% of noise issues stem from dust buildup, with dry bearings and mechanical misalignment making up most of the rest. The good news? With the right tools and a little patience, you can silence that racket in under 30 minutes.
This guide walks you through diagnosing the exact cause of your fan noise, whether it is a deep grind, high-pitched squeal, or rhythmic click. You will learn how to clean compacted dust, lubricate sealed bearings, and stop vibrations using simple dampening tricks. Whether your fan cost $20 or $150, you will save money, reduce waste, and restore smooth, silent airflow.
Diagnose Your Tower Fan Noise: What Each Sound Means
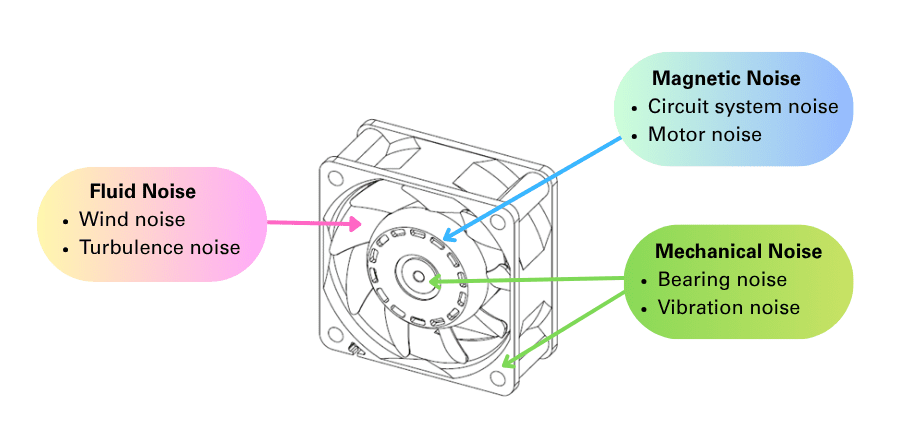
Before grabbing tools, listen closely. The sound your fan makes reveals the root cause and the right fix.
Common Noise Types and Their Causes
A deep growl or grinding sound typically indicates compacted dust in the motor or bearing housings. This creates significant friction and metal-on-metal contact. A high-pitched squeak points to dry bearings where factory grease has depleted. The noise originates from the motor sealed bearing where tiny steel balls grind against rings without lubrication.
Clicking or scraping suggests mechanical misalignment. The bearing bracket becomes misaligned with the blade drum axis of rotation, causing the metal bracket to vibrate and scrape against the surrounding plastic housing. A low hum generally comes from dust on pivot points or slight blade imbalance.
Locate the Noise Source
With safety glasses on, power on the fan and lean in carefully. Most noise comes from the top of the blade drum bearing area, the base motor housing, or the plastic slots where the bearing bracket moves. If the metal bracket visibly vibrates, misalignment is likely. If the noise changes with fan speed, it is probably dust or lubrication-related.
Tools and Supplies Needed to Fix a Noisy Tower Fan
Having the right supplies ready prevents frustration and keeps you safe throughout the repair process.
Essential Tools
You will need several screwdrivers including a long Phillips for deep-set screws, a micro screwdriver for small caps, and a flathead or plastic trim tool for prying. A magnetic screwdriver and tray are critical for preventing lost screws. For cleaning, gather compressed air (a 1-gallon air compressor is preferred over canned air), dental picks or toothpicks for digging out dense dust, soft brushes, and lint-free cloths.
Lubricants and Cleaners
Stock up on Three-in-One oil for light penetration, PB Blaster or penetrating lube for cleaning old grime, and dry lubricant spray for dust-resistant application to pivot points. White lithium grease works for long-lasting lubrication but use it sparingly. For clicking issues, have liquid electrical tape or RTV sealant available for dampening vibration.
Safety Must-Haves
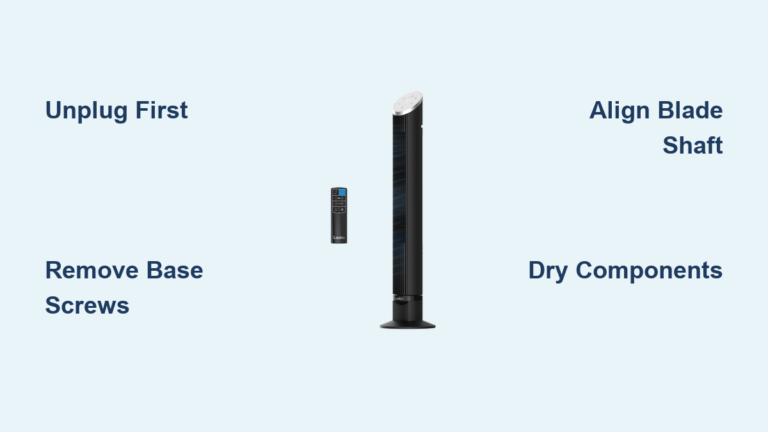
Always wear safety glasses when running a disassembled fan or using air compressors. Gloves protect your hands from grease and sharp edges. Most importantly, unplug the fan before any work begins.
Quick Fix: Clean Your Tower Fan Without Taking It Apart
If you are not comfortable opening the fan or it has sealed housing, this method works fast and often solves the problem.
Prepare the Fan Properly
Unplug the fan and remove the base for stability. Mark orientation with tape so you reassemble it correctly. Work outdoors because blasting dust indoors coats your space in fine debris.
Blow Out Dust With Compressed Air
Use a 1-gallon air compressor with a wide nozzle. Aim at grates and back vents. Run the fan while blowing air because this creates a self-cleaning vortex. Use 5 to 10 second bursts until no more dust flies out.
Wipe Interior Surfaces
Use a dry or slightly damp cloth for wiping. For greasy film, use water or mild cleaner but never soak the motor. Let the fan dry completely before powering on.
Lubricate Bearings Without Opening
If squeaking remains after cleaning, the bearings need oil. Find the shaft end at the top or bottom. If blocked by plastic, drill a 3mm hole in the back panel or remove tabs carefully. Drip 2 to 3 drops of Three-in-One oil into the hole. Avoid WD-40 because it cleans but evaporates fast and attracts dust. For sealing, add a touch of white lithium grease around the hole.
Let the fan sit upright for 1 minute so oil flows down. Flip it upside down briefly, then return to upright. Run for 5 to 10 minutes. Some debris may fling out initially, which is normal.
Deep Clean: Full Disassembly for Stubborn Fan Noise

For severe growling or recurring noise that persists after quick cleaning, full disassembly lets you pack fresh grease and remove all compacted dust.
Remove the Back Cover
Unscrew the visible screws, usually six total. Check for hidden screws by looking for a plastic cap near the top. Push one side of the cap to rotate it, then use a micro screwdriver to pry it out and access the hidden screw. Release plastic clips by gently pushing inward on the casing edges.
Detach the Base and Motor
Remove four black Phillips screws from the base. One may have a retaining wire, so push the lips outward to free it. Remove four bolts and nuts with washers holding the motor. During reassembly, place washers on the screw head side.
Remove the Blade Assembly
Rotate the shaft to expose a small black screw at the base and remove it. Lift the squirrel cage blade drum off the central rod. During reassembly, align the flat spot on the shaft with the set screw.
Disconnect the Power Cable
Locate the two-piece connector where the wire enters the base. Slide it apart and note the routing notch in the base for correct reinstallation.
Remove Dust From Motor and Bearings
Now that the motor is exposed, attack the real problem: compacted dust that causes grinding noises.
Probe and Loosen Built-Up Dust
Use a toothpick or dental pick to probe bearing housings. Look for dense, dark clumps. This is what causes grinding and growling sounds.
Blast With Compressed Air
Take the unit outside. Use an air compressor or spray gun to blow out dust from the motor housing, pivot points, and bearing gaps. Continue until zero dust emerges.
Wipe and Dry Thoroughly
Use a dry lint-free cloth on the shaft and motor. Never use water or wet cleaners inside the motor because moisture attracts dust and causes long-term damage.
Lubricate Dry Bearings to Stop Squeaking
Cleaning alone is not enough. Dry bearings need fresh grease to restore quiet operation.
Clean Out Old Grease First
Spray PB Blaster into the bearing. Hold the motor horizontally and spin the shaft slowly. Let the cleaner flow through and pull out old grime. Wipe excess away. Do not use standard WD-40 as a final lubricant because it attracts dust and dries out quickly.
Pack Fresh Grease by Hand
Apply a small amount of automotive-grade high-temperature grease to the bottom of the bearing. Use your finger as a plunger. Push grease in, rotate the shaft, and repeat. Optional heat boost: use a power drill to spin the shaft because friction softens grease for deeper penetration. Keep going until clean grease bleeds out the top. This means the bearing is full. Use a dental pick to remove dirty residue as it pushes out.
Warning: Over-greasing causes drag and attracts dust. Stop when fresh grease appears.
Alternative: Dry Lubricant for Pivot Points
For non-sealed areas, use a light mist of dry lubricant. Avoid overspray because excess attracts debris.
Stop Clicking: Fix Tower Fan Misalignment

If your fan clicks or scrapes rhythmically, the bearing bracket is misaligned and vibrating against plastic.
Expose the Bearing Bracket
Open the case and remove the two screws holding the metal bracket. Gently flex the blade drum forward to lift the bracket off the shaft.
Clean and Prep the Surfaces
Wipe the shaft with a cotton swab. Apply fresh grease to the shaft, not the bracket slot.
Apply Dampening Compound
This is the key fix for vibration noise. Identify the horizontal tab on the bracket that slides into the plastic housing. Lightly coat it with liquid electrical tape, RTV sealant, or caulking with viscoelastic properties. Also coat the back of the vertical surface with screw holes and the inside of the screw holes. Never apply to the bearing or shaft. Only coat structural contact points.
Dynamically Tighten While Running
This ensures perfect alignment. Reinstall the bracket and bearing. Insert screws but leave them loose. Put on safety glasses, plug in, and turn on the fan. Gradually tighten screws while the fan runs. Stop exactly when vibration stops and noise disappears.
Expert Note: This live adjustment lets the fan find its natural balance. Over-tightening reintroduces stress and noise.
Allow Complete Cure Time
Turn off and unplug. Allow the sealant to dry completely following product instructions. Only reassemble the outer case once fully dry.
Reassemble Your Tower Fan Correctly
Now put it all back together properly to avoid introducing new problems.
Reinstall Motor and Blade
Place motor back on base. Insert four bolts with washers on the screw head side. Tighten nuts securely. Slide blade shaft onto central rod. Reinstall the small black screw at base.
Reconnect Wiring Properly
Route wire through the base notch. Plug in the two-piece connector. Ensure wires are fully seated and not pinched.
Secure Base and Cover
Align the short gap of the base with the fan shaft. Insert and tighten four longer Phillips screws. Close the back cover, aligning it properly. Reinstall all screws including the hidden one. Tap gently to reseat all clips.
Keep Your Tower Fan Quiet: Maintenance Plan

Prevent future noise with simple regular care.
Clean Every 6 to 12 Months
Use compressed air to blow out dust. Wipe grates and casing monthly if in a dusty environment.
Lubricate Annually
Apply dry lubricant spray or 2 to 3 drops of oil to bearings. Avoid over-lubrication because it attracts dust.
Store Properly
Cover the fan when not in use. Store in a dry, dust-free area.
Always Prioritize Safety
Always unplug before cleaning or maintenance. Never run a fan with loose parts or exposed wiring.
When to Replace Instead of Repair
Some fans are not worth fixing. Know when to cut your losses.
Replace If Motor Fails
If the motor fails after full cleaning and lubrication, replacement is your only option. Also replace if internal parts are discontinued or unavailable, if plastic housing is cracked or broken, or if repair cost exceeds 50% of new unit price.
Cost-Benefit Reality
Repair cost is $1 to $15 for lubricant, sealant, and tools. Replacement cost is $20 to $150 or more. Environmental win: repairing a $5 curb find saves landfill space and puts money back in your pocket.
Frequently Asked Questions About Fixing a Noisy Tower Fan
Why is my tower fan making a grinding noise?
A deep grinding noise almost always means compacted dust has accumulated in the motor or bearing housings. This creates metal-on-metal friction. The fix is to clean out the dust using compressed air or full disassembly.
Can I fix a squeaky tower fan without taking it apart?
Yes. High-pitched squeaking indicates dry bearings. You can apply 2 to 3 drops of Three-in-One oil through an access hole without disassembling the fan. For long-term results, consider hand-packing the bearings with fresh grease.
What causes clicking sounds in a tower fan?
Clicking or scraping sounds come from mechanical misalignment. The bearing bracket vibrates against the plastic housing. Fix this by applying dampening compound to the bracket and dynamically tightening the screws while the fan runs.
How often should I lubricate my tower fan?
Lubricate your tower fan annually to prevent bearings from drying out. Clean the fan every 6 to 12 months to prevent dust buildup. More frequent maintenance may be needed in dusty environments.
Is WD-40 good for lubricating tower fan bearings?
No. WD-40 is a cleaner and water displacer, not a long-term lubricant. It evaporates quickly and actually attracts dust. Use Three-in-One oil for light applications or automotive-grade grease for hand-packing sealed bearings.
When should I give up and buy a new tower fan?
Replace the fan if the motor fails after thorough cleaning and lubrication, if internal parts are unavailable, if the plastic housing is severely cracked, or if repair costs would exceed half the price of a new unit.
Key Takeaways for Fixing a Noisy Tower Fan
A noisy tower fan is almost always fixable, and the repair costs a fraction of replacement. Start by identifying the noise type. A deep growl means dust, a squeak means dry bearings, and clicking means misalignment. Each cause has a specific solution.
Gather the right tools before starting. A 1-gallon air compressor, basic screwdrivers, Three-in-One oil, and automotive grease cover most repairs. Always work safely with safety glasses and unplug the fan before any maintenance.
For quick fixes, blow out dust and apply oil through access holes. For permanent results, disassemble the fan, deep clean the motor, and hand-pack the bearings with fresh grease. For clicking issues, apply dampening compound and dynamically tighten while running.
Remember: unplug first, work safely, and never use WD-40 as a long-term solution. With this guide, silence is just a few tools away.