Fix Mini Fridge Fan Not Working
You plug in your mini fridge, hear a faint hum or nothing at all, and notice the inside isn’t cooling. The fan isn’t spinning. You’re not alone. A mini fridge fan not working is one of the most common appliance failures, especially in dorms, offices, and small kitchens. Without proper airflow, even a functioning cooling system cannot maintain temperature. Whether your unit uses a compressor or a thermoelectric system, a stalled fan quickly leads to warm drinks, spoiled food, and frustration.
The good news? Most fan failures are diagnosable and repairable with basic tools and a multimeter. This guide breaks down exactly why fans stop, how to identify the root cause, and the fastest way to fix it. You’ll learn to interpret blinking lights, test voltage, and replace key components safely. By the end, you’ll know whether your fridge needs a simple cleaning or a targeted repair.
Identify Your Cooling System Type
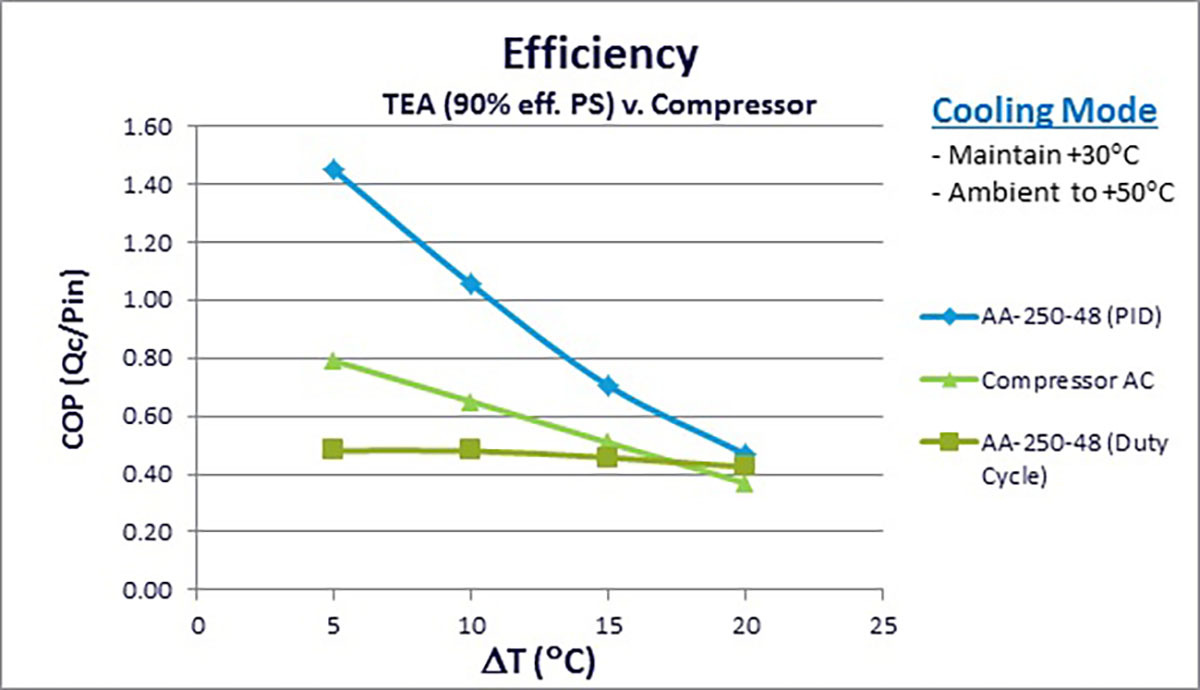
Before opening the unit, determine if your mini fridge uses compressor-based or thermoelectric cooling. The repair path differs significantly between these two systems.
Compressor vs. Thermoelectric Systems
Compressor models make a rhythmic humming or clicking sound when running. They use refrigerant and have an evaporator fan inside the freezer compartment to circulate cold air. Thermoelectric units are nearly silent except for the fan. They have no compressor noise and are common in smaller, portable fridges.
Why this matters: Thermoelectric units often fail due to power supply issues like bad capacitors, while compressor models typically have mechanical fan motor failures. Misdiagnosing the system type leads to wasted effort and wrong parts.
Quick test: Unplug the fridge and gently shake it. If you hear liquid sloshing inside, it’s likely a compressor model with refrigerant. No sound? Likely thermoelectric.
Decode Blinking Lights and Power Clues
Many mini fridges use LED indicators to signal internal problems. A blinking light is a diagnostic tool, not just a nuisance. Understanding what these lights mean saves time on troubleshooting.
Blinking Green Light: Capacitor Warning
In thermoelectric models, a blinking green light is a red flag for power instability. It means the control board is receiving inconsistent voltage, often due to failing capacitors in the switching power supply.
What you’ll observe:
• Light flickers every 1-2 seconds
• Fan tries to start but stalls repeatedly
• Interior does not cool properly
• Power meter shows erratic draw between 1.2W and 6W
This is not a software glitch. The capacitors cannot deliver the stable voltage the fan motor needs to start and run properly.
No Light, No Power: Check Thermal Cutoff
If the LED is completely off and the fan is silent, the issue may be a tripped 85°C thermal cutoff switch mounted on the Peltier module. When the fan stops, heat builds up quickly and the switch opens to cut power.
How to test it: Use a multimeter to check continuity across the thermal switch. Infinite resistance means the switch is open and has tripped. Do not bypass it permanently. Instead, find and fix the underlying airflow problem that caused the overheating.
Test Voltage at the Fan

Always unplug the unit before inspection. Once you’re inside, verify whether power actually reaches the fan motor. This step determines if the problem is the motor itself or something upstream.
Check Fan Terminal Voltage
Set your multimeter to AC voltage for compressor units or DC for thermoelectric models.
For compressor fridges: Locate the evaporator fan inside the freezer compartment. Reconnect power and measure across the fan wires. If you read 120V but the fan doesn’t spin, the motor is dead.
For thermoelectric units: Test at the fan connector on the PCB. Expected voltage is 12V DC, though this varies by model. No voltage means the problem is upstream, likely with the capacitors or thermal switch.
Pro tip: If voltage is present but the fan still won’t turn, try spinning the blade by hand. If it starts spinning, the motor has bad bearings or a failed start capacitor.
Diagnose Power Supply Capacitors
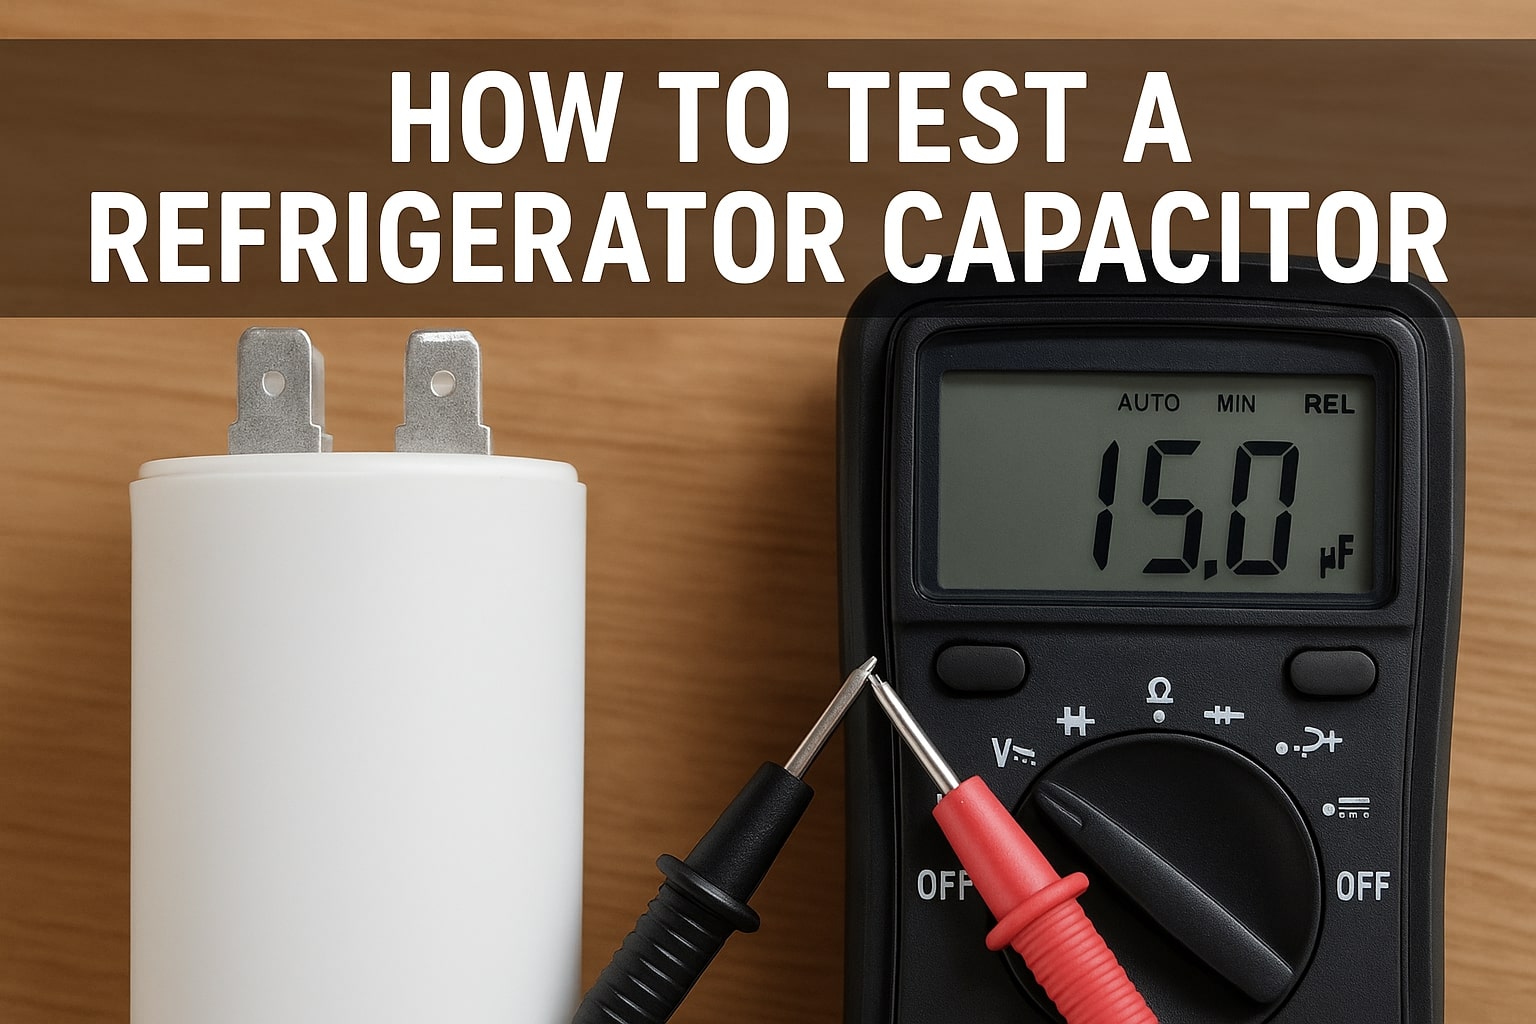
In thermoelectric fridges, capacitor failure is the number one cause of fan issues. These small components regulate voltage but degrade over time, especially in switching power supplies.
Spot Failed Capacitors
Look for these visual warning signs:
• Bulging tops (domed rather than flat)
• Leaking electrolyte (brown crust around the base)
• Swollen base that appears puffy
However, do not rely on looks alone. Many failed capacitors appear completely normal.
Test with ESR Meter or Multimeter
Use an ESR meter for accurate diagnosis. Standard capacitance readings can be misleading.
Critical specifications:
• 100µF, 200V capacitor should show low ESR. High leakage or resistance above 200 ohms indicates failure.
• 10µF, 50V capacitor healthy ESR is under 1 ohm. A reading of 74 ohms confirms the capacitor is dead, even if capacitance tests correctly.
Safety warning: Failed capacitors can retain dangerous voltage (like 114V) even after unplugging. Discharge them safely using a multimeter in resistance mode until voltage drops below 6V before touching any components.
Replace Low-ESR Capacitors Correctly
Standard capacitors will not survive in switching power supplies. You must use low-ESR replacements designed for high-ripple current applications.
Choose the Right Parts
| Original Spec | Safe Replacement |
|---|---|
| 100µF, 200V | 100µF, 350V (if space allows) |
| 10µF, 50V | 10µF, 63V low-ESR type |
Installation rules:
• Voltage rating: Higher is safe, but check physical size fits the board
• Capacitance: Must match exactly for proper circuit operation
• ESR rating: Use low-ESR type only
Solder with Care
Use a high-thermal-mass soldering iron, at least 60 watts. Heat each pad fully to avoid cold joints, which can cause intermittent failures. Polarity matters critically. The long leg is positive. On most boards, the negative side is marked with a black bar and often positioned on the left.
Pro tip: Replace all electrolytic capacitors in the power section at once, even if only one looks bad. They age together, so if one has failed, the others are likely near failure too.
Inspect the Evaporator Fan Motor

In compressor mini fridges, the evaporator fan is a known weak point. Even when power is present at the terminals, the motor can fail.
Confirm Motor Failure
If voltage is present (120V on the purple wire is common) but the fan is silent, the motor is seized or burned out. For models like ULN-C075FSS-00, the correct replacement is part number 5263-S.
Warning: Do not confuse the evaporator fan with the condenser fan. The evaporator fan is inside the cooling compartment, not at the back of the unit.
Remove Sealed Fan Assemblies
Many units glue or seal the fan housing to prevent air leaks. Use plastic pry tools to avoid cracking the plastic. Work slowly around the seam until it releases. Once open, remove the motor from the shroud and install the replacement in the bracket, reconnecting the harness firmly.
Check Mechanical and Thermostat Switches
Sometimes the problem is not the fan itself but the signal telling it to run. Several switches control fan operation.
Test the Main Power Switch
The main power switch toggles between cool and warm modes. On many models, it’s integrated into the PCB.
Failure signs:
• No click when pressed
• Fan runs in both cool and warm modes
• Peltier does not activate in cool mode
Desolder and replace with an identical toggle switch. Test continuity before reassembly.
Verify Thermostat Function
The thermostat tells the fan when to start based on temperature. Set the fridge to its coldest setting and measure voltage at the fan while cooling should be occurring. If 120V is present, the thermostat is working and the fan motor is bad. If no voltage is present, suspect the thermostat or wiring harness.
Wiring check: Inspect the harness for pinched, broken, or corroded wires. Reconnect any loose connections firmly.
Clear Fan Obstructions and Clean Components
Before diving into electronics, rule out simple blockages. Many fan failures start as minor airflow restrictions.
Remove Ice and Debris
Ice buildup is common in humid environments and can freeze the fan blades in place. Food particles, dust, and lint can jam the blades or reduce airflow significantly.
Cleaning procedure:
• Unplug the fridge completely
• Use a soft brush or compressed air to clean around the fan
• Manually spin the fan to check for smooth rotation
• Defrost completely if ice is present
Prevention: Clean every 6-12 months and keep vents unobstructed. This extends component life considerably.
Upgrade Hardware for Longevity
Original screws and thermal interface materials often contribute to future failures. A few upgrades prevent repeat repairs.
Replace Rust-Prone Screws
Original fasteners corrode easily in humid environments. Upgrade to stainless steel M4 screws and apply Loctite to prevent loosening. Use caution when tightening near ceramic Peltier modules, as cracking is fatal to the entire unit.
Apply Heat Sink Compound
Reassemble with a thin layer of thermal paste on the Peltier junction. This improves heat transfer and prevents early thermal shutdown. Skipping this step reduces efficiency and causes the unit to overheat more frequently.
Verify Repair Success

After reassembly, confirm the fix with real-world performance testing. Do not rely solely on the fan spinning.
Monitor Power Draw
Use a watt meter to check operating parameters:
| Condition | Expected Reading |
|---|---|
| Startup surge | 55-57 watts |
| Steady state | Approximately 38 watts |
| Faulty unit | Fluctuates between 1.2W-6W |
Stable wattage indicates a healthy power supply and proper cooling function.
Check Cooling Performance
Place a digital thermometer inside the fridge. Starting from ambient temperature around 75°F, expect a steady drop over 1-2 hours. The hot side of the Peltier should feel warm to the touch, and the fan should run continuously in cool mode.
Final confirmation: A solid green light with no blinking indicates successful repair.
Source Parts and Decide: Repair or Replace?
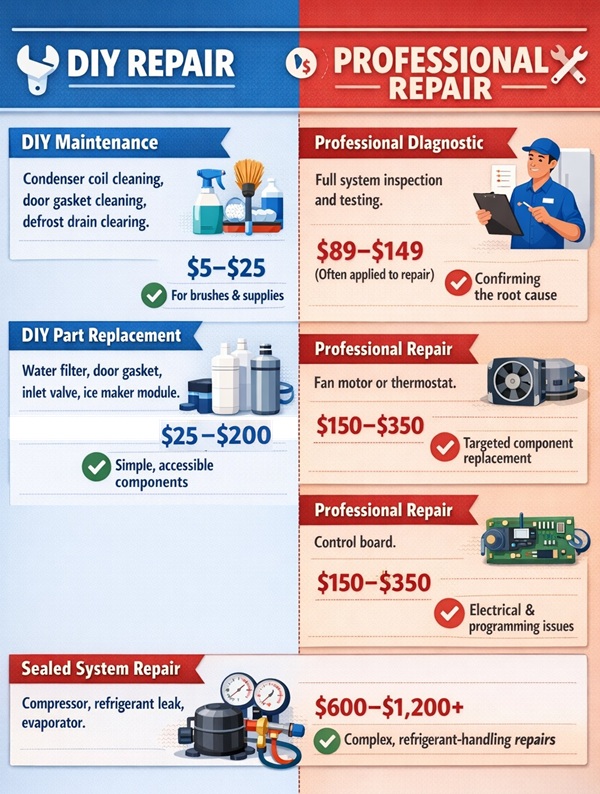
Most fan repairs are highly cost-effective. Understanding part costs helps decide the best path forward.
Key Replacement Parts
| Part | Part Number | Approximate Cost |
|---|---|---|
| Evaporator fan motor | 5263-S | $25-$40 |
| 100µF, 200V low-ESR capacitor | Generic | $1-$2 |
| 10µF, 50V low-ESR capacitor | Generic | $0.50 |
| 85°C thermal switch | Standard | $5 |
Where to buy: ReliableParts, RepairClinic, Sears PartsDirect, PartSelect, and PartsDr all carry these components.
When to Replace the Fridge
Consider a new unit if the compressor is dead with no hum or pressure, if the Peltier module has failed with fan running but no cooling despite correct voltage, or if repair cost exceeds 50% of a new unit price.
For fan or capacitor issues, repair is almost always the better choice. You will save money and extend the life of a functional appliance.
Frequently Asked Questions About Mini Fridge Fan Issues
Why does my mini fridge fan stop working suddenly?
The most common cause is capacitor failure in thermoelectric models or motor burnout in compressor models. Capacitors degrade over time and lose their ability to regulate voltage, causing the fan to stall or not start at all.
Can I run my mini fridge without the fan?
No. Running a mini fridge without the fan will cause overheating and trigger the thermal protection switch. Without airflow, the Peltier module or compressor will overheat and the unit will shut down or sustain permanent damage.
How do I know if my mini fridge uses a compressor or thermoelectric system?
Shake the unit gently. If you hear liquid sloshing, it’s a compressor model with refrigerant. If you hear nothing, it’s likely a thermoelectric unit. Compressor models also make a rhythmic humming or clicking sound during operation.
Is it worth repairing a mini fridge with a broken fan?
Yes. Most fan repairs cost under $50 in parts and take less than an hour. This is far cheaper than replacing the entire unit, especially if the cooling system itself is still working properly.
Can I replace the fan myself with basic tools?
Yes. Most repairs require only a screwdriver, multimeter, and soldering iron. The procedures are straightforward, and replacement parts are readily available online. Just remember to unplug the unit and discharge capacitors before working inside.
Key Takeaways for Fixing Your Mini Fridge Fan
A mini fridge fan not working is rarely a death sentence for your appliance. In thermoelectric models, bad capacitors cause approximately 80% of all fan issues. In compressor units, the evaporator motor (part 5263-S) is the usual culprit. Both are inexpensive to fix.
With a multimeter, a few dollars in parts, and this guide, you can restore cooling fast without calling a technician. The diagnostic steps are straightforward. Start by identifying your system type, check for blinking lights, test voltage at the fan, and inspect capacitors. Most problems reveal themselves quickly.
Always prioritize safety. Unplug first, discharge capacitors using a multimeter in resistance mode, and verify no voltage is present before touching any circuit. Once you’ve confirmed the repair, test power draw and cooling performance to ensure the fix is complete. Your drinks will be cold again before you know it.