Fix Table Fan Motor Not Working Issue
Is your table fan silent when switched on, or humming without spinning? A table fan motor not working is a common household issue, especially in older units or fans exposed to dust and heat. When the blades refuse to turn, it disrupts your comfort and leaves you searching for quick answers. The good news: many causes are fixable with basic tools and a methodical approach. This guide walks you through diagnosing and repairing each failure point, from blown fuses to seized bearings, so you can restore airflow fast.
Verify Power Source First
Before opening the fan, confirm power is actually reaching the unit. Many “motor failures” are actually simple power delivery issues that take minutes to fix.
Test the Outlet and Cord
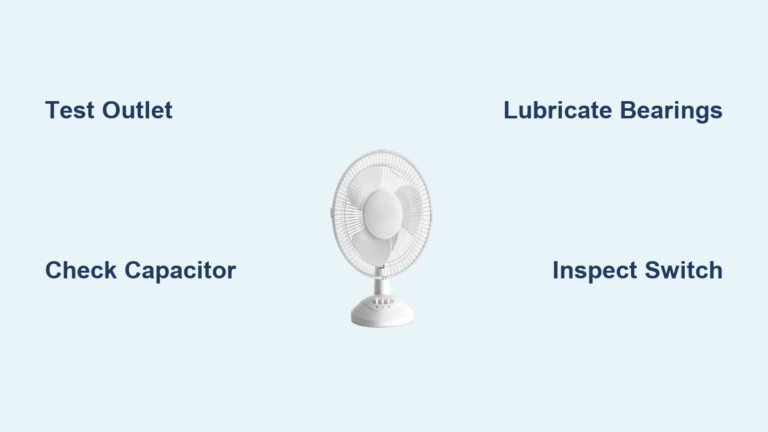
Plug another device into the same outlet to verify it works. If the outlet is live, inspect the fan’s power cord for kinks, frays, or damage near the plug or housing. For detachable cords, reseat both ends firmly. A loose connection can mimic motor failure. If the cord shows wear or fails to deliver power, move to continuity testing.
Check Circuit Breaker
A tripped breaker or blown fuse in your home’s electrical panel can cut power silently. Head to the panel and inspect the relevant circuit. Reset any tripped switches. If the breaker trips again when you plug in the fan, there may be a short. Do not continue until the fault is identified.
Diagnose No-Sound, No-Spin Failure
When the fan is completely dead with no hum, no click, and no movement, the issue lies in power delivery. Follow this systematic path to find the culprit.
Test the Internal Fuse
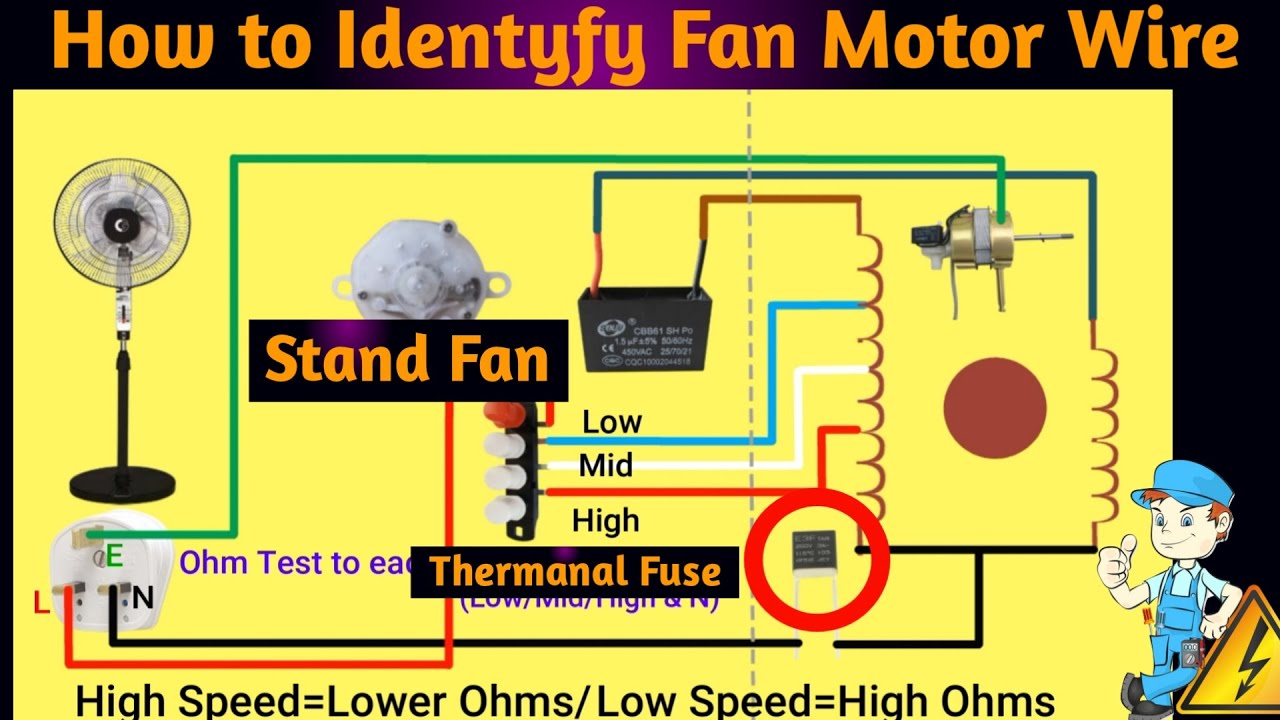
Many fans have a built-in fuse in the plug or near the switch. Glass fuses often show a broken filament or dark discoloration when blown. Molded fuses require a multimeter set to continuity. Touch the probes to both ends. No beep means the fuse is blown. Replace only with the same amperage rating, typically 3A or 5A. Some plugs are non-replaceable, in which case you must replace the entire cord.
Inspect the Speed Switch
Faulty switches rank among the top causes of no-start issues in table fans. Unplug the fan and remove the casing to access the switch. Set your multimeter to Ohms. Test between the input wire (often gray) and each speed output (blue, brown, red). With the switch on, you should see near 0Ω. Infinite resistance means the switch is dead. Replace the switch assembly if continuity fails on one or more settings.
Examine Power Cord Continuity
Disconnect the cord from internal terminals. Test each wire from plug to fan end using continuity mode. Both conductors must show continuity. A break in either wire means the cord is faulty. Replace the cord entirely. Splicing is unsafe and unreliable for power cords.
Address Humming but Not Spinning
A humming motor means power reaches the windings, but the rotor won’t start. This narrows your diagnosis to mechanical issues or starting capacitor failure.
Free a Seized Motor Shaft
Try spinning the blades by hand. If they feel stiff or stuck, the bearings are dry or gummed with dust. Remove the blade guard and blades (check for a locking washer or reverse-thread cap). Apply a few drops of machine oil to the front and rear shaft points. Rotate the shaft manually while applying oil. Let it sit for 10 minutes, then test. If the shaft spins freely but the motor still won’t start, move to capacitor testing.
Replace the Start Capacitor
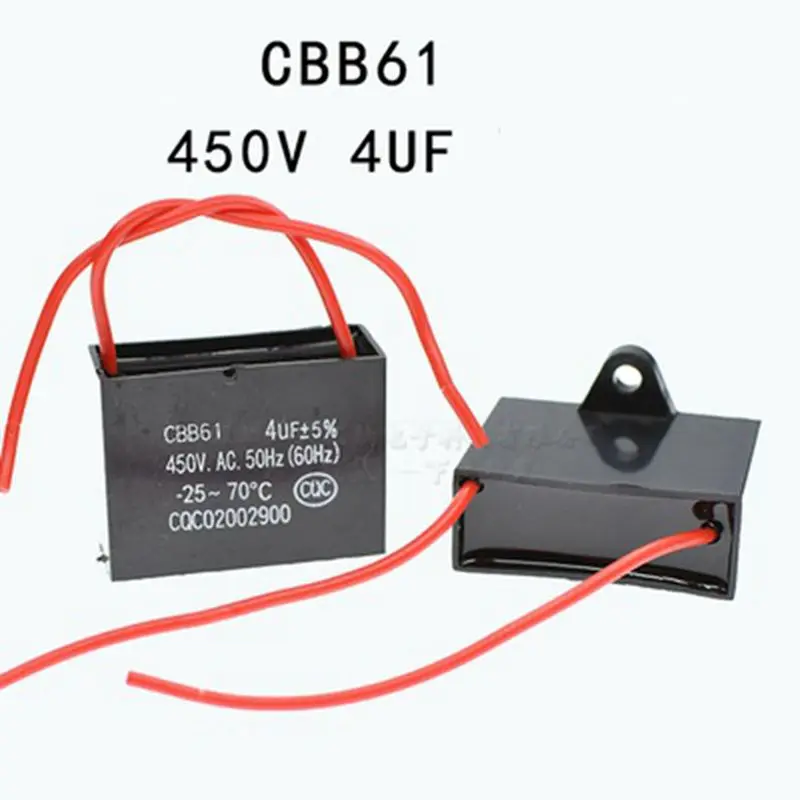
The capacitor gives the motor the initial kick to turn. Locate the cylindrical capacitor labeled with its rating, such as 4 µF ±5%. Discharge it first by shorting the terminals with an insulated screwdriver. Use a multimeter with capacitance mode. Connect to the terminals and compare the reading to the labeled value. A reading within ±5% is good. Zero, infinite, or wildly off readings mean failure. Replace with an identical rating (for example, 4 µF, 450V). Solder or crimp new connections securely.
Pro Tip: Even if the capacitor tests okay, try a known-good replacement. Old capacitors can fail under load even if they pass bench tests.
Bypass and Replace Thermal Protector
This safety device often causes no-start conditions when it trips from overheating. Understanding how to diagnose it saves many fans from the scrap pile.
Locate the Thermal Protector
It’s a small white or black component with two wires, usually positioned near the motor windings. Rated at 115°C, it cuts power if the motor overheats.
Perform Diagnostic Bypass
Warning: Only perform this bypass for testing purposes. Never run the fan permanently without a thermal protector. Unplug the fan. Cut the two wires leading to the protector. Twist the cut ends together to bridge the circuit. Plug in and test. If the motor runs, the protector was open. Replace with a new 115°C thermal protector. Solder connections and insulate with heat shrink tubing. Do not use electrical tape long-term because it can fail under heat.
Test Motor Windings for Damage

If all other components check out, the motor itself may be dead. This is the point where replacement often makes more sense than repair.
Measure Winding Resistance
Set multimeter to Ohms. Test between winding terminals, referring to internal wiring diagrams if available. Infinite resistance indicates an open winding (broken wire). Zero resistance indicates a short circuit. Either condition means the motor is non-repairable.
Check for Ground Fault
Test between any winding terminal and the metal motor housing. There should be no continuity. If the meter beeps, the windings are shorted to ground, which is unsafe to use. Replace the fan.
Expert Note: Rewinding a motor is possible but labor-intensive. For a standard table fan, it’s never cost-effective.
Clean and Lubricate Moving Parts

Dust and friction kill performance over time. Regular maintenance prevents many motor failures from occurring in the first place.
Remove Built-Up Dust
Unplug and disassemble the rear casing. Use compressed air to blow dust from vents, stator, and rotor. Wipe internal surfaces with a dry microfiber cloth. Wash plastic guards with soapy water, then dry completely before reassembly. Never use water or cleaners on the motor coil because this causes shorts.
Lubricate Bearings Properly
After cleaning, apply 1-2 drops of lightweight machine oil to bearing points. If bolts secure the shaft, loosen them slightly, add oil, then slide bolts back and forth to distribute the lubricant. Spin the shaft to work in the oil. Reassemble and test. Smooth rotation should return.
Decide: Repair or Replace?

Not every fan is worth fixing. Knowing when to walk away saves time and money.
When to Replace
Replace the fan if motor windings are burnt or shorted, if the thermal protector is inaccessible or embedded, if the fan is over 10 years old, or if replacement cost is under $30. Modern fans are more energy-efficient, quieter, and safer. Upgrading makes sense in these situations.
When to Repair
Repair makes sense if the capacitor, fuse, or switch is faulty because these are low-cost parts. Also consider repair if the fan is high-end, vintage, or sentimental, or if you’re building DIY repair skills. Parts like capacitors ($5-$10) and switches are affordable, so repair makes sense when labor isn’t a factor.
Follow Safety Rules During Repair
Working on electrical appliances carries risks. These protocols keep you safe.
Always Unplug First
Never work on a live fan. Double-check the plug is disconnected before touching any wires.
Discharge the Capacitor
Even small capacitors can deliver a shock. Short the terminals with an insulated tool before handling any capacitor.
Reassemble Correctly
Replace all washers, guards, and screws. Missing parts cause imbalance, vibration, and bearing wear. Ensure wires aren’t pinched in the casing during reassembly.
Monitor First Operation
After repair, run the fan for 10 minutes. Watch for smoke, burning smell, or excessive heat. Check all speed settings. If anything feels wrong, unplug immediately.
Prevent Future Motor Failures
Extend your fan’s life with simple habits that take minutes.
Keep It Clean
Dust the fan every 3-6 months. Use compressed air on vents and motor housing to prevent buildup.
Avoid Overheating
Don’t run the fan continuously in direct sunlight or enclosed spaces. Let it rest if the motor feels hot to the touch.
Store Properly
During off-seasons, store in a dry place. Cover the fan to prevent dust buildup while in storage.
Use Surge Protection
Plug into a surge-protected outlet. Voltage spikes damage internal components and can kill a otherwise healthy motor.
Frequently Asked Questions About Table Fan Motor Not Working
Why does my table fan hum but not spin?
This typically indicates either a seized motor shaft or a failing start capacitor. Try spinning the blades by hand first. If they move freely, the capacitor is likely bad and needs replacement. If they resist movement, lubricate the bearings.
Can I fix a table fan motor myself?
Yes, many issues are fixable with basic tools. Common fixes include replacing the capacitor, switch, or fuse, or lubricating stuck bearings. However, if motor windings are burnt, replacement is the better option.
How much does it cost to repair a table fan motor?
Replacement capacitors cost $5-$10. Switches and fuses are similarly affordable. If the motor windings are damaged, replacement makes more sense since rewinding costs more than a new fan.
What causes a table fan motor to stop working?
Common causes include blown fuses, faulty switches, broken power cords, failed capacitors, tripped thermal protectors, and seized bearings from lack of lubrication. Dust accumulation and overheating also trigger protective devices.
How do I know if my table fan motor is burnt out?
Test the motor windings with a multimeter. Infinite resistance means the winding is broken. Zero resistance means it’s shorted. If either condition exists, or if you see visible burning or smell burnt insulation, the motor is done.
Should I repair or replace a 10-year-old table fan?
Consider replacement. Fans over 10 years old have worn bearings, degraded insulation, and outdated safety features. Modern fans are more efficient and reliable, making replacement the smarter choice in most cases.
Key Takeaways for Fixing a Table Fan Motor Not Working
A table fan motor not working is often fixable with basic tools and a logical approach. Start by verifying power reaches the fan, then test the fuse, switch, and cord before moving to internal parts. The capacitor and thermal protector are the most common culprits in otherwise healthy-looking fans. Lubrication and cleaning solve many dead motor cases caused by dust and dried bearings. However, if windings are burnt or parts are inaccessible, replacement is the smarter choice. By following this guide, you can restore airflow fast and know when it’s time to upgrade to a new fan.