How to Fix Honeywell Tower Fan
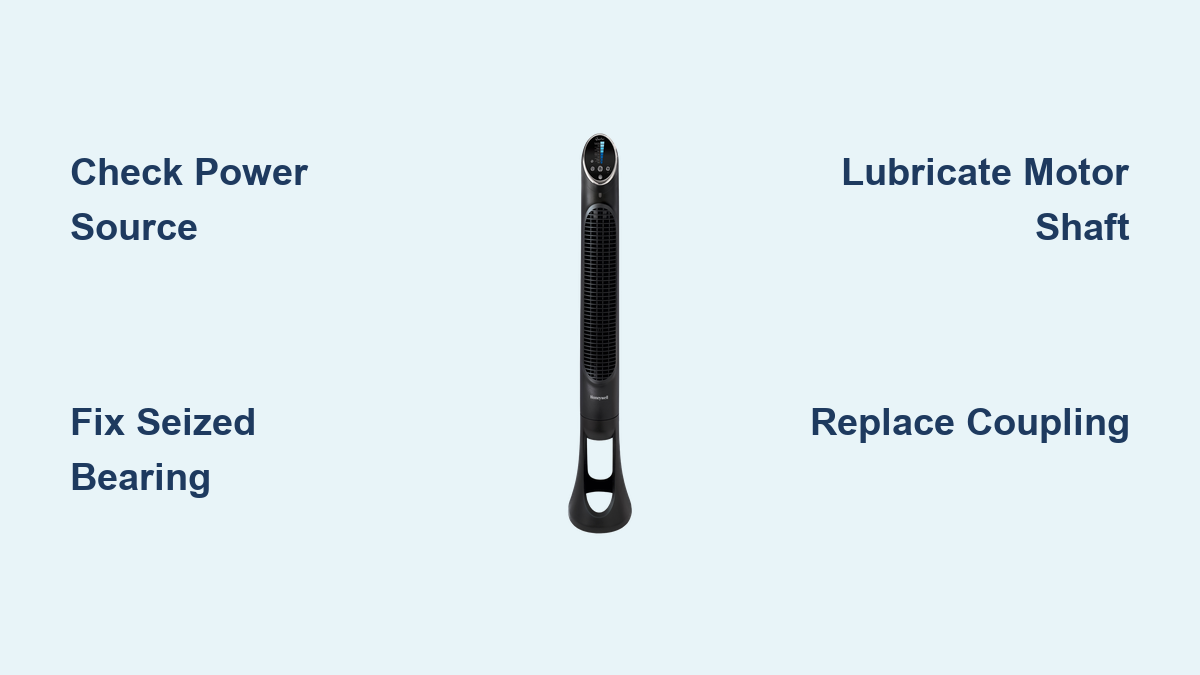
Is your Honeywell tower fan refusing to turn on, making strange noises, or failing to oscillate? You’re not alone. Thousands of users face issues like seized bearings, broken plastic parts, and stiff motors, especially in popular models like the HYF013W, HYF260, and HY-204. The good news? Most problems are fixable with basic tools and a few hours of effort. This guide delivers a step-by-step repair roadmap based on real teardowns and diagnostics. Whether it is a faint hum with no spin or a rattle that keeps you up at night, you will learn how to diagnose, disassemble, clean, lubricate, and restore your fan.
Diagnose the Core Problem First

Before taking anything apart, identify what is actually broken. Symptoms point directly to specific failures. Understanding the exact issue saves time and prevents unnecessary work.
No Power? Check Plug and Outlet
If the fan is completely dead, start with the simplest causes.
• Ensure the plug is fully inserted in the wall socket
• Test the outlet with another device like a lamp
• Inspect the power cord for cuts or frays
• Some models like the HYF260 have an internal fuse in the plug
Faint Hum, No Spin? Likely Seized Bearing
A low hum means power reaches the motor, but the shaft will not turn. This is classic bearing seizure, common in older or dusty units. In the HYF013W, this often stems from dried grease in the top bearing.
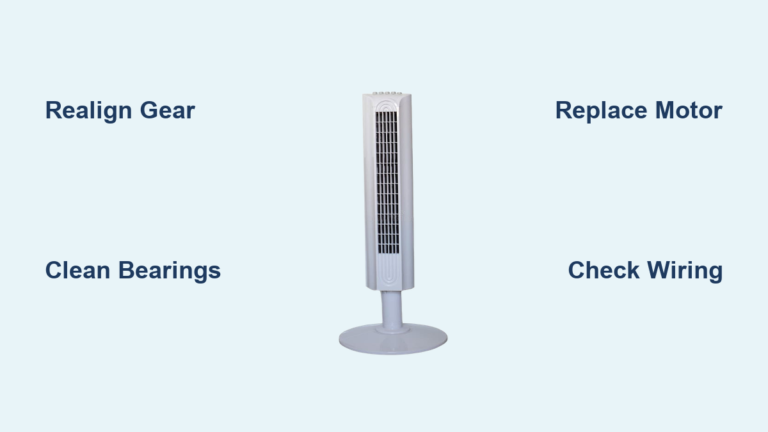
Motor Runs, Blades Do Not? Check Coupling
If you hear the motor but see no airflow, the blade coupling may be cracked or worn out. This small rubber or plastic insert connects the motor shaft to the blade hub.
Rattling Noise? Look for Broken Plastic
Rattling usually means loose or fractured internal parts. In the HYF260, thin plastic ribs often crack under stress, and mounting brackets break.
Oscillation Not Working? Test the Mechanism
Press the rotation button marked with circular arrows. If it clicks but does not move, the oscillation motor may be dead or gears could be stripped.
Tilt Will Not Stay Down? Broken Spring or Bracket
On models like the HS-1655, if the head pops back upright, the tilt lock spring is likely broken or misaligned.
Disassemble Without Damage
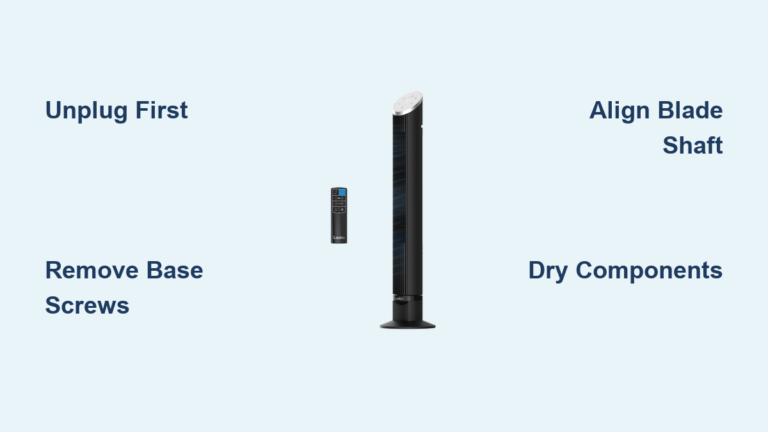
Always unplug the fan first. Work on a clean, soft surface to avoid scratches. Taking your time prevents cracking fragile plastic components.
Remove Base and Access Screws
Start by detaching the base to reach internal components.
- Locate the collar (locking nut) at the bottom where the cord exits
- Turn it counterclockwise to separate the casing from the base
- Remove 2-3 screws underneath the base area
- Some models use Torx safety bolts requiring a special bit
Split the Housing Carefully
The casing is held by plastic snap-tabs that can crack if forced.
• Use a flathead screwdriver or plastic pry tool
• Gently work around the seam, never force it
• Some models have dual-layer backs requiring inner panel removal
Remove Fan Core for Deep Access
To reach the motor and bearings, you must remove the fan core.
- Remove two Philips screws on top of the fan core
- Loosen the set screw at the bottom just enough to slide the core off
- Do not remove the set screw completely
Clean Every Component Thoroughly
Dust buildup reduces airflow and strains the motor. Clean dry first, then wipe carefully around sensitive areas.
Use Vacuum and Brush for Dry Debris
• Attach a brush nozzle to your vacuum
• Clean front and rear grills, fan blades, motor housing, and casing interior
• Focus on dust trapped between motor fins which causes overheating
Tackle Stubborn Grime with Compressed Air
• Use canned air or an air compressor
• Blast dust from tight spaces between blade arms and around motor shaft
• A medium paintbrush or nylon toothbrush works well for scrubbing
Wipe Housing But Keep Electronics Dry
• Dampen a cloth (well-wrung) and wipe back housing and exterior surfaces
• Avoid moisture near buttons, motor, or wiring
• Use cotton swabs for around control knobs
• Let all parts air-dry completely before reassembly
Fix Seized Bearings with Proper Lubrication
This is the number one fix for fans that hum but will not spin. Proper lubrication restores smooth operation.
Clean Old Grease from Shaft
• Spray bearing cleaner on the shaft and bearing
• Wipe with a lint-free cloth until no black residue remains
• Let it dry fully before applying new lubricant
Apply Correct Lubricant
Use one of these appropriate options.
• 3-in-1 oil (ideal for motors)
• Silicone lubricant
• White lithium grease (for heavier load points)
Apply one drop directly to the shaft where it enters the bearing.
Reinstall Bearing with Proper Alignment
• Slide the bearing back into place
• Match the alignment tab with the housing slot
• For HYF013W, add a drop to the bottom bearing too for balanced operation
After reassembly, run the fan on high for 10-15 minutes to distribute oil.
Lubricate Every 6-12 Months
Budget fans lack sealed bearings, so oil dries out fast.
• Frequent use: Lubricate every 6 months
• Seasonal use: Every 1-2 years
• Always spin blades manually before storage
Repair Broken Plastic and Loose Parts
Structural damage is common in older models. Reinforcement can extend the fan is useful life.
Reattach Cracked Brackets with CA Glue
• Clean broken surfaces with isopropyl alcohol
• Apply cyanoacrylate (CA) glue
• Clamp and let cure for 24 hours
For high-stress areas, use Permax 350 or similar high-viscosity adhesive.
Replace Stripped or Broken Screws
If plastic threads are stripped, use 1/4 inch longer screws to reach deeper into the housing. This improves grip and prevents future stripping.
Balance the Impeller on Reassembly
• Ensure any balancing weights stay in place
• Align the flat side of the motor shaft with the set screw on the hub
Replace Faulty Blade Couplings
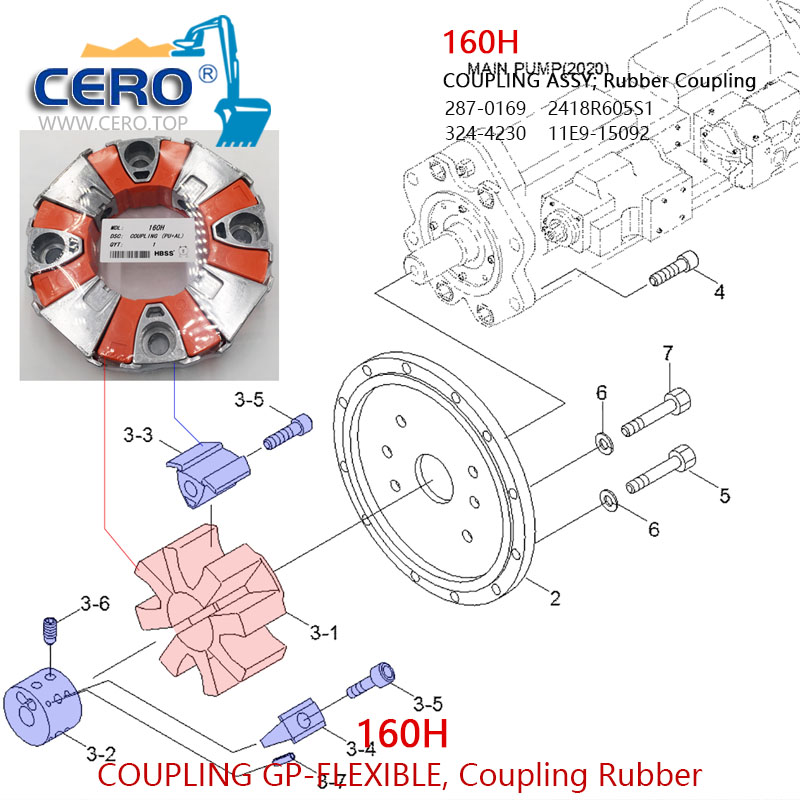
If the motor spins but blades do not, the coupling is likely worn or cracked.
Inspect the Coupling
• Remove the front grill and blade assembly
• Check the rubber or plastic insert between motor shaft and hub
• Look for cracks, deformation, or separation from metal inserts
Replace When Damaged
Search for OEM or generic replacements using your model number. If unavailable, replacement may be the only option.
Reassemble with Care

Rushing reassembly causes new issues. Take your time to ensure everything fits correctly.
Reinstall Screws in Correct Spots
• Match screw length to original holes
• Base screws are often longer and using them elsewhere can pierce wires
Tighten Symmetrically
• Tighten one screw on the top-left, then the bottom-right
• Alternate to prevent warping
• Hand-tighten only: over-tightening cracks plastic
Route Wires Safely
• Ensure no wires are pinched between casing halves
• Keep them clear of moving parts like the oscillation gear
Test Functionality Before Closing
Run a full diagnostic with the casing open to catch problems before final assembly.
Power On and Listen
Plug in and turn on. The fan should start smoothly without grinding or hesitation.
Test All Speed Settings
Cycle through Low, Medium, and High. Airflow should increase noticeably at each level.
Check for Noise Issues
Listen for these specific sounds.
• Rattling indicates a loose part or unseated component
• Squeaking means the fan needs more lubrication
• Grinding suggests misalignment or remaining debris
Verify Oscillation
Press the rotate button. Movement should be smooth and consistent.
Test Tilt Lock
Tilt the head down. It should stay in place without popping back up.
Prevent Future Failures
Keep your fan running longer with simple maintenance practices.
Clean Monthly, Deep Clean Annually
• Monthly: Vacuum exterior and grills
• Yearly: Full disassembly, dust removal, and lubrication
Lubricate Bearings Regularly
Every 6-12 months, add a drop of oil. Spin blades by hand before turning on after storage.
Store Properly Off-Season
• Clean and dry completely
• Store upright in a cool, dry place
• Cover to prevent dust buildup
• Apply a drop of oil before storing and upon reuse
Avoid Impacts and Tipping
Tall, narrow fans like the HYF260 are top-heavy. A fall can shatter internal brackets or unbalance the impeller. Never place near foot traffic or where pets can knock it over.
Frequently Asked Questions About Fixing Honeywell Tower Fans
Why does my Honeywell tower fan make a humming sound but not spin?
A humming sound with no rotation typically indicates a seized bearing. The motor is receiving power, but the bearing has locked up due to dried lubricant. This is the most common failure in older or dusty units.
Can I use WD-40 to lubricate my tower fan motor?
WD-40 is not recommended as a long-term lubricant. It works as a solvent and cleaner but evaporates quickly. Use 3-in-1 oil, silicone lubricant, or white lithium grease instead.
How do I fix a rattling noise in my Honeywell tower fan?
Rattling usually means loose or broken internal parts. Disassemble the fan and check for cracked plastic brackets, loose screws, or broken impeller components. Reattach with CA glue or replace as needed.
Where can I find replacement parts for my Honeywell tower fan?
Search for OEM or generic replacements using your specific model number. Discontinued models may require searching online marketplaces or considering replacement of the entire unit.
How often should I lubricate my tower fan bearings?
Lubricate every 6-12 months for frequent users, or every 1-2 years for seasonal use. Budget fans lack sealed bearings, so regular oil application prevents seizure.
Why does my tower fan not oscillate side to side?
If the rotation button clicks but oscillation does not work, the oscillation motor, gearbox, or crank lever may be damaged. Check for loose electrical contacts or mechanical binding in the gears.
Key Takeaways for Fixing Your Honeywell Tower Fan

Fixing a Honeywell tower fan does not require a degree. Most repairs are achievable at home with patience and the right approach. From diagnosing a seized bearing to replacing a broken coupling, the key is systematic troubleshooting starting with the simplest causes. Regular cleaning and lubrication every 6-12 months prevents the most common failure modes and extends your fan is life significantly. Do not toss your fan when it stops working. With this guide, you can restore airflow, silence rattles, and keep your Honeywell tower fan running for years.