How to Take Apart a Pelonis Tower Fan
If your Pelonis tower fan is making strange noises, running poorly, or just needs a deep clean, taking it apart may be the best solution. Many users assume these slim vertical fans aren’t repairable, but with the right tools and patience, you can safely disassemble, clean, lubricate, and reassemble a Pelonis tower fan like the popular FS10-S6A model. This guide walks you through every phase of the process, from removing the first screw to testing your freshly serviced fan. You’ll learn how to access the motor, handle crimped wire connections, lubricate bearings properly, and avoid common mistakes like using WD-40, which causes more harm than good.
Remove Base and Top Screws
Unplug Before Starting
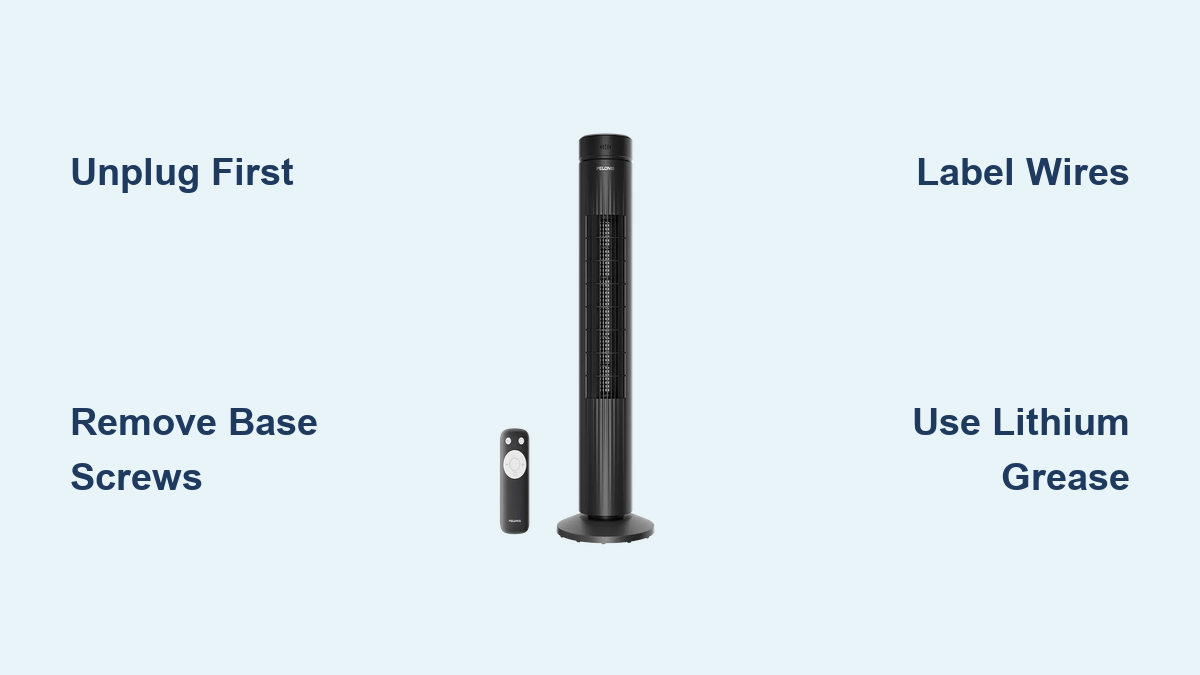
Always unplug the fan before any disassembly work. Even low-voltage components can cause problems if shorted during the process. Place your Pelonis tower fan on a clean, stable surface with good lighting so you can see all screws and components clearly.
Remove Base Screws
Flip the fan upside down. Locate two Phillips head screws at the bottom of the base. Remove them carefully. These screws secure the lower housing and allow access to internal components.
- One screw may be slightly stripped. Use a well-fitting screwdriver to avoid further damage.
- Keep screws organized. Some vary in length and must go back in specific locations.
Release Front Guard with Care
Turn the fan upright. At the top, behind the front grill, find two Phillips screws. Remove them. They hold the front guard in place.
Now use a small flat tool or plastic pry bar to gently lift the front guard from both sides. The guard is held by plastic spring clips. Apply even pressure to avoid cracking the plastic. The guard should pop outward slightly when released.
Extract Internal Duct and Fasteners

Remove Air Duct Screws
With the front guard off, locate the black air duct surrounding the motor. It is secured by six Phillips screws. Remove all six screws, three on each side. Lift the duct straight out to expose the motor and wiring.
Identify Hidden Components
Once the duct is removed, inspect for several hidden parts. There is a small metal part held by one screw, likely a grounding tab. There is a metal plate at the base secured by two screws. You may also find a mystery screw with no obvious function. Document the location of each fastener for reassembly. These parts help stabilize internal components, so remove only what is necessary and group fasteners by location.
Access the Motor and Bearings
Remove Top Bearing Housing Screws
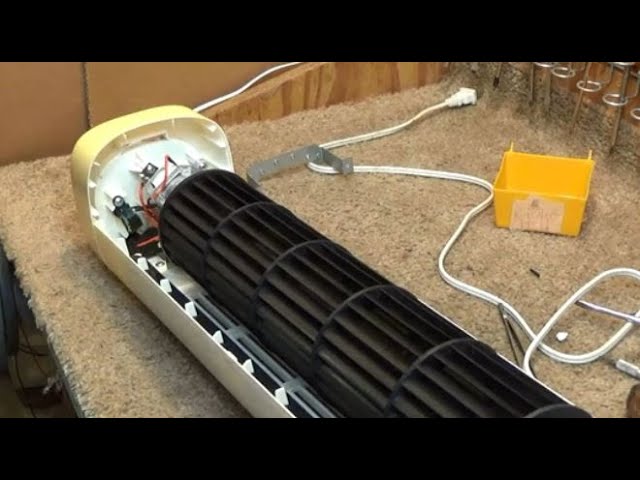
Locate two screws securing the top bearing housing. These control the oscillation mechanism. Remove them carefully. This step allows the motor shaft to be freed from the front cage. Inspect the bearing for dried grease or signs of noise. A dry bearing often causes squeaking.
Disconnect Wires Safely
The motor connects via four wires and a capacitor. There are two black wires, one blue wire, one brown wire, and one capacitor lead. Before disconnecting, label each wire or leave one connected as a reference to avoid miswiring during reassembly.
Disconnect the Capacitor First
Unclip the capacitor wire first. The capacitor stores electrical charge and should be handled last during reassembly but disconnected first for safety.
Separate Crimped Connections
All wires are joined with crimps, not solder. Use needle-nose pliers to gently reverse the crimp. One wire has a metal insert that resists separation. Work slowly to avoid breaking the conductor. Take a photo before disconnecting for easier reassembly.
Disassemble Motor Housing

Break the Interference Fit
The stator, which is the motor body, is press-fit into the housing. This is the tightest part of the disassembly. Gently twist and pull the stator free using hand pressure. Avoid using tools that could crack the plastic housing.
Inspect Key Components
With the motor out, check several key areas. Inspect the front bearing and clean or re-lubricate if dry. Look at the shaft for pitting, scoring, or wobble. Check the windings for burnt smell, discoloration, or melted insulation. Examine the bottom ball bearing, which sits in a socket and supports the shaft’s weight. Ensure it moves freely. Damage to windings or severe shaft wear means replacement is safer than repair.
Clean and Lubricate Properly
Clean Bearings and Blades
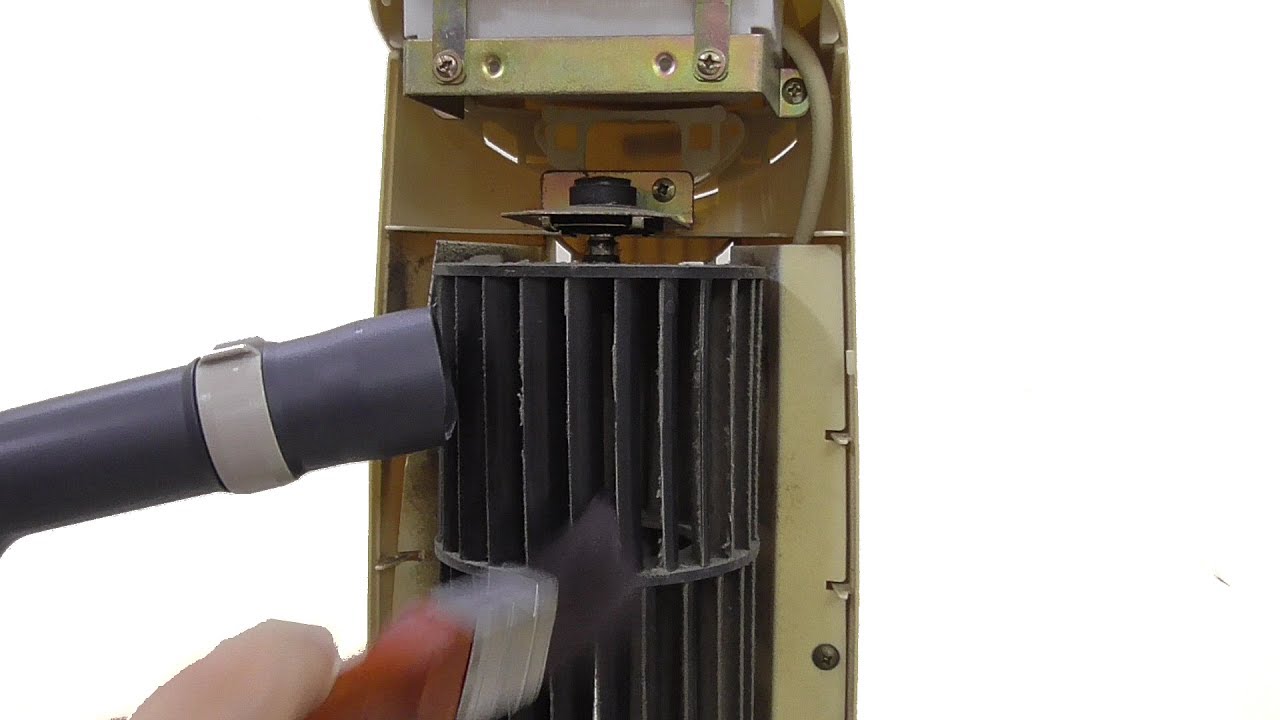
Use isopropyl alcohol and a lint-free cloth to clean the top bearing housing, the motor shaft, and the shaft groove where it spins. For blades and interior spaces, use a soft brush or vacuum. If blades are heavily soiled with smoke residue, rinse them with water but dry completely before reassembly.
Apply Correct Lubricant
Never use WD-40. It is a solvent, not a lubricant, and evaporates quickly under heat, causing noise to return within weeks.
Use White Lithium Grease
White lithium grease is ideal for metal-on-metal contact. It is heat-resistant and long-lasting. Apply a thin coat to the motor shaft, the shaft groove, the top bearing hole, and oscillation joints if noisy. Use a rag to dab aerosol grease for better control. Too much grease attracts dust.
Alternative: Fan-Specific Oil
If grease is too thick, apply three to four drops of fan-specific oil to the bearing. Do not over-lubricate.
Reassemble in Reverse Order
Reinstall the Motor
Place the ball bearing back into its socket at the base. Align the stator with the housing and press it in firmly. Reattach the motor mount bolt at the base. Tighten securely but not excessively.
Reconnect Wires Correctly
Use wire nuts for safe, reliable connections. Match blue to blue, black to black, and brown to brown. Reattach the capacitor last. Route wires neatly and secure with strain relief to prevent pulling.
Reattach Internal Components
Replace the air duct and secure with six screws. Use the configuration of three on one side, two on the other, and one at the bottom. Reinstall the metal plate and grounding component. Reconnect the top bracket and apply a tiny dab of grease to the oscillation joint.
Snap Front Guard Back In
Align the front guard and press it into the spring clips on both sides. Ensure no wires are pinched between the guard and housing. Reinsert the two top screws.
Secure the Base
Slide the base halves together and reinstall the two base screws. Tighten until snug. Do not over-tighten, as this can strip plastic threads.
Test and Troubleshoot
Power On and Check Functions
Plug in the fan and test all speed settings. They should run smoothly at each level. Verify oscillation performs a full left-to-right sweep with no binding. Set the two-hour timer to confirm auto shut-off works. Listen for grinding or squeaking.
Diagnose Common Issues
Squeaking After Reassembly
The likely cause is insufficient lubrication. Reapply white lithium grease to the shaft and top bearing.
Fan Won’t Start
Check wire connections, especially crimped joints. Verify capacitor reattachment and test the power outlet.
Vibration or Wobble
Ensure the ball bearing is seated in the socket. Check that the motor mount bolt is tight. Verify blades are clean and balanced.
Oscillation Misaligned
Recheck alignment of the oscillation arm with the motor shaft. It should move freely without resistance.
Prevent Future Problems
Maintain Annually
Clean and lubricate your Pelonis tower fan once a year. This removes dust buildup, prevents bearing wear, and reduces noise. If you need to service it more than yearly, consider upgrading to a higher-end model or using a thicker-grade grease.
Avoid These Mistakes
- Using WD-40 provides temporary relief but fails under heat.
- Over-tightening screws strips plastic and weakens housing.
- Skipping wire labeling leads to incorrect reconnection and motor failure.
- Reassembling wet parts causes short circuits or motor damage.
When to Replace the Fan
Consider replacement if the plastic housing is cracked or brittle, motor windings are burnt, screws no longer hold due to stripped threads, or you are uncomfortable handling electrical components. Even well-maintained fans have a lifespan of typically five to ten years with proper care.
Frequently Asked Questions About Taking Apart a Pelonis Tower Fan
What tools do I need to take apart a Pelonis tower fan?
You will need a Phillips head screwdriver, a small prying tool or flat-head screwdriver, needle-nose pliers, isopropyl alcohol, and lint-free cloths. Having a rag for applying grease and a small container for organizing screws is also helpful.
Can I use WD-40 to lubricate my Pelonis tower fan?
No. WD-40 is a solvent and water displacer, not a lubricant. It evaporates quickly under heat and motion, causing noise to return within weeks. Use white lithium grease or fan-specific oil instead.
How do I reconnect the wires when reassembling a Pelonis tower fan?
The motor uses four wires with specific colors. Match blue to blue, black to black, and brown to brown. Use wire nuts for secure connections and reconnect the capacitor last. Taking a photo before disconnecting helps ensure correct reassembly.
Why is my Pelonis tower fan still squeaking after reassembly?
Persistent squeaking indicates insufficient lubrication. Reapply white lithium grease to the motor shaft and top bearing. Make sure you are using the correct lubricant and applying enough to coat the moving parts.
How often should I clean and lubricate my Pelonis tower fan?
Perform annual maintenance once a year. Clean dust buildup and reapply lubricant to prevent bearing wear and reduce noise. If you find yourself servicing more frequently, consider upgrading to a higher-quality model.
Key Takeaways for Taking Apart Your Pelonis Tower Fan
Disassembling a Pelonis tower fan is entirely doable with patience and the right approach. By following these steps carefully, removing screws methodically, handling crimped wires with precision, cleaning thoroughly, and using proper lubrication, you can restore quiet and efficient performance. The key is using white lithium grease instead of WD-40, keeping all fasteners organized by location, and labeling wires before disconnecting them. Regular annual maintenance prevents most issues, so make cleaning and greasing part of your routine. With this guide, your Pelonis fan can run smoothly for years to come.