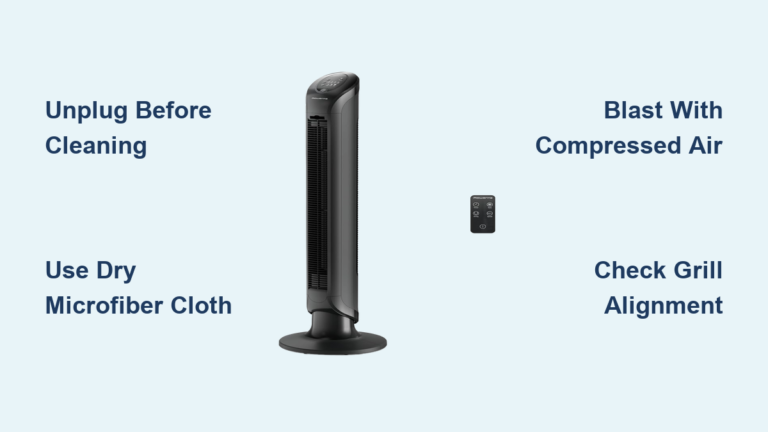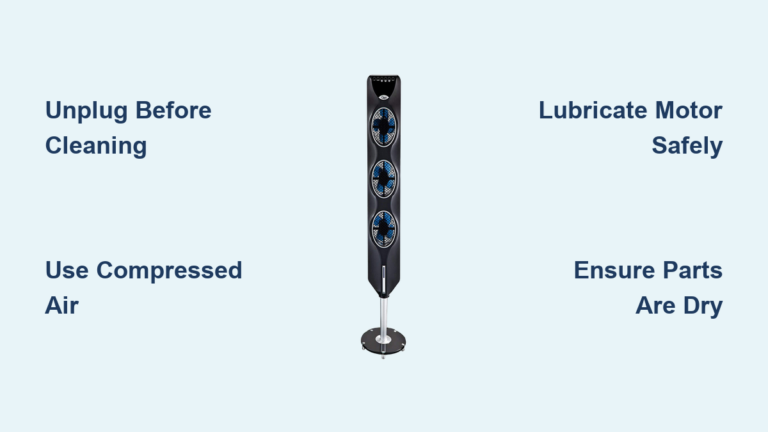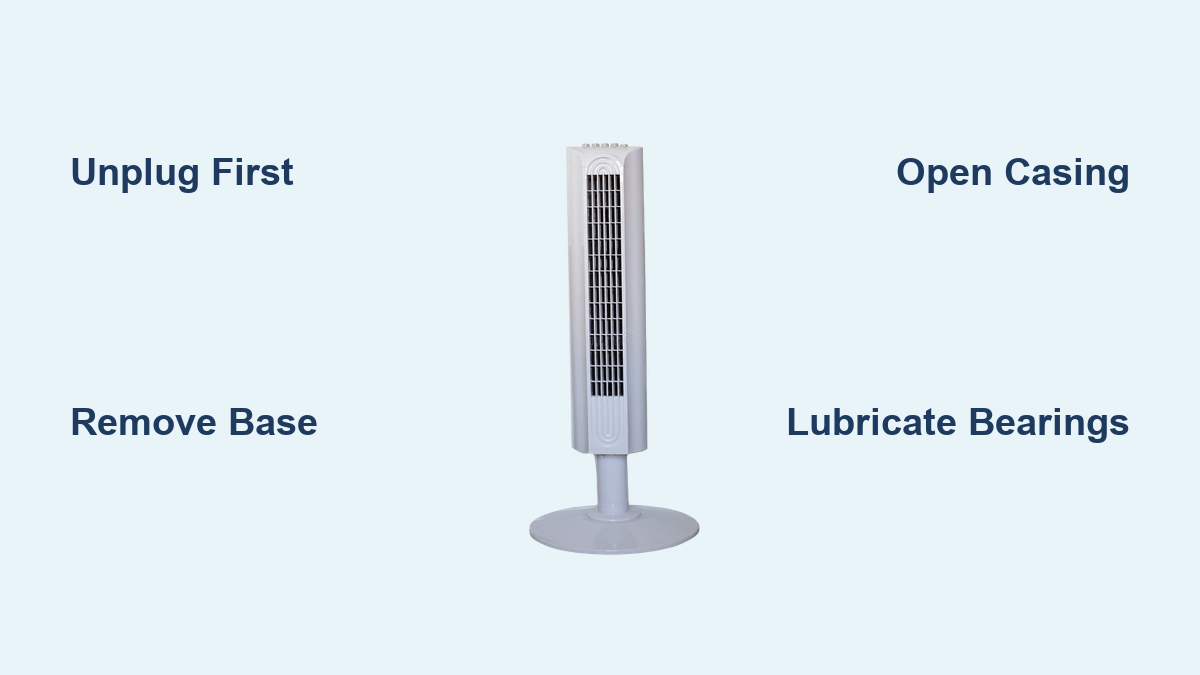
How to Take Apart a Tower Fan
Is your tower fan making strange noises, not oscillating, or gathering dust after months of use? The fix might be simpler than you think. Learning how to take apart a tower fan properly helps you clean internal components, lubricate bearings, and diagnose common issues, extending its life by years. Whether you own a Honeywell, Hampton Bay, Dreo, Holmes, or Seville Classics model, this guide walks you through safe disassembly, cleaning, and reassembly with precision.
You will need only basic tools and about 30 to 60 minutes. Most repairs cost nothing beyond a bit of white lithium grease and some compressed air. Let us get inside your fan and bring it back to peak condition.
Safety First: Prepare Your Workspace
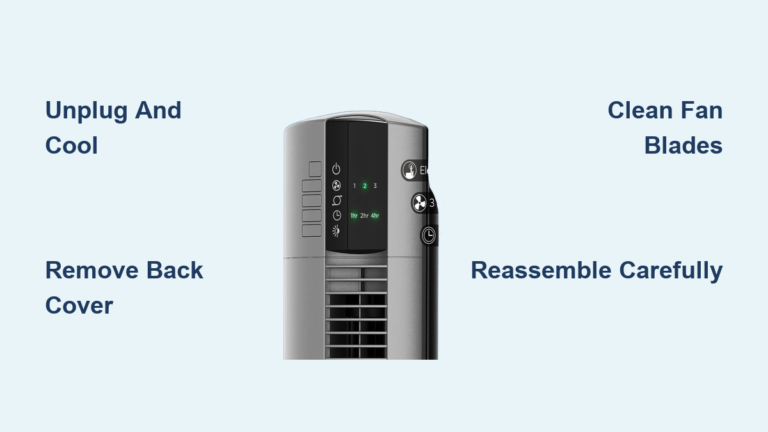
Before touching any screws, protect yourself and your device. Always unplug the fan from power. Even a small electrical jolt can be dangerous when handling internal components. Place the fan on a clean, flat surface covered with a soft towel to prevent scratches. Work in a well-lit area so you can clearly see screws, clips, and wires.
Take photos at every stage of disassembly. This visual log helps during reassembly, especially when tracking tiny screws or wire routing. Use tape or sticky notes to label parts if needed. One misplaced screw can prevent the casing from closing properly.
Gather the Right Tools for the Job
Using improper tools risks breaking plastic clips or stripping screws. You will need specific tools tailored to the fastener types found in tower fans.
Your essential disassembly tools include:
- Phillips screwdrivers (PH2 size most common)
- Torx T10 driver for base collars on many models
- Long-reach screwdriver for deep-set screws at the top
- Plastic pry tools or spudgers to release snap-fit clips without scratching
- Precision screwdrivers for small internal screws or sensor modules
For cleaning and maintenance, gather white lithium grease for long-term bearing lubrication, isopropyl alcohol for electronics and remote sensor windows, mild dish soap and water for blades and plastic parts, a vinegar-water mix (1:1) for stubborn grime, compressed air or a leaf blower for deep dust removal, and soft brushes with microfiber cloths.
Critical Warning: Never submerge the motor or electronics in water. Wipe them gently with a damp cloth only.
Remove the Base to Start Disassembly

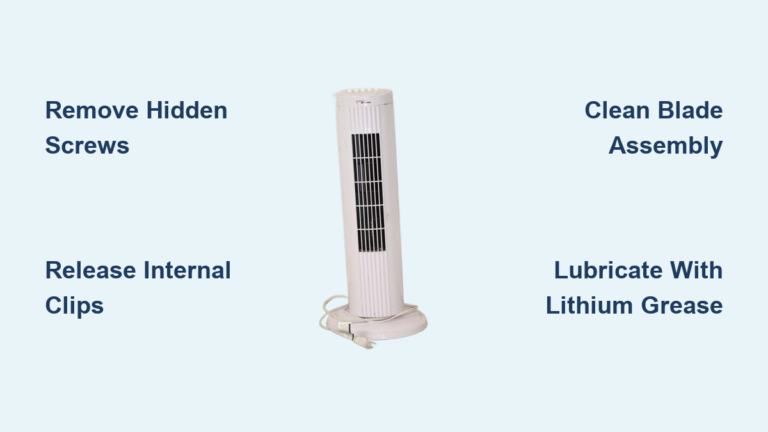
Start from the bottom to gain access to internal fasteners. Flip the fan upside down and look for a circular collar at the base. It may be held by screws or be a friction-fit ring. On Honeywell and similar models, unscrew the Torx T10 or Phillips screws underneath. If no screws are visible, twist the collar counterclockwise. It may be stuck due to dust buildup. Gently pry with a plastic tool if needed.
Once the base is off, locate the zip tie or plastic clip securing the power cord. Cut or remove it carefully. Keep track of how the cable routes through the internal guard. This ensures correct reassembly.
Open the Outer Casing Without Damage

Most tower fans use hidden screws and snap-fit clips. Check these common spots for hidden fasteners:
- Under rubber feet
- Beneath labels or stickers
- Inside the top cap
- Along the seam between front and back panels
Many models like the Hampton Bay TRE31GY have four deep Phillips screws at the top. Use a long-reach screwdriver to remove them. After removing all screws, start separating the casing from the bottom. Insert a plastic pry tool along the seam and gently twist to release internal clips. Work your way around the unit.
If you see a “Push up and pull out” label near the control panel, apply upward pressure there while pulling outward. This is common on Hampton Bay models. Do not force or use metal tools. Plastic clips are fragile and expensive to replace.
Access the Motor and Fan Blades
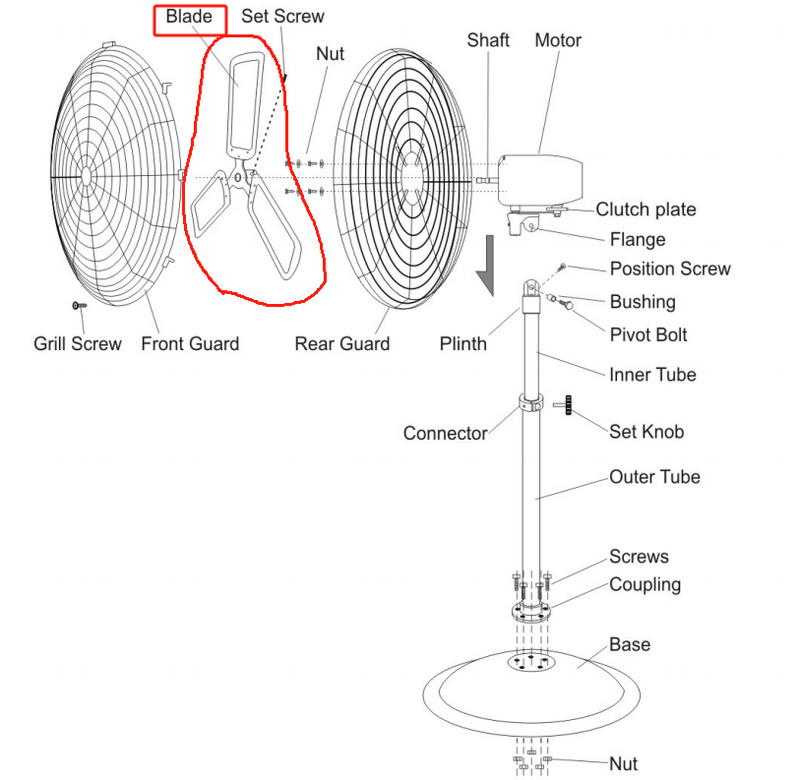
With the casing open, the core components are now exposed. Locate two Phillips screws under the front of the fan blade and remove them. Then find the set screw on the motor shaft and loosen it with a small Phillips driver. Slide the blade straight off, noting the flat spot on the shaft for reinstallation.
Remove the long screw and bracket holding the motor in place. Carefully pull the motor forward. Some models have a wire harness. Disconnect it gently by pressing the release tab. Lift out the small oscillation mechanism usually located at the base. Check for broken gears or loose linkages. If gears are stripped, replacement may be needed.
Clean Every Component Thoroughly

Dust buildup causes noise, overheating, and reduced airflow. Soak the fan blade and removable grilles in warm, soapy water. Use a soft brush or toothbrush to scrub crevices. For tough grime, wipe with a cloth dampened in 1:1 vinegar-water solution. Rinse and dry completely before reassembly.
Use compressed air or a leaf blower to blow dust from the motor housing, shaft, and vents. Hold the motor shaft still to avoid spinning it too fast. Wipe the housing with a dry microfiber cloth.
Moisten a cotton swab with isopropyl alcohol and clean the control panel contacts and the remote sensor window. This restores responsiveness if the remote is not working. Never spray liquid directly onto circuitry.
Lubricate Bearings for Silent Operation
Dry bearings are the number one cause of squeaking and grinding. Wipe old grease and debris from the motor shaft and bearing pockets (upper and lower). Apply a small dab of white lithium grease to the shaft and inside both bearings. Work the shaft in and out to spread the grease evenly.
If your fan has sliding height adjustments or tilt mechanisms, apply a light coat of lubricant to eliminate squeaks. Use minimal oil or grease to avoid dripping.
Important: Avoid WD-40. It evaporates quickly and does not protect bearings. It can also attract dust and damage plastic components.
Diagnose Common Problems During Disassembly

While the fan is open, diagnose and resolve frequent issues. If the fan will not oscillate, check the oscillation motor for power with a multimeter. Inspect gears and linkage for broken plastic teeth or misaligned parts. Manually turn the gear mechanism. If it is stiff, clean and lubricate.
If the fan lights up but blades do not spin, the motor coupling may be cracked. The blade hub could be broken or the motor shaft may be seized. Check connections between the control board and motor.
For remote control issues, replace batteries first. Check the receiver module inside the fan. Ensure it is seated correctly and not loose. Clean the sensor window with alcohol.
If the motor will not start, test the capacitor with a multimeter. A swollen or leaking capacitor is a common cause of silent motor failure. Replace if defective.
Reassemble in Reverse Order
Put everything back carefully. Rushing causes mistakes. Slide the motor back into place and reconnect the wire harness if present. Reattach the mounting bracket and screw.
Slide the blade onto the motor shaft, aligning the flat spot with the set screw. Tighten the set screw, then secure the blade with the two Phillips screws.
Align the front and back panels. Slide the top tabs into place and press down around the edges until all clips snap shut. Ensure no gaps remain.
Align the base collar with the notch for the power cable. Screw it back on tightly. Re-route the power cord through the internal guard and secure it with a new zip tie if needed.
Test Before Final Use
Never skip validation. Catch issues early. Plug in the fan and turn it on at the lowest speed. Listen for smooth operation. Then test all speed settings, oscillation (manual and remote), remote functions (power, mode, timer), and tilt and height adjustments if applicable.
A properly lubricated fan should run quietly. Any grinding, squeaking, or rattling means bearings need more grease, a wire is touching the blade, or a screw is loose. Reopen if necessary and correct the issue.
When to Repair Versus Replace
Not every fan is worth fixing. Repair if the issue is dust buildup or dry bearings, you need to replace a capacitor (5 to 10 dollar part), or the motor coupling or oscillation gear is broken (often repairable with epoxy).
Replace if the main motor is burned out, the control board is damaged, or the unit is over five years old with multiple failures. Routine maintenance can extend a fan is life to seven or more years, making repair often the smarter choice.
Frequently Asked Questions About Taking Apart a Tower Fan
What tools do I need to take apart a tower fan?
You will need Phillips screwdrivers (PH2), a Torx T10 driver for base collars, a long-reach screwdriver for top screws, plastic pry tools to release clips without scratching, and precision screwdrivers for small internal components.
How do I know if my tower fan needs lubrication?
Signs that your fan needs lubrication include squeaking, grinding, or rattling noises during operation. Excessive noise typically indicates dry bearings. Applying white lithium grease to the motor shaft and bearing pockets eliminates these sounds.
Can I use WD-40 to lubricate my tower fan?
No. WD-40 evaporates quickly and does not provide long-term bearing protection. It also attracts dust and can damage plastic components. Use white lithium grease instead for lasting results.
How often should I clean my tower fan?
Deep clean your tower fan every three to six months to prevent dust buildup, odors, and motor strain. Regular cleaning extends the fan is life and maintains optimal performance.
Why will my tower fan not oscillate after reassembly?
This usually indicates a problem with the oscillation motor, misaligned gears, or broken linkage. Inspect the oscillation mechanism for obstructions or damage. Verify the oscillation motor is receiving power and replace if necessary.
Is it worth repairing an old tower fan?
Repair is worth it for dust buildup, dry bearings, or minor part replacements like capacitors. Replace if the motor is burned out, the control board is damaged, or the unit is over five years old with multiple failures.
Key Takeaways for Taking Apart Your Tower Fan
Taking apart a tower fan is straightforward when you follow the proper sequence. Start with safety by unplugging the fan and documenting each step with photos. Gather the right tools including Phillips screwdrivers, Torx T10 drivers, and plastic pry tools to avoid damaging plastic clips.
Clean all components thoroughly including the motor housing, blades, and electronics. Apply white lithium grease to bearings for silent operation. Test all functions before final use to catch any issues early.
With proper maintenance every three to six months, your tower fan can last seven years or more. Regular cleaning and lubrication prevent noise, odors, and breakdowns, saving you money on replacements. Now you have the knowledge to keep your space cool, quiet, and dust-free.