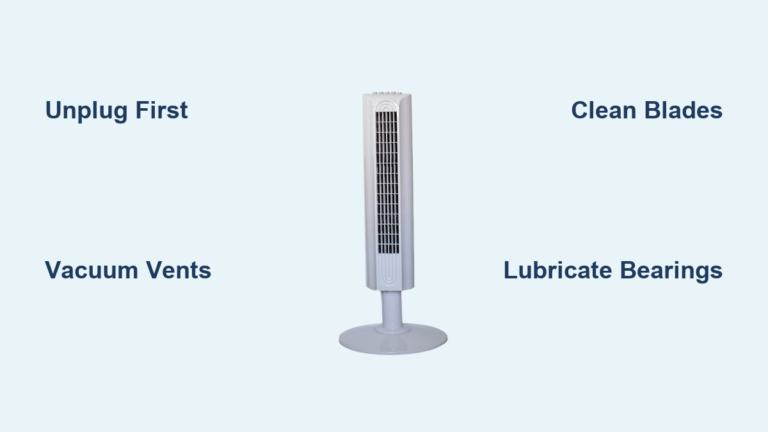
How to Clean a Sunter Tower Fan
Is your Sunter tower fan blowing weak air, making strange noises, or emitting a musty smell? You’re not alone. Over time, dust, pet hair, and grime build up inside the vents and blades, reducing performance and air quality. The good news is that a thorough cleaning can restore nearly all of its original power and keep it running quietly for years. In this guide, you’ll learn exactly how to clean a Sunter tower fan, from quick weekly wipe-downs to deep annual maintenance, including disassembly, motor lubrication, and odor removal.
Whether your model includes a heater, remote control, or oscillation feature, this step-by-step process covers every detail. You’ll also discover how to prevent common issues like squeaking, poor airflow, and electrical hazards. Let’s get your fan breathing clean again.
Safety First: Unplug and Prepare
Before touching any part of your fan, safety must come first. Electrical appliances like tower fans carry risks if mishandled during cleaning.
Unplug the Fan Completely
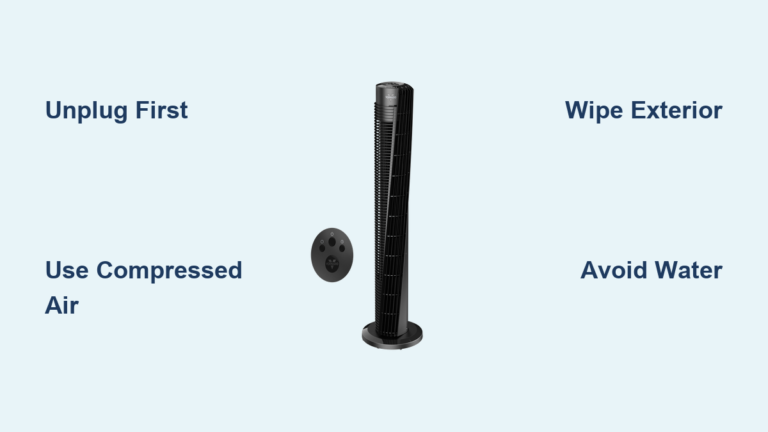
Always disconnect the power cord from the outlet. Never clean while plugged in, because even a small spark near dust buildup can be dangerous. Wait for the blades to stop spinning fully before starting.
Choose the Right Cleaning Location
Clean in a well-ventilated space, preferably outdoors, in a garage, or near an open window. Tower fans trap dust deep inside, and cleaning can release clouds of debris. If cleaning indoors, place a trash can nearby to catch falling lint and dust.
Check Warranty and Model Restrictions
Some Sunter models are sealed or have non-user-serviceable parts. Check your manual. If no screws are visible or disassembly is discouraged, stick to non-invasive methods to avoid voiding the warranty.
Keep Water Away from Electronics
Never spray water directly on the motor, control panel, base, or power button. Moisture in these areas can cause short circuits or permanent damage. Only wash removable parts like grills or filters.
Gather Your Cleaning Tools
Having the right supplies makes the job faster, safer, and more effective. Here’s what you’ll need.
Essential Cleaning Supplies
• Vacuum with brush attachment for sucking dust from vents and grills
• Compressed air canister to blow out internal dust from blades and motor housing
• Microfiber cloths, two total, one dry and one slightly damp for safe wiping
• Soft-bristle brush or toothbrush for scrubbing between vent slats and blades
• Cotton swabs to reach tight spaces around the motor and base
• Mild dish soap and warm water for washing removable grills
• Clorox bleach solution, 1:10 ratio, optional for sanitizing plastic parts
Tools for Deep Cleaning
• Phillips screwdriver, magnetic preferred, for removing casing screws
• Flathead screwdriver to gently pry plastic clips
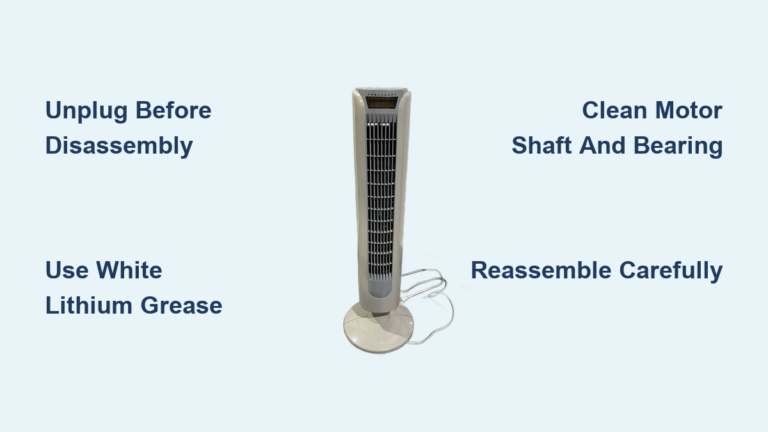
• White Lithium Grease for lubricating the motor shaft, do not use WD-40
• Small container to organize screws during disassembly
Quick Clean: No Disassembly Needed
For routine maintenance every two to four weeks, a quick clean keeps dust under control without opening the unit.
Vacuum Exterior Vents
Use the brush attachment on your vacuum to gently clean the front and back grills, side vents, and base. Move slowly to pull dust out rather than pushing it deeper. Focus on crevices where lint accumulates.
Blow Out Internal Dust
Hold a can of compressed air upright and spray short bursts into the front and back vents. Move the nozzle vertically and horizontally to dislodge trapped dust from the blades and internal channels. Do this outdoors to avoid spreading debris indoors.
Pro Tip: If you have a shop vac with a blow function, use it to push air through the fan from back to front, then reverse to flush out dust.
Wipe Down Surfaces
Dampen a microfiber cloth with warm, soapy water and wring it out well. Wipe the outer casing, control panel, and base. Slide the cloth between vent slats to lift hidden grime. Use a dry cloth for the display or touch buttons to avoid moisture damage.
Run Fan to Expel Residue
After cleaning, plug in the fan and run it on high speed for one to two minutes, pointing it toward a window or outside. This clears any remaining loose particles.
Deep Clean: Disassemble and Clean Inside

If your fan runs noisily, smells musty, or has weak airflow, it is time for a deep clean. This process takes 30 to 60 minutes but restores performance dramatically.
Remove Base and Front Grill
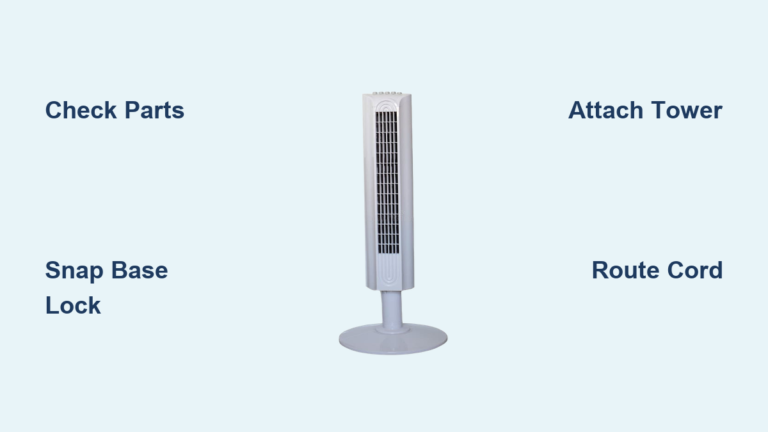
Flip the fan over or check the base for screws. Some Sunter models have a snap-on base or PVC-style fittings. The front grill often slides or snaps out, so pull forward gently. If screws are present, remove them and set aside.
Open the Outer Casing
Locate screws along the back or sides. Sunter tower fans often use four to seven screws of varying lengths. Remove them and place in a labeled container. Use a flathead screwdriver to gently pry along the seam and release plastic clips. Lift the casing upward to avoid breaking tabs.
Access the Central Cylinder
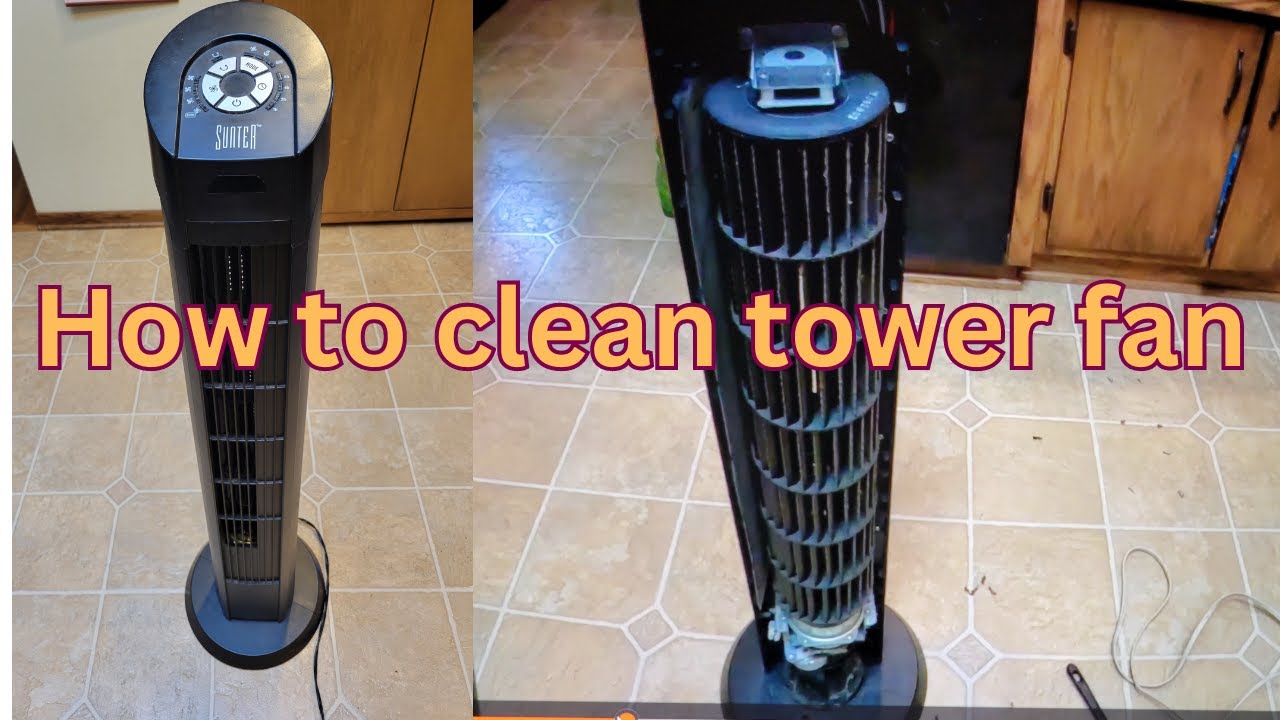
Once the shell is off, you will see the central spinning column and motor housing. On some Sunter models, this is a solid rod design that is safe to rinse. On others, it is a blade assembly that must be cleaned dry.
Clean the Blades or Central Rod
If removable and water-safe, rinse under running water and use a toothbrush to scrub grime from slats. Dry completely before reassembly. If not water-safe, wipe each blade with a damp microfiber cloth. Use cotton swabs for the hub and hard-to-reach areas. Rotate by hand to clean all sides.
Wash the Grills
Soak removable grills in warm, soapy water for 10 to 15 minutes. Scrub between slats with a soft brush. Rinse and air dry fully. Do not reassemble wet.
Clean Motor Housing and Vents
Use a dry microfiber cloth, cotton swab, or vacuum brush to clean around the motor. Avoid water. If a motor cover is secured by screws, usually two, remove it and vacuum out lint buildup.
Sanitize Plastic Parts
Wipe the interior casing with a 1:10 bleach solution or mild soapy water to kill mold and bacteria. This eliminates musty odors. Avoid metal or electrical components.
Lubricate for Quiet Operation
Squeaking, especially at low speeds, means the motor shaft or oscillation mechanism is dry.
Diagnose the Noise
Squeaks usually come from the motor shaft spinning dry inside its housing. If the fan squeaks when oscillating, the sliding bushing may need grease.
Apply White Lithium Grease
Disassemble to expose the motor by removing top bracket and housing screws. Wipe off old, crusty grease with a lint-free cloth. Locate the small shaft hole in the motor housing. Spray or apply a small amount of White Lithium Grease into the hole. Manually move the shaft in and out to distribute grease. Apply a thin layer to the top of the shaft and the oscillation bushing.
Warning: Do not use WD-40. It evaporates quickly and attracts more dust, worsening the problem.
Reassemble and Test
Put everything back in reverse order. Use the correct screws in the right spots. Plug in and test on low speed. The squeak should disappear.
Maintain Filters and Electronics
If your Sunter fan includes an air purifier, filter care is critical.
Clean or Replace Filters
Remove the filter, checking the manual for location. Wash reusable filters with lukewarm water and mild soap. Air dry completely, never reinsert a damp filter. Replace every three to six months, or sooner in dusty homes or with pets.
Care for Remote and Controls
Wipe the remote with a dry or slightly damp cloth. Check battery compartment for corrosion. Test all functions including speeds, timer, oscillation, and heater after reassembly.
Follow a Cleaning Schedule
Staying on top of maintenance prevents buildup and extends your fan’s life.
| Task | Frequency |
|---|---|
| Wipe exterior and control panel | Every 2 weeks |
| Vacuum vents and grills | Monthly |
| Check filter if equipped | Every 2 to 3 weeks with pets |
| Deep clean internal components | Every 3 to 6 months |
| Lubricate motor shaft | Every 1 to 2 years |
| Replace filter | Every 3 to 6 months |
Clean Immediately If
• Fan blows weak or uneven air
• Musty or burnt smell appears
• Unusual noise like squeak, rattle, or hum
• Visible dust puffs out when turned on
Avoid These Common Mistakes
Even careful users make errors that damage their fan or reduce efficiency.
Never Use Harsh Chemicals
Bleach, ammonia, or abrasive cleaners can crack plastic or leave harmful residues. Stick to mild soap and water.
Never Submerge Electronics
The motor, base, and control panel are not waterproof. Even a little moisture can fry circuits.
Never Shake Compressed Air Cans
Shaking can release liquid propellant, which damages electronics. Hold upright and spray in short bursts.
Never Use WD-40 on the Motor
It is not a lubricant. It is a water displacer that dries out fast and pulls in dust, increasing friction.
Never Reassemble While Wet
Even slight dampness can cause shorts. Let all parts dry for at least two to four hours, preferably overnight.
Never Force Plastic Clips
If a panel will not budge, check for hidden screws. Use a flathead to gently release tabs. Never pry hard.
Troubleshoot Common Post-Clean Issues
After cleaning, if your fan does not work, check these.
Fan Won’t Turn On
Ensure all connectors are seated properly. Check for loose wires during reassembly. Confirm the unit is completely dry. Test the outlet with another device.
Weak Airflow Persists
Double-check for clogged filters or grills. Ensure the blade column is fully seated. Clean internal vents again with compressed air.
Squeaking Returns
Apply a tiny bit more White Lithium Grease. Make sure the shaft is not misaligned. Verify the oscillation bushing is lubricated.
Maximize Performance and Lifespan
A clean Sunter tower fan is not just quieter. It is more efficient, healthier, and longer-lasting.
Benefits of Regular Cleaning

• Restores 90 to 95 percent of original airflow
• Reduces energy use because clean fans do not overwork
• Improves indoor air quality by reducing dust circulation
• Prevents overheating and motor strain
• Eliminates odors and allergens
For Heater Models: Extra Care
If your Sunter fan has a heating function, use compressed air to clear dust from heater coils because lint near heat sources is a fire risk. Never block intake vents when in use. Clean before winter storage and after each heating season.
Final Tips for Long-Term Care
Label screws during disassembly to avoid mix-ups. Store in a dry place when not in use. Run the fan weekly even in off-seasons to prevent motor stiffness. Use a surge protector to guard against power spikes.
By following this complete guide, your Sunter tower fan will deliver strong, clean airflow for years, whether cooling in summer or heating in winter. A little maintenance goes a long way.
Now, unplug, gather your tools, and give your fan the refresh it deserves.
Frequently Asked Questions About Cleaning a Sunter Tower Fan
How often should I clean my Sunter tower fan?
For optimal performance, perform quick exterior cleaning every two to four weeks. Vacuum vents monthly and deep clean internal components every three to six months. If you have pets, increase exterior cleaning frequency to every two to three weeks.
Can I wash the blades of my Sunter tower fan with water?
It depends on your model. Some Sunter models feature a solid central cylinder that is safe to rinse under water. However, standard blade assemblies with electronics should be wiped with a damp cloth rather than submerged. Always check your manual before washing any component.
Why does my tower fan squeak after cleaning?
Squeaking after cleaning usually means the motor shaft has dried out. Apply White Lithium Grease to the motor shaft and oscillation bushing. Make sure to distribute it evenly by moving the shaft in and out manually.
Can I use WD-40 to lubricate my tower fan motor?
No. WD-40 evaporates quickly and actually attracts more dust, making the problem worse. Use White Lithium Grease instead for lasting lubrication on the motor shaft and oscillation mechanism.
What should I do if my Sunter tower fan still smells musty after cleaning?
Deep clean the interior components including the motor housing and blade area. Wipe all plastic parts with a 1:10 bleach solution to kill mold and bacteria. Run the fan on high speed near an open window for 15 minutes to expel any remaining odors.
Key Takeaways for Cleaning Your Sunter Tower Fan
Regular maintenance is essential for keeping your Sunter tower fan running efficiently. Quick cleans every two to four weeks prevent dust buildup, while deep cleaning every three to six months restores full performance. Always unplug before cleaning and never allow water near the motor or electronics. Use White Lithium Grease for lubrication and avoid WD-40. With proper care, your tower fan will provide clean, quiet airflow for years to come.