How to Clean a Tower Fan
Dust builds up fast in tower fans, especially if you use them daily or live with pets. A dirty fan doesn’t just push stale, dusty air around; it strains the motor, runs louder, uses more energy, and can even develop a musty smell. This guide covers every step, tool, and safety tip you need to clean your tower fan properly and restore it to near-new performance. You’ll learn how to safely remove grime, silence annoying noises, and extend your fan’s life without damaging internal components.
Prepare Safely Before Cleaning Your Tower Fan
Before touching any part of your tower fan, follow these critical safety steps to protect yourself and the unit.
Unplug the Fan Immediately
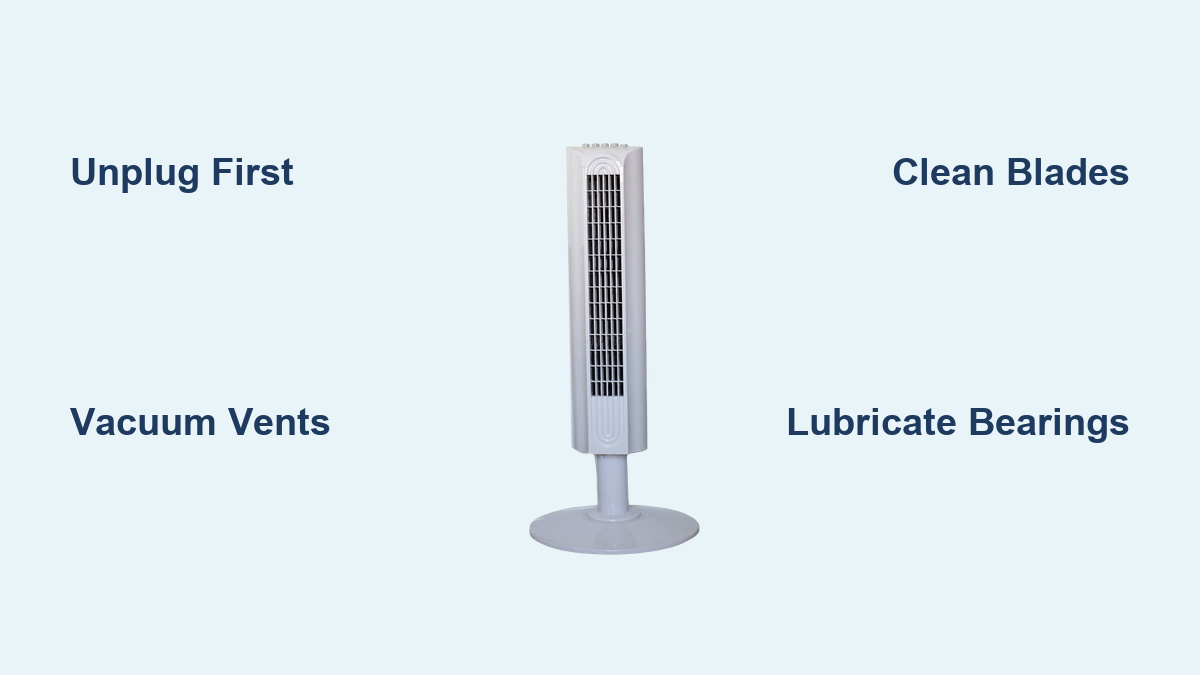
Never attempt to clean a tower fan while it’s plugged in. Even a quick wipe near internal parts risks electrical shock. Always unplug from the wall outlet first.
Choose the Right Workspace
Select a flat surface with good lighting. If using compressed air or vacuuming heavily, do it outdoors or in a garage to avoid spreading dust indoors.
Gather Your Tools Early
Have all cleaning supplies ready before starting. This prevents mid-clean interruptions that could lead to accidents or moisture exposure. You’ll need microfiber cloths, a vacuum with soft brush attachment, compressed air, mild dish soap, white vinegar, isopropyl alcohol, screwdrivers, and white lithium grease for lubrication.
Choose Your Tower Fan Cleaning Method

Not every clean requires full disassembly. Pick the right approach based on your fan’s condition and model.
Surface Cleaning for Routine Maintenance
Best for: Routine maintenance every 2 to 4 weeks. Ideal for: All models, especially sealed units like Rowenta or Levoit.
This method keeps your fan fresh without opening it up.
Wipe Down the Exterior
Use a dry microfiber cloth to remove surface dust. For sticky spots or fingerprints, lightly dampen the cloth with water or a drop of dish soap. Never soak the fabric.
Vacuum the Vents and Grilles
Attach a soft brush head to your vacuum hose. Gently go over the front and rear grilles, oscillation slots, and base vents. Focus on tight slats where dust hides.
Blow Out Internal Dust
Hold the fan upright outside. Use short bursts of compressed air between the blades and into side vents. This loosens trapped dust without forcing it deeper.
Clean the Control Panel
Mix equal parts water and white vinegar. Dampen a corner of a microfiber cloth and wipe buttons and display. This prevents odor and disinfects without damaging electronics.
Let It Dry Fully
Wait at least 30 minutes before plugging back in. Even minor moisture near circuits can cause shorts.
Deep Clean with Removable Grille

Best for: Models with removable parts like Dreo Pilot Max or Cruiser Pro T2. Frequency: Every 1 to 3 months depending on use.
Some tower fans let you access blades and internal housing easily.
Remove the Rear Grille
Look for a single screw at the top or bottom of the back panel. Use a Phillips screwdriver to remove it, then gently pull the grille off.
Vacuum Inside the Housing
With the grille off, use the vacuum brush to clean dust from blades, motor cover, and inner walls. Pay attention to corners and crevices.
Wash Removable Parts
Soak the grille in warm, soapy water. Scrub with a soft brush. Rinse well and air dry completely. Overnight is safest. Do not reassemble until 100% dry.
Reattach Securely
Once dry, snap the grille back into place and tighten the screw. Ensure alignment to prevent rattling during operation.
Full Disassembly and Lubrication Process
Best for: Older, noisy, or high-use fans. Models: Honeywell QuietSet, older Dreo units. Frequency: Once every 6 to 12 months.
This restores quiet operation and prevents motor wear.
Remove the Base and Open the Casing
Flip the fan over. Unscrew the collar at the bottom. Remove Torx screws holding the base to the tower. Turn the fan upright. Remove Phillips screws along the top edge. Gently press down on one side and snap the casing apart. Use a plastic prying tool if stuck. Never use metal.
Pro Tip: Take photos before disconnecting anything. This helps with correct reassembly.
Inspect Internal Components
Check for dust buildup on motor housing, broken plastic gears common in Honeywell models, corroded electrical contacts, and dry or noisy bearings.
Clean Each Component Without Damage
Now that the fan is open, clean each part without damaging electronics.
Dry Clean the Motor
Use a soft brush or compressed air to remove dust from the motor casing and shaft. Do not use water or liquid cleaners on any electrical components.
Clean Electronics with Alcohol
Dip a cotton swab in isopropyl alcohol and wipe electrical contacts, switch terminals, and circuit boards. This removes oxidation and improves connectivity.
Wash Plastic Parts in Soapy Water
Soak fan blades, brackets, and grilles in a basin of warm, soapy water. Scrub with a soft toothbrush. Rinse and lay flat to dry.
Warning: Never submerge motor assemblies or wiring harnesses.
Lubricate Bearings for Silent Operation

Lubrication is key to stopping grinding noises and reducing motor strain.
Locate the Bearings
Find the two main points: the motor shaft bearing where the blade attaches, and the oscillation gear bearing in the base mechanism.
Apply the Right Grease
Use white lithium grease or silicone grease only. Avoid WD-40 or petroleum-based oils. They attract dust and degrade plastic.
How to Lubricate Properly
Use a toothpick to apply a pea-sized amount of grease. Press it into the bearing pocket. Rotate the shaft manually to spread the grease evenly.
Why lithium grease? It lasts longer, resists dust, and won’t dry out quickly.
Reassemble Your Tower Fan Correctly
Rushing reassembly causes misalignment, noise, or damage.
Reinstall the Motor Assembly
Slide the motor back into its bracket. Secure with two screws and a nut. Reconnect the oscillating motor if removed.
Align the Fan Blade
Match the flat spot on the motor shaft with the notch on the blade hub. Attach and tighten the set screw. Don’t overtighten plastic threads.
Close the Casing
Align both halves using your earlier photos or marks. Press evenly around the edges until they click. Do not force.
Tighten Base Bolts Properly
Reinsert mounting bolts. Turn counterclockwise until you hear a click. This ensures proper thread alignment. Then snug gently.
Test the Fan After Cleaning
Before calling it done, verify everything works.
Power On and Check All Settings
Plug in the fan. Turn it on and test all speed levels, oscillation function, and remote control responsiveness.
Listen for Noise
A successfully lubricated fan should run smoothly and quietly. If you hear grinding, check bearing grease or blade balance.
Smell for Mustiness
No odors should remain. If you detect a mildew smell, repeat internal cleaning with a vinegar-dampened cloth and ensure full drying.
Troubleshoot Common Problems
Even after cleaning, problems may arise. Here’s how to fix them fast.
Fan Is Still Noisy
Cause: Dry bearings or unbalanced blades. Fix: Re-lubricate with white lithium grease. Clean both sides of blades to ensure even weight.
Weak Airflow
Cause: Blocked vents or residual dust. Fix: Use compressed air again inside the housing. Vacuum front and rear grilles thoroughly.
Musty Smell Persists
Cause: Mold or deep-set dust. Fix: Wipe internal plastic with a vinegar-water mix. Let dry 24 hours before use.
Oscillation Won’t Work
Cause: Misaligned gears or stripped plastic. Fix: Open casing and realign oscillation motor. Repair broken gears with epoxy.
Prevent Future Dust Buildup
Keep your fan running smoothly between deep cleans.
Dust Weekly
Wipe the exterior with a dry microfiber cloth every 7 to 10 days. This prevents heavy accumulation.
Place Your Fan Smartly
Avoid setting the fan near carpets that stir up fibers, pet beds that clog vents, or windows where dust and pollen enter.
Cover When Storing
Before packing it away for winter, clean thoroughly and cover with a breathable cloth or bag. This prevents dust and moisture buildup.
Consider an Air Purifier
Units like Levoit Core 300 or Rowenta Pure Air reduce airborne particles, so your fan stays cleaner longer.
Model-Specific Cleaning Tips

Different brands have unique designs. Know yours before disassembling.
Dreo Fans
Rear grille removes with one screw. Easy access to blades. Minimalist design allows quick maintenance.
Honeywell QuietSet
Requires Torx bits for base screws. Plastic oscillation gears prone to breakage. Bearings often need lithium grease after 1 year.
Rowenta Tower Fans
Do not fully disassemble. These are sealed units. Clean externally only. Violating the casing may void warranty.
Levoit Tower Fans
Follow partial disassembly steps if grilles are removable. Otherwise, stick to surface cleaning and compressed air.
Avoid These Common Mistakes
Even experienced users make errors. Steer clear of these pitfalls.
Using Water or Sprays Inside
Water damages motors and circuits. Always use dry or damp cloths only.
Choosing the Wrong Lubricant
WD-40 attracts dust. Use white lithium grease, not oil or spray lubricants.
Forcing the Casing Open
Plastic cracks easily. Use a plastic pry tool and gentle pressure.
Skipping the Drying Step
Moisture causes short circuits. Always wait 30 minutes or more after cleaning.
Ignoring the Manual
Some models have special locks or warnings. Check your user guide before opening.
Frequently Asked Questions About Cleaning a Tower Fan
How often should I clean my tower fan?
Cleaning frequency depends on usage. For heavy daily use or homes with pets, clean every 2 weeks. For moderate daily use, clean monthly. For occasional use, clean every 2 to 3 months. Perform a deep clean every 6 to 12 months.
Can I use water to clean the inside of my tower fan?
No. Never spray water directly onto the fan, motor, or electronics. Use only dry methods like vacuuming, compressed air, or slightly damp cloths on exteriors. Water damages motors and causes short circuits.
Why is my tower fan still noisy after cleaning?
Noisy operation usually means dry bearings or unbalanced blades. Apply white lithium grease to the motor shaft bearing and oscillation gear bearing. Make sure both sides of the blades are clean for even weight distribution.
What is the best lubricant for tower fan bearings?
White lithium grease or silicone grease works best. Avoid petroleum-based products like WD-40 standard formula. They attract dust and degrade plastic components over time.
Can I disassemble my Rowenta tower fan?
No. Rowenta tower fans like Fresh 180 and Turbo Silence are sealed units designed for external cleaning only. Opening them may void the warranty. Use surface cleaning methods with vacuuming and compressed air instead.
Key Takeaways for Cleaning Your Tower Fan
Cleaning a tower fan isn’t just about looks. It’s about performance, safety, and longevity. A few simple tools and 20 to 60 minutes of effort can restore airflow, eliminate noise, and improve indoor air quality. Always unplug before cleaning, use the right cleaning method for your model, and never rush the drying process. Whether you do a quick vacuum or a full teardown with lubrication, following these steps ensures your fan runs efficiently for years. Make cleaning part of your seasonal routine, and your tower fan will keep you cool and comfortable, quietly and cleanly.