How to Disassemble Honeywell Tower Fan
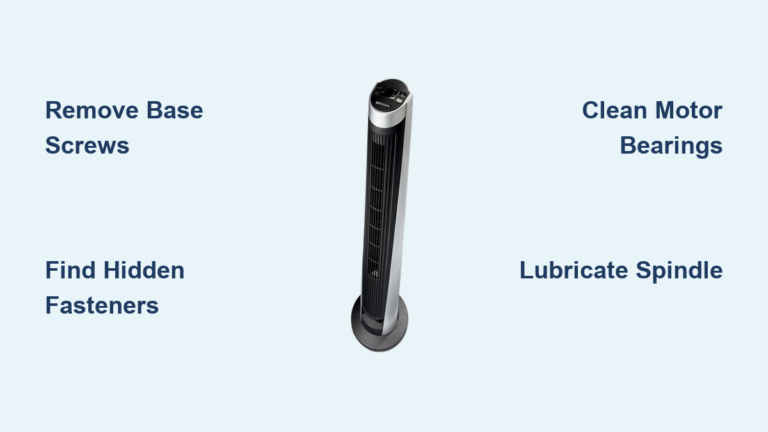
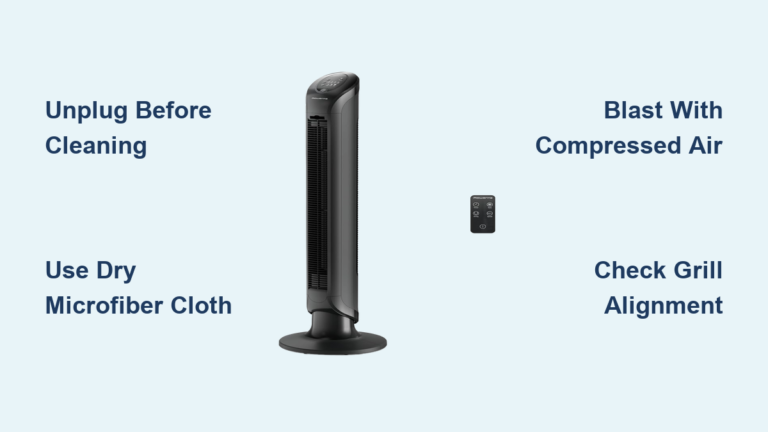
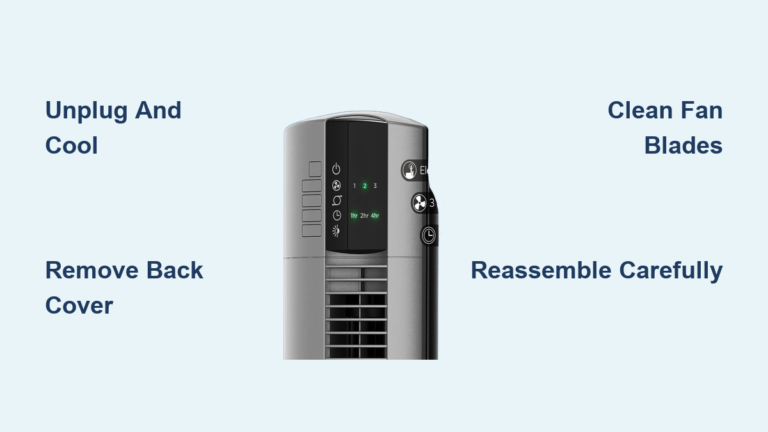
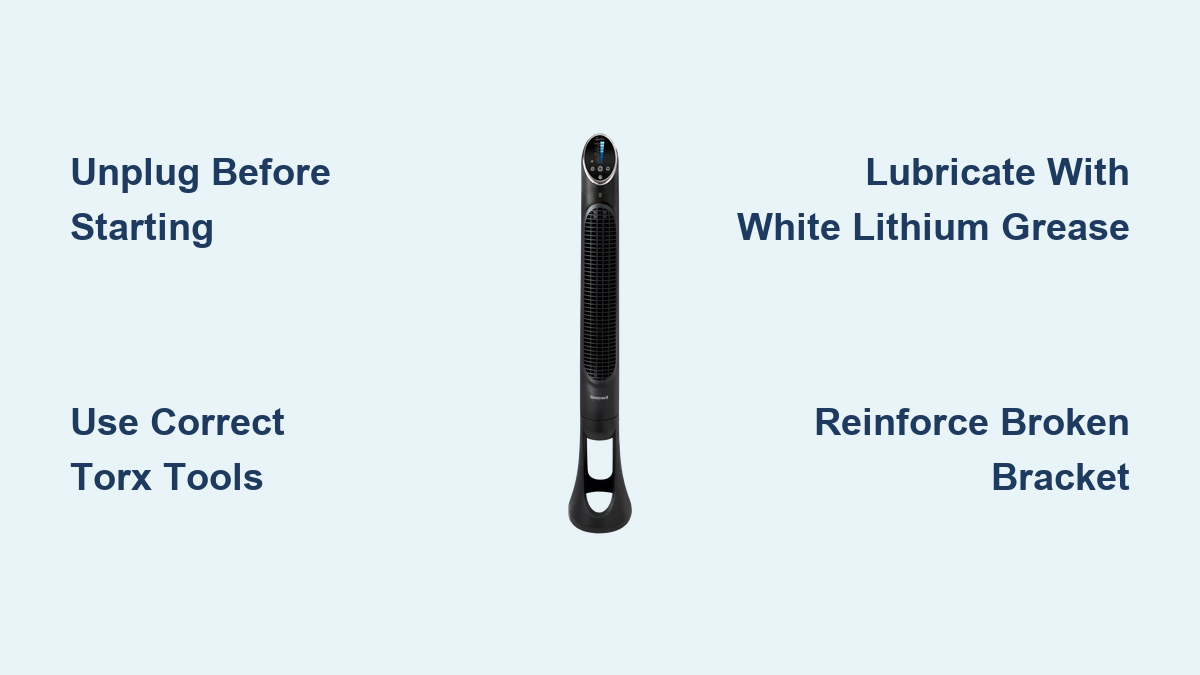
Is your Honeywell tower fan making strange noises, emitting a musty smell, or struggling to push air like it used to? Many owners of popular models like the HYF260, HYF290, and QuietSet series find that over time, dust buildup, dry bearings, and even structural plastic failures degrade performance. The good news is that with the right tools and a systematic approach, you can disassemble, clean, and repair your fan, often restoring it to like-new condition.
This guide walks you through exactly how to disassemble a Honeywell tower fan safely and effectively. You will learn how to open the housing, remove the blade cylinder and motor, clean internal components, fix common issues like squeaking or rattling, and reassemble everything with confidence.
Prepare Your Workspace and Ensure Safety
Before touching a single screw, safety must be your top priority. A tower fan contains electrical components that can pose a shock hazard if mishandled.
Power Off and Unplug
Always unplug the fan from the wall outlet before starting. Even low-voltage control boards can short if exposed to dust or moisture during cleaning. Never work on a plugged-in unit.
Choose the Right Workspace
Work in a well-ventilated area, preferably outdoors or in a garage. Disassembling a fan releases years of trapped dust, pet hair, and allergens. A breeze or open window helps prevent contaminating your living space.
Organize Screws and Protect Surfaces
Place the fan on a soft towel or cloth to avoid scratching the plastic casing. Keep a labeled piece of paper or small container nearby to sort screws by type and location. Mixing up Torx and Phillips screws or using the wrong length can complicate reassembly.
Keep Electronics Dry
Never spray water or cleaner directly onto the motor, circuit board, or wiring. Use only dry methods like brush, vacuum, or compressed air for electrical parts. For external surfaces, lightly dampen a microfiber cloth with a 1:1 water-vinegar mix and wipe gently.
Gather the Required Tools
Standard screwdrivers will not cut it. Honeywell uses specialized fasteners and delicate plastic housings that demand precision tools.
Essential Disassembly Tools
You will need these tools to disassemble a Honeywell tower fan properly.
- Torx T15 screwdriver: Removes base and internal housing screws
- Security Torx T20 with central pin: Needed for deep-set safety screws (standard T20 will not fit)
- #1 Phillips screwdriver (long/magnetic): For recessed top screws and blade assembly
- Plastic pry tools or phone opener: Safely separates housing without cracking plastic tabs
- Extension bar or magnetic bit: Reaches screws buried deep in the chassis
Cleaning and Repair Supplies
Keep these supplies on hand for the cleaning and repair process.
- Handheld vacuum with brush nozzle
- Compressed air canister
- Soft-bristled brushes (toothbrush, paintbrush)
- Cotton swabs and microfiber cloths
- White lithium grease (for bearings, not WD-40)
- CA glue or Permax 350 epoxy (for structural repairs)
- Mild soapy water (for washable parts)
Remove the Base

Start at the bottom. The base conceals key screws and must be removed to access the internal housing.
Unscrew the Locking Collar
Lay the fan on its side with the back panel facing up. Locate the circular locking nut (often red) near the power cord entry. Grip it firmly and turn counterclockwise to remove. If it is stuck, apply steady pressure because it may be glued with thread locker.
Once removed, the base detaches from the tower, exposing three screw holes.
Extract Base Screws
Remove two Torx T15 screws from the collar area. Then remove a third Torx T15 screw on the back, just above the base line.
Pro Tip: Some models hide a screw under a small plastic cap. Tap it out gently with a pin if needed.
Now the lower housing is free to separate once the top is opened.
Open the Housing

The fan uses a clamshell design with two plastic halves held by screws and internal tabs.
Remove Top Screws
Flip the fan upright. At the top of the back panel, locate four recessed Phillips #1 screws. Use a long or magnetic driver to remove them.
Some models have a fifth central screw. Remove it too.
Do not remove the four tiny screws around the control panel unless you are repairing the circuit board. These are not needed for general disassembly.
Pry Apart the Casing
Insert a plastic pry tool into the seam between the front and back housing, starting near the base.
Gently work your way around the unit, releasing the plastic clips. Apply downward pressure to pop each tab free. Do not force it.
Warning: The housing is thin. Excessive force can crack the plastic ribs. If it resists, double-check for missed screws.
On some models, the back panel has an inner liner that lifts out after the outer shell is opened. Remove it carefully to access the motor and blade assembly.
Remove the Blade Cylinder

With the housing open, the cylindrical blade assembly is now exposed.
Unscrew the Blade Mount
Locate two Phillips screws securing the blade cylinder to the front housing. Remove them and set aside.
Loosen the Set Screw
At the base of the blade hub, find the set screw. Use a small Allen wrench or Phillips driver to loosen it. Do not remove it completely.
The motor shaft has a flat spot. The blade hub must align with this flat when reassembling.
Slide Off the Blade Cylinder
Once the set screw is loose, gently pull the entire blade cylinder straight off the motor shaft.
Set it aside for cleaning. Avoid bending the fins or damaging the plastic impeller.
Extract the Motor Assembly

Now you can access the motor, which is the source of most noise and performance issues.
Remove the Motor Bracket
The motor is held by a metal or plastic bracket secured with two screws, usually Phillips.
Remove the screws and carefully pull the motor out from the front.
Caution: Wires run along the side of the cage. Do not yank or cut them. Disconnect only if necessary.
Access the Oscillation Motor
Inside the base, you will find a secondary motor with a gear reducer that drives oscillation.
It is connected to a crank arm. If oscillation is sluggish or noisy, remove this motor for cleaning and lubrication.
Label wires before disconnecting and take a photo for reference.
Deep Clean All Components
Now that everything is apart, clean each part thoroughly.
Clean Plastic Parts
Use a handheld vacuum to remove loose dust from housing halves, grates, and the blade cylinder.
Wash removable parts in soapy water with a soft brush. Focus on the blade fins and intake grilles where dust accumulates.
Rinse and dry completely before reassembly because moisture can damage electronics.
Use cotton swabs to clean tight spaces and corners.
Clean the Motor and Shaft
Never submerge the motor. Use compressed air or a dry brush to blow dust from the motor housing and windings.
Wipe the metal shaft with a dry cloth to remove old grease and grime.
For stubborn buildup, lightly dampen a cloth with rubbing alcohol. Never spray directly.
Wash or Replace the Filter
If your model has a washable filter, usually at the base, rinse it under lukewarm water. Swirl gently. No soap.
Let it air dry for 24 hours before reinstalling.
Non-washable filters should be replaced every 6 to 12 months.
Lubricate for Quiet Operation
Squeaking is often caused by dry bearings. Proper lubrication eliminates noise and extends motor life.
Apply White Lithium Grease
Do not use WD-40. It is a degreaser, not a lubricant, and will worsen the problem.
Use white lithium grease because it is heat-resistant, long-lasting, and does not attract dust.
Apply a pea-sized amount to the motor shaft and bearing pocket.
Use a toothpick to work grease into the bearing. Rotate the shaft by hand to spread it evenly.
Lubricate Oscillation Points
Apply a small amount of grease to these areas.
- The pivot points where the fan tilts
- The wheel that rides along the oscillation track
- The gear reducer on the secondary motor
This reduces friction and prevents future squeaking.
Fix Common Structural Failures
The Honeywell HYF260 is notorious for a design flaw where the impeller bracket breaks after a fall or vibration.
Diagnose Bracket Failure
Watch for these symptoms.
- Loud rattling from the motor housing
- Loose blade assembly
- Broken screws found inside the casing
The plastic rib supporting the bracket is only 1.1 mm thick, which is too thin to handle stress.
Reinforce the Bracket
Follow these steps to repair the bracket.
- Glue broken pieces using CA glue (cyanoacrylate). Let cure overnight.
- Apply Permax 350 or similar industrial epoxy to reinforce the mounting bosses. Build a support frame around the joint.
- Replace original screws with 1/4-inch longer ones to anchor deeper into the plastic.
- Reattach the balancing weight on the impeller, as it is critical for smooth operation.
This repair can prevent future breakdowns and extend the fan is life by years.
Reassemble in Reverse Order
Reassembly is the reverse of disassembly, but alignment is critical.
Align the Blade Hub
Slide the blade cylinder back onto the motor shaft, matching the flat side of the hub with the flat spot on the shaft.
Tighten the set screw securely, but do not over-tighten because this can strip the plastic.
Reconnect the Motor
Slide the motor back into place. Reattach the bracket with screws.
Ensure wires are routed safely with no pinching or tension.
Snap Housing Back Together
Align the two housing halves carefully. Press along the seam until all clips snap into place.
If it does not close smoothly, a screw or wire is likely misaligned.
Reattach the Base
Slide the base back onto the tower. Reinstall the locking nut.
Turn it counterclockwise until you hear a click, then tighten slightly more to engage the ratchet.
Over-tightening can warp the plastic. Stop when it feels secure.
Test Before Finalizing
Before sealing everything, perform a partial test.
Power On with Housing Open
Plug in the fan carefully because wires are exposed. Turn it on.
Test these functions.
- All speed settings (Low, High, Sleep, etc.)
- Oscillation
- Timer and remote functions
Listen for squeaks, rattles, or vibrations.
If noise persists, disassemble again to check lubrication levels, bracket integrity, and blade alignment.
Final Reassembly
Once satisfied, secure all screws and reattach the base.
Wipe down the exterior with a damp microfiber cloth.
Prevent Future Issues
Keep your fan running smoothly with regular maintenance.
Clean Every 6 to 12 Months
Perform these maintenance tasks regularly.
- Vacuum interior and blades
- Wipe housing with vinegar solution
- Lubricate motor shaft
- Inspect for cracks or loose parts
In dusty homes or with pets, clean every 3 months.
Store Properly
If storing, keep the fan in a dry place, covered to prevent dust buildup.
Never lay it flat for long periods because this can stress the base.
Know When to Retire It
If the motor fails, wiring is damaged, or plastic is too brittle to repair, consider replacement.
Dispose of old fans at an e-waste recycling center (R2 or e-Stewards certified).
Frequently Asked Questions About Disassembling a Honeywell Tower Fan
What tools do I need to disassemble a Honeywell tower fan?
You will need a Torx T15 screwdriver, a Security Torx T20 with central pin (because standard Torx bits will not work), a #1 Phillips screwdriver, plastic pry tools, and an extension bar for reaching deep screws. Using the correct tools prevents damage to the housing and fasteners.
How do I clean the motor without damaging it?
Never submerge the motor or spray liquids directly onto it. Use compressed air or a dry brush to remove dust from the motor housing and windings. Wipe the metal shaft with a dry cloth. For stubborn buildup, use a cloth lightly dampened with rubbing alcohol, but never spray directly.
Why is my Honeywell tower fan squeaking after cleaning?
Squeaking indicates dry bearings or using the wrong lubricant. You must apply white lithium grease to the motor shaft and bearing pocket. Never use WD-40 because it is a degreaser that evaporates quickly and worsens the problem.
Can I repair a broken impeller bracket on my Honeywell fan?
Yes. Use CA glue (cyanoacrylate) to bond broken pieces, then apply Permax 350 industrial epoxy to reinforce the mounting bosses. Replace the original screws with 1/4-inch longer screws to anchor deeper into the plastic and distribute the load more effectively.
How often should I perform maintenance on my Honeywell tower fan?
Clean and inspect the fan every 6 to 12 months under normal conditions. In dusty environments or homes with pets, increase frequency to every 3 months for filter cleaning and every 1 to 2 years for internal lubrication.
Key Takeaways for Disassembling Your Honeywell Tower Fan
Disassembling a Honeywell tower fan is a straightforward process when you follow the right sequence and use proper tools. The most critical steps are unplugging the fan before starting, using the correct Torx and Phillips screwdrivers to avoid stripping screws, and organizing components as you remove them.
Proper lubrication is essential for maintaining quiet operation. Always use white lithium grease on bearings and never use WD-40. For structural repairs on models like the HYF260, reinforce the impeller bracket with epoxy and longer screws to prevent future failures.
With regular maintenance every 6 to 12 months, your Honeywell tower fan can deliver years of reliable, quiet cooling. When problems arise, you now have the knowledge to fix them yourself without paying for professional service.