How to Take Apart a Dyson Tower Fan
If your Dyson tower fan isn’t blowing as strongly as it used to or displays an F2 error, a deep clean might restore full performance. While Dyson designs these fans to look maintenance-free, dust builds up inside, especially in hidden filters and air intake chambers. This guide focuses on the AM07 model, though the process is similar across many Dyson tower fans. With the right tools and careful steps, you can safely disassemble, clean, and reassemble your unit in under an hour.
Before we begin: only disassemble your fan if necessary. If it’s working fine, skip this guide. But if you’re seeing weak airflow, oscillation issues, or error codes, follow this step-by-step breakdown to fix it.
When to Disassemble Your Dyson Tower Fan
Signs Your Fan Needs Cleaning
Dyson tower fans are sealed units, so internal cleaning is not routine. You should only open it up when you notice specific performance problems.
Watch for these indicators:
– F2 error code appearing on the display
– Noticeably weaker airflow compared to normal
– Fan struggling to oscillate or making grinding sounds
– Visible dust buildup when looking through the base intake vents
If your fan pulls in air like a vacuum cleaner stuck to a ring, that’s a clear sign the internal filters are severely clogged.
Risks of Unnecessary Disassembly
Taking apart your Dyson fan carries real risks. You could break the plastic clips that hold the housing together. Internal components might become misaligned. Filters that are not fully dry can cause water damage. You might also void your warranty with improper reassembly. Only proceed if performance issues confirm the need.
Safety First: Prepare Before You Start
Power Down and Unplug
Always unplug the fan completely before touching any components. Never assume that turning it off is sufficient. Residual power could still activate motors during disassembly, creating a shock hazard.
Work Environment Tips
Choose a clean, well-lit, and ventilated space for this work. Dust inside the fan can trigger allergies or respiratory issues, particularly for those with conditions like COPD. Wear a mask and work near an open window or use another fan to vent airborne particles.
Tools You Will Need
Gather these tools before starting:
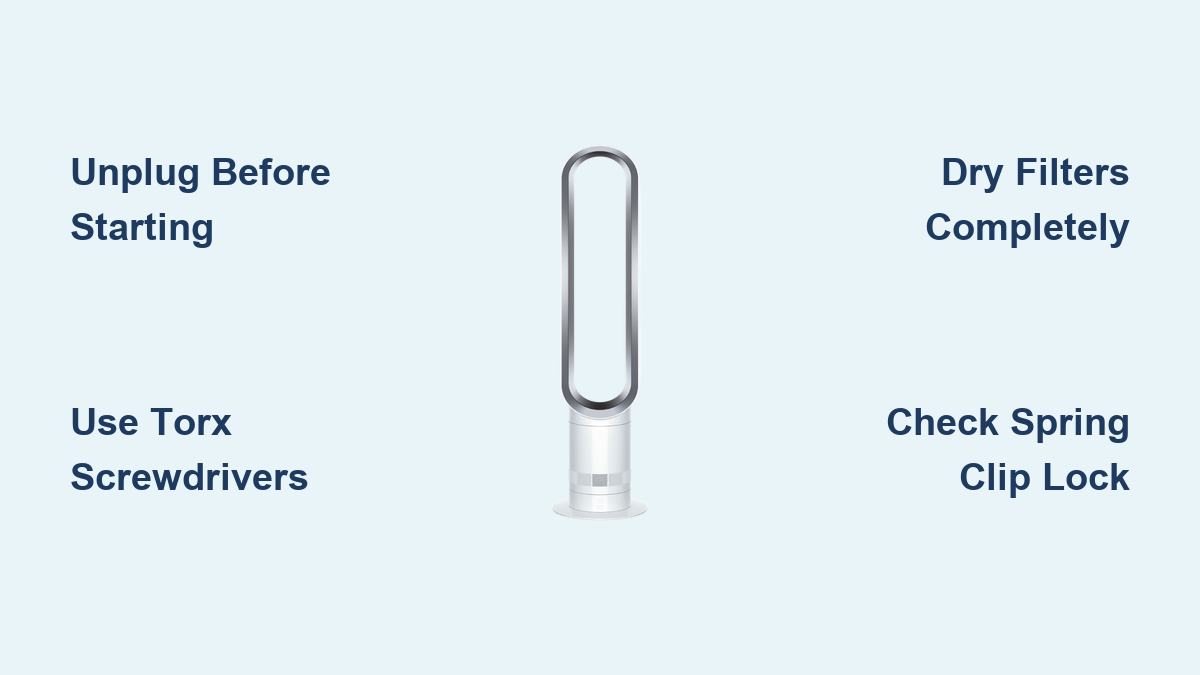
– Torx T9 screwdriver for top cap and panel screws
– Torx T15 screwdriver for side panel screws
– Plastic pry tool to avoid scratching the housing
– Flashlight for seeing clips and alignment points
– Vacuum cleaner with soft brush attachment
– Microfiber cloth, slightly damp but not wet
– Hairdryer on cool setting for drying filters
Having everything ready prevents mid-process delays.
Remove the Top Cap and Housing

Twist Off the Top Cap
Hold the base firmly to stabilize the fan. Rotate the top cap counterclockwise slightly until it stops, then lift straight up. This exposes a hidden Torx T9 screw underneath.
Unscrew and Lift the Top Housing
Remove the single screw with your T9 driver. Now locate the three plastic clips: one at the front near the Dyson logo and one on each side. Insert your plastic pry tool gently under the seam and lift upward to release each clip. Do not force these tabs. They can snap if over-pressed.
Once all three are loose, lift the entire top housing off to reveal the motor assembly and internal wiring.
Access Internal Filters and Panels

Remove the Top Panel Screws
With the housing removed, locate the four long Torx T9 screws securing the top internal panel. Remove them carefully and set the panel aside. Watch for any attached wires. Do not strain them.
Take Off the Side Panel
Now remove the four Torx T15 screws from the side panel. These are shorter and require the T15 bit. Gently lift the panel away to expose the second hidden filter and deep air intake chamber.
This is where most dust accumulates, especially if it has been months since the last cleaning.
Clean the Hidden Foam Filter
Locate Filter A
The foam filter sits at the base, just above the motor. It traps large dust particles before air enters the system. Over time, it becomes packed and restricts airflow significantly.
Remove and Vacuum the Filter
Pull the foam filter straight out. Use your vacuum’s brush attachment to remove loose debris from both sides.
Rinse and Dry Properly
Rinse gently under warm water. Avoid soap or scrubbing. Let it air dry completely, or speed things up with a hairdryer on cool. Never reinstall a damp filter. It can damage the motor or grow mold.
Deep Clean the Intake Chamber and Filter B
Vacuum Filter B Thoroughly
This second filter sits deeper inside near the intake vents and catches fine dust. Use the vacuum to clean its surface before removing it.
Wipe the Intake Chamber
With the filter out, use a slightly damp microfiber cloth to wipe down the chamber walls. Avoid the circuit board at the base. Never get it wet.
Dry Everything Completely
Both filters must be 100% dry before reassembly. Moisture is the top cause of post-cleaning failures.
Reattach the Side and Top Panels
Secure the Side Panel First
Place the side panel back into position. Reinsert the four Torx T15 screws and tighten gently. Over-tightening can strip the plastic threads.
Reinstall the Top Internal Panel
Align the top panel so the wiring cutout matches the cable path. Replace the four long Torx T9 screws. Double-check that no wires are pinched.
Reconnect the Spring Clip and Wires
Route the Spring Clip Correctly
This is the most critical reassembly step. The spring clip locks the top housing in place and connects to three small pins on the housing. Start by hooking the left end of the clip near the Dyson logo. Use your flashlight to guide the right side over the three pins. Press down until it clicks into all three.
Avoid Wire Interference
The wire bundle often blocks the clip from seating fully. Gently push the wires aside so they do not lift the clip. If the clip is not fully engaged, the fan may not power on or oscillate properly.
Reattach the Top Housing and Cap
Align and Snap the Housing
Place the top housing back on. Make sure the “Air Multiplier Technology” label on the cap lines up with the Dyson logo on the base.
Twist to Lock the Cap
Press down and rotate the cap clockwise until you hear a distinct click. This confirms it is locked. If it does not click, the spring clip may not be fully engaged. Go back and check.
Test Performance After Reassembly
Power On and Check Functions
Plug in the fan and turn it on. Watch for smooth oscillation, strong even airflow, no error codes, and no unusual noises or vibrations.
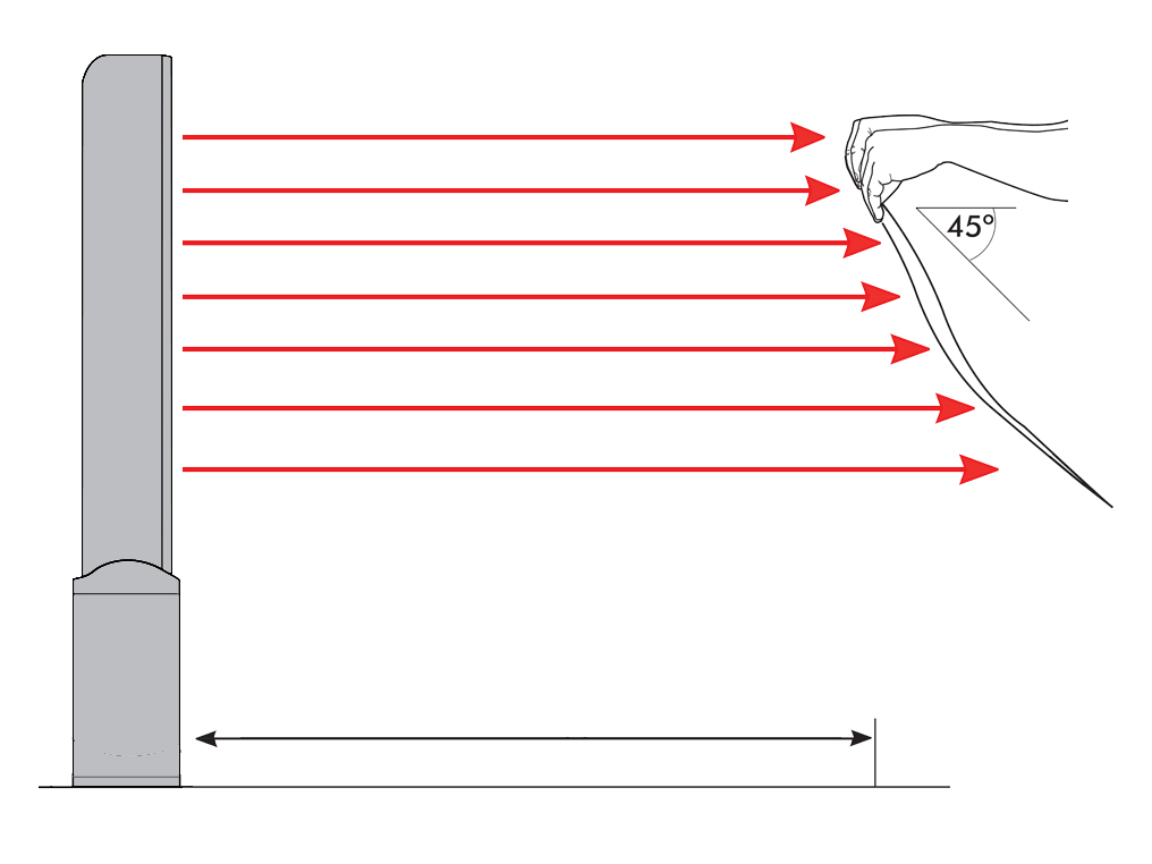
Airflow Test with Tissue
Hold a tissue near each intake vent. It should be pulled in evenly and strongly on all sides. If not, a filter may be misaligned or still damp.
Listen for Warning Sounds
Grinding, rattling, or humming suggests loose screws, pinched wires, or debris in the motor. Turn off immediately and recheck assembly.
Troubleshoot Common Post-Cleaning Issues
F2 Error Still Showing
Common causes include the filter not being fully dry, the spring clip not being engaged properly, or a blockage remaining in the intake. Double-check that the filter is completely dry. Verify the spring clip locks into all three pins. Vacuum the intake areas again if needed.
Fan Will Not Oscillate
This typically happens when wires are interfering with movement, the top housing is not seated correctly, or the motor is strained from debris. Check that cables are not blocking oscillation. Ensure the housing is fully clipped in place. Clean deeper intake areas if needed.
Weak Airflow After Cleaning
Possible issues include filters not being reinstalled properly, the chamber still being dusty, or the housing being misaligned. Confirm both filters are seated correctly. Wipe the chamber again with a dry cloth. Re-seat the top section if needed.
Prevent Problems: Maintenance Tips
Clean Every 2-6 Months
Schedule regular cleaning based on your environment. Every two weeks, vacuum the external intake holes. Every three to six months, perform a deep clean of internal filters if operating in dusty conditions. After any F2 error appears, clean immediately.
Replace Filters When Needed
Foam filters can last for years, but they need replacement if torn or compressed beyond cleaning, if they cannot be restored effectively, or if mold appears. Never reuse a moldy filter.
Keep Water Away from Electronics
Never submerge the base, spray water inside the unit, or reinstall wet filters. Only wash removable filter parts and always dry them completely before putting them back.
Frequently Asked Questions About Taking Apart a Dyson Tower Fan
Can I take apart my Dyson fan without special tools?
You need specific tools. The process requires Torx T9 and T15 screwdrivers, which have star-shaped heads. Using standard screwdrivers risks stripping the screws. A plastic pry tool is also essential to avoid scratching the housing during clip release.
How do I know if my Dyson fan needs disassembly?
Look for specific symptoms. An F2 error code, noticeably reduced airflow, struggling oscillation, or visible dust through the base vents all indicate internal clogging. If the fan runs normally with strong airflow, skip disassembly.
Is it safe to wash the filters?
Only certain filters are washable. The foam filter in the AM07 can be rinsed under warm water without soap. However, HEPA filters in Pure Cool models should never be washed. They must be vacuumed or replaced instead.
What happens if I reassemble the fan incorrectly?
Common problems include the F2 error persisting, oscillation failing, or weak airflow. Most issues stem from wet filters, misaligned spring clips, or pinched wires. Return to the reassembly steps and verify each connection.
Can I use this guide for other Dyson tower fan models?
The AM07 process applies broadly. Similar principles work for AM06, AM08, and Pure Cool variants. However, filter types vary, and some models have HEPA filters that differ from the washable foam filter in the AM07.
Key Takeaways for Taking Apart Your Dyson Tower Fan
Disassembling a Dyson tower fan is not difficult, but it demands precision. The most common failure points are wet filters and misaligned spring clips. Take your time, follow each step methodically, and use the correct Torx screwdrivers to avoid stripping screws.
This process works best on the AM07 model, though AM06, AM08, and Pure Cool variants follow similar steps. Just confirm your filter types before washing. Some models have HEPA filters that should not get wet.
With proper care, your Dyson fan can deliver strong, quiet airflow for years. Vacuum the intake every two weeks to avoid another deep clean for months.