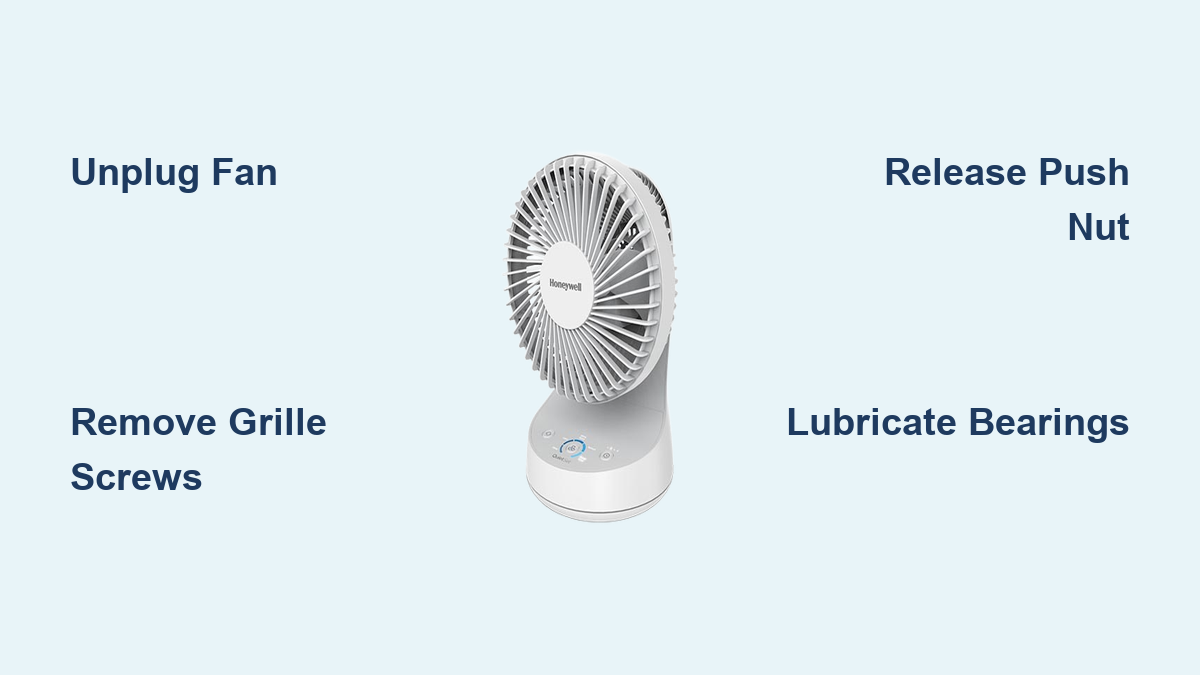
How to Open Honeywell Table Fan
Is your Honeywell table fan clogged with dust, making strange noises, or not spinning as smoothly as it used to? You’re not alone—many users face reduced airflow and motor strain over time. The fix involves a simple disassembly and cleaning session. Knowing how to open a Honeywell table fan properly is the first step toward restoring peak performance. Whether you own a TurboForce HT-900, HT-910, or HT-800 high-velocity model, this guide walks you through every step—from removing the grille to deep-cleaning the motor bearings. With the right tools and a little patience, you can extend your fan’s life by years and enjoy quieter, more efficient cooling.
Prepare for Safe Disassembly
Before opening your fan, safety comes first. Electrical appliances require careful handling to avoid injury or damage.
Unplug and Stabilize the Fan
Always unplug the fan from the wall outlet. Never attempt disassembly while powered. Place the unit face down on a flat, stable surface to prevent rolling or tipping during work.
Gather Essential Tools
Use the correct tools to avoid stripped screws or broken plastic clips. You’ll need the following items:
- Phillips screwdriver (long, thin shaft recommended for recessed screws)
- Flathead screwdriver (for prying push nuts and grilles)
- Pliers (optional, for tight blade rings)
- Torx driver (if your model uses security screws)
Lay out a small container to keep screws organized. Losing one can make reassembly frustrating.
Remove the Front Grille

Access begins with removing the outer grille. This step varies slightly between models.
TurboForce Models (HT-900, HT-908, HT-910)
Locate the six Phillips screws around the back grille. They are positioned at the top, bottom, left and right sides, rear center, and one near the speed knob (deeply recessed). Use a long, thin Phillips driver to reach the deep-set screws. After removal, gently lift the fan upright and separate the front grille by pulling it straight off. Don’t force it—align the seam carefully.
HT-800 High-Velocity Model
This model has only two front screws. Remove them, then gently pop off the front grill. Expect heavy dust buildup inside. Clean it now with a soft brush or compressed air.
Access and Remove the Fan Blades

With the grille off, the blades are exposed. To clean deeply or reach the motor, remove the blades.
Identify the Blade Retention System
Most Honeywell fans use a push nut (also called a retaining ring) pressed onto the motor shaft. Some models use a snap ring.
Release the Push Nut
- Align flat spots on the nut and blade hub.
- Use a small flathead screwdriver to gently bend up the tabs on the push nut.
- Apply steady pressure. Don’t snap the plastic tabs.
- Once loose, pull the blade assembly straight off the shaft.
⚠️ Pro Tip: If the push nut breaks, don’t panic. Forward air pressure keeps the blade secure. You can replace it with hot glue around the hub to prevent wobble.
HT-800 Blade Removal
This model uses a tight-fitting blade ring. Use pliers to gently pull it off the shaft. Then lift the blades free.
Open the Motor Housing (Advanced)

For lubrication or bearing maintenance, you’ll need to open the motor assembly—especially on newer PSC motor models (post-2019).
Remove Motor Mounting Screws
After blade removal, locate two screws securing the motor to the rear housing. Remove them carefully.
Disconnect Wiring and Extract Motor
- Unclip the wiring harness gently.
- Slide the motor unit out from the rear, taking care not to strain wires.
- On HT-800 models, pull the rotor and front bearing out—the rear bearing stays in the housing.
Disassemble Bearings (For Lubrication)
- Remove two screws holding the front bearing housing to the stator.
- Gently pull out the rotor and front bearing.
- Carefully remove the rear plastic bearing housing.
- Extract thrust washers and keep them in order.
✅ Note: Front washers consist of 1 fiber plus 1 spongy fabric. Rear washers consist of 2 fiber plus 1 hard plastic.
Clean All Components
Now that the fan is open, clean each part thoroughly.
Clean Grilles and Blades
- Wipe with a damp microfiber cloth.
- For grime, use mild soapy water. Never soak.
- Dry completely before reassembly.
- Use compressed air or a soft brush for crevices.
Deep-Clean Motor Shaft and Bearings
- Spray WD-40 on a paper towel (not directly) to clean rust or gunk from the shaft.
- For stubborn buildup, lightly sand with 600+ grit sandpaper.
- Use rolled paper towels to clean bearing housings. Replace until clean.
- Wipe thrust washers with a dry towel. Do not soak or bend.
❌ Never use water near motor windings or electrical parts.
Lubricate for Smooth Operation
Proper lubrication reduces noise, vibration, and wear on your Honeywell table fan.
Choose the Right Oil
- Best Option: Zoom Spout All-Purpose Turbine Oil (odorless, long-lasting)
- Alternative: 3-in-1 Electric Motor Oil or sewing machine oil
- Avoid: WD-40 (it’s a cleaner, not a lubricant), heavy grease
Apply Oil Correctly
- Transfer oil to a small needle bottle for precision.
- Add one drop into the felt wick inside the bearing housing.
- Spread oil lightly around the bearing raceways.
- Lubricate the rotor shaft and all thrust washers. They absorb oil and aid lubrication.
💡 Less is more: Over-oiling attracts dust and creates future buildup.
Reassemble the Fan Properly

Reassembly is reverse of disassembly—but alignment is critical for proper function.
Reinstall Bearings and Rotor
- Slide the rear bearing onto the stator.
- Insert the rotor shaft into the rear bearing.
- Position the front bearing and secure with screws.
Align Bearings to Reduce Friction
- Hold the motor by the back.
- Gently tap the shaft with a screwdriver handle from multiple angles.
- Goal: Eliminate wobble and ensure smooth, free spinning.
Reattach Blades and Push Nut
- Align the flat spot on the hub with the shaft.
- Slide blades on until snug.
- Reinstall the push nut. If broken, use a dab of hot glue near the hub to secure it.
Reconnect Wires and Mount Motor
- Reinsert the motor into the housing.
- Reconnect the wiring harness.
- Secure mounting screws.
Snap On the Front Grille
- Align the bottom notch with internal tabs.
- Press the grille into place until it clicks.
- Reinsert all screws and tighten gently. Over-tightening strips plastic threads.
Test Performance After Reassembly
Never skip testing. Verify your work before daily use.
Power On and Run at High Speed
Plug in the fan and set to maximum speed.
Listen and Observe
- Smooth operation: No grinding, squealing, or rattling.
- Minimal vibration: The fan should sit steadily.
- No blade wobble: Watch the spinning blades for balance.
Perform the Spin-Down Test
- Turn the fan off immediately after high-speed run.
- Success: Rotor spins down slowly (5+ seconds).
- Failure: Stops abruptly. This indicates friction or misalignment.
🔧 If failed, reopen and recheck bearing alignment and lubrication.
Wall Mount Your Honeywell Fan (Optional)
Want to save space? Mount the HT-900 series on the wall.
Required Hardware (Not Included)
- Two #8 – 1-¼” screws
- #6-8 x 1″ anchors (if not mounting into studs)
Mounting Steps
- Mark drill points on the wall.
- Insert anchors (if needed) and install screws.
- Leave 3/8″ of screw head exposed. This allows the base to hang securely.
- Align fan base holes with screws and slide down to lock.
✅ Tip: Mount into wall studs for maximum stability.
Troubleshoot Common Issues
Even with care, problems can arise. Here’s how to fix them.
Push Nut Broke During Removal
- Not a deal-breaker. Use hot glue to secure the blade hub.
- Ensure the blade is fully seated and balanced.
Fan Still Noisy After Lubrication
- Likely cause: Misaligned bearings.
- Solution: Reopen and tap the shaft gently to realign.
Reduced Airflow After Reassembly
- Check for misaligned grille blocking airflow.
- Ensure blades are on correctly and not wobbling.
Motor Doesn’t Spin
- Verify wiring harness is fully connected.
- Check for pinched wires during reassembly.
Maintain for Longevity
Keep your fan running smoothly with regular care.
Cleaning Schedule
- Every 1–2 months: Wipe down grilles and blades.
- Every 1–2 years: Perform full disassembly, cleaning, and lubrication.
Prevent Dust Buildup
- Place fan in low-dust areas.
- Use compressed air monthly to blow out internal dust.
Store Properly
- Unplug and cover when not in use for long periods.
- Store in a dry, cool place.
Key Takeaways for Opening Your Honeywell Table Fan
Opening your Honeywell table fan isn’t just about cleaning. It’s about restoring efficiency and extending the life of your appliance. With the right tools—a Phillips screwdriver, flathead driver, and a few basic supplies—you can safely disassemble TurboForce models like the HT-900, HT-910, and HT-800. The process involves removing the front grille, releasing the push nut to access blades, and for deeper maintenance, opening the motor housing to clean and lubricate bearings. Always unplug before starting, keep screws organized, and apply lightweight machine oil sparingly to bearing raceways and thrust washers. Reassemble carefully, aligning bearings to eliminate wobble, then test with a spin-down check. Regular maintenance every one to two years keeps your fan running quietly and efficiently for years to come.
Frequently Asked Questions About Opening Honeywell Table Fans
Can I open my Honeywell table fan without special tools?
Most Honeywell table fans require only basic hand tools. A Phillips screwdriver with a long, thin shaft works for recessed grille screws. A flathead screwdriver helps pry off push nuts. Torx drivers may be needed for some models, so check your fan before starting.
How do I know if my fan needs opening and cleaning?
Signs include reduced airflow, strange grinding or squealing noises, visible dust buildup on blades, and shorter spin-down times. If your fan runs hotter than usual or vibrates excessively, it’s time to open and clean the internal components.
Is it safe to open the motor housing myself?
Yes, with proper precautions. Always unplug the fan first. The motor housing contains electrical components and bearing assemblies. Follow the disassembly steps carefully. If you’re uncomfortable with advanced repairs, stick to grille and blade cleaning only.
What happens if I break the push nut during removal?
The push nut secures the blade to the motor shaft. If it breaks, the fan can still operate because forward air pressure keeps blades in place. For stability, apply a small dab of hot glue near the hub to prevent wobble. Replacement push nuts are also available online.
How often should I lubricate the motor bearings?
Deep lubrication is needed every one to two years. Use lightweight machine oil like 3-in-1 Electric Motor Oil or Zoom Spout Turbine Oil. Apply one drop to the felt wick and bearing raceways. Avoid over-oiling, as excess oil attracts dust and causes future buildup.