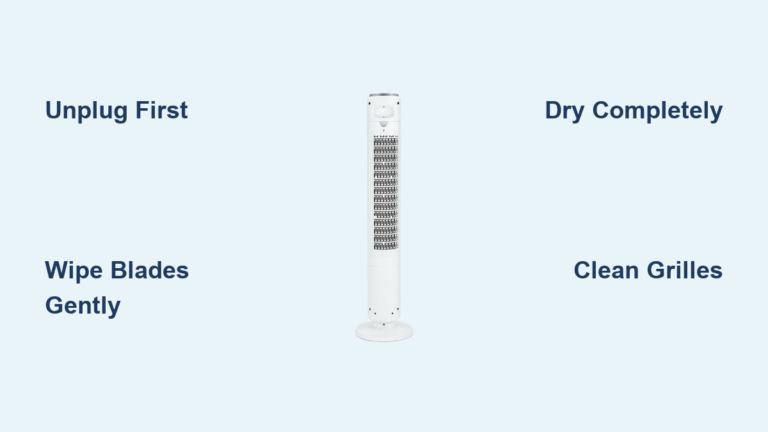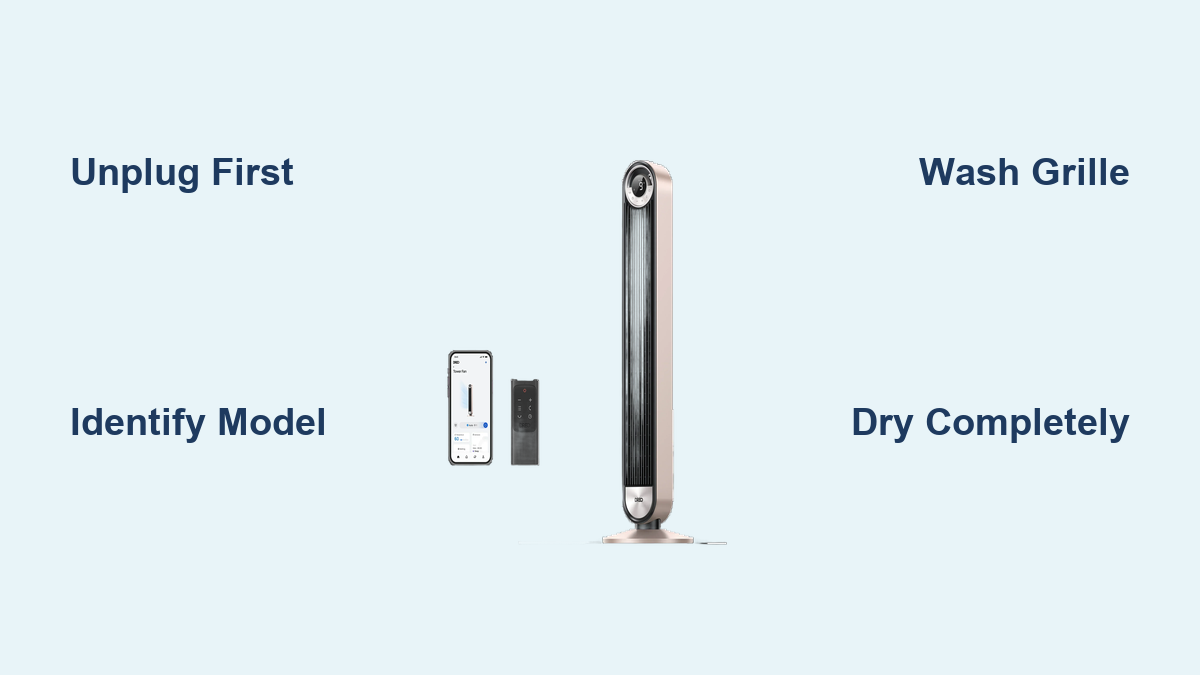
How to Clean Dreo Tower Fan Filter
If your Dreo tower fan isn’t blowing as hard as it used to or seems noisier than normal, a dirty filter and dust-clogged blades are likely the culprits. Cleaning the fan filter and internal components is essential for maintaining strong airflow, reducing motor strain, and improving indoor air quality. This guide walks you through safe, model-specific cleaning steps so you can restore peak performance in under 30 minutes.
Regular cleaning every 4 to 8 weeks prevents dust buildup that reduces cooling efficiency by up to 30%, increases noise, and shortens the fan’s lifespan. Whether you own a Nomad with a removable front grill or a Pilot Max requiring a screwdriver, this step-by-step process ensures thorough cleaning without risking damage.
Unplug Before Starting
Always Disconnect Power First
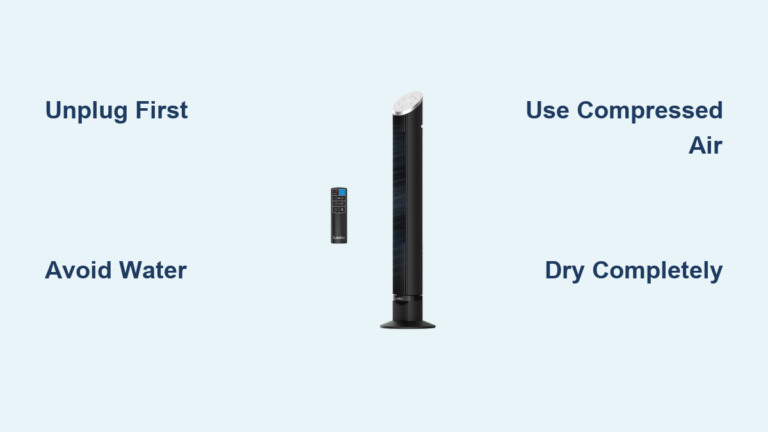
Safety is the first rule: unplug the fan from the wall outlet before touching any part. Even low-voltage fans can pose electrical risks during cleaning, especially if moisture is involved. Never attempt to clean while the unit is powered on or plugged in.
Wait until the fan is completely off and cool. If you’ve just used it, let it sit for 10 to 15 minutes. Once unplugged, move it to a clean, dry workspace like a countertop or table with good lighting. Lay down a towel to protect both the fan and the surface.
Identify Your Dreo Model

Check Series for Correct Steps
Cleaning steps vary significantly between Dreo models. Confirm your model series before disassembling. The process for a Nomad front grill differs from a Pilot Max rear grille, and TurboPoly pedestal models require blade alignment.
Look for the model number on the bottom or back label. If unsure, check the user manual or original packaging. Using the wrong method can break clips or misalign parts. When in doubt, start with surface cleaning and consult Dreo’s official support site for diagrams.
Remove the Front or Rear Grille
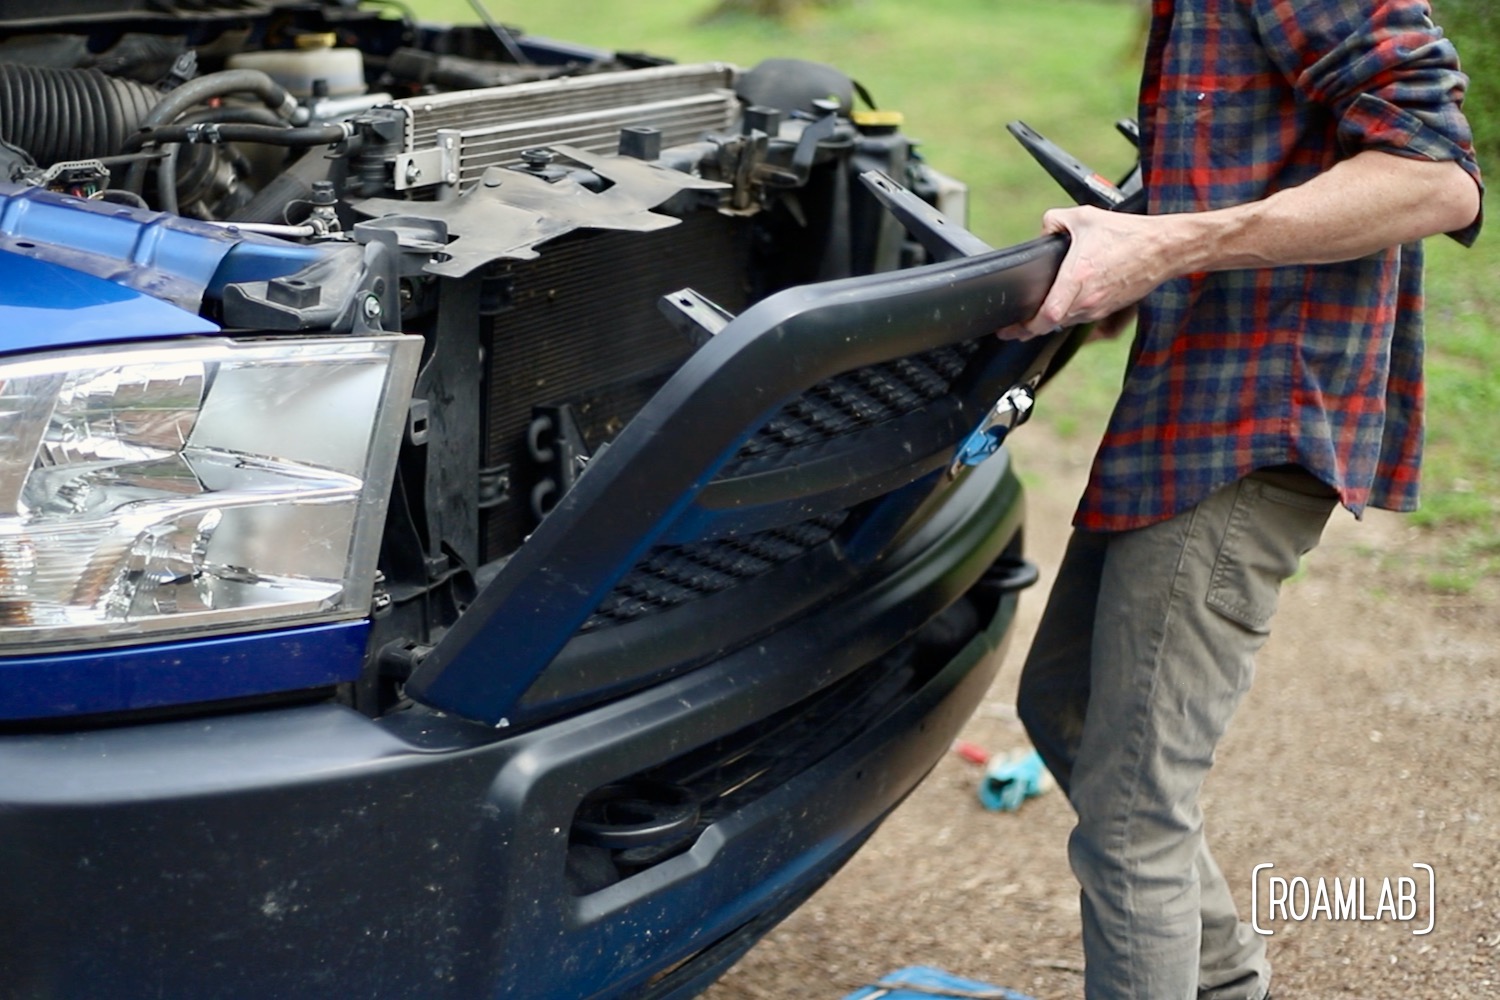
Unlock Grille Based on Model Type
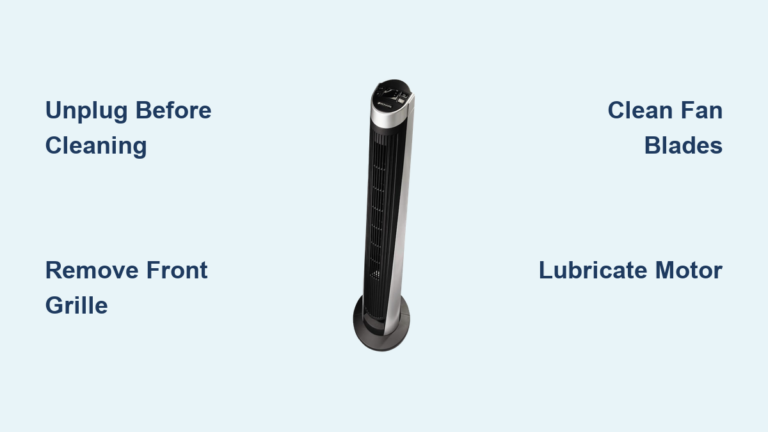
Access begins by removing the outer grille, either front or rear, depending on your Dreo model.
Nomad Series: Remove Front Grill
Gently pull the front grille straight forward. Some models have clips, so apply even pressure to avoid cracking. Do not twist or force it. If stuck, check for hidden latches near the base.
Pilot Max and Cruiser Pro T2: Remove Rear Grille
Flip the fan around. Locate the single screw at the top or bottom of the rear grille. Use a Phillips screwdriver to remove it. Then, slide or lift the grille off carefully.
TurboPoly Models: Rotate Grille Off
For models like 311, 502, or 704S, grasp the front grille and rotate counterclockwise to unlock. Remove screws first if present. Set screws aside safely.
Clean the Filter and Grille

Wash Only Removable Parts
The filter in Dreo tower fans is typically the grille itself, which traps dust and pet hair. It’s not a replaceable HEPA filter but still needs regular washing.
Soak and Scrub Grille
Fill a sink with warm water and mild dish soap. Submerge the grille and let soak for 5 to 10 minutes. Use a soft toothbrush to scrub between slats and corners. For stubborn grime, use a cotton swab. Rinse under running water until soap-free.
Never soak the main fan body or motor. Only removable grilles and blades should touch water.
Dry Completely Before Reassembly
Shake off excess water. Lay the grille on a clean towel in a well-ventilated area. Use a hairdryer on cool setting to speed drying. Never use heat, as it can warp plastic. Wait until fully dry, at least 1 to 2 hours, before reattaching.
Clean Internal Blades and Vents
Dust Without Damaging Electronics
With the grille off, the blades and internal housing are exposed. Water is not safe here, so use dry or slightly damp methods only.
Use Vacuum or Air Duster
Attach a soft brush or hose to your vacuum and gently remove dust from blades and inside the casing. Focus on the center hub where hair often wraps. Alternatively, use compressed air to blow dust outward.
Wipe with Microfiber Cloth
Dampen a microfiber cloth slightly with water, wring until almost dry. Wipe blades one by one, turning them slowly by hand. Avoid the motor shaft and any electrical parts. Never spray water directly inside.
For tight spaces, wrap the cloth around a chopstick or use cotton swabs.
Clean Exterior and Base
Wipe Down Outer Surfaces
Dust settles on the tower body, base, and control panel. A clean exterior improves appearance and prevents grime from entering when the fan runs.
Damp Cloth for Casing
Use a slightly damp microfiber cloth to wipe the outer shell. Avoid soaking, as moisture near the power button or vents can cause short circuits. For sticky spots, add a drop of dish soap to the cloth.
Dry Immediately
Wipe with a dry cloth right after. Pay attention to crevices between the base and tower.
Lubricate if Fan Is Noisy
Reduce Friction in Older Units
If your fan squeaks or hums after cleaning, bearings may be dry, common in units used daily for months.
Apply Lubricant Sparingly
Locate the bearing ends near the blade hub. Apply 1 to 2 drops of lightweight lubricant, such as silicone-based. Rotate the blades by hand to distribute. Wipe excess to prevent dust attraction.
Do not over-lubricate. This step is optional and not needed for new fans.
Reassemble Correctly
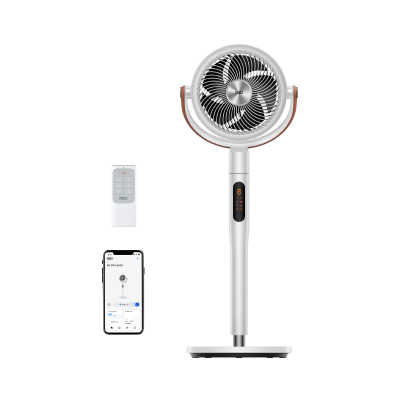
Align Parts Before Powering On
Reassembly is as important as cleaning. A misaligned blade or loose grille causes wobbling, noise, or safety hazards.
Reattach Grille Securely
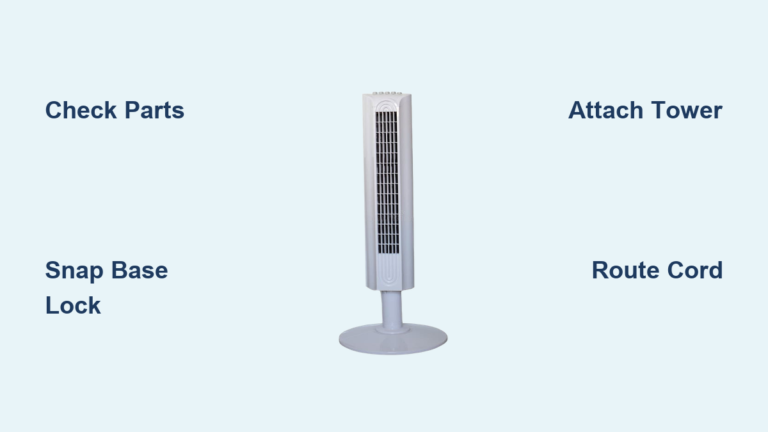
Nomad models: slide front grille back until it clicks. Pilot and Cruiser models: align the rear grille and replace the screw, tightening firmly. TurboPoly models: align the D-shaped center point on the blade with the motor shaft. Rotate grille clockwise to lock and reinstall screws.
Ensure no gaps or wobbling. Test by gently shaking the grille. It should feel solid.
Verify Before Powering On
Final Safety Check
Before plugging back in, perform a quick inspection.
Confirm dryness. No moisture should remain on blades, motor, or inside casing. Check alignment. Blades should spin freely without rubbing. Tighten screws. All must be secure. Grille must be locked. Snaps or rotates fully into place. Clear space. Fan should be on a flat, stable surface away from walls.
Plug in and turn on at low speed first. Listen for unusual noises. If it vibrates or sounds rough, turn off and recheck assembly.
Maintain Every 1 to 2 Months
Stick to a Cleaning Schedule
Regular maintenance prevents deep buildup and extends your Dreo fan’s life.
Set a Reminder
Every 3 to 4 weeks: quick dusting with microfiber cloth. Every 1 to 2 months: full clean with grille removal. More often if you have pets, allergies, or live in a dusty area.
Store Properly Off-Season
When not in use, clean thoroughly, dry completely, and store in a cool, dry place. Cover with a cloth or bag to reduce dust accumulation.
Troubleshoot Common Issues
Fix Problems After Cleaning
Fan Won’t Spin
Cause: misaligned blade assembly or wet motor. Fix: recheck D-shaped alignment on TurboPoly models. Ensure all parts are dry.
Weak Airflow
Cause: dust still trapped inside or blocked rear vents. Fix: vacuum internal housing again. Clear any obstructions behind the fan.
Unusual Noise
Cause: loose grille, unbalanced blades, or dry bearings. Fix: tighten screws, clean blade edges, or apply lubricant.
Avoid These Common Mistakes
Prevent Damage During Cleaning
Avoid using harsh chemicals like bleach or ammonia, which can crack plastic. Never soak the motor unit, as this causes permanent damage. Do not rush reassembly, as wet parts lead to short circuits. Never force parts, as this can break plastic tabs or hinges. Do not skip the screw, as this leads to loose grilles and noise.
Stick to mild soap, water, soft cloths, and patience.
Final Note
Cleaning your Dreo tower fan filter takes less than 30 minutes but pays off in smoother operation, better airflow, and longer lifespan. Whether you own a Nomad, Pilot, or TurboPoly model, the key is knowing which parts to remove, how to wash them safely, and ensuring everything is dry before reassembly. Follow this guide every 4 to 8 weeks, and your fan will run quietly and efficiently all season long.
Frequently Asked Questions About Cleaning Dreo Tower Fan Filters
How often should I clean my Dreo tower fan filter?
Clean your Dreo tower fan every 4 to 8 weeks under normal conditions. Increase to every 3 to 4 weeks if you have pets, allergies, or live in a dusty environment. Quick dusting with a microfiber cloth can be done weekly between deep cleans.
Can I wash the Dreo fan filter with water?
Only removable parts like the front or rear grille should be washed with water. Use warm water and mild dish soap. Never soak the main fan body, motor housing, or base. Ensure all parts are completely dry before reassembling.
Why is my Dreo fan still weak after cleaning?
Weak airflow usually means dust is still trapped inside the internal housing or blocked vents. Vacuum the internal components again and ensure the fan is placed away from walls or obstructions. Check that the grille is properly attached and not restricting airflow.
Do I need tools to clean my Dreo tower fan?
Basic cleaning requires only a microfiber cloth and vacuum. However, deeper cleaning on Pilot Max, Cruiser Pro T2, and TurboPoly models requires a Phillips screwdriver to remove the grille. Nomad models typically feature tool-free clip attachments.
What should I do if my Dreo fan makes noise after cleaning?
Unusual noise after cleaning is usually caused by loose screws, unbalanced blades, or dry bearings. Tighten all screws securely. Check that blades are properly aligned, especially on TurboPoly models where D-shaped points must match. Apply a small amount of silicone lubricant to bearing ends if noise persists.
Key Takeaways for Cleaning Your Dreo Tower Fan Filter

Regular cleaning of your Dreo tower fan filter is essential for maintaining optimal performance and extending the lifespan of your device. The most important steps are unplugging the fan before cleaning, identifying your specific model to follow the correct disassembly procedure, and ensuring all parts are completely dry before reassembling. Remember to clean the removable grille with mild soap and water while keeping the motor and electronics dry. For best results, establish a cleaning schedule of every 4 to 8 weeks, or more frequently in dusty environments or homes with pets.