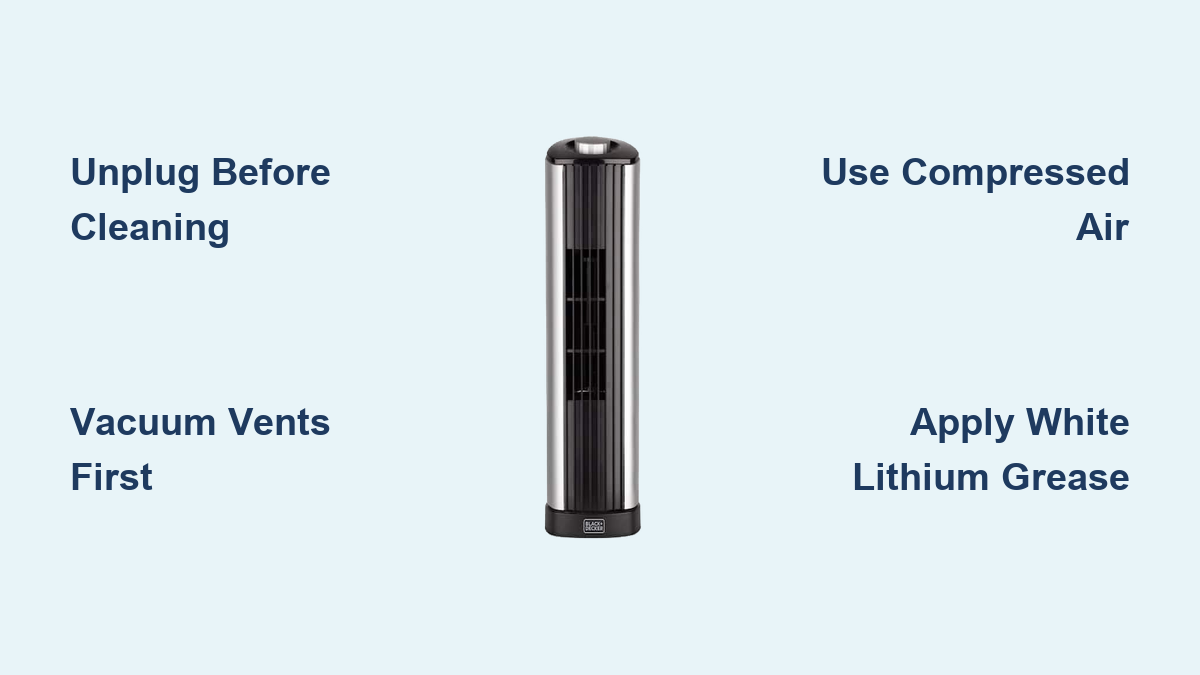
How to Clean Black and Decker Tower Fan
Dust buildup in your Black & Decker tower fan doesn’t just make it look dirty. It can reduce airflow, increase noise, and shorten the motor’s lifespan. If you’ve noticed a musty smell, weaker performance, or strange squeaking sounds, it’s time for a clean. The good news? Cleaning your tower fan doesn’t require professional help. With a few basic tools and the right approach, you can restore peak performance in under an hour.
This guide covers every step safely and effectively. You’ll learn how to disassemble your fan without breaking clips, where to apply lubricant for silent operation, and how to prevent future dust buildup. Whether you opt for a quick surface clean or a deep internal refresh, follow this complete process to keep your Black & Decker tower fan running smoothly for years.
Safety First: Power Off and Prepare Your Workspace
Before touching any part of your fan, safety must come first. Electrical appliances like tower fans can pose risks if handled improperly during cleaning.
Unplug the Fan Immediately
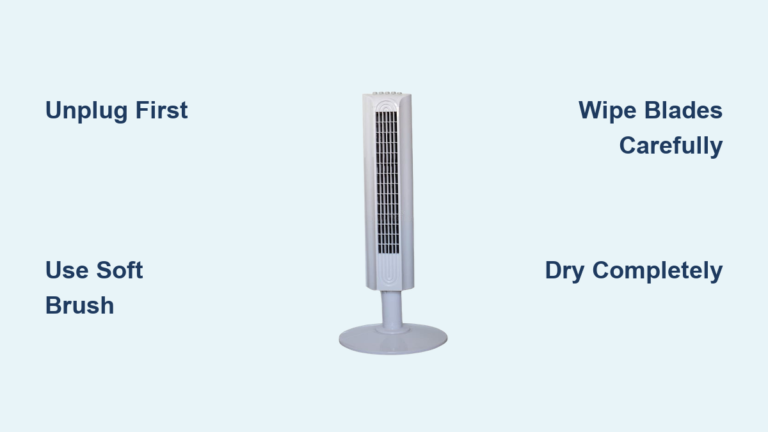
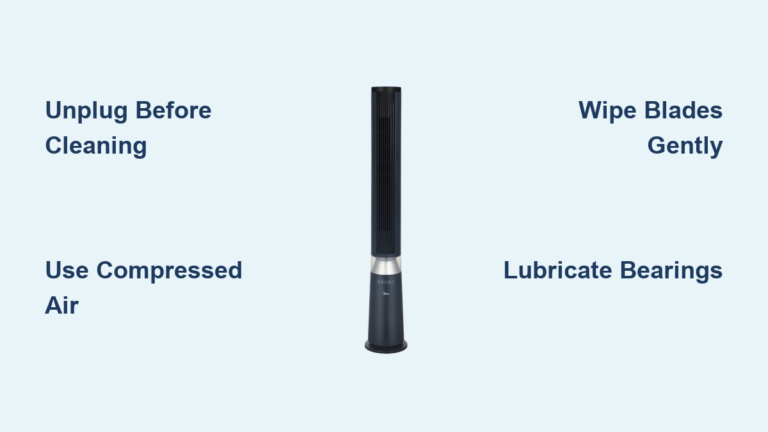
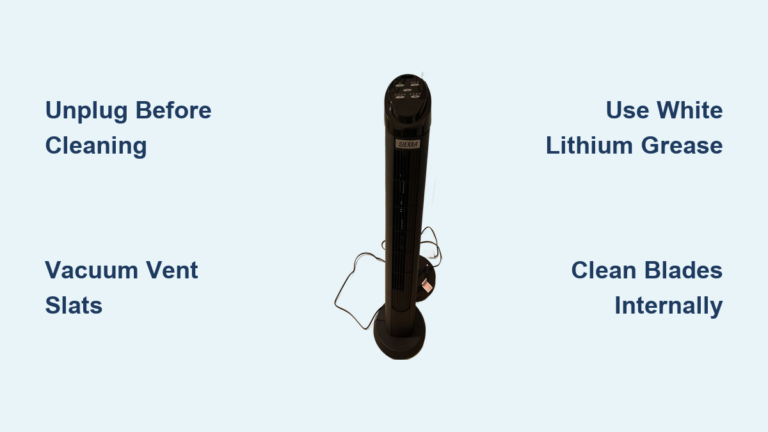
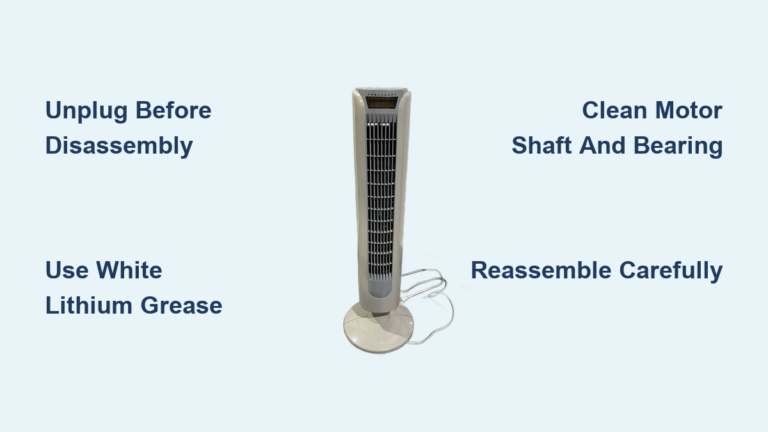
Always start by unplugging the unit from the wall. This prevents accidental startup, protects against electrical shock, and ensures safe handling of internal parts. Never attempt to clean or disassemble a plugged-in fan, even on the lowest setting.
Prepare Your Workspace
Choose a well-ventilated area like a garage, balcony, or near an open window. If using compressed air, this prevents dust from spreading indoors. Lay down a towel or sheet to catch debris and protect floors.
Gather Essential Tools
Have these items ready before beginning:
- Phillips head screwdriver
- Flathead screwdriver for clips
- Vacuum with brush attachment
- Compressed air canister
- Microfiber cloths or lint-free rags
- Soft-bristled brush or duster
- White lithium grease for lubrication
Avoid harsh chemicals or water immersion. Moisture near wiring or motors can cause permanent damage.
Surface Cleaning: Quick Maintenance Without Disassembly
For routine maintenance every 6 to 8 months, a full teardown isn’t necessary. This non-invasive method removes visible dust and improves airflow without opening the casing.
Vacuum Front and Back Vents
Attach a soft brush to your vacuum hose. Gently move it across both the front and rear grilles of the tower fan. Work vertically from top to bottom, focusing on crevices where lint collects. Pay extra attention to the base intake vents, which pull in the most dust.
If you have pets, expect heavier accumulation here. Repeat passes until no more debris is visible.
Blast Stubborn Dust With Compressed Air
Some dust sticks deep within blade shafts or motor housings. Use short bursts of compressed air through the vent slats. Angle the nozzle to cover multiple blade surfaces as you rotate the fan slightly.
Hold the can upright and avoid prolonged spraying to prevent moisture release from the propellant.
Flush Out Loose Particles
After vacuuming and blowing, plug the fan back in temporarily. Point it toward an open window and run it on high for 2 to 3 minutes. This forces out any remaining dislodged dust trapped inside.
Unplug again before proceeding.
Wipe Down Exterior Surfaces
Use a dry microfiber cloth to remove surface dust. For smudges or fingerprints, lightly dampen the cloth with water. Never spray directly onto the fan. Wipe quickly and dry immediately to prevent seepage into vents.
Avoid chemical cleaners unless specified safe by Black & Decker.
Deep Cleaning: Full Disassembly for Thorough Results

When airflow drops significantly or squeaking begins, it’s time for a full internal clean. This method gives access to blades and motor housing. Note that some models void warranties if opened. Check your manual first.
Remove Base and Housing Screws
Flip the fan upside down. Locate 4 Phillips screws on the bottom base. Some include small washers. Remove them carefully and set aside with washers in order.
Next, find 2 to 4 additional screws along the back panel or near the control area. These secure the outer housing. Remove all visible screws before attempting to open the casing.
Release Plastic Clips Safely
Black & Decker uses hidden plastic clips to secure panels. Forcing them can crack the housing.
Hold the top edges of the back panel and gently pull outward with your thumbs to create a gap. Insert a flathead screwdriver into the seam and slide it down slowly. Listen for soft pops as each clip releases.
Work side to side, not all on one side. Once both sides are free, slide the panel upward or pull forward depending on model design.
Handle Internal Cables Carefully
Inside, you may see cable ties securing the power cord. If they block panel removal, cut them with scissors. But remember where they were placed for reassembly.
Do not disconnect any internal wiring.
Clean Internal Blades and Motor Housing

With the casing off, you now have direct access to the core components. This is where the deepest cleaning happens.
Blow and Vacuum the Blade Column
Use compressed air to blast dust from between the vertical blades. While spraying, rotate the blade assembly by hand to expose all angles. Simultaneously, use a vacuum hose held behind the blades to catch dislodged particles.
This two-step method prevents dust from resettling inside the motor housing.
Wipe Grime From Motor Housing
Dampen a lint-free cloth with water or mild soapy solution. Wipe down the interior surfaces, especially around the motor shaft and housing walls.
Never wet electrical connections, wires, or motor windings. Use a dry cloth near these areas.
For sticky residue, use a cotton swab dipped lightly in rubbing alcohol. Apply only to non-electrical metal parts.
Remove Hidden Dust Buildup
Use a soft brush to loosen compacted dust near the base of the shaft. Follow immediately with vacuum suction. Repeat until no more debris appears.
Check for insect nests or cobwebs if the fan was stored unused.
Lubrication: Stop Squeaking and Extend Fan Life
Squeaks and grinding noises usually stem from dry friction points. Proper lubrication eliminates noise and extends life.
Choose the Right Lubricant
White lithium grease is the best choice. It lasts over 12 months, resists heat, repels moisture, and is safe for metal.
Lightweight machine oil is acceptable for pivot points.
WD-40 standard formula is not recommended. It evaporates quickly and is not a true lubricant.
Use grease in a spray or tube for precision application.
Apply Grease to Key Areas
Apply lubricant sparingly to the following areas using a rag, cotton swab, or precise spray.
Motor shaft: Apply a light film to the exposed metal shaft, the hole where the shaft enters the housing, and the top tip of the shaft.
Base connection point: Where the motor shaft meets the base, add a small amount of grease. This area binds due to dust and wear.
Oscillation mechanism: If your fan tilts up or down, locate the sliding wheel on the vertical shaft. Lubricate its contact points thoroughly.
After applying, manually move the shaft up and down to work in the grease. Wipe away excess to prevent dripping.
Reassembly: Put Everything Back Together Correctly

Correct reassembly ensures safety, silence, and durability. Rushing this step can lead to rattles or broken clips.
Align Panels and Clips
Position the back or front panel so that all plastic clips line up with their slots. Start at the top and gently guide the panel into place.
Apply even pressure around the edges. Do not force one corner first.
Snap Panels Into Place
Slowly press the panel until you hear soft pops as each clip engages. Slide the panel downward or push inward until fully seated.
If resistance occurs, stop and realign. Forcing can break internal tabs.
Replace All Screws
Reinsert all screws removed earlier. These include 4 screws on the base and 2 to 4 screws on the body. Tighten until snug. Over-tightening cracks plastic. Finger-tight is usually enough.
Reconnect Power Cord Ties
Reattach any cable ties that were cut or removed. This prevents strain on internal wiring and keeps the cord organized.
Testing: Verify Clean Fan Performance
Before declaring the job done, verify everything works smoothly and safely.
Perform Initial Spin Test
Plug in the fan and turn it on. If the blades do not start immediately, gently nudge them with your finger. This overcomes static friction, especially after lubrication.
Run on low first, then increase to high.
Listen for Noise Issues
Check for squeaking, which means insufficient lubrication.
Check for rattling, which means loose panel or broken clip.
Check for grinding, which means possible motor issue.
If squeaking persists, add a bit more white lithium grease and retest. If rattling occurs, power off and reseat the panels. Inspect for cracked clips.
Expel Residual Dust
Run the fan on high for 2 to 3 minutes, pointing it outside or toward a window. This clears any last particles disturbed during cleaning.
Maintenance Schedule: Keep Your Fan Running Efficiently
Regular upkeep prevents major buildup and extends your fan’s life.
Follow a Cleaning Schedule
Clean the tower fan at least once or twice a year. In dusty environments or homes with pets, increase frequency to every 6 to 8 months.
Lubricate moving parts once a year under normal use. In high-dust or high-use scenarios, lubricate every 6 months.
Store Properly Off-Season
Before storing, clean thoroughly. Cover with a breathable cloth bag. Keep in a dry, dust-free location.
Avoid plastic bags. They trap moisture.
Protect Warranty and Components
Always consult your user manual before disassembly. Some Black & Decker models may void warranty if opened. When in doubt, stick to non-invasive cleaning only.
Use only compatible lubricants. Never grease plastic gears unless specified.
Frequently Asked Questions About Cleaning a Black & Decker Tower Fan
How often should I clean my Black & Decker tower fan?
Clean your tower fan at least once or twice a year. If you have pets, allergies, or live in a dusty environment, clean it every 6 to 8 months instead.
Can I clean my tower fan without taking it apart?
Yes. Use a vacuum with a brush attachment on the vents, blow out dust with compressed air, and wipe the exterior with a dry microfiber cloth. This works for routine maintenance.
Why does my tower fan squeak after cleaning?
Squeaking usually means dry metal-on-metal contact. Apply white lithium grease to the motor shaft, base connection point, and oscillation mechanism. Work the shaft up and down to distribute the grease.
Will disassembling my fan void the warranty?
Some Black & Decker models may void warranty if opened. Check your user manual before disassembling. If unsure, stick to non-invasive surface cleaning only.
What is the best lubricant for a tower fan?
White lithium grease is highly recommended. It lasts over 12 months, resists heat, and is safe for metal parts. Avoid standard WD-40, which evaporates quickly and is not a true lubricant.
Key Takeaways for Maintaining Your Black & Decker Tower Fan
A clean Black & Decker tower fan runs quieter, cools better, and lasts longer. By following these steps, unplug the fan first, clean vents with a vacuum and compressed air, then disassemble carefully for deep cleaning when needed. Apply white lithium grease to the motor shaft and oscillation points to eliminate squeaks. Reassemble securely, test for noise, and run the fan briefly to expel residual dust.
Maintain your fan on a regular schedule. Surface clean every 6 to 8 months and deep clean once per year. Store it properly off-season in a dry, dust-free location. Your fan and your air quality will thank you for the effort.