How to Clean Midea Tower Fan
Is your Midea tower fan blowing weak air or making strange noises? Dust buildup is likely the culprit. Over time, dust clogs the blades, vents, and internal components, reducing airflow, increasing noise, and even causing odors. The good news: cleaning your Midea tower fan can restore performance and extend its life. Whether you’re doing quick surface maintenance or a full deep clean, this guide walks you through every step safely and effectively.
In this comprehensive walkthrough, you’ll learn how to clean your Midea tower fan without damaging it, when to perform each type of cleaning, and how to lubricate moving parts for smooth, quiet operation. We’ll cover both non-disassembly surface cleaning and full disassembly for deep maintenance, complete with tools, safety tips, and troubleshooting.
Essential Safety Steps Before Cleaning Your Midea Tower Fan
Before touching any part of your fan, safety must come first. Electrical appliances like tower fans can pose risks if handled improperly during cleaning.
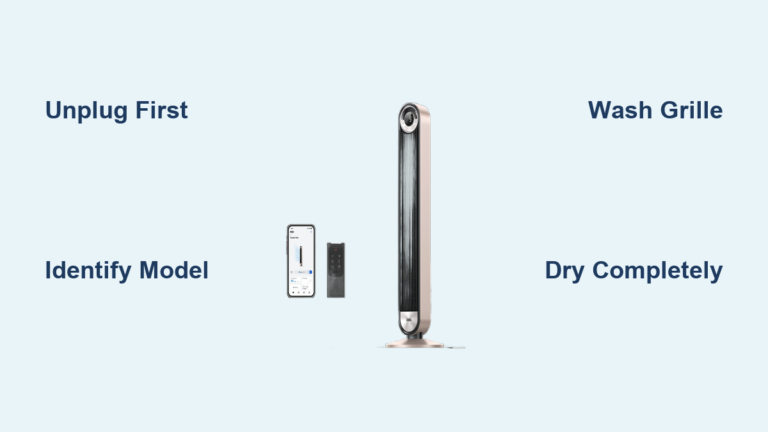
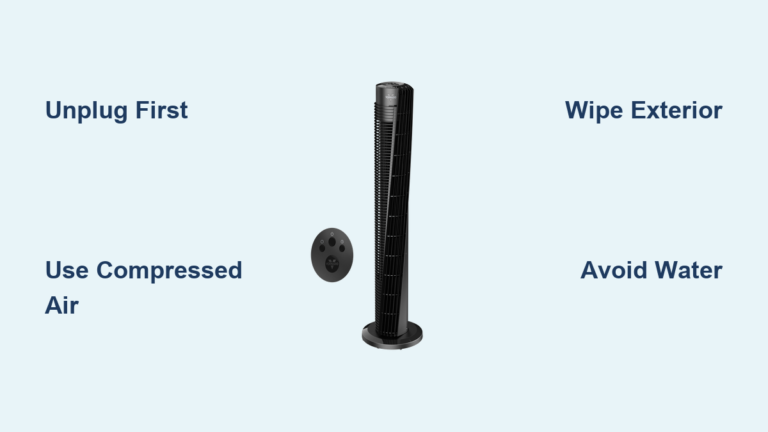
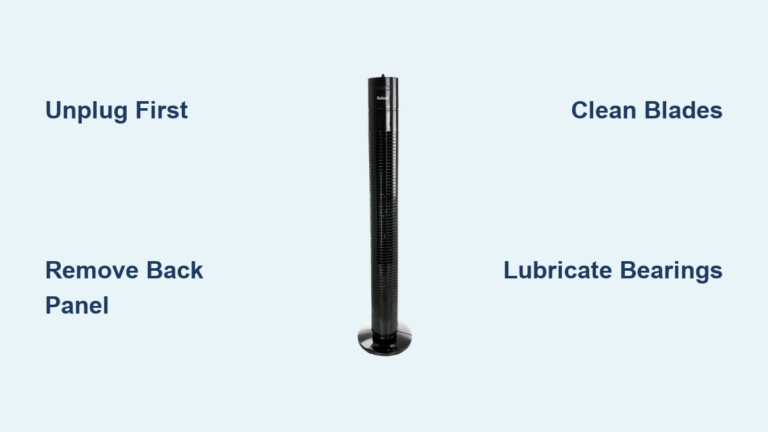
Always unplug the fan from the power outlet. This eliminates the risk of electric shock and prevents the blades from spinning unexpectedly. Never attempt to clean a plugged-in unit, even on standby.
Check your model’s user manual before proceeding. Some Midea fans have warranty clauses that void coverage if the casing is opened. If disassembly isn’t recommended, stick to surface cleaning methods only.
Set up your workspace in a well-ventilated area, preferably outdoors or over a trash can. Deep cleaning releases dust and debris, so working in an open space keeps your home clean. If you have allergies, wear a mask to avoid inhaling dust when using compressed air.
Lay the fan on a flat, stable surface. This makes it easier to access screws and prevents tipping during disassembly.
Tools You Need to Clean a Midea Tower Fan
Using the correct tools ensures a thorough clean without damaging your Midea tower fan.
Cleaning Equipment
You will need a soft brush attachment for your vacuum to safely remove dust from vents and blades. Canned compressed air blasts out stubborn dust from tight spaces. Microfiber cloths are lint-free and gentle on plastic surfaces. A soft-bristled paintbrush or dusting brush helps loosen dust manually. Phillips and flathead screwdrivers remove screws and pry panels. Some models require a Torx T10 screwdriver for specialty screws. A long-reach screwdriver reaches deep-set screws at the top of the tower.
Lubricants and Maintenance Supplies
For deep cleaning, white lithium grease works best for long-lasting lubrication that resists dust. Lightweight lubricating oil is optional for pivot points. WD-40 is useful for freeing stuck parts but isn’t ideal for long-term lubrication. Fine sandpaper cleans rusty bearings. Epoxy glue repairs broken plastic tabs.
Avoid water or liquid cleaners near vents and electronics. Moisture can damage internal wiring and motors.
Quick Surface Cleaning: No Disassembly Required
For regular upkeep, a full teardown isn’t necessary. This method takes less than 10 minutes and keeps your fan running efficiently.
Vacuum Dust From Front and Back Vents
With the fan unplugged, attach the soft brush to your vacuum. Gently run it over both the front and rear grilles. Move vertically from top to bottom to pull out trapped dust. Pay extra attention to corners where lint accumulates.
If you don’t have a vacuum, use a dry microfiber cloth or soft brush to loosen dust first, then vacuum it up.
Blast Out Hidden Dust With Compressed Air
Dust deep inside the fan won’t come out with suction alone. Use canned air to dislodge it.
Hold the can upright and spray in short bursts through the front and back vents. Use an up-and-down motion to cover the entire height. This forces out dust stuck on the blades and motor housing.
Point the fan away from walls, furniture, and people. Compressed air blows dust outward, so cleaning outdoors or in a garage prevents spreading mess around your home.
Wipe and Test for Final Results
After air blasting, wipe the exterior with a dry microfiber cloth. This removes any residual dust.
Plug the fan in and run it on high for 2 to 3 minutes, pointing it outside or toward a window. This expels any remaining loose particles.
Unplug again and wipe the surface one final time. Vacuum the floor around the fan to collect fallen debris.
Repeat this surface cleaning process every 3 to 4 weeks with regular use.
Deep Clean: Disassemble Your Midea Tower Fan

If your fan is noisy, smells musty, or airflow has dropped significantly, it’s time for a deep clean. This method restores peak performance.
Remove Base and Open the Casing
Start by removing the base. Locate the collar at the bottom and twist it counterclockwise. Slide the base off the tower.
Flip the fan or lay it flat. Remove the side screws, usually 3 to 5 Torx or Phillips screws depending on your model. Store them safely.
Next, access the top interior. You will find 4 deep-set Phillips screws near the top. Use a long-reach screwdriver to remove them.
Now, separate the two casing halves. Look for locking tabs along the seam, typically 8 tabs. Use a flathead screwdriver to gently pry them apart, starting from the bottom. Work slowly to avoid cracking the plastic.
Mark the two halves with tape or a pencil before separating. This ensures correct alignment during reassembly.
Extract and Clean the Blower Assembly
Once open, locate the vertical blower assembly, the black cylinder with blades. It’s held by two top screws. Remove them and lift the unit straight up.
Inspect the blades. They likely have thick dust buildup. Use compressed air to spray side-to-side across the blades. Rotate the cylinder by hand to clean all angles.
For stubborn grime, wipe with a slightly damp cloth or mild soap solution. Never soak it. Dry completely before reassembly.
Vacuum the motor housing and interior panels with a soft brush attachment. Avoid wet cloths near electrical parts.
Lubricate for Quiet, Smooth Operation
Lack of lubrication causes noise and wear. Apply grease to key points including the motor shaft where the blade attaches, the top and bottom bearings which are silver or black rings, and the oscillation gears and pivot points.
Use white lithium grease. It lasts longer and does not attract dust like oil. Apply a small amount with a toothpick or cotton swab. Rotate the shaft by hand to work it in.
If bearings are rusty, lightly sand them with fine sandpaper first.
Use lubricant sparingly. Excess attracts dust and creates grinding paste over time.
Reassemble the Fan Properly
Reassembly is critical. Misaligned parts cause noise and vibration.
Reinstall Blower and Motor
Align the blower assembly and slide it back into place. Reattach the two top screws.
If you removed the motor, reconnect any brackets and secure it with the screw and nut. Ensure wires are routed correctly and not pinched.
Snap Casing Back Together
Align the two halves using your earlier marks. Press them together, snapping each locking tab into place. Start from the bottom and work upward.
Reinsert all side and top screws. Tighten evenly. Do not overtighten, as this can strip plastic threads. Some models require clockwise tightening until a click, then final tightening. Confirm thread direction to avoid cross-threading.
Reattach Base and Final Checks
Slide the base back onto the tower, aligning the notch with the power cord. Twist the collar clockwise until snug.
If your model has a sensor plate used for remote control, reinstall it with the small window facing downward. Replace any clips, using epoxy if broken.
Test Performance After Cleaning
Before declaring the job done, test the fan thoroughly.
Plug it in and turn it on at the lowest speed. Listen for grinding or rattling noises, which could mean loose parts or misaligned casing. Verify smooth oscillation, which should move evenly without jerking. Check for strong, consistent airflow, which confirms dust is cleared.
Increase speed and verify all settings work. Test the remote control to ensure responsiveness.
Run the fan for 5 minutes and check for odors. A faint smell may occur initially but should disappear. Persistent musty smells mean deeper cleaning is needed.
Wipe the exterior one last time. Some internal dust may blow out during the first run.
Maintenance Schedule: How Often to Clean Your Midea Tower Fan
Regular maintenance prevents performance drops and extends your fan’s life.
| Usage Level | Cleaning Frequency | Method |
|---|---|---|
| Daily use | Every 3 to 4 weeks | Surface cleaning |
| Occasional use | Every 6 to 8 weeks | Surface cleaning |
| Deep maintenance | Every 6 to 12 months | Full disassembly |
Watch for these signs you need to clean sooner. Reduced airflow means dust blocks blades and vents. Loud operation indicates dry bearings or debris. Unpleasant odors suggest mold or trapped dust in the motor housing. Wobbling or vibration points to misalignment or unbalanced blades.
Troubleshoot Common Post-Cleaning Issues

Even with care, problems can arise after reassembly.
Fan Won’t Turn On
Check that all screws are tightened. Verify electrical contacts inside the motor are clean. Lightly sand if corroded. Ensure the sensor plate is installed correctly with the window facing down. Confirm the power cord is fully seated.
Rattling or Vibration
Likely causes include loose casing tabs. Re-snap all 8 tabs securely. Misaligned blower assembly requires rechecking mounting screws. An uneven base means ensuring the fan sits flat on the floor.
Persistent Noise After Lubrication
Too much grease is a common issue. Wipe off excess. Bearings still dry means reapplying a tiny amount. If the motor is damaged, noise continues and the motor may be failing.
Odors That Won’t Go Away
Deep clean the motor housing with compressed air. If the smell persists, internal components may be degraded. Consider professional service or replacement.
Avoid Warranty and Damage Risks
Disassembling your Midea tower fan may void the warranty. Always check your model’s manual first.
If you break a plastic tab during disassembly, repair it with epoxy. Apply a small amount, press the pieces together, and clamp with tape or a weight overnight. This prevents future rattling and structural weakness.
Never use water or harsh chemicals inside the fan. Stick to dry methods and minimal moisture only on removable parts.
Best Cleaning Methods: Compressed Air vs Vacuum
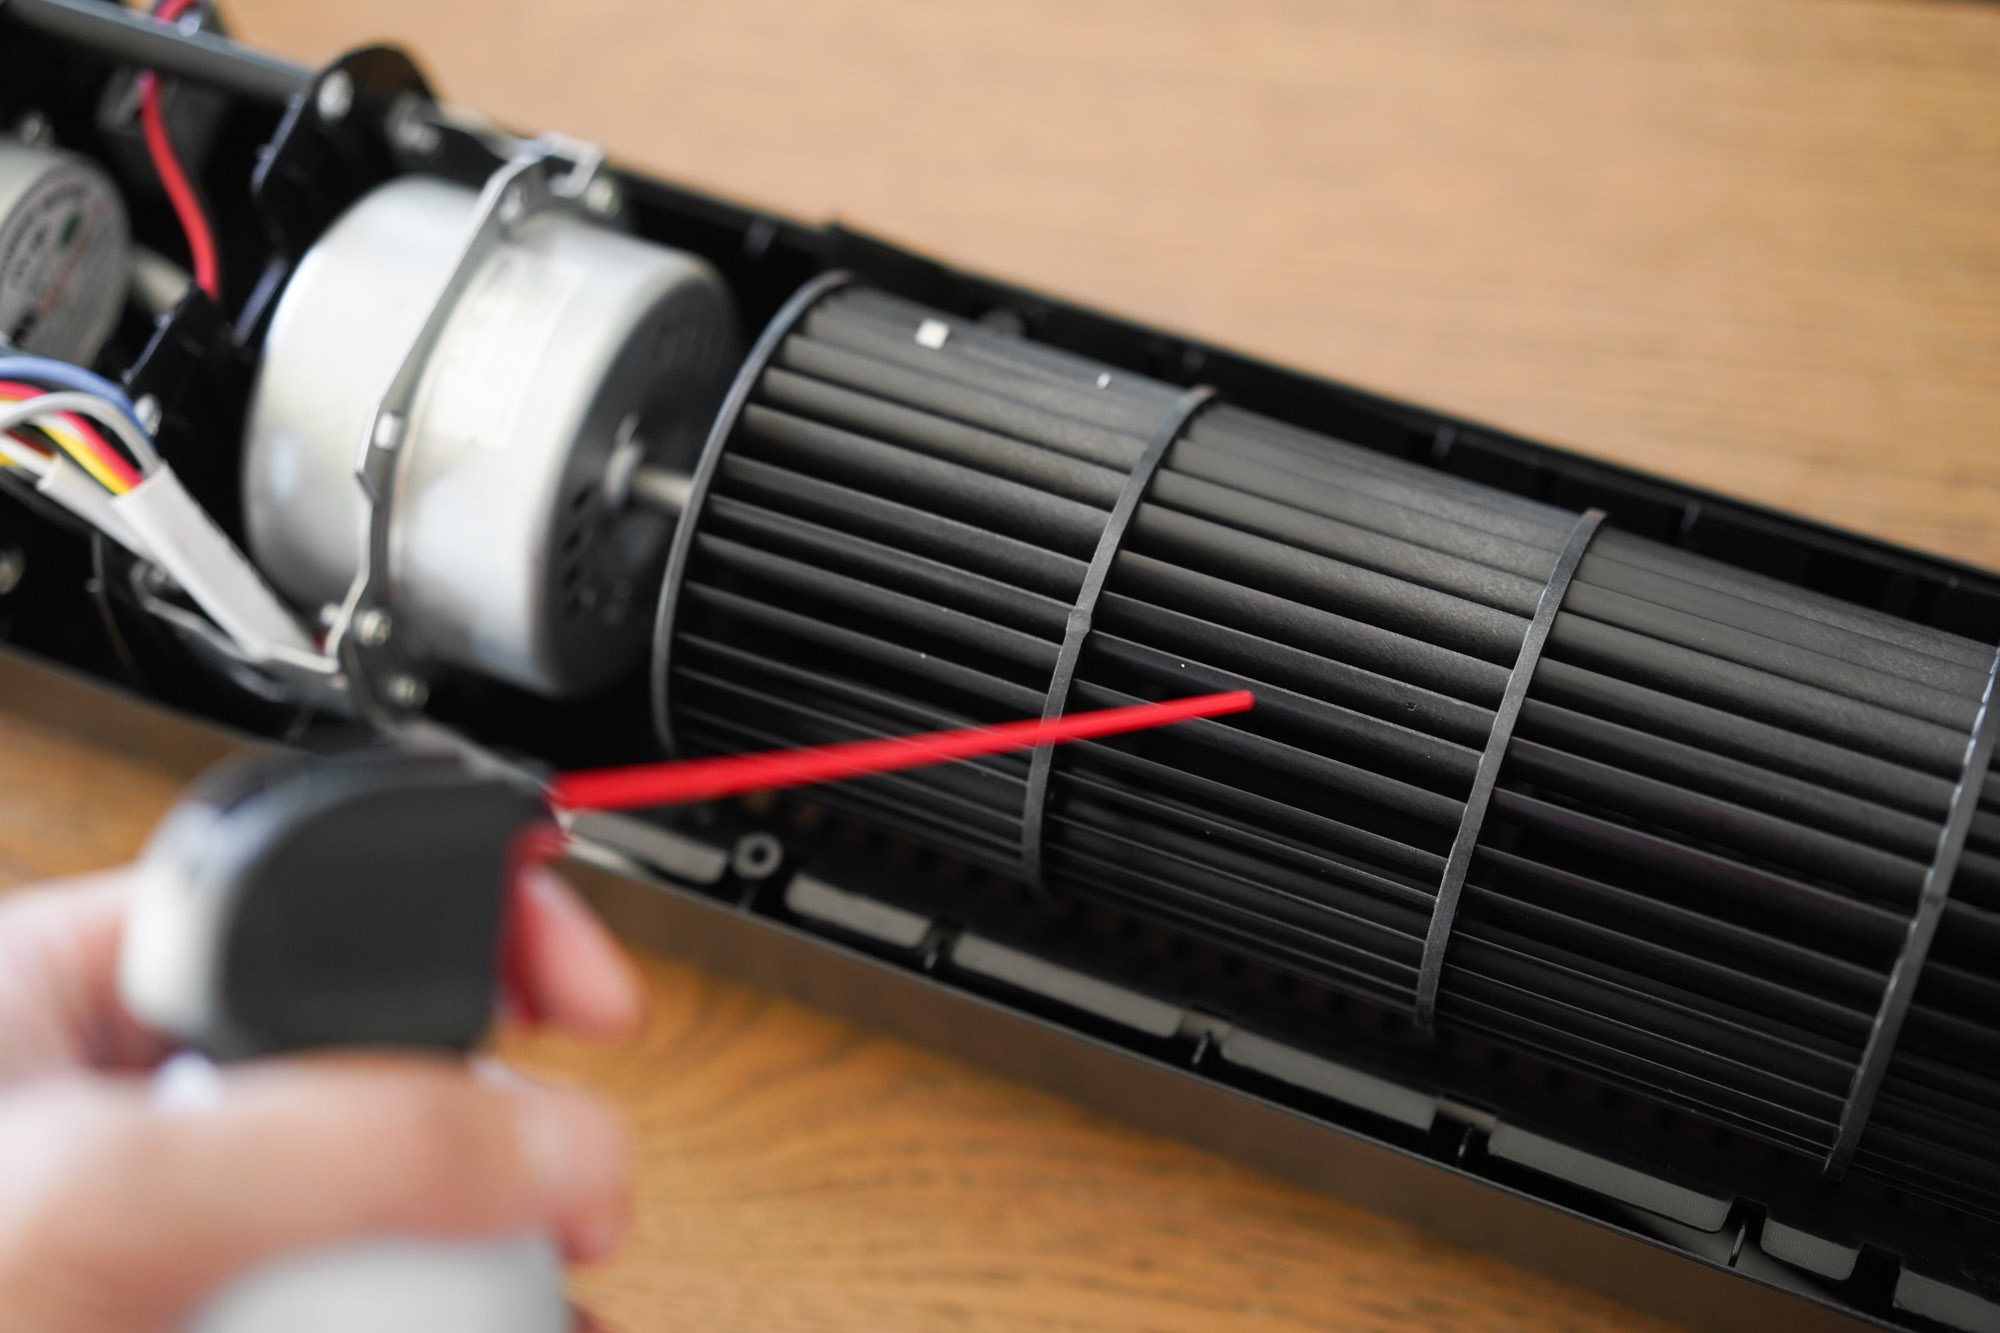
Compressed air excels at dislodging deep dust but spreads it around. Vacuum captures dust but may not reach deep crevices. The best approach uses both, air first to dislodge, then vacuum to capture debris.
For lubrication, white lithium grease is the best choice. It is long-lasting and dust-resistant. Light oil works but attracts grime faster. WD-40 is good for freeing stuck parts but not for long-term lubrication.
Always apply lubricants sparingly. Over-greasing leads to more dust buildup and motor strain.
Frequently Asked Questions About Cleaning a Midea Tower Fan
How do I know if my Midea tower fan needs deep cleaning?
Signs include reduced airflow, loud operation, unpleasant odors, or wobbling. If surface cleaning does not improve performance after a few attempts, a full disassembly and deep clean is needed.
Can I use water to clean the interior of my Midea tower fan?
No. Avoid water or liquid cleaners near vents and electronics. Moisture can damage internal wiring and motors. Stick to dry methods like vacuuming, compressed air, and slightly damp cloths on removable parts only.
How often should I lubricate my Midea tower fan?
Lubricate during deep cleaning, which is every 6 to 12 months depending on use. Apply a small amount of white lithium grease to the motor shaft and bearings. Over-lubrication attracts dust and causes damage.
Does cleaning a Midea tower fan void the warranty?
Possibly. Some models have warranty clauses that void coverage if the casing is opened. Always check your user manual before disassembling. If the warranty is important, stick to surface cleaning methods only.
Why is my fan still noisy after cleaning and lubrication?
Too much lubricant attracts dust and creates grinding paste. Wipe off excess grease. If noise persists, check for loose screws, misaligned casing tabs, or damaged motor bearings.
Key Takeaways for Cleaning Your Midea Tower Fan
Cleaning your Midea tower fan is simple with the right tools and steps. Surface cleaning every few weeks keeps it running smoothly, while a deep clean every 6 to 12 months restores full performance. Always unplug first, avoid water near electronics, and lubricate key points sparingly for optimal results.
Gather your tools before starting, work in a well-ventilated area, and follow the disassembly steps carefully. Reassemble with attention to alignment and tab placement. Test thoroughly after cleaning to ensure quiet, powerful airflow.
By following this guide, you will enjoy stronger airflow, quieter operation, and a longer-lasting appliance.