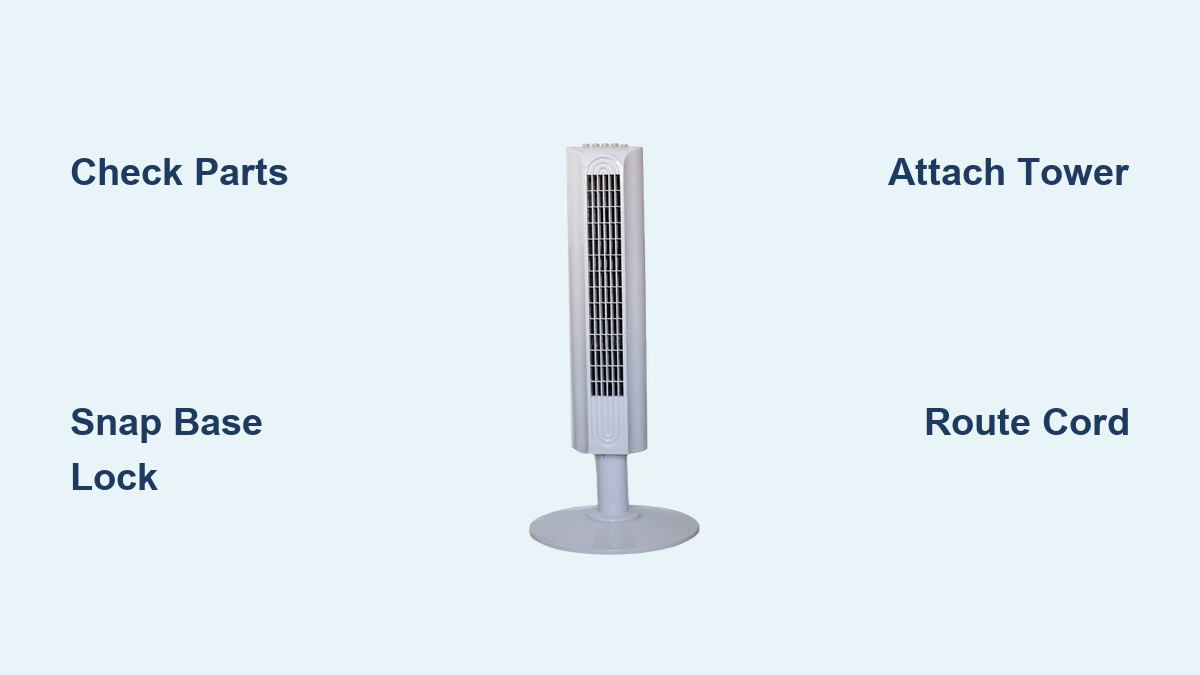
How to Assemble a Tower Fan
Putting together a tower fan should not feel like solving a puzzle. With modern designs, especially popular models like Dreo, the entire process is built for speed, simplicity, and zero tools. Most users can go from unboxed to cooling in under five minutes. The key lies in understanding the snap-fit bases, alignment pins, and cable routing tricks that make assembly intuitive.
This guide walks you through every step: verifying parts, securing the base, attaching the tower, managing the cord, and testing operation. Whether you are setting up a fan for your bedroom, office, or living room, you will learn exactly how to assemble a tower fan correctly and safely.
Verify All Components Before Assembly
Before touching any pieces, confirm everything is present and undamaged. A quick check now prevents frustration later.
Inspect Parts for Damage
Lay out all contents on a flat surface. Check each part carefully.
• Main tower unit: Look for cracks or dents, especially at the base
• Base pieces: Ensure both upper and lower sections are included
• Remote control: Confirm it is not cracked and buttons respond to light pressure
• Power cord: Inspect for frays, kinks, or exposed wires
• Screws and tool kit: Some models require minimal hardware
If anything is missing or damaged, contact the manufacturer before proceeding.
Prepare a Stable Work Area
Use a clean, level surface like a table or floor. Avoid carpets or uneven floors because they make alignment difficult and increase tipping risk during assembly. Keep pets and children away to prevent accidental bumps.
Assemble the Base Correctly
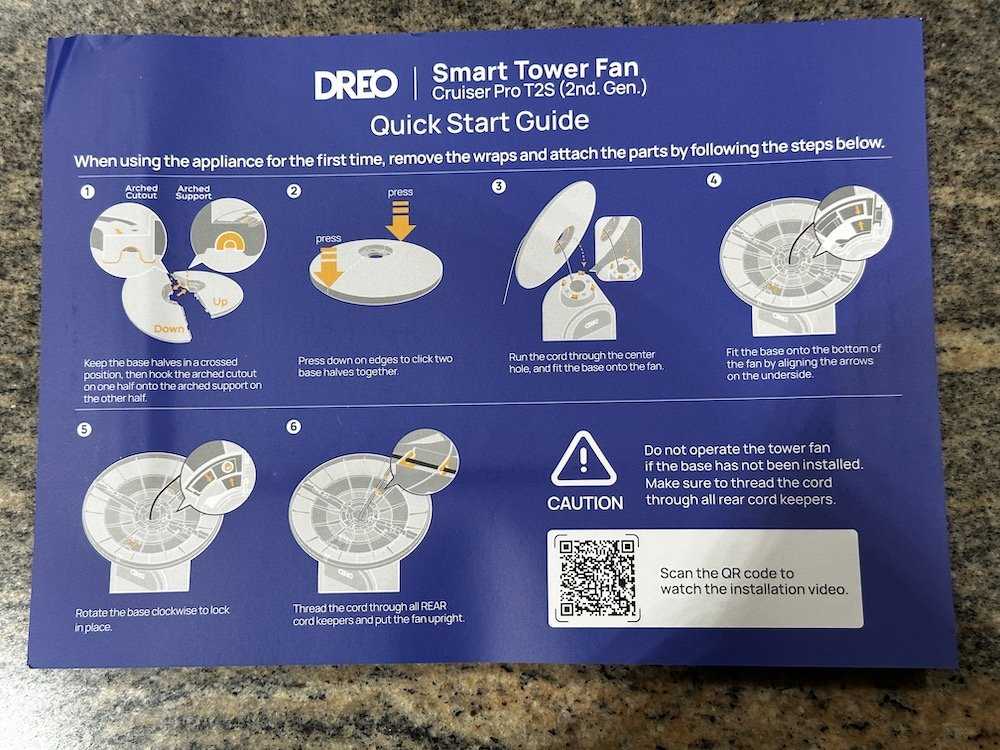
The base ensures stability. Most tower fans use either a snap-lock or twist-lock system, and both rely on precise alignment.
Use Snap-Lock Method
For Dreo and similar brands, follow these steps.
- Place the lower base flat on the surface
- Identify alignment pins underneath it
- Match holes on the upper base section to these pins
- Press down firmly until you hear a distinct click
- Gently wiggle the base. No movement means it is locked
Pro Tip: If it does not click, rotate the top piece 180 degrees. Some models have directional inserts.
Try Twist-to-Lock Alternative
Some variants use a rotational lock instead.
- Snap the top base onto the pin of the lower section
- Twist clockwise until resistance increases
- Listen for a second click. This confirms full engagement
- The base should now feel solid with zero play
Attach the Fan Tower to Base
With the base secure, connect the main unit using leg-to-plate alignment.
Insert Legs Into Base Plates
- Hold the fan tower upright
- Locate the two legs protruding from the bottom
- Align them with matching slots or plates on the assembled base
- Push straight down with steady pressure
- Stop when you hear a firm click. This means the tower is locked
Test for Stability
Gently nudge the top of the fan. If it wobbles, recheck the base connection. Confirm both pieces clicked flush and ensure legs are fully seated. Sometimes one side inserts before the other. Move to a solid, level area if needed.
Warning: Never operate a wobbly fan. It risks tipping, especially around kids or pets.
Route the Power Cord Safely

A poorly routed cord creates tripping hazards and can pull the fan over.
Feed Through Central Opening
On many models, thread the cord through the center hole in the base before locking the tower. Guide it upward so it exits cleanly beneath the fan body. This keeps tension off the connection point.
Secure in Side Cord Guides
For added safety, use the built-in channels on either side of the base.
• Push the cord into one guide
• Run it across and out the other
• Tilt the base slightly if needed to snap the cord into place
Once set, the cord should lie flat and resist tugging.
Common Mistake: Forgetting to route the cord before attaching the tower. This forces awkward reassembly.
Install Remote and Sync Controls
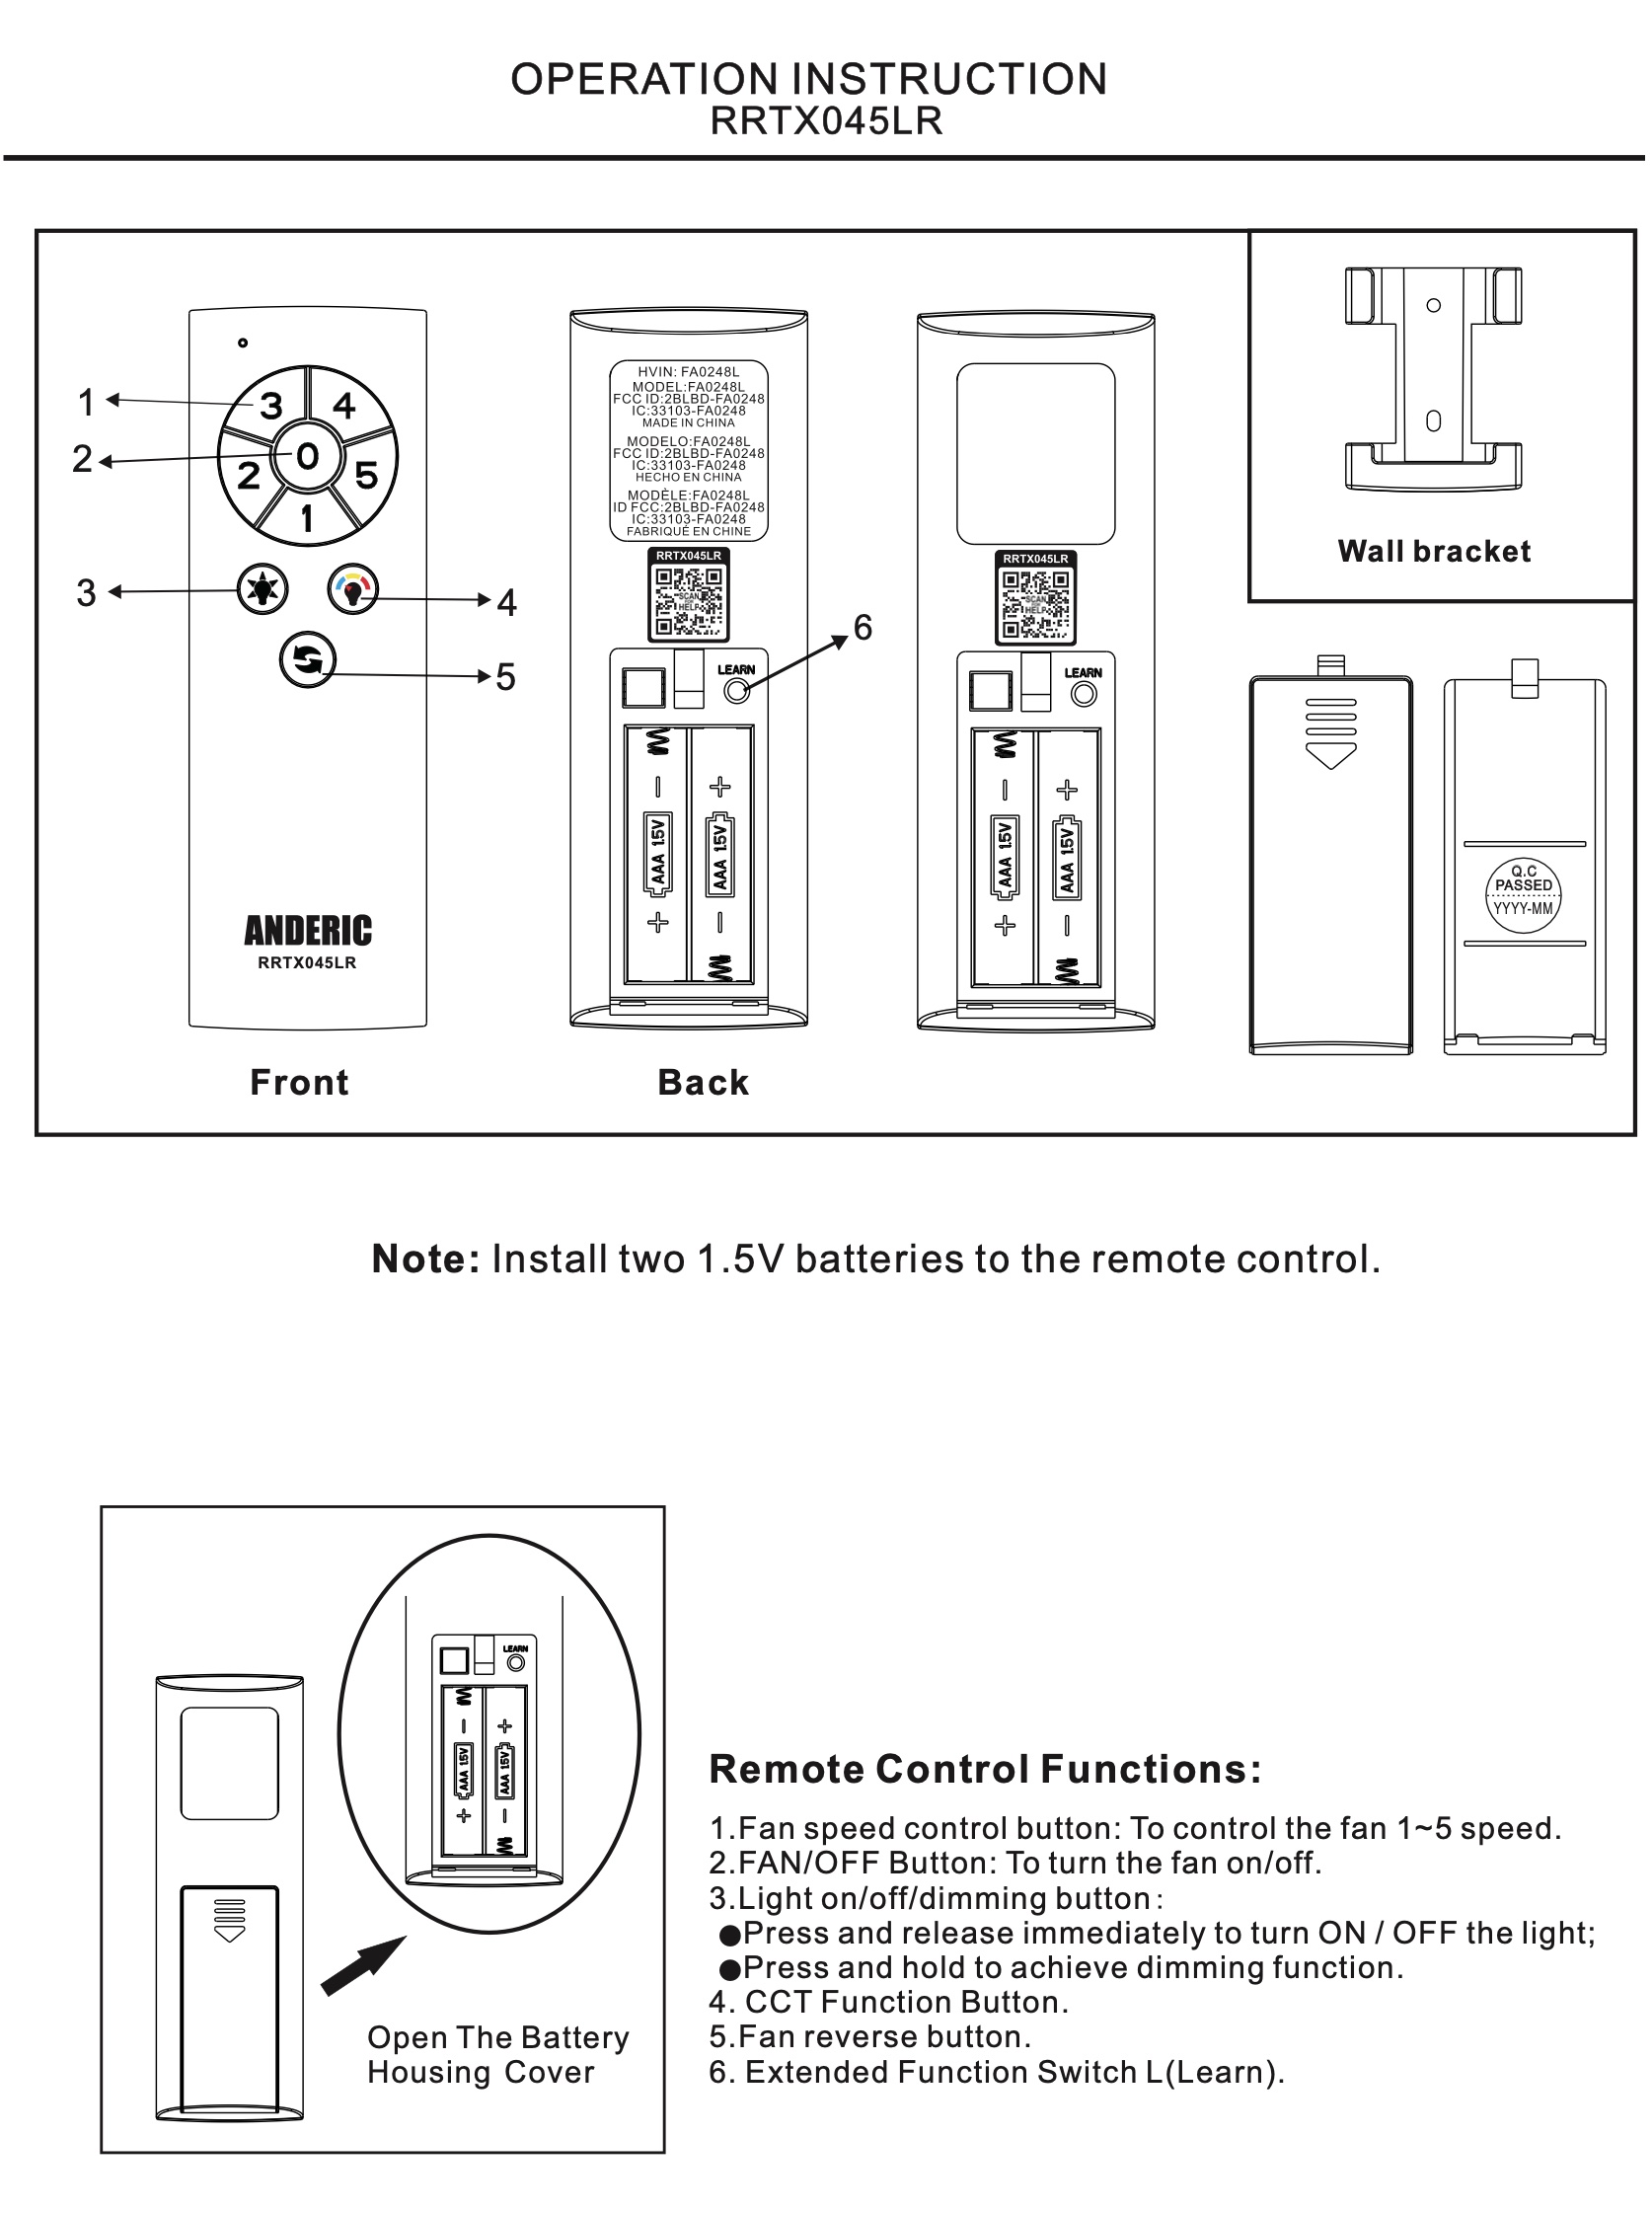
Your remote makes operation effortless, but only if paired correctly.
Insert Batteries and Pair
- Open the battery compartment on the remote
- Insert AAA batteries as marked
- Locate the sync button on the fan control panel
- Press and hold for 3 seconds until an indicator light flashes
- Press any button on the remote to complete pairing
Fix Non-Responsive Remotes
If the remote still does not work, replace batteries with fresh ones. Reset the sync by repeating the pairing process. Check line of sight because infrared remotes need direct visibility.
Power On and Test Functions
Final step: verify everything works as expected.
Plug In and Activate
- Insert the plug into a grounded wall outlet
- Turn on the fan using the touch panel or remote
- Start on low speed to test motor engagement
Run Full Function Check
Cycle through all features.
• Speed settings: Confirm smooth transitions
• Oscillation mode: Activate and watch for 90-degree sweep
• Timer function: Set 1-hour delay and verify auto-shutoff
• Airflow modes: Toggle between Directional Blow and Oscillating
Expert Note: If oscillation locks in place, press the button again to resume motion.
Troubleshoot Common Assembly Issues
Even with careful setup, problems can arise. Here is how to fix them fast.
Fan Wobbles After Assembly
Re-seat both base pieces and press until you hear the click. Lift the unit and realign if one leg was not inserted properly. Move to a solid, level area because uneven flooring mimics poor assembly.
Cord Pulls Fan Over
Re-route the cord through side guides. Avoid running it where people walk. Use a cord clip to secure excess length to furniture.
No Power or Indicator Light
Check the outlet by plugging in another device to confirm power. Inspect cord routing for pinches or sharp bends. Ensure the plug is fully seated in the fan port. If still dead, consult the manual because some models have internal fuses.
Maintain Long-Term Stability
Proper assembly is not just about first-time setup. It affects daily performance.
Clean Without Disrupting Assembly
Dust buildup affects balance. To clean, unplug the fan first. Wipe blades and grilles with a microfiber cloth. Remove base if needed because most snap apart easily for deep cleaning. Reassemble using the same click-to-lock method.
Pro Tip: Disassemble monthly for best airflow and hygiene.
Prevent Base Cracking
Avoid over-tightening screws on hybrid models. Hand-tight is enough. Over-torquing plastic housings leads to cracks and instability.
Frequently Asked Questions About Assembling a Tower Fan
How long does it take to assemble a tower fan?
Most tower fans can be assembled in 5 minutes or less. The process is designed to be tool-free and intuitive, with snap-fit mechanisms that eliminate complex steps.
Do I need tools to assemble a tower fan?
No. Most modern tower fans, including Dreo models, use snap-fit and click-lock mechanisms that require zero tools. Some specific variations may include screws, but these are rare.
Why does my tower fan wobble after assembly?
Wobbling usually means the base pieces did not click together fully, or the legs are not seated properly. Disassemble and reconnect both pieces until you hear a distinct click.
Can I route the power cord after assembling the fan?
It is much harder to route the cord after full assembly. Thread the cord through the base opening before locking the tower into place for easiest installation.
What should I do if the remote does not work after assembly?
Replace the batteries with fresh ones. Repeat the sync process by holding the sync button for 3 seconds until the indicator flashes. Ensure there is direct line of sight between the remote and the fan.
Key Takeaways for Assembling Your Tower Fan
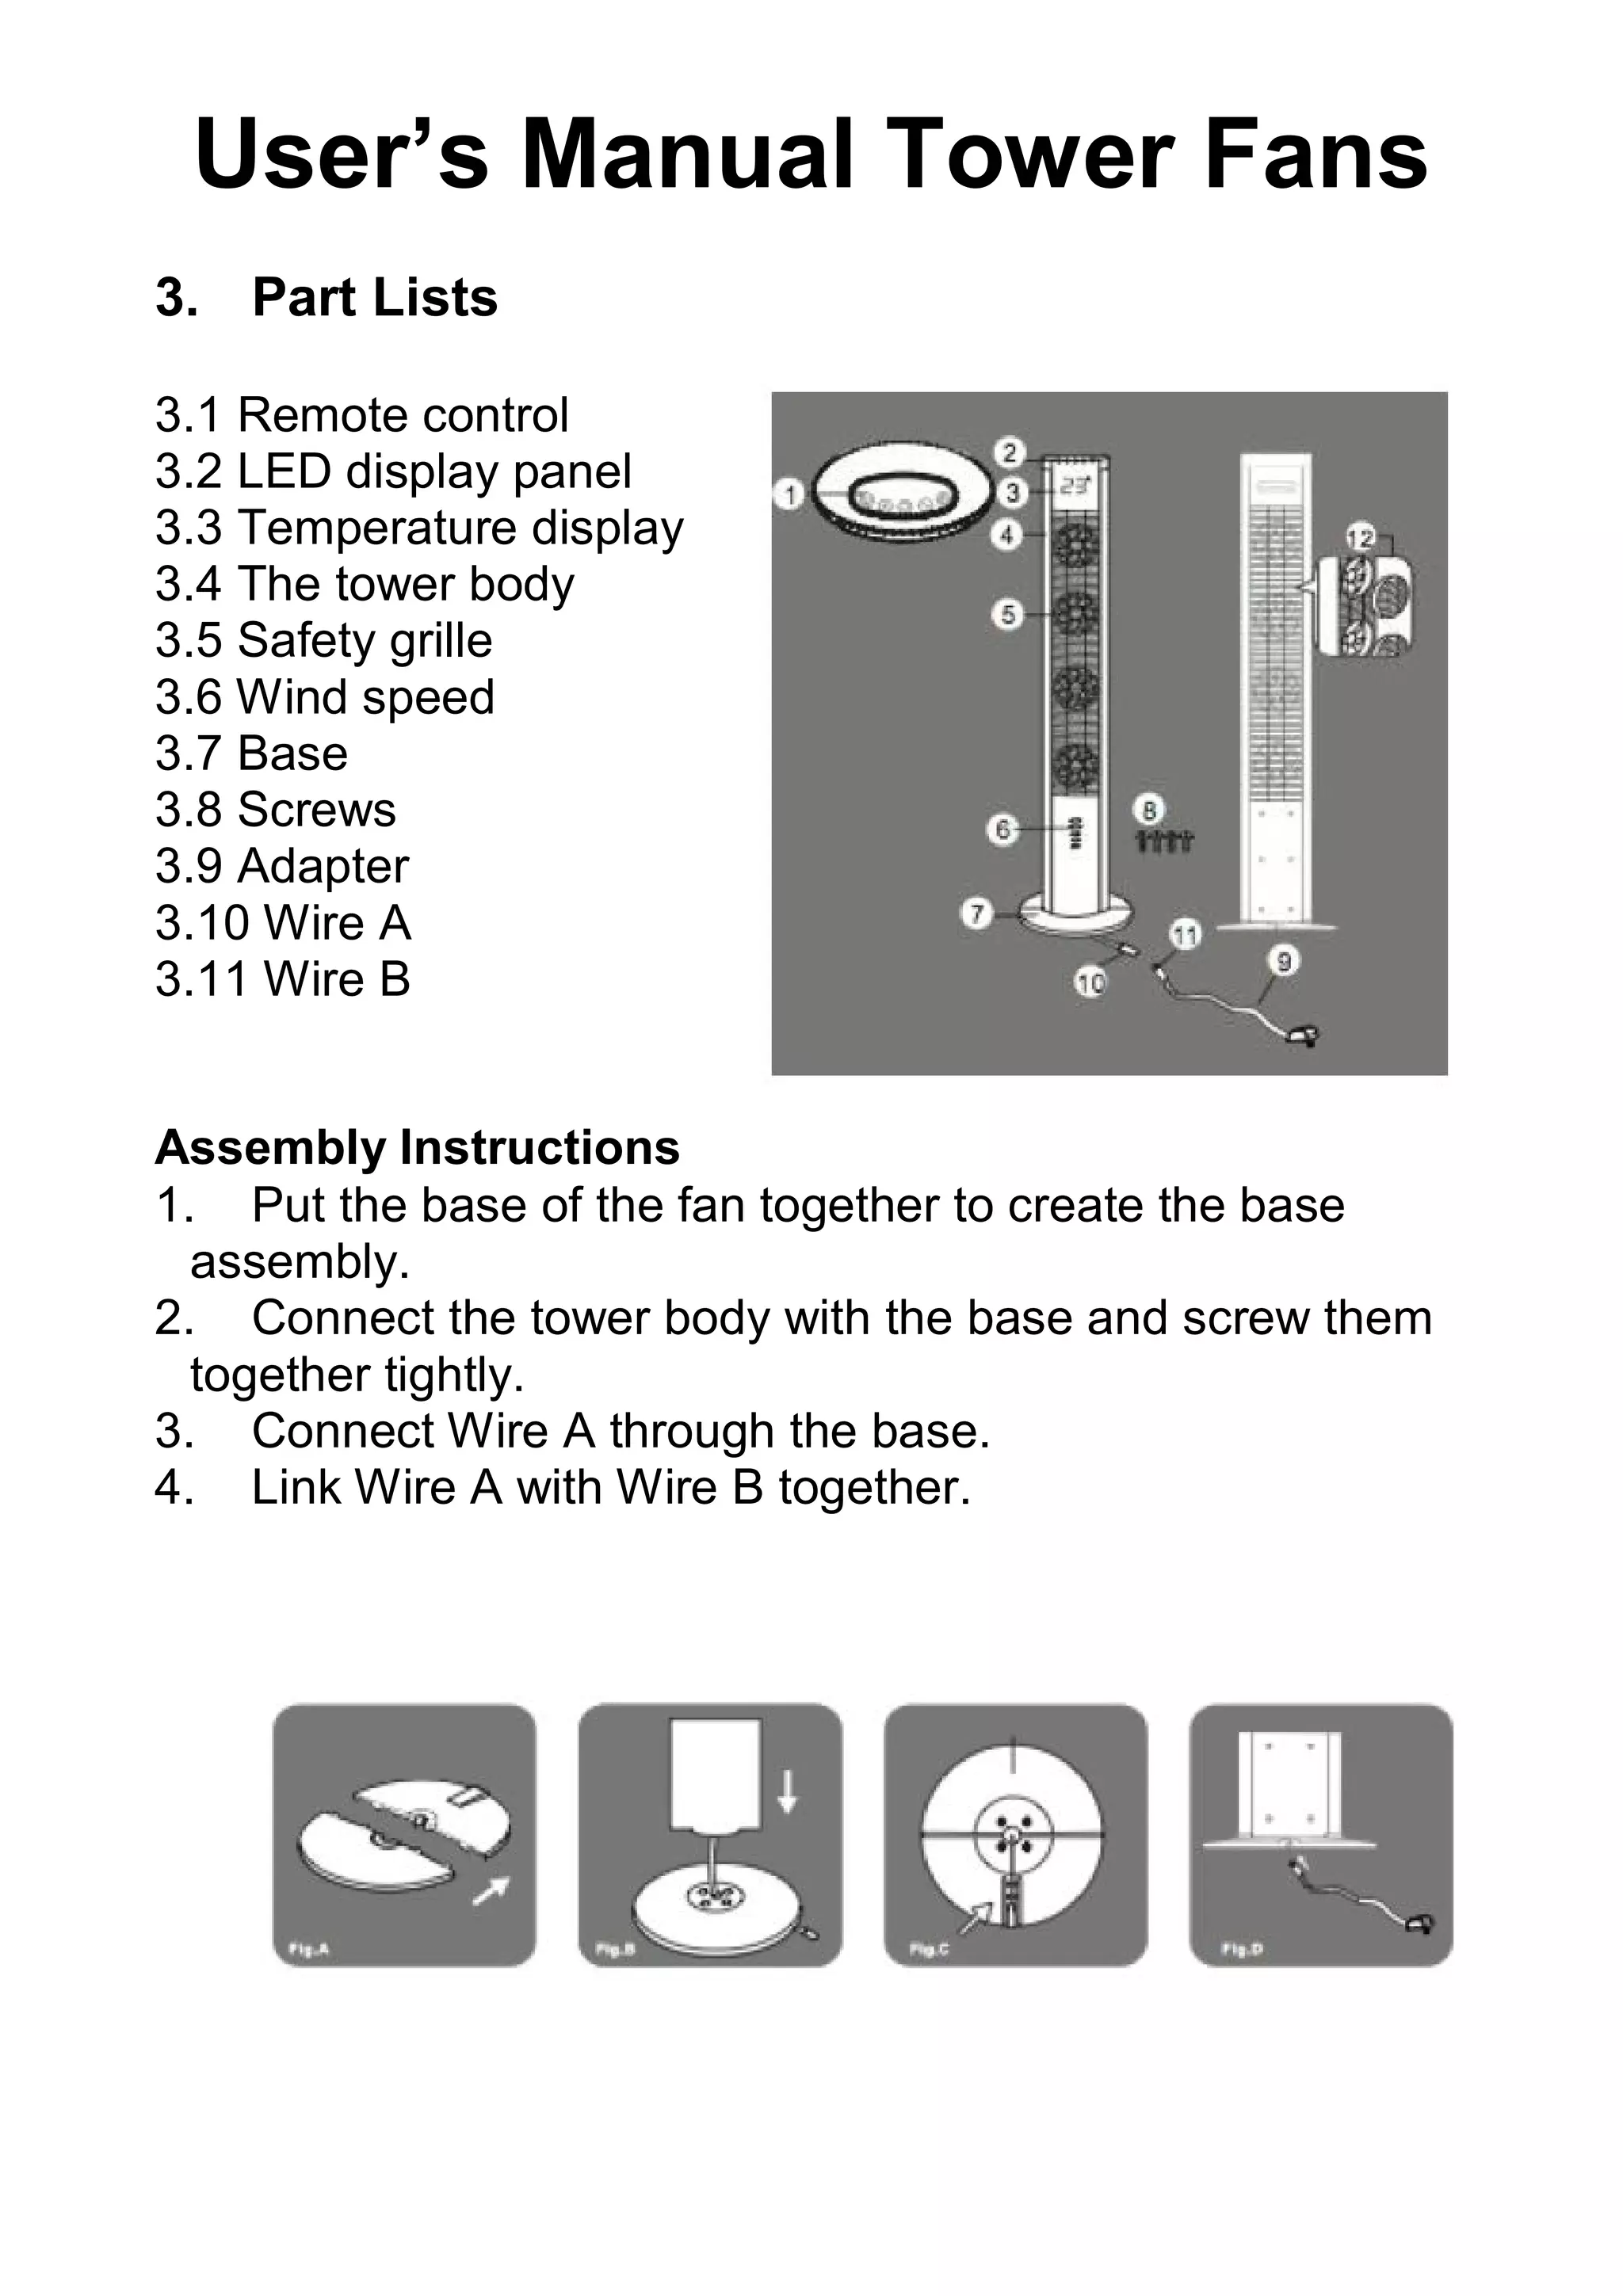
Assembling a tower fan is designed to be simple, safe, and tool-free. By following the click-confirm method, you ensure secure connections between all parts. Route the cord correctly through the base channels to prevent tripping hazards and tipping. Test all functions after assembly, including speed settings, oscillation, and timer features.
Always assemble on a hard, level surface and never operate a wobbly fan. If your model differs slightly, refer to the included manual, but for most Dreo-style fans, this guide covers every critical step. Now that it is up and running, enjoy the breeze.