How to Assemble Lasko Tower Fan
If your new Lasko tower fan arrived in pieces and you are wondering where to start, you are not alone. The good news is that most Lasko tower fans, including models like the T48310, are designed for quick tool-free or near-tool-free assembly in just a few minutes. This guide provides step-by-step instructions based on official Lasko specifications so you can set up your fan correctly the first time. You will learn how to connect the base, secure the column, attach the head, and get your fan running safely without any guesswork.
Verify All Components Before Starting
Taking a few minutes to check your parts first prevents frustration later. Missing or damaged components can derail the entire assembly process, so confirm everything is present before proceeding.
Lay Out Parts on a Flat Surface
Remove all contents from the box and place them on a clean, level area such as a table or hard floor. This gives you clear access to all pieces and prevents small parts from rolling away or getting lost in carpet fibers.
Check the Tower Fan Parts List
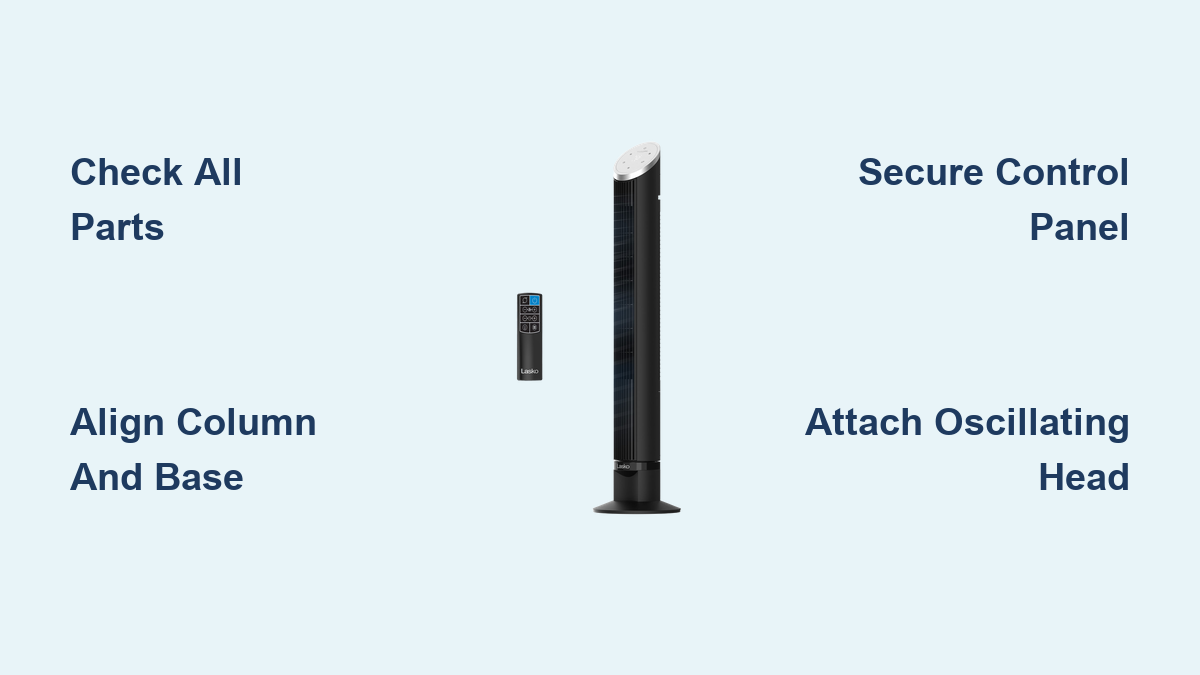
For the Lasko T48310 Oscillating Tower Fan, ensure these components are included in your box:
- Tower fan base (weighted bottom section)
- Vertical fan column (long upright shaft)
- Oscillating head assembly
- Control panel housing
- Screwdriver (often included with the fan)
Note: Unlike many pedestal fans that are completely tool-free, some tower models require a small Phillips-head screwdriver for securing the control panel or head. Check your specific model before starting.
Connect the Base and Fan Column

The foundation of your tower fan starts with a secure connection between the base and the vertical column. This connection provides stability during operation and must be properly engaged.
Align the Column With the Base Socket
Place the base on a stable, flat floor or surface. Hold the bottom of the fan column and align it with the central connector on the base. Look for the dimple or hole at the top of the base where the column will insert.
Slide the Column Into the Base
Push the column straight down into the base until you hear or feel a distinct click. This clicking sound indicates the internal locking mechanism has engaged properly. The fan should stand upright without wobbling once this connection is secure.
Secure With a Screw If Required
Some T48310 sub-models include an additional screw to further stabilize the column to base connection:
- Locate the screw hole near the base-column junction
- Insert the screw using the provided screwdriver
- Turn clockwise until hand-tight
- Do not overtighten, as this can strip plastic threads
Visual cue: If the fan leans or feels loose after connecting, disengage and reconnect until the snap is clearly felt.
Install the Control Panel Housing

The control panel enables speed selection and oscillation functions. Installing it correctly ensures full functionality and prevents button operation issues later.
Position the Panel on Top of the Column
Take the control panel housing and align it with the top opening of the fan column. Ensure that any buttons or touch controls face forward toward the front of the fan where they will be easily accessible during use.
Slide the Panel Into Place
Gently push the housing down onto the column until it sits flush against the top. Some models use internal tabs that snap into position automatically. If resistance is felt, check the alignment before applying more pressure.
Fasten With Screws
Use the included screws to secure the panel in place:
- Insert each screw into the designated hole
- Turn clockwise until tight
- Confirm the panel does not rotate or shift when touched
Pro tip: Misaligned panels can interfere with button operation. Double-check orientation before tightening screws, and avoid using excessive force that could crack the plastic housing.
Attach the Oscillating Head Assembly
The head houses the motor and airflow mechanism. Correct attachment ensures smooth oscillation and balanced operation without excessive vibration or noise.
Align the Head With the Mounting Slot
Hold the oscillating head and match its connector with the top of the fan column. Look for alignment marks or guides if your model includes them. The head should face outward with the grill facing the front.
Insert and Lock the Head
Slide the head straight down into place. Depending on your specific model:
- Some versions require a slight twist to lock the mechanism
- Others use a simple push-and-click design
Listen for a confirming click to ensure proper engagement.
Engage the Locking Mechanism
If your model includes a locking screw:
- Insert the screw through the side port
- Tighten clockwise with the screwdriver
- Test stability by gently moving the head side to side
Warning: Never operate the fan if the head feels loose or wobbly. Power off, unplug, and recheck all connections before use.
Final Setup and Power Test

After completing the mechanical assembly, verify everything is working properly before relying on the fan for cooling.
Confirm Stable Upright Position
Ensure the fan stands vertically without tipping. Place it on a hard, level surface and avoid rugs or uneven floors that could compromise stability. The weighted base should keep the fan grounded during operation.
Plug In and Power On
Insert the plug into a standard outlet. Press the power button, which is usually located on the control panel or top of the head assembly.
Test All Speed Settings
Cycle through all available speed levels:
- Low speed for gentle airflow
- Medium speed for balanced cooling
- High speed for maximum airflow
Listen for smooth motor transitions between settings. No grinding, clicking, or unusual noises should occur.
Activate Oscillation Function
Press the oscillation button or toggle the switch on the control panel:
- The fan head should move smoothly side to side
- The typical oscillation range is approximately 180 degrees for full room coverage
- To stop oscillation, disable it via the control panel
Expert note: If oscillation jams or halts mid-sweep, power off and recheck head alignment before further use.
Safety and Stability Checks
Even properly assembled fans can pose risks if not placed or maintained correctly. Regular checks ensure safe operation over time.
Inspect for Loose Parts
Before each use, quickly check these connection points:
- Base-column connection (push to confirm no movement)
- Head stability (gently wiggle to ensure tightness)
- Control panel integrity (verify no cracks or looseness)
Tighten any screws if needed to maintain secure connections.
Ensure Proper Clearance Around the Fan
Keep at least 12 inches of space around the front and back of the fan:
- This prevents airflow obstruction for optimal performance
- It reduces dust buildup on the fan and nearby surfaces
- It avoids contact with walls, furniture, or curtains that could pose fire hazards
Use the Fuse Safety Plug
All Lasko fans include a patented fuse safety plug designed to protect against electrical surges and prevent overheating. This safety feature should never be removed or bypassed.
Important: Do not use an extension cord unless it is specifically rated for continuous high-draw appliances like fans.
Common Assembly Mistakes to Avoid
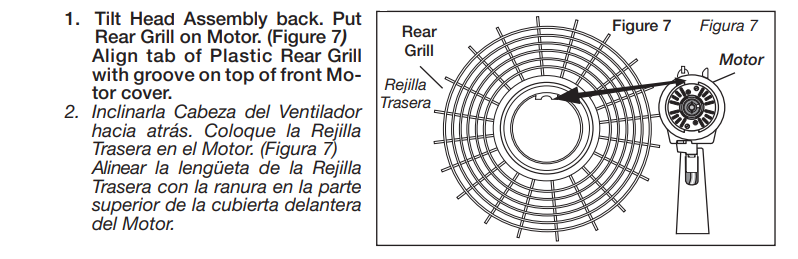
Learning what not to do helps ensure your assembly goes smoothly. Here are the most frequent errors users encounter.
Skipping the Click Confirmation
Failing to hear or feel the click when attaching the column to the base is the most common assembly error. Without this confirmation, the fan may tip during operation, creating a safety hazard.
Fix: Disassemble and reconnect firmly until the snap is clearly felt and heard.
Forcing the Control Panel
Applying excessive pressure when installing the control housing can crack the plastic casing, damaging the fan permanently.
Fix: Align gently and let the tabs guide it into place. No hammering or force is needed.
Overtightening Screws
Using too much force on plastic-threaded joints can strip the housing threads, making reassembly difficult or impossible.
Fix: Tighten just until resistance is firm. Use fingers first, then add only a light turn with the screwdriver.
Misaligning the Oscillation Head
Installing the head backward or at an angle can block airflow and cause excessive vibration during operation.
Fix: Recheck alignment marks and reseat if the fan shakes noticeably during the power test.
How to Disassemble for Cleaning or Storage
Lasko fans are designed for easy takedown when you need to clean them or store them away.
Power Off and Unplug
Always disconnect from power before beginning any disassembly. This is essential for your safety and prevents damage to the fan.
Remove the Oscillating Head
Grasp the head firmly and pull straight up to release it from the column. Some models require loosening a side screw first, so check your specific model if the head does not release easily.
Detach the Control Panel
Unscrew the securing screws and lift the housing straight up and off the column. Keep screws in a safe place for reassembly.
Separate the Column From the Base
Pull the column upward from the base. The internal lock will disengage smoothly when properly released.
Storage tip: Store all parts in the original box or in an upright position to prevent warping or damage.
Maintenance Tips for Long-Lasting Performance
Regular maintenance keeps your Lasko tower fan running efficiently and extends its useful life.
Wipe Down Monthly
Use a soft, damp cloth to clean these surfaces:
- Exterior housing
- Vents and air intake slots
- Base and control panel
Avoid harsh chemicals, abrasive sponges, or excessive moisture that could damage electrical components.
Dust Internal Vents Quarterly
Turn off and unplug the fan before cleaning. Use a dry microfiber cloth or soft brush to remove dust from:
- Front and rear grills
- Air intake slots
- Control panel edges and button crevices
Warning: Do not immerse any part of the fan in water or allow liquids to enter the housing.
Check Stability Annually
Inspect your fan for these potential issues:
- Cracks in the base or column housing
- Loose internal wiring (visible only if panel is removed)
- Worn or damaged power cord
If damage is found, contact Lasko customer support before using the fan again.
When to Contact Lasko Support
Some issues cannot be resolved through assembly adjustments alone. Reach out to Lasko if you experience:
- Fan does not power on after verified correct assembly
- Persistent wobbling or tipping despite secure connections
- Burning smell or unusual noise during operation
- Missing parts not included in your original box
Lasko offers expert customer service to troubleshoot assembly failures and provide replacement components when needed.
Key Takeaways for Assembling Your Lasko Tower Fan
Assembling a Lasko tower fan is designed to be fast and frustration-free when you follow the correct sequence. Start by verifying all components are present, then focus on creating secure connections between the base, column, control panel, and head. Always confirm the click-lock engagement at each step, and test oscillation before regular use. Avoid common mistakes like skipping the click confirmation, forcing connections, or overtightening screws, as these can cause damage or instability. With proper assembly, your Lasko tower fan will deliver quiet, powerful airflow for bedrooms, offices, or patios, even in temperatures reaching 100 degrees Fahrenheit.
Frequently Asked Questions About Assembling a Lasko Tower Fan
Do I need tools to assemble a Lasko tower fan?
Most Lasko tower fans require little to no tools. The T48310 and similar models often include a screwdriver for securing the control panel, but the base and column connections are typically click-lock designs that require no tools at all.
How long does it take to assemble a Lasko tower fan?
Most Lasko tower fans can be assembled in under five minutes when all components are present and you follow the step-by-step instructions. The process is designed to be quick and intuitive.
What should I do if the column does not click into the base?
If you do not hear a click when connecting the column to the base, the pieces may not be properly aligned. Disconnect and realign the column with the base socket, then push down firmly until the locking mechanism engages. Check for any obstructions or damage to the connection points.
Can I use my Lasko tower fan without the oscillation function?
Yes, the oscillation function is optional. You can use the fan at a fixed angle by simply not activating the oscillation button. However, oscillation helps distribute air more evenly across a room.
Why is my tower fan wobbling after assembly?
Wobbling usually indicates the column is not fully seated in the base or the click-lock has not engaged properly. Disassemble and reconnect, ensuring you feel the distinct snap that confirms secure attachment.
Is it normal for the fan to make noise during operation?
A properly assembled Lasko tower fan should operate quietly across all speed settings. If you hear grinding, clicking, or excessive vibration, power off immediately and check that all connections are secure and the head is properly aligned.