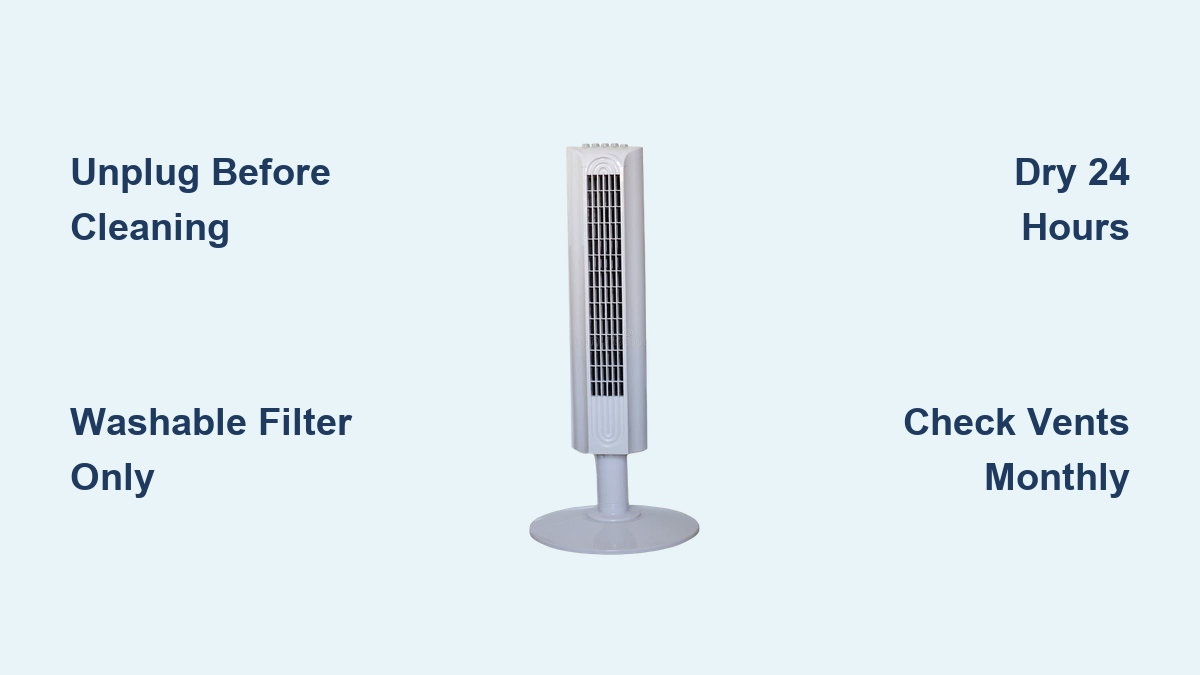
How to Clean Tower Fan Filter
If you’ve noticed your tower fan blowing weaker air, making more noise, or giving off a musty smell, it’s likely time to clean it, especially the filter. Dust, pet hair, pollen, and grime build up over time on the tower fan filter and internal components, reducing airflow, increasing energy use, and circulating allergens through your home. Left uncleaned, this can shorten your fan’s lifespan and worsen indoor air quality.
Cleaning your tower fan filter isn’t just about performance, it’s essential for health and efficiency. Whether your model has a washable filter or none at all, this guide walks you through every step from quick dusting to full disassembly, filter care, and brand-specific tips. You’ll learn how often to clean, what tools you need, and how to avoid common mistakes.
Clean Filter, Better Airflow

A clean tower fan filter traps dust and allergens instead of blowing them back into your room. When clogged, it restricts airflow, forces the motor to work harder, and reduces cooling efficiency. Regular cleaning restores strong, steady airflow and prevents strain on internal components.
Check Filter Monthly
Most tower fans with filters require inspection once a month. If you have pets or live in a dusty area, check every 2 to 3 weeks. Look for these signs:
- Gray or dark discoloration on the filter surface
- Visible dust clumps blocking airflow
- Reduced breeze despite high fan settings
If the filter looks dirty, it’s time to clean or replace it.
Wash or Replace Filter
Not all filters are created equal. Know your type before cleaning:
| Filter Type | Cleaning Method | Lifespan |
|---|---|---|
| Washable Pre-Filter | Rinse under tap water, shake dry, air dry 24 hours | Reusable |
| HEPA/Carbon Filter | Tap gently to remove dust; do not wash | 3 to 6 months |
| Foam Filter | Rinse with water; mild soap only if labeled | 6 months |
Never reinstall a damp filter. Moisture can lead to mold growth or electrical damage to the motor.
Essential Cleaning Tools
Before starting, gather the right supplies to clean safely and effectively. Using the correct tools prevents damage and ensures a thorough clean.
Gather These Supplies
- Two microfiber cloths (one dry, one damp)
- Vacuum with brush and hose attachment
- Compressed air canister
- Soft-bristle brush
- Phillips-head screwdriver
- Mild dish soap (only if recommended by manufacturer)
- Small container for screws
Prepare Your Workspace
- Unplug the fan completely from the wall outlet.
- Move to a well-ventilated area like a garage or near an open window.
- Let the fan cool down if it was recently running.
- Place on a stable surface to avoid tipping during cleaning.
Dust released during cleaning is significant, so cleaning outdoors is ideal when possible.
Quick Exterior Dusting Steps
Even if your model cannot be opened, surface cleaning improves performance and airflow. Focus on the vents where dust accumulates fastest.
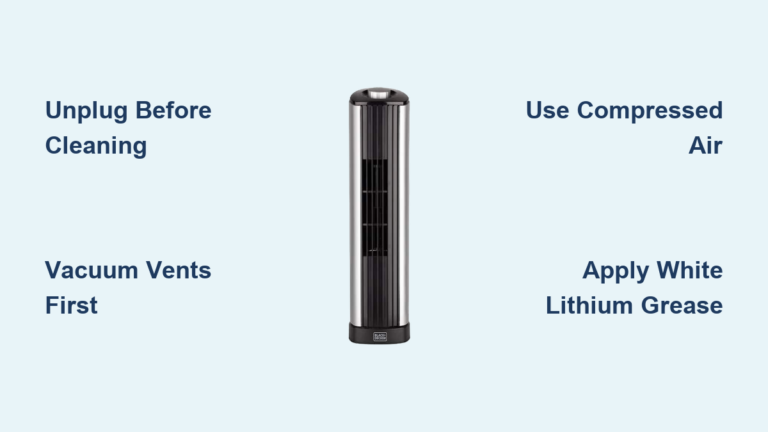
Vacuum Vents Thoroughly
Use the vacuum’s narrow nozzle or brush attachment. Start at the top of the fan and move slowly down both front exhaust and back intake grilles. Hold the nozzle close to pull dust out rather than pushing it deeper into the unit. Focus on vertical slits where dust accumulates fastest.
Blast With Compressed Air
For tight spaces where the vacuum cannot reach, hold compressed air upright and use short bursts into vent openings. Do this outside to avoid spreading dust indoors. This dislodges hidden debris that vacuuming misses.
Wipe Down Exterior Casing
Dampen a microfiber cloth with water, not soaking wet. Wipe the outer body, base, and control panel. Avoid getting moisture near buttons or power ports. For greasy residue, add one drop of mild detergent to the cloth.
Never spray water directly on the fan. Water near electronics can cause shorts or permanent damage.
Deep Clean Internal Blades
Some models allow access to internal blades for a full deep clean. This applies to DREO, Nomad One, and similar models that feature removable back panels.
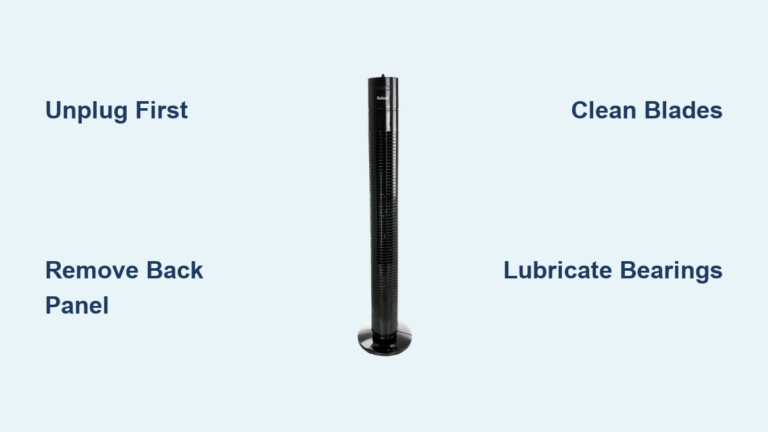
Remove Rear Grille Safely
- Locate Phillips-head screws on the back panel of the fan.
- Remove screws and store in a small container to prevent loss.
- Gently detach the rear grille. Some models use clips instead of screws.
Do not force the panel open. Honeywell and many budget models are not meant to be opened, and forcing it breaks plastic clips.
Clean Impeller and Housing
Once open, use a dry microfiber cloth to wipe each blade. For stuck dust, use a soft brush or short air duster bursts. Wipe interior housing walls to remove dust buildup. Avoid touching wires or the motor shaft during cleaning.
Pro Tip: Clean blades monthly in pet homes because dander builds up fast on internal components.
Filter Access and Removal

Not all tower fans have filters, but if yours does, locate it correctly before cleaning. The filter is typically found on the back intake grille.
Find the Filter Compartment
Check the back intake grille where most filters sit. Refer to your manual if unsure. Common locations include behind the rear panel after screw removal, slotted into side or bottom intake, or under removable front grill on some Honeywell models.
Remove Without Damage
Gently slide or unclip the filter from its housing. Do not yank or twist forcefully. Note the orientation for reinstallation. If the filter is stuck, check for hidden latches or clips before pulling.
Dry Filter Completely Before Reinstall
This step is critical because moisture kills motors and causes mold growth inside the fan.
Air Dry for 24 Hours
After rinsing, shake off excess water and place the filter on a clean towel in a warm, dry area. Let it dry fully with no damp spots remaining. Check that the filter is 100% dry before reinstalling.
Never use a hairdryer on heat setting. High temperatures melt foam or warp plastic components. Use a cool air setting only if you need to speed up drying.
Replace Non-Washable Filters
Carbon or HEPA filters usually cannot be washed. Instead, tap them lightly outdoors to remove loose dust. Replace every 3 to 6 months, or sooner if the filter appears dark gray. Ignoring replacement reduces air purification effectiveness significantly.
Reassemble and Test Fan

After cleaning, reassembly must be precise to ensure proper operation and prevent noise or vibration.
Reattach Back Panel Securely
- Align the rear grille properly with the fan body.
- Reinsert all screws or snap clips into place firmly.
- Ensure no gaps or misalignment to prevent vibration during operation.
Loose panels cause noise and imbalance during use.
Power On Safely
- Confirm all parts are 100% dry before plugging in.
- Turn on at the lowest speed setting first.
- Listen for rattling, grinding, or weak airflow.
If issues persist, repeat vacuuming or inspect inside again for remaining debris.
Brand-Specific Cleaning Tips
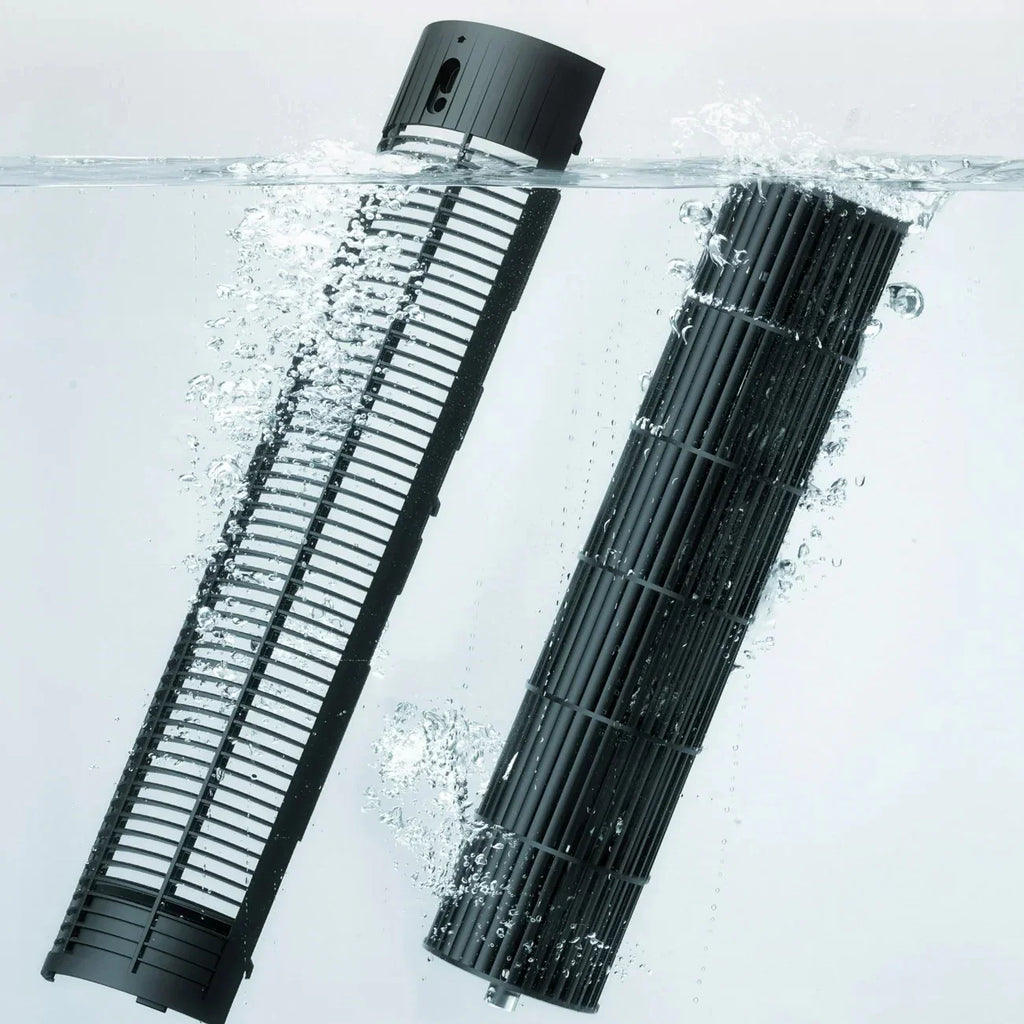
Different brands have unique designs, so clean accordingly to avoid damage.
DREO Models
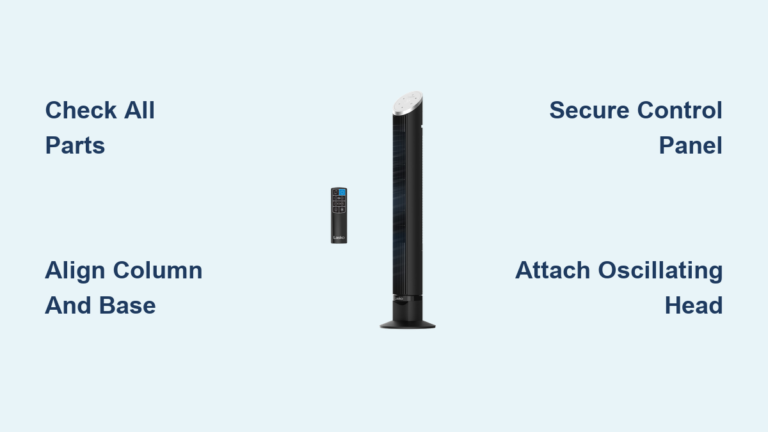
DREO fans like Pilot Max, Nomad One, and Cruiser Pro T2 are designed for easy cleaning with removable rear grilles secured by screws. Open every 3 months, wipe blades, housing, and filter, then reassemble tightly to prevent wobble.
Honeywell Tower Fans
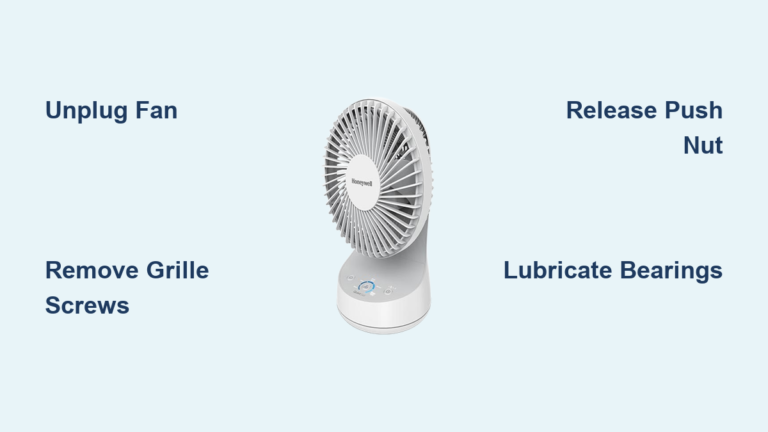
Most Honeywell models should not be disassembled. Forcing open breaks plastic clips and voids warranty. Safe cleaning method includes vacuuming both sides thoroughly, using compressed air through vents, and removing front grill if clip-based to clean surface dust. Check manual before attempting removal.
Levoit Fans With Filters
Levoit fans often include pre-filter plus HEPA or carbon combo filtration. Clean pre-filter monthly and replace main filter every 6 months. Dust intake vents weekly in pet households. These function like air purifiers, so cleaning is crucial for air quality.
Troubleshoot Common Post-Clean Issues
Even after cleaning, problems can occur. Here is how to fix them.
Musty Smell After Cleaning
Cause: Lingering moisture or old dust in housing. Fix: Run fan near open window for 15 minutes. Wipe interior again and let dry longer before next use.
Weak Airflow Persists
Check whether filter is still damp or clogged, vents are fully cleared, or blades are balanced after cleaning. Re-vacuum intake and exhaust slits if needed.
Fan Makes Noise
Possible reasons include loose screw, bent blade, or dust imbalance on impeller. Turn off and recheck assembly. Clean blades evenly to restore balance.
Cleaning Frequency by Use Case
How often you clean depends on your environment and usage patterns.
| Task | Standard Home | Pet Owner or Dusty Area |
|---|---|---|
| Wipe exterior | Every 4 weeks | Every 2 weeks |
| Vacuum vents | Monthly | Every 2 to 3 weeks |
| Check filter | Monthly | Monthly |
| Deep clean | Every 3 months | Monthly |
| Replace HEPA or carbon filter | Every 6 months | Every 3 to 4 months |
Set phone or calendar reminders to stay consistent with maintenance.
Safety Rules You Must Follow
Avoid injury and appliance damage with these non-negotiable rules.
Never Clean While Plugged In
Always unplug before any contact with the fan. Electrical shock risk is real, even at low voltage.
No Water Near Motor or Base
Submerging the base or getting liquid into the motor housing can destroy the fan permanently. Use only a damp cloth for exterior wiping.
Do Not Force Parts Open
If a panel will not come off easily, your model likely does not support disassembly. Stick to external cleaning only.
Avoid Harsh Chemicals
Bleach, ammonia, or strong cleaners can crack plastic or release fumes. Use only mild soap when necessary.
Extend Fan Lifespan With Smart Habits
Keep your tower fan running like new for years with proper maintenance habits.
Schedule Seasonal Deep Cleans
Before summer starts and after storage, perform a full clean, dry completely, and store in a dust-proof bag or box. This prevents off-season buildup and keeps internal components clean.
Keep Intake Clear
Place fan at least 6 inches from walls or curtains. Blocked airflow causes overheating and puts strain on the motor.
Clean Filters First, Then Vents
Always remove and clean the filter before vacuuming vents. This prevents pushing more dirt deeper into the system.
Frequently Asked Questions About Cleaning Tower Fan Filters
How often should I clean my tower fan filter?
Clean washable filters monthly and replace non-washable HEPA or carbon filters every 3 to 6 months. In homes with pets or high dust, increase frequency to every 2 to 3 weeks.
Can I wash all types of tower fan filters?
No. Washable pre-filters and foam filters can be rinsed under water, but HEPA and carbon filters should never be washed. Tap them gently to remove dust or replace them entirely.
Why does my fan still smell musty after cleaning?
Lingering moisture or old dust trapped inside the housing causes musty smells. Run the fan near an open window for 15 minutes, wipe the interior again, and ensure everything is completely dry before next use.
Can I use a hairdryer to dry the filter faster?
Only use a cool air setting. Heat melts foam filters and warps plastic components. Air drying for 24 hours is the safest method.
What happens if I do not clean my tower fan filter?
A clogged filter restricts airflow, forces the motor to work harder, increases energy consumption, and circulates allergens and dust back into your room. It also shortens the fan’s lifespan.
Key Takeaways for Maintaining Your Tower Fan Filter
Cleaning your tower fan filter and vents is not complicated, but it is vital for performance and health. A clean filter restores strong airflow, reduces strain on the motor, and prevents allergens from circulating in your home. Always unplug before cleaning, never use water near the motor, and ensure all components are completely dry before reassembly.
Different brands require different approaches. DREO models allow full disassembly, while Honeywell models should only be cleaned externally. Levoit fans need regular filter maintenance since they function like air purifiers. Use this guide to clean safely, restore performance, and extend your fan’s life. Just 20 minutes every month keeps airflow strong, air quality high, and your fan quiet and efficient. Make filter cleaning a habit, and both your lungs and your electricity bill will thank you.