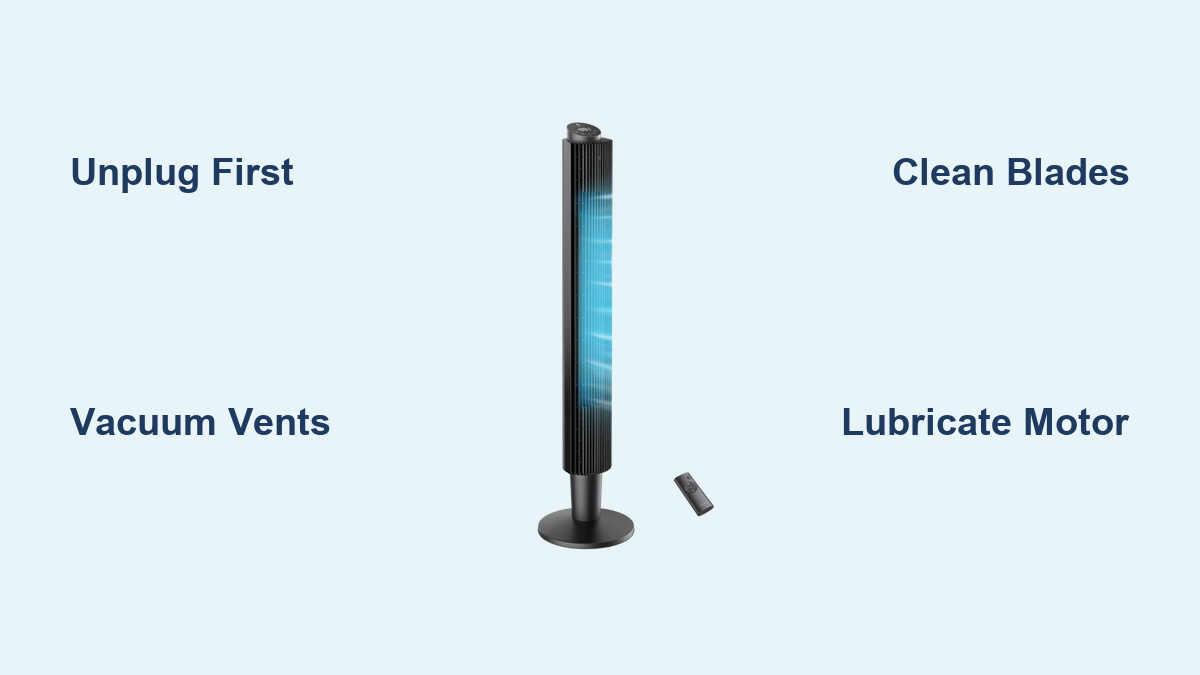
How to Clean TaoTronics Tower Fan
Is your Taotronics tower fan running louder than usual or pushing less air? Dust buildup is likely the culprit. Over time, dust clogs the vents, coats the blades, and dries out motor bearings, leading to reduced airflow, annoying squeaks, and even premature wear. The good news: cleaning your Taotronics tower fan is a quick, cost-effective fix you can do at home with basic tools.
Whether you need a simple surface clean or a deep internal refresh, this guide walks you through every step safely and efficiently. You will learn how to clean without damaging internal components, when to disassemble for a deeper clean, and how to lubricate the motor to eliminate noise.
Safety First: Unplug and Prepare
Before touching any part of your Taotronics tower fan, safety must come first. Electrical appliances like tower fans can pose shock risks if handled improperly during cleaning.
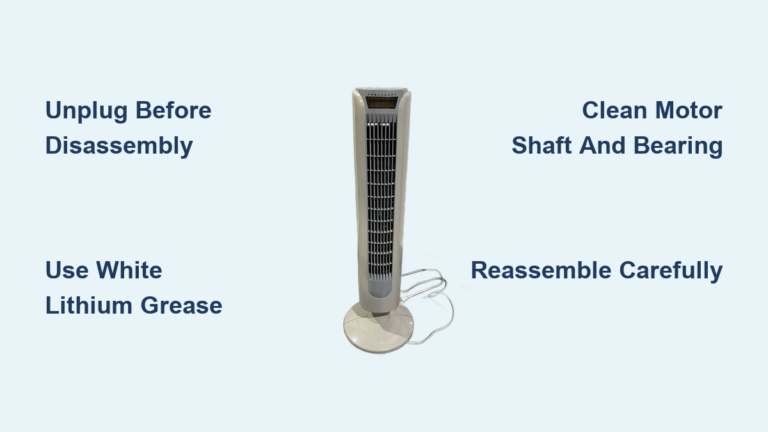
Always unplug the fan immediately. Never attempt to clean or inspect internal parts while the unit is connected to power. Even a small amount of moisture or accidental contact with live components can lead to injury.
Avoid water and liquid cleaners. Do not spray any liquids directly on or inside the fan. Water can seep into the motor housing, damage circuitry, or create a fire hazard. Similarly, never immerse the fan in water.
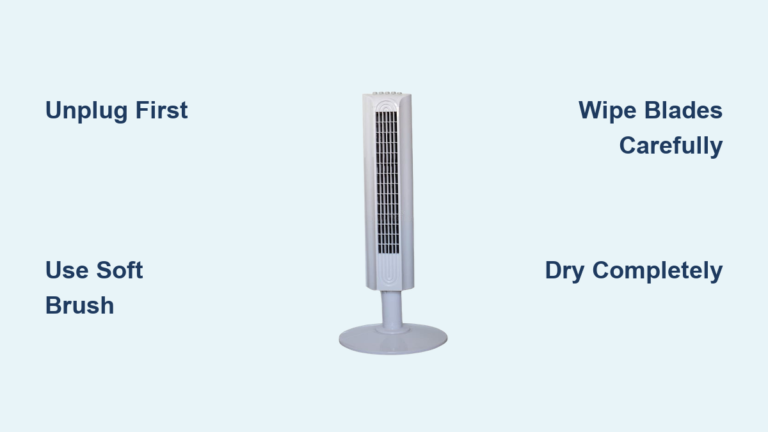
Use only soft, dry tools for cleaning. A microfiber cloth, soft brush, or vacuum with a brush attachment are ideal. Stay away from abrasive pads or harsh chemicals that could scratch plastic or degrade internal parts.
If you plan to open the unit, work on a clean, flat surface and keep screws organized. Label them if needed to avoid confusion during reassembly.
Gather Your Cleaning Tools
Having the right tools ready ensures a smooth, efficient cleaning process, especially if you are doing a deep clean that requires disassembly.
Essential Tools
You will need these items for the cleaning process.
A medium-sized Phillips screwdriver removes base or panel screws. A flathead screwdriver or prying tool gently releases plastic clips without cracking them. A vacuum with soft brush attachment removes dust from vents and blades safely. Compressed air in canned form or from a compressor blasts out stubborn dust from tight spaces. Microfiber cloths wipe exteriors and apply lubricant. A soft-bristled brush such as a paintbrush or pipe cleaner works well for grill slats.
Tools for Noisy Fans
If your fan squeaks or makes whining noises, you will need lubrication supplies.
White lithium grease is the best option for long-lasting motor lubrication. WD-40 can be used as an alternative but only sparingly, as it evaporates quickly and may require more frequent reapplication. A small applicator or rag controls grease application and prevents mess.
Surface Cleaning: Quick Dust Removal
Use this method for regular maintenance every three to six months, or when airflow feels slightly restricted but the fan runs quietly.
Step-by-Step Surface Clean
Follow these steps for a non-invasive cleaning that does not require opening the unit.
Unplug the fan and move it to a well-ventilated area. Vacuum front and back vents using the soft brush attachment. Move slowly across each vent, letting the suction pull out trapped dust. Focus on both intake vents on the back and output vents on the front.
Use compressed air to dislodge stuck particles. Hold the can upright and spray in short bursts across the vent openings. Work top to bottom to push dust out fully. Pro tip: do this outdoors or near an open window, as dust will blow out forcefully.
Run the fan on high outside or facing a window for two to three minutes after plugging it back in. This expels any remaining loose debris. Wipe down the exterior with a dry microfiber cloth. Avoid damp cloths unless necessary, and never let moisture drip into vents.
Deep Cleaning: Disassemble the Fan

If your fan is loud, weak, or has not been cleaned in over a year, a full disassembly is needed to access the blades and motor.
Remove the Back Panel or Base
Most TaoTronics models secure the housing with screws and plastic clips. Follow this procedure carefully to avoid breaking clips.
Locate all screws on the back or base. Flip the fan upside down, as some models have three to four screws under rubber feet or plastic caps. Gently pry off caps with a flathead screwdriver to reveal hidden screws.
Remove every screw and keep them in a small container. Note differences in length or size, as they may not be interchangeable.
Separate the panels by inserting a flathead tool into the side seam. Apply gentle pressure until you hear a click, which releases the internal clips. Slide the panel upward once the sides are free, as many units have top-mounted clips that fit into slots. Forcing the panel without sliding can break the clips.
Now the motor, blade column, and internal wiring are exposed and ready for cleaning.
Clean Internal Blades and Housing
With the casing open, target the main dust traps: the fan blades and motor area.
Clean the Blade Column
The blade assembly is usually a tall, black cylindrical unit. Vacuum all surfaces while rotating the column by hand. Use the brush attachment to scrub between fins.
For stubborn dust, spray compressed air directly onto blades, then vacuum immediately. If no vacuum is available, wipe with a microfiber cloth or soft brush, and do this outside to avoid making a mess indoors.
Clear Motor and Cage
Wipe the motor housing with a dry cloth. Remove any dust bunnies near air intakes. If the fan cage is held by clips, gently unclip and lift it off for better access. Avoid touching electrical wires or connectors unless troubleshooting.
This deep clean restores airflow and prepares the motor for lubrication if needed.
Fix Squeaks: Lubricate the Motor
Squeaking or whining, especially on low speed, means the motor bearings are dry. Lubrication stops noise and prevents wear.
Locate the Bearings
Find the motor shaft where it enters the housing at the top and bottom of the blade column. Bearings appear as small metal rings where the shaft meets the plastic casing.
Apply Lubricant
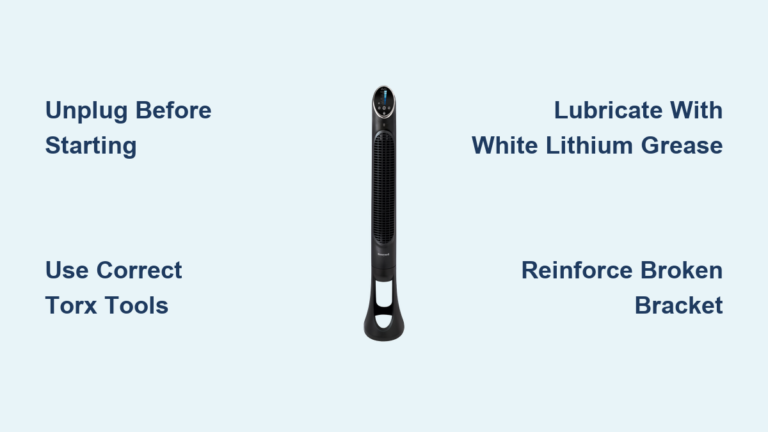
Wipe away old residue with a clean cloth before applying new lubricant. Use white lithium grease and apply a pea-sized amount to each end of the shaft and where it enters the housing. Do not spray or drip grease near electrical windings.
If using WD-40 as an alternative, spray one to two short bursts per bearing. This is not ideal for long-term use but works temporarily if white lithium grease is unavailable.
Work in the Lubricant
Gently move the shaft up and down by hand to distribute the grease. Rotate the blade column several times to spread the lubricant inside the bearings.
Note that the oscillation mechanism is pre-lubricated. Only service it if it is stiff or noisy.
Reassemble the Fan Carefully
Reassembly requires patience, as misaligned clips or loose screws cause rattling or damage.
Step-by-Step Reassembly
Replace the cage if removed, snapping it securely over the blade column. Align the back panel so top clips fit into their slots. Slide the panel down slightly to lock the clips, then press the sides until they click.
Reinsert all screws and tighten gently. Over-tightening strips plastic threads. Route the power cord through any internal guide and secure it with a tie if needed. Replace caps over hidden screw holes.
Ensure the housing fits flush. Any gaps or rattles mean the clips are not fully engaged.
Test Fan Performance After Cleaning

Always test the fan after reassembly to confirm the cleaning was successful.
Power-Up and Evaluation
Plug in the fan and turn it on. Listen carefully across all speed settings. No squeaks, grinding, or whining indicate success. Persistent noise means you may need to add a tiny bit more lubricant.
Check for vibration, as excessive shaking may indicate loose screws or misaligned parts. If the motor does not spin right away, gently nudge the blades with your finger, then pull away quickly.
Run on high for two to three minutes facing a window to blow out any residual dust. If the fan runs smoothly and quietly, the cleaning was a success.
Prevent Future Issues: Maintenance Tips
Keep your Taotronics tower fan running efficiently with simple maintenance habits.
Cleaning Schedule
Perform surface cleaning every six months using vacuum and compressed air. Perform deep cleaning with lubrication every twelve to twenty-four months. Clean more often if you have pets, carpets, or high dust levels in your home.
Storage Best Practices
Clean the fan before storing, as dust hardens over time and becomes harder to remove. Cover the fan with a cloth or box to prevent dust buildup. Store in a dry place, as moisture damages motors and electronics. Coil the cord loosely around built-in wraps and avoid tight bends that stress wires.
When to Replace, Not Repair
Tower fans are not designed for motor or capacitor replacement. If the motor smells burnt, it will not start even after cleaning and nudging, or there is visible damage to wiring, it is safer and more cost-effective to replace the unit.
Troubleshoot Common Fan Problems
Use this quick-reference guide to identify and fix common issues.
Fan Makes Squeaking Noise
The cause is dry motor bearings. The fix is to disassemble and apply white lithium grease to shaft ends.
Airflow Feels Weak
The cause is dust-clogged vents or blades. The fix is to vacuum and blow out vents and deep clean blades if needed.
Fan Won t Turn On
The cause is a power issue or seized motor. The fix is to check the outlet, plug, and cord, and try nudging the blades. If still dead, the motor may be burnt out.
Rattling Sound During Operation
The cause is a loose panel or unseated clips. The fix is to reopen the unit, ensure all clips are clicked, and screws are tight.
Intermittent Power
The cause is a loose internal wire connection. The fix is to open the base, check the cord connection to terminals, and re-secure if loose.
Most issues are resolved with cleaning or reassembly, with no need for costly repairs.
Frequently Asked Questions About Cleaning Taotronics Tower Fans
How often should I clean my Taotronics tower fan?
For standard usage, perform surface cleaning every six months and deep cleaning with lubrication every twelve to twenty-four months. If you have pets, heavy carpeting, or live in a dusty environment, increase this frequency to every six to twelve months.
Can I use water to clean the inside of my tower fan?
No, never use water or liquid cleaners inside the fan. Water can seep into the motor housing, damage circuitry, or create a fire hazard. Always use dry methods like vacuuming, compressed air, and dry cloths.
Why does my fan squeak after cleaning?
Squeaking indicates dry motor bearings. If you skipped the lubrication step or did not apply enough lubricant, the bearings remain dry. Disassemble the fan and apply white lithium grease to the motor shaft ends.
Can I use WD-40 instead of white lithium grease?
WD-40 can be used temporarily if white lithium grease is unavailable, but it is not ideal for long-term use. It evaporates quickly and can attract dust, potentially worsening noise issues over time. White lithium grease is the recommended lubricant for lasting results.
Will disassembling my fan void the warranty?
Yes, disassembling the unit may void the manufacturer’s warranty. Check your specific warranty terms before removing screws hidden under caps or breaking seals. If the fan is under warranty, contact the manufacturer for authorized service.
What should I do if my fan still does not work after cleaning?
First, check that the outlet and cord are working properly. Try manually nudging the blades to help the motor start. If the fan still does not run, smells burnt, or shows visible damage to wiring, the motor may be burnt out. In this case, replacement is more cost-effective than repair.
Key Takeaways for Cleaning Your Taotronics Tower Fan

Regular cleaning keeps your Taotronics tower fan quiet, powerful, and long-lasting. A twenty-minute maintenance session every year prevents noise, boosts airflow, and improves indoor air quality.
Always unplug the fan before cleaning and use only dry methods like vacuuming and compressed air. Avoid water and harsh chemicals that could damage internal components. For squeaking fans, apply white lithium grease to the motor bearings after disassembly.
Stick to safe, dry methods, lubricate with white lithium grease for squeaks, and avoid disassembly if the fan is under warranty. With this guide, you are fully equipped to keep your fan spinning smoothly for seasons to come.