How to Make a Portable Fan: Quick Steps
You are sweating through a heatwave, your power is out, or you are on a summer hike with no breeze. Having a personal cooling solution can be a game-changer. Instead of buying an expensive portable fan, why not build your own? With just a few affordable components and basic tools, you can create a compact, lightweight fan that fits in your bag or clips to your desk. This guide walks you through how to make a portable fan from scratch, using simple electronics and easy assembly steps.
Whether you are a hobbyist, student, or DIY enthusiast, this project is beginner-friendly, customizable, and perfect for beating the heat anywhere. We will show you how to assemble a working mini fan in under an hour, using a small DC motor, battery pack, and fan blades. You will learn how to wire the circuit safely, secure the motor, and optimize airflow, all while keeping it truly portable.
Choose the Right Components for Your DIY Fan

Before you start assembling, selecting compatible parts ensures your fan runs efficiently and safely. Using mismatched voltages or flimsy materials can lead to poor performance or even damage. Take time to match each component carefully to your power source and intended use.
Pick a Suitable DC Motor
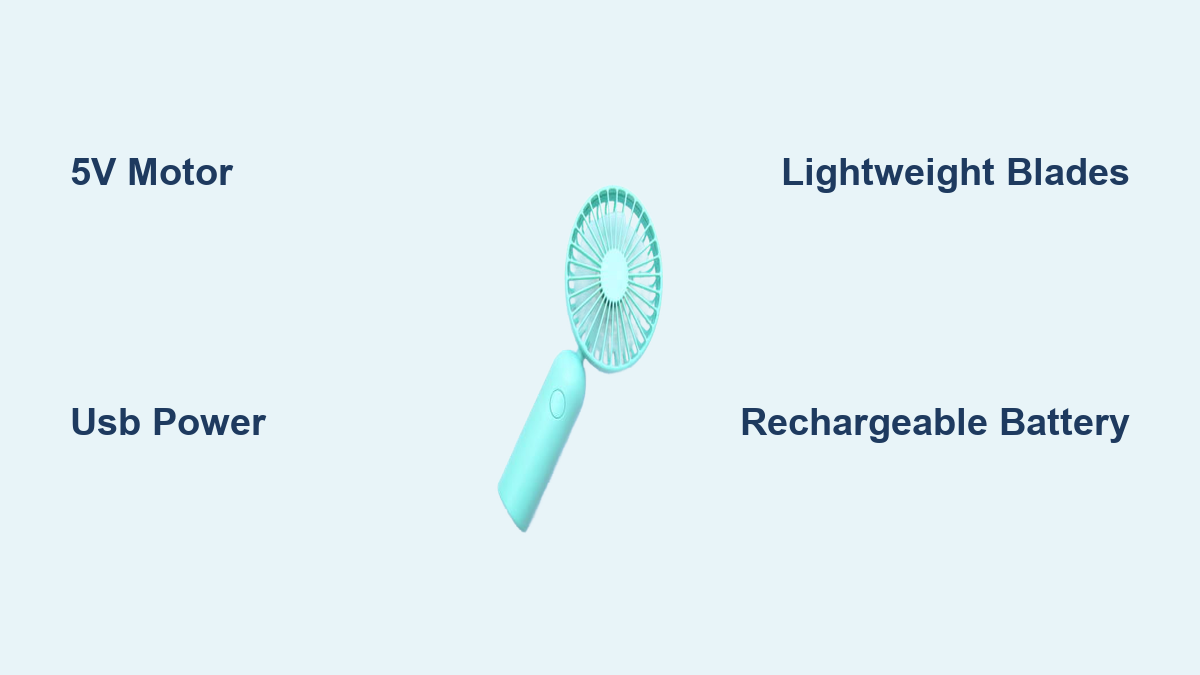
Use a 5V to 12V DC motor depending on your power source. A 5V motor works perfectly with USB power banks, making it ideal for true portability. Higher voltage motors (9V to 12V) offer more speed but require larger battery packs. Check the motor RPM rating. Motors rated at 6,000 to 10,000 RPM deliver strong airflow without excessive noise.
Select Efficient Fan Blades
Opt for 3 to 4 lightweight plastic blades to reduce strain on the motor. Symmetry is key. Uneven blades cause wobbling and reduce airflow significantly. Pre-made mini blades are available online, or you can 3D print custom designs. Avoid heavy or oversized blades that could stall the motor.
Decide on Power Source
For maximum portability, use a 3.7V Li-ion battery or a 4xAA battery holder (6V). Li-ion batteries are rechargeable and compact, while AA holders are reliable and easy to replace. If using USB power, choose a 5V output and ensure motor compatibility. Never exceed the motor rated voltage.
Build the Fan Housing

The housing protects the motor, directs airflow, and gives your fan a clean, professional look. A well-designed housing also makes it easier to hold or mount your creation. You can 3D print a custom shell or build one by hand using plastic, cardboard, or recycled materials.
Design a Compact Enclosure
Create a housing with a front opening for airflow and a secure compartment for the motor. The back should allow space for the battery pack or USB port. If 3D printing, design slots for wire routing and switch placement. For handmade versions, use stiff plastic from containers or craft foam.
Mount the Motor Securely
Place the motor deep enough so blades do not touch the housing. Use hot glue or small screws to fix it in place. Ensure the shaft extends freely through the front. Misalignment causes vibration, so double-check that the motor is centered and straight before securing.
Wire the Electrical Circuit
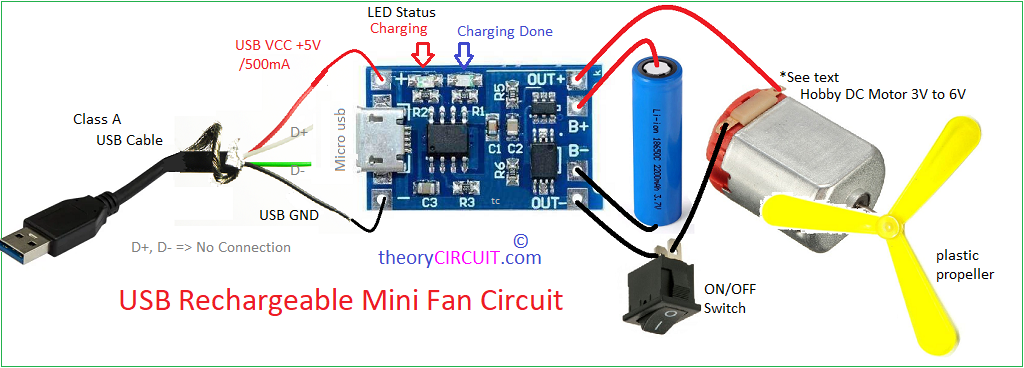
A simple circuit powers your fan: battery to switch to motor. Wiring it correctly ensures safety, control, and reliability. This step is crucial. Mistakes can lead to short circuits or overheating components.
Connect Motor to Battery
Cut two pieces of wire (6 to 8 inches) and strip both ends. Solder or twist one wire from the battery pack positive terminal to the switch input. Run another wire from the switch output to the motor positive lead. Then connect the battery negative terminal directly to the motor negative lead.
Pro Tip: Use color-coded wires. Red for positive and black for negative. This avoids confusion and makes troubleshooting much easier later.
Install the On/Off Switch
Mount the switch on the side or top of the housing for easy access. Drill a small hole to fit the switch base, then secure it with glue or nuts. This lets you turn the fan on and off without unplugging the battery, which is essential for real-world use.
Secure the Battery Pack
Your fan is not portable unless the power source stays firmly in place. How you attach the battery pack affects balance, weight distribution, and overall usability.
Attach Pack to Housing Back
Use hot glue or Velcro strips to fix the battery pack to the rear of the housing. For AA holders, align it flat so it does not tilt the fan forward. If using a Li-ion battery, add a clip or pocket for quick removal and charging.
Prevent Wire Strain
Tape or glue wires along the housing to stop them from pulling loose. Leave a little slack near connections to avoid tension. Exposed wires near moving blades are dangerous. Keep them fully secured and insulated at all times.
Assemble and Test the Fan
Now that everything is wired and mounted, it is time to see if your fan works. Testing early helps catch issues before finalizing the build and sealing everything up.
Spin the Blades Manually First
Before powering on, gently spin the blades by hand. They should rotate smoothly without hitting the housing. If there is resistance, check motor alignment and blade balance carefully.
Power On and Check Performance
Insert batteries or connect USB power. Flip the switch. The blades should spin quickly and quietly. Hold your hand in front of the fan. Feel for consistent airflow. If the motor hums but does not spin, check polarity and all connections.
Troubleshooting Tip: If the fan stalls, the blades may be too heavy or the voltage too low. Try a lighter blade set or use a higher-capacity battery.
Optimize for Portability
A truly portable fan should be lightweight, durable, and easy to carry anywhere. Small tweaks can make a big difference in daily use and convenience.
Add a Handle or Clip
Glue a small loop, keychain ring, or mini clamp to the back. This lets you hang the fan on a backpack, bike, or desk edge. For clip-on designs, use a plastic binder clip or 3D print a mounting arm.
Reduce Weight Where Possible
Use lightweight materials like foam board or thin ABS plastic. Avoid over-gluing. Excess adhesive adds unnecessary bulk. Every gram counts when carrying your fan all day.
Upgrade to USB Rechargeable
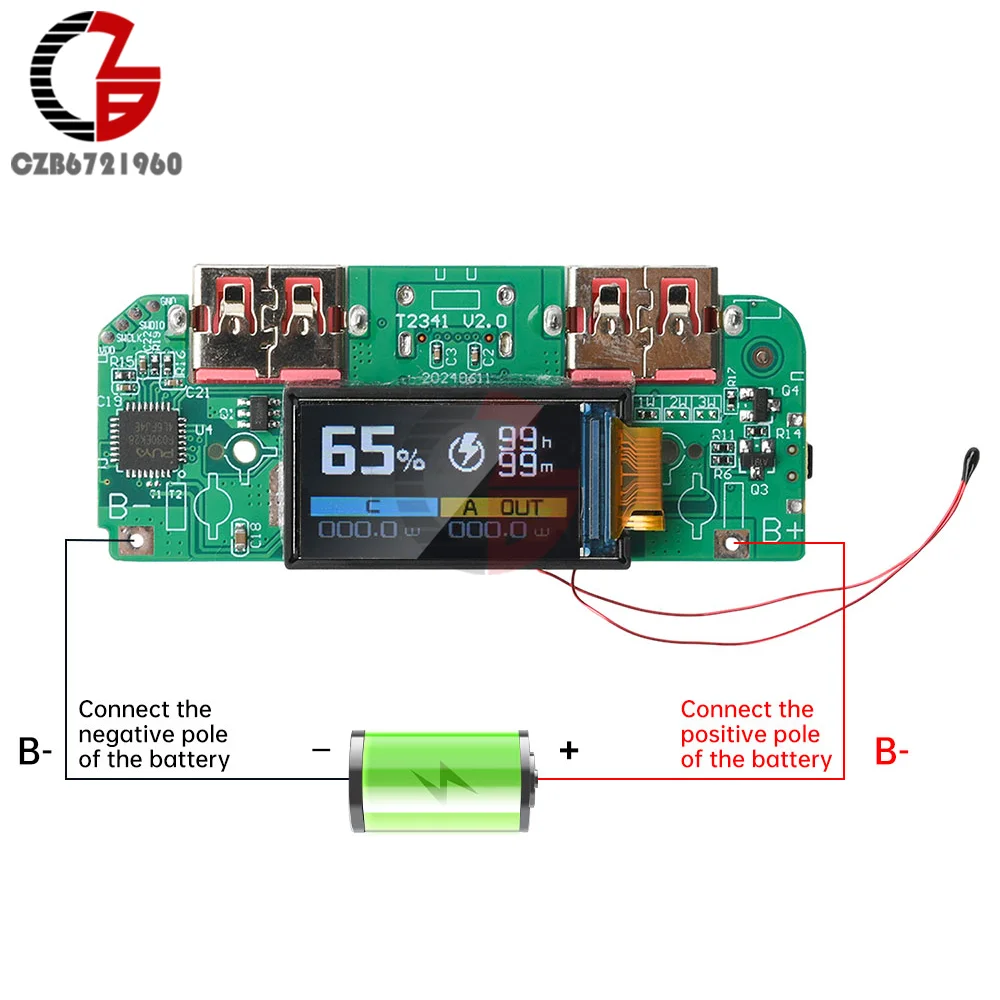
Want to ditch disposable batteries? Upgrade to a USB rechargeable system for eco-friendly, long-term use without constantly buying new batteries.
Integrate a USB Charging Module
Add a 5V USB input module and pair it with a 3.7V Li-ion battery and charging board. This allows you to recharge via power bank, laptop, or wall adapter. Solder the charging module between the USB port and battery.
Use a Power Bank Shell
Buy a mini power bank kit and repurpose the case. It includes a battery, charging circuit, and USB port, all in a compact, portable form. Mount your fan motor on the front and wire it to the output.
Customize the Design
Make your fan stand out with personal touches. A unique look makes it more fun to use and easier to identify among your belongings.
Paint or Decorate the Housing
Use acrylic paint, stickers, or washi tape to color the housing. Let paint dry completely before reassembling. Avoid blocking airflow vents or covering wires.
Print a Themed Blade Design
3D print blades in fun shapes like propeller, leaf, or spiral patterns. Or attach lightweight paper cutouts temporarily for visual flair. Just ensure they stay balanced.
Safety and Maintenance Tips
Even small DIY electronics need proper care. Follow these tips to keep your fan safe, efficient, and long-lasting through many seasons.
Avoid Motor Overload
Never connect more than the recommended voltage. For example, a 5V motor with a 9V battery may burn out quickly. Use a voltage regulator if mixing mismatched components.
Keep Wires Away from Blades
Ensure no loose strands can get caught in spinning parts. Use electrical tape or heat-shrink tubing to insulate connections. Inspect wires regularly for wear or damage.
Clean Blades Weekly
Dust buildup reduces airflow and unbalances the motor. Wipe blades with a damp cloth when the fan is turned off. Never wash while assembled. Water can damage the motor.
Frequently Asked Questions About Making a Portable Fan
What voltage motor is best for a portable fan?
A 5V DC motor is best for most portable fan projects. It works directly with USB power banks and phone chargers, making it highly convenient. If you prefer AA batteries, a 6V to 12V motor will provide more power but requires a larger battery pack.
Can I use a USB power bank to run my DIY fan?
Yes, you can power your DIY fan with a USB power bank. Use a 5V motor and connect it to the USB output. This is one of the easiest and most reliable power options for portable use.
How long do batteries last in a portable fan?
Battery life depends on the battery capacity and motor power. A standard 2000mAh power bank can run a 5V fan for 4 to 6 hours. AA batteries typically last 2 to 4 hours depending on capacity.
Do I need soldering skills to build this project?
Soldering is optional. You can use wire connectors or twist connections for a temporary setup. Soldering provides more secure, permanent connections, but basic wire twisting works for beginners.
Can I add variable speed control to my portable fan?
Yes, you can add a variable speed control. Use a potentiometer (variable resistor) in the circuit to adjust motor speed. This gives you control over airflow intensity and extends battery life.
Key Takeaways for Building Your Portable Fan
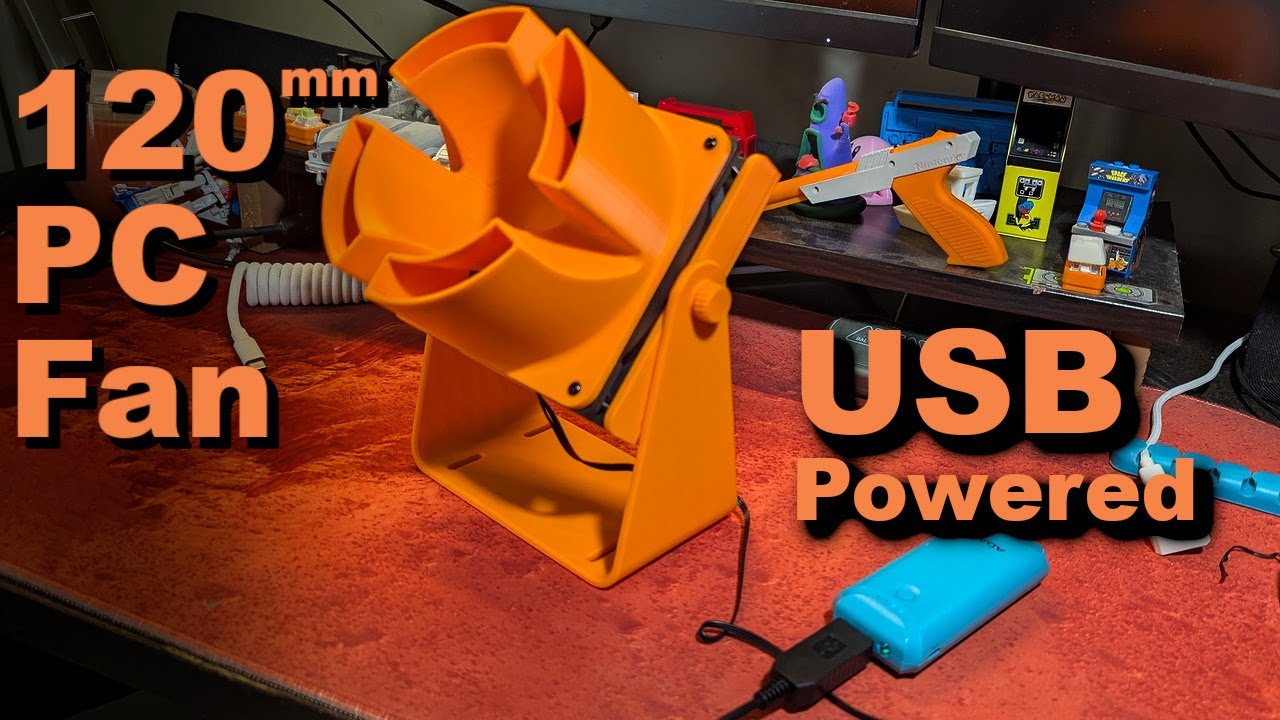
Building your own portable fan is a simple, rewarding project that combines basic electronics with practical utility. By following these steps, you have created a custom, on-the-go cooling solution that costs significantly less than store-bought models. Use a 5V motor with USB power for maximum convenience, add a clip or handle for versatility, and upgrade to rechargeable batteries for sustainability and long-term cost savings.
With proper care and maintenance, your DIY fan can last through many hot seasons. The skills you learn from this project transfer to other electronics builds. Ready for more? Try adding a variable speed control or building a dual-fan version for increased airflow.