How to Make a Portable Misting Fan
Nothing beats the relief of a cool breeze on a scorching day, especially when that breeze carries a fine mist that drops the perceived temperature by up to 25°F. A portable misting fan delivers exactly that, combining airflow with evaporative cooling to create an instant microclimate of comfort. While store-bought models are available, many are built with flimsy plastic, prone to leaks and short lifespans. The better solution is building your own portable misting fan. This guide walks you through three proven methods, from the no-plumbing ice-jug hack to a high-pressure PEX loop and a fully portable sprayer-powered system.
You will learn how to choose the right fan, avoid motor-damaging mistakes, seal fittings leak-free, and position nozzles for maximum cooling without drenching yourself. Whether you are cooling a job site, backyard, barn, or campsite, you will discover the optimal build for your needs and how to maintain it for years of reliable use.
Choose the Right Fan for Your Misting System
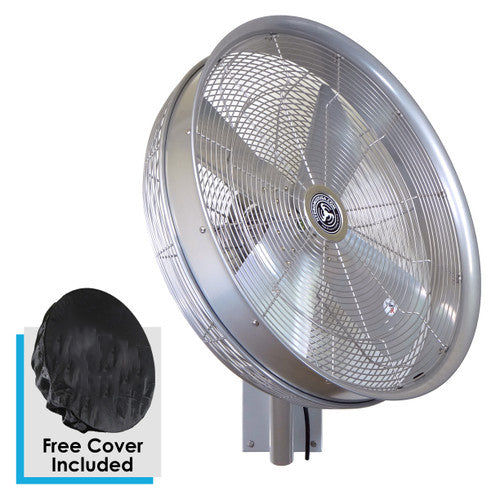
Use Metal-Body, Outdoor-Rated Fans Only
Never use an indoor plastic fan for a misting setup. Water exposure will warp plastic housings, corrode internal components, and risk electrical shorts. Instead, select a metal-body, metal-blade fan rated for outdoor use. These models resist rust, handle moisture, and provide the strong airflow needed to disperse mist effectively. Look for robust, heavy-duty fans, often sold at warehouse stores or hardware outlets, that can withstand continuous damp operation.
Mount the fan on a stable base. If placing it above 6 to 8 feet on a pole or stand, secure it with clamps or brackets. High mounting increases vibration, especially when tubing and water add weight. Rubber feet alone may not prevent wobbling, which can loosen connections over time.
Match Fan Size to Cooling Zone
A 16- to 20-inch fan typically covers a 10 to 20 foot wide area with mist, pushing cooling air up to 20+ feet forward. Larger fans increase coverage but require more powerful misting lines to avoid dry spots. Position the fan under shade, such as a canopy or awning, to slow premature evaporation and boost cooling efficiency.
Never allow mist to spray into the motor housing. Even light moisture infiltration can lead to corrosion or electrical failure. Always aim nozzles outward and slightly downward.
Select the Best Design Method for Your Needs
Three Main Approaches for Portable Misting Fans
Your build method depends on whether you need true portability, have access to a water spigot, or want a zero-plumbing solution. Three main designs cover every use case.
The ice-jug method requires no water lines and no electricity, making it ideal for barns, emergency cooling, or off-grid use. The PEX hose loop delivers high-pressure, fine mist with continuous water supply, best for patios, garages, or job sites near a spigot. The sprayer-based reservoir is fully portable and self-contained with no hoses, perfect for camping, golf carts, or shaded seating areas.
Each offers unique advantages in cost, setup time, and performance.
Build the Ice-Jug “Hillbilly” Cooler
Freeze Water Jugs for Instant Cooling
This ultra-low-tech method uses phase-change cooling. Frozen jugs absorb heat from passing air, creating a chilled, slightly misty breeze. It requires no plumbing, pumps, or tools beyond a knife and zip ties.
Fill two 2-gallon plastic water jugs with water and freeze overnight. Once solid, cut 3 to 5 slits into each jug using a utility knife. The slits allow air to pass through the melting ice surface, enhancing evaporative cooling. As the ice melts, water drips and is blown by the fan, creating a light mist.
Mount Jugs to Fan Cage
Secure the frozen jugs to the front or back of the fan cage using heavy-duty zip ties. Position them so airflow moves directly over the slits. For best results, place the fan so it pulls air through the jugs rather than blowing onto them.
Once the ice melts, typically 2 to 4 hours depending on ambient heat, the cooling effect diminishes. Refill the jugs with cold water to maintain a damp, cool airflow. While not a true misting system, this method delivers intense relief during peak heat and is ideal for animal enclosures or temporary setups.
Assemble a High-Pressure PEX Loop

Create a Leak-Free Mist Ring
For a durable, dry-running misting fan near a water source, use 37 inches of PEX tubing to form a 12-inch diameter loop around the fan. PEX is flexible, UV-resistant, and compatible with high-pressure fittings.
Cut the tubing to length and drill 3mm or 5mm holes at even intervals, typically 4 to 6 nozzles, using a clean drill bit. Remove any plastic debris to prevent clogs. Insert misting nozzles into each hole, ensuring protective caps are removed before testing.
Use SharkBite or Expansion Fittings
For leak-proof connections, use SharkBite push-to-connect or PEX expansion fittings. SharkBite requires no tools and seals instantly. Expansion fittings require a special tool but offer superior long-term reliability.
Attach a 90-degree elbow and quick-connect valve to one end of the loop for garden hose attachment. Wrap white plumber’s tape, not standard Teflon tape, around male threads to seal against leaks. Avoid overtightening, which can crack fittings.
Mount Loop to Fan Frame
Secure the PEX loop to the fan cage using zip ties or hose clamps. Position nozzles to spray forward, outward, and slightly downward, never upward toward the motor. Connect to a garden hose and test for leaks before powering on the fan.
This system delivers a fine, dry mist that evaporates quickly, cooling air without soaking surfaces. Ideal for patios, workshops, or shaded decks where continuous water supply is available.
Set Up a Sprayer-Powered Reservoir System
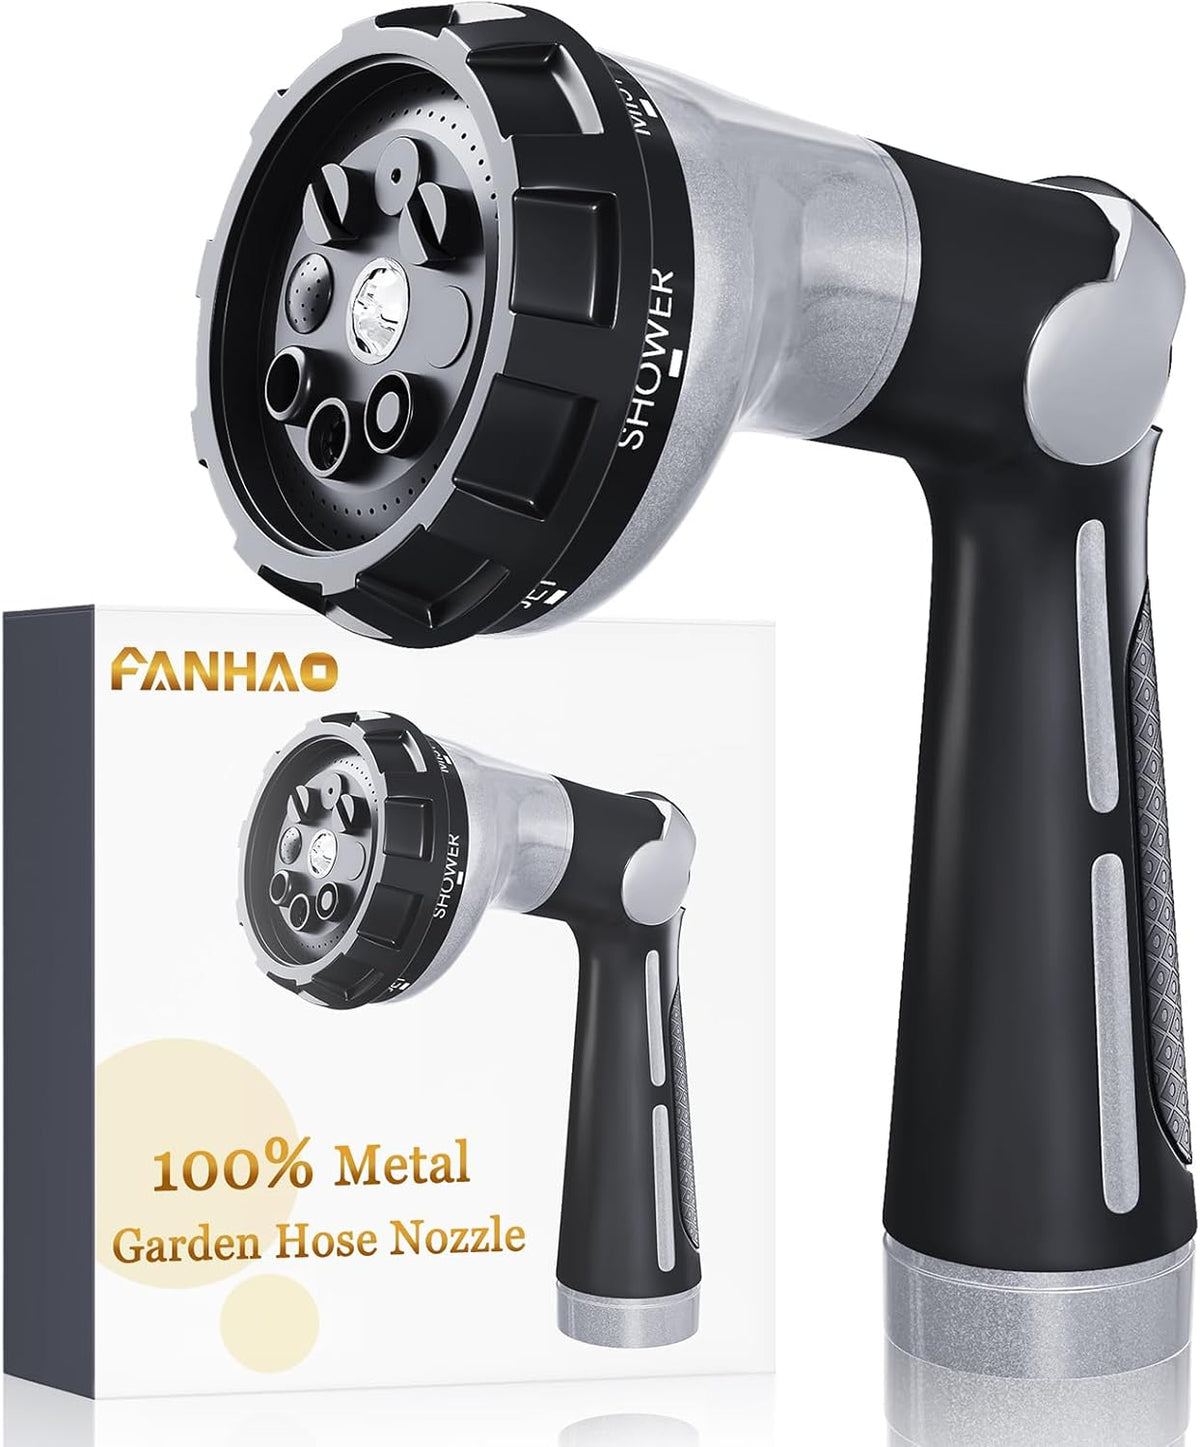
Use a Pressurized Garden Sprayer
For true portability with no hoses and no spigots, use a one-gallon garden sprayer as your water source. These tanks are manually pressurized and feature an on/off valve, allowing continuous flow without constant pumping.
Remove the sprayer’s standard nozzle. Connect 1/4-inch or 1/2-inch drip irrigation tubing directly to the outlet. Use slip-lock fittings to attach 100 to 200 micron misting nozzles along the line. These fine nozzles produce a soft, fast-evaporating mist perfect for personal cooling.
Install T-Connector for Flow Control
Add a T-connector in the center of the tubing line to split flow into two sections. Cap one end with a T-fitting cap. Install an end valve on the other to allow draining. Draining prevents mold and mineral buildup during storage.
Run the hose up a support pole, such as an umbrella stand or golf cart frame, using name badge clips or zip ties. These clips allow quick detachment for refilling. Position nozzles to spray forward, angled slightly down.
Refill and Re-Pressurize as Needed
Pump the sprayer handle to build pressure, typically 30 to 50 PSI. Open the handle valve to lock flow. The system runs for 30 to 60 minutes per fill, depending on nozzle count and pressure. When flow drops, disconnect, refill, and re-pressurize.
This setup is ideal for camping, tailgating, or outdoor events where electrical and plumbing access is limited.
Upgrade a Commercial Misting Kit
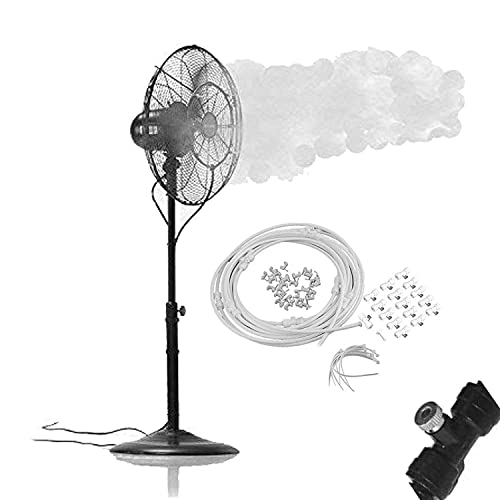
Modify Clearance Kits for Better Performance
Many pre-made misting kits are poorly made with plastic nozzles that clog and leak. Instead of discarding them, upgrade and repurpose the components.
Buy a clearance misting kit, often under $2, and pair it with a $3 brass nozzle. If the kit lacks a proper connector, insert the brass nozzle into the misting head and secure it with a hose clamp.
Attach the line to a metal-frame fan using zip ties. Aim nozzles outward and slightly downward to create a 10 to 20 foot wide cooling zone. Connect to a garden hose via a quick-connect valve for easy setup and takedown.
This hybrid approach gives you the convenience of a kit with the durability of custom components.
Install and Seal Nozzles Properly

Prevent Leaks with Correct Fittings
Leaking joints are the most common DIY failure. Prevent them by using the right sealing methods.
Use white plumber’s tape on male threads of garden hose fittings. Use hose clamps on brass nozzle connections. Ensure slip-lock fittings are fully seated by pushing tubing in until it clicks.
For PEX systems, ensure the tubing is fully expanded over fittings or use SharkBite connectors for instant, tool-free seals.
Clean Nozzles Regularly
Mineral buildup from hard water clogs nozzles over time. Soak nozzles in white vinegar or a lime/calcium remover every few months. Flush tubing with clean water to remove debris. Drill holes cleanly because burrs or melted plastic can restrict flow.
Mount and Test Your System
Secure Tubing and Manage Hose Routes
Use zip ties to fasten tubing to the fan frame or support pole. Avoid loose loops that can sway into blades or create tripping hazards. Run the supply hose up the fan stand and secure it every 6 to 12 inches.
Ensure the hose connector at the fan hub is aligned straight because kinks reduce water flow and mist output.
Test for Leaks Before Powering Fan
Connect to water source. Turn on water slowly. Inspect all joints for drips. Tighten clamps or re-tape threads if needed.
Once leak-free, power on the fan. Observe mist pattern. Adjust nozzle angles to widen the cone and avoid spraying upward.
Optimize Cooling Performance

Position Fan Under Shade
Placing the fan under a canopy or umbrella reduces direct sun exposure, slowing evaporation and extending mist reach. This boosts cooling efficiency by up to 30% compared to full-sun setups.
Stand at the Right Distance
For best effect, stand 10 to 16 feet away. Closer positions may result in getting wet. Farther distances reduce cooling sensation. At 10 feet, you will feel a light mist. At 15 to 16 feet, the air remains cool without dampness.
Adjust Flow for Humidity
In high humidity, mist evaporates slowly, increasing wetness. Use a valve on the sprayer or hose to reduce flow. In dry, breezy areas, increase flow for maximum cooling.
Maintain and Winterize Your System
Drain System After Each Use
Always drain water before storage. Leave end caps off or open the drain valve to prevent stagnant water, mold, and clogs. For sprayer systems, depressurize and empty the tank.
Clean and Store Properly
Wipe down fan blades and housing. Soak nozzles in vinegar every few months. Store the fan in a dry place or cover it with a waterproof cover.
In freezing climates, never leave water in the system. Ice expansion can crack tubing and fittings. Disconnect all water sources and store components indoors.
Troubleshoot Common Issues
Fix Leaking Fittings
If joints drip, re-wrap threads with white plumber’s tape. Tighten hose clamps. Ensure PEX is fully expanded over fittings. For slip-lock fittings, push tubing in until it clicks.
Clear Clogged Nozzles
Soak nozzles in vinegar for 30 minutes. Use a pin to clear any remaining debris. Flush tubing with clean water before reassembly.
Stop Heavy Spray
If mist soaks the area, replace nozzles with 100 to 200 micron models. Reduce water pressure using a valve. Aim nozzles further downward.
Stabilize Wobbly Fan
If the fan vibrates, lower mounting height to under 6 to 8 feet. Secure with additional clamps or brackets. Ensure the base is level.
Prevent Motor Failure
Water in the motor is the number one cause of failure. Never spray upward into the fan housing. If in doubt, install a small plastic shield behind the nozzles to deflect stray mist.
Key Takeaways for Building Your Portable Misting Fan
Building a portable misting fan is a simple, cost-effective way to beat the heat. Whether you choose the no-plumbing ice-jug method, the high-performance PEX loop, or the fully portable sprayer system, each design offers superior cooling to off-the-shelf models. The key factors for success are using metal fans rated for outdoor use, sealing all fittings properly with white plumber’s tape and hose clamps, and aiming nozzles outward and slightly downward to protect the motor. By following these guidelines, you will create a durable, efficient system that lasts 15+ years compared to the single-season lifespan of cheap plastic commercial units. Stay cool, stay dry, and enjoy the breeze.
Frequently Asked Questions About Portable Misting Fans
How much does it cost to build a DIY misting fan?
DIY builds range from $1 for a clearance misting kit to $35 for a premium setup with metal fan and quality fittings. This compares favorably to commercial units that often start at $20 for low-quality plastic models.
How much cooling can a misting fan provide?
Properly constructed systems can lower perceived temperatures by 20°F to 25°F, depending on humidity levels and airflow. The cooling effect is most effective in dry climates.
How far does the mist reach from a portable misting fan?
A 16 to 20-inch fan pushes cooling air 20+ feet forward with a mist width of 10 to 20 feet. Optimal cooling sensation is felt at 10 to 16 feet from the unit.
How long does a sprayer-based system run before needing refill?
A one-gallon pressurized garden sprayer typically runs for 30 to 60 minutes per fill, depending on nozzle count and pressure. Runtime decreases with more nozzles or higher pressure.
Can I use an indoor fan for a misting setup?
Never use an indoor plastic fan for misting. Water exposure will warp plastic housings, corrode components, and risk electrical shorts. Only use metal-body, outdoor-rated fans.
How do I prevent mineral buildup in my nozzles?
Soak nozzles in white vinegar or calcium/lime remover every few months. Flush tubing with clean water regularly. Using filtered water can also reduce mineral deposits.