How to Open a Portable Fan
If your portable fan isn’t blowing as strongly as it used to, the culprit is likely dust and debris trapped inside. Learning how to open a portable fan properly can restore airflow, improve performance, and extend its lifespan. Whether you’re dealing with a USB desk fan or a rechargeable mini model, most portable fans are designed for easy access, and some require no tools at all. This guide walks you through the correct, safe methods to open any portable fan, identify its fastening mechanism, clean internal components, and reassemble it without damage.
Identify the Fastening Type First

Before applying force or grabbing tools, inspect your fan closely. The way it opens depends entirely on its fastening mechanism. Using the wrong method can crack the casing or damage internal parts. Take a moment to examine the seams, base, and any visible indicators before proceeding.
Check for Twist-Lock Indicators
Many modern USB and mini fans use a twist-lock system. Look for two alignment lines on the top housing and the base. These lines act as a visual guide. When aligned, the fan is locked. To open, twist the top section counterclockwise until you hear a soft click. Models like the GAIATOP portable fan use this tool-free design, making cleaning quick and simple.
Locate Hidden Screws
Some fans, especially heavier or older rechargeable models, are held together with screws. Inspect the base, rear panel, and around the motor housing. Screws may be hidden under rubber feet or stickers. Gently peel them back if necessary. Use a small Phillips screwdriver to remove all screws and keep them in a safe place to avoid losing them.
Spot Snap-Fit Seams
Even if no screws are visible, your fan may use plastic clips along the seam between the front and back casing. These are common in both tool-free and screw-assisted designs. Never force the casing apart. Instead, gently pry along the edge using a plastic pry tool or flat butter knife. Work slowly around the perimeter to release each clip without snapping them.
How to Open Twist-Lock Fans
Fans with alignment lines are designed for user maintenance. This method is fast, safe, and requires no tools, making it ideal for routine cleaning every few weeks. The twist-lock mechanism is intentionally simple, allowing anyone to access the internal components without specialized knowledge.
Align and Grip Properly
Hold the base firmly in one hand, avoiding the neck or stand, which can bend under pressure. Place your other hand on the top section where the alignment lines meet. Use both hands to grip the sides of the housing at the line marks. This gives you the best leverage for a controlled twist.
Twist Counterclockwise to Unlock
Apply gentle downward pressure and twist the top section counterclockwise. Do not force it. A soft click means the internal tabs have disengaged. Once unlocked, the top half lifts away, exposing the blades and motor. If it doesn’t turn, double-check for hidden screws, as some models combine screws with a twist mechanism.
How to Open Screw-Fastened Models
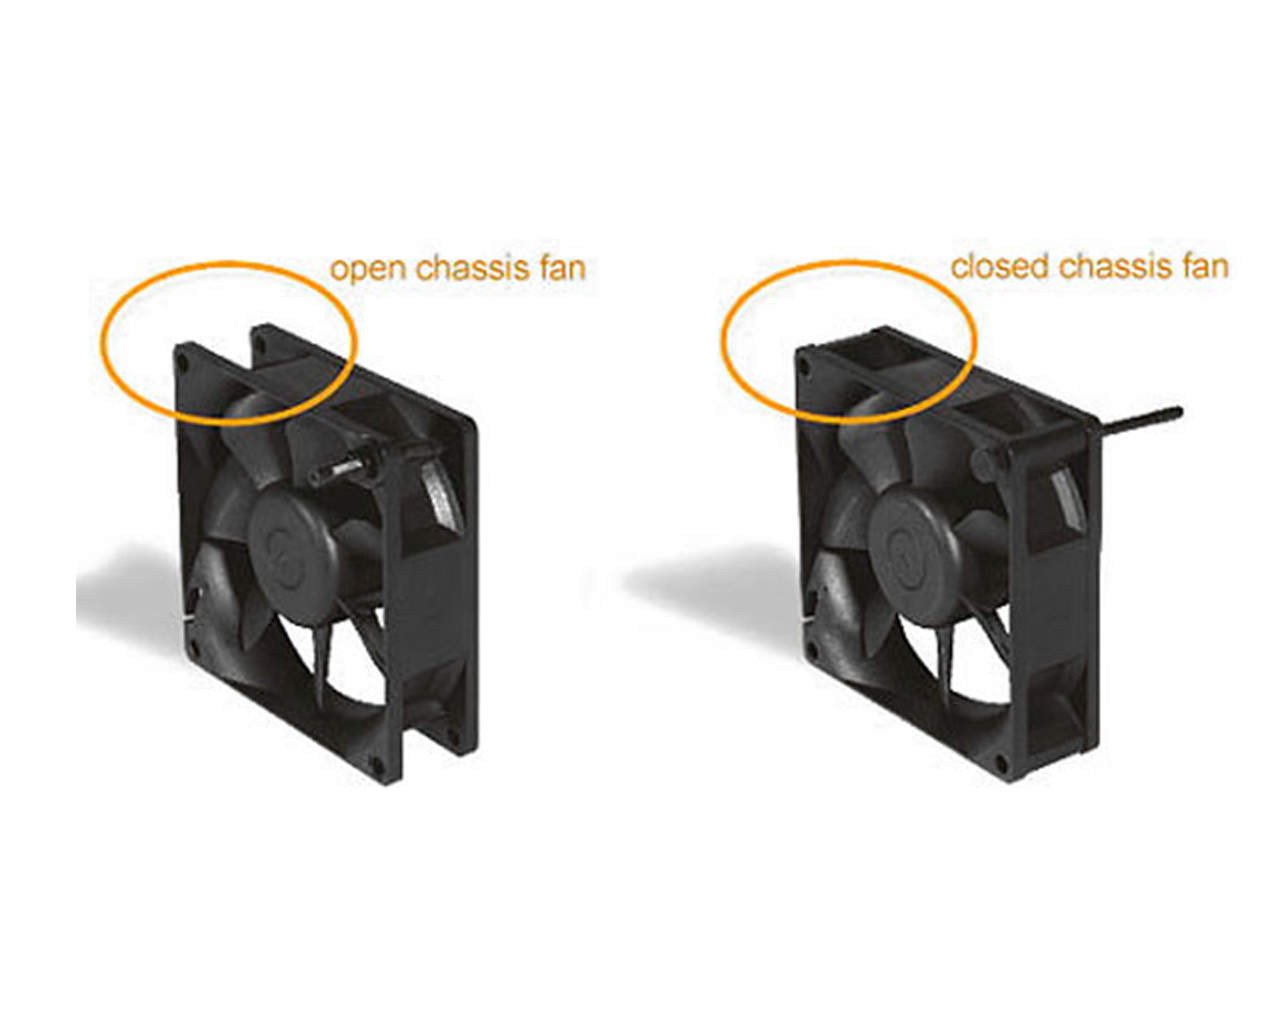
These fans are built for durability and often house more powerful motors. Opening them takes a few extra steps but gives full access to internal components. The screw-fastened design is typically found in larger or older fan models that prioritize robust construction.
Remove All Screws First
Use a precision screwdriver to remove every visible screw. Check under labels, rubber pads, and the base. Some fans have screws inside the battery compartment, so open it if accessible. Keep screws organized on a labeled tray or magnetic pad to simplify reassembly. Losing screws can make reassembly difficult or impossible.
Pry the Casing Apart Gently
After removing screws, the two halves should separate, but they are often held by residual snap clips. Insert a plastic pry tool into the seam and gently twist to create a gap. Move around the edges, releasing each clip in sequence. Never use metal tools aggressively, as they can scratch plastic or cut internal wires.
How to Open Modular Mini Desktop Fans
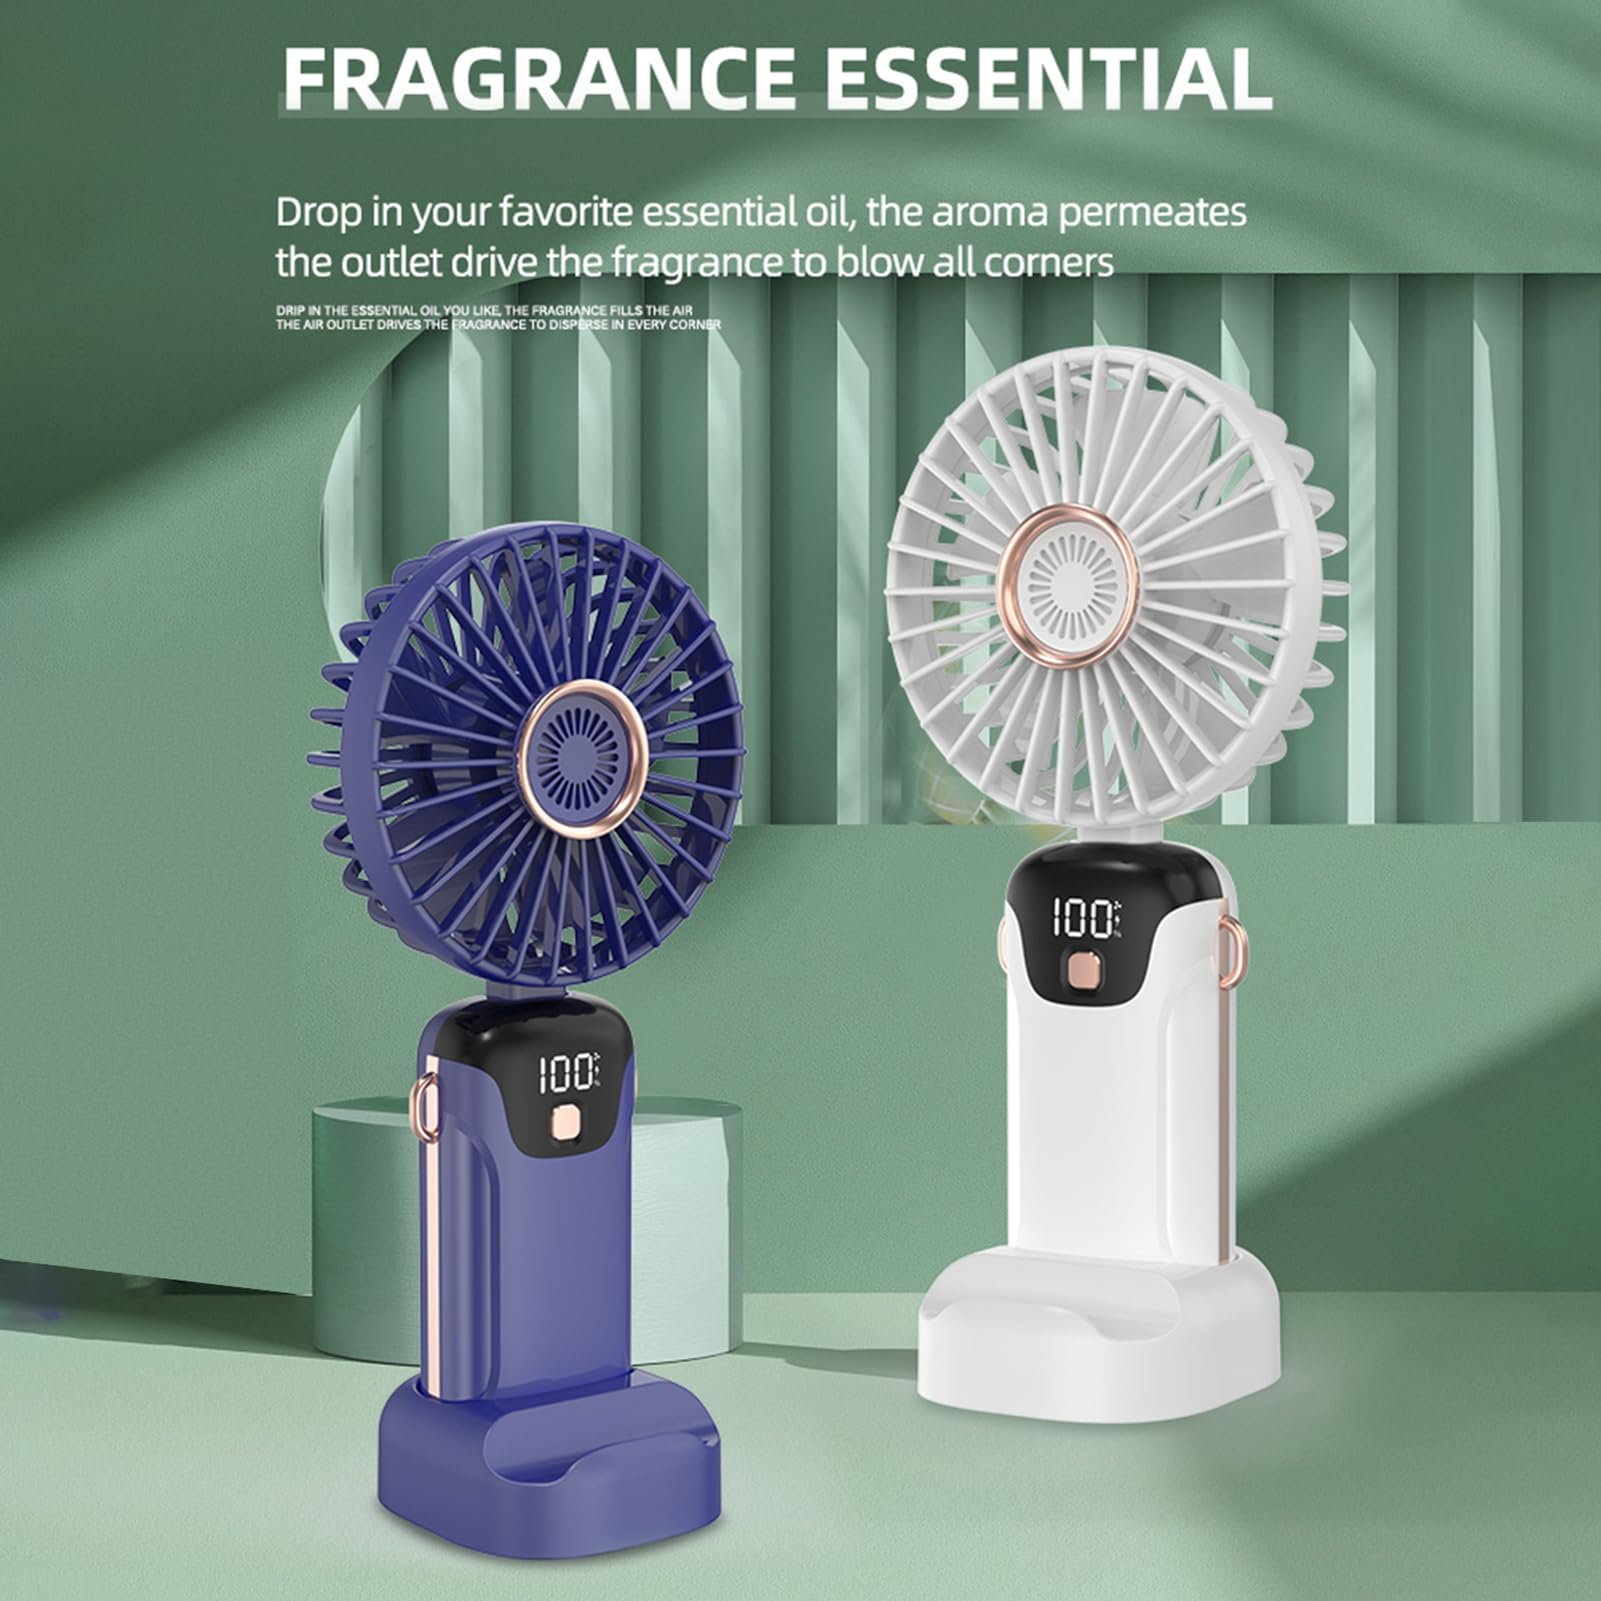
Certain compact fans feature a modular design that lets you remove the entire motor unit. This is useful for deep cleaning or replacing worn parts without dismantling the whole device. Modular designs are increasingly common in premium mini fans.
Twist Off the Front Face
Look for symbols or arrows on the front grill indicating rotational release. Grip the face and twist it clockwise or counterclockwise, following the symbol, until it disengages. It may slide out or pop forward. Some models have small pins that lock the face, so align these correctly when reattaching.
Release the Motor Securing Pins
Once the face is off, you will see the motor unit held in place by plastic pins or clips. Gently press or slide these to release the motor. Now you can lift the entire motor assembly out, leaving the housing behind. This allows you to clean both parts thoroughly and even upgrade the motor if needed.
Access and Clean Internal Components
:max_bytes(150000):strip_icc()/how-to-clean-a-fan-4846973-05-885948fd8a08438586d57e3de6bc5337.jpg)
With the fan open, focus on removing dust buildup from critical areas. Avoid touching sensitive parts directly. Proper cleaning restores airflow and reduces strain on the motor, extending the fan’s lifespan significantly.
Remove and Clean Fan Blades
Most blades slide or pull off the motor shaft. If stuck, do not yank. Gently wiggle them side to side until they come loose. Once removed, wipe with a damp microfiber cloth or rinse under water if they are fully detached. Dry completely before reattaching. For stubborn grime, use a soft brush with mild soapy water.
Wipe the Motor Housing Carefully
Never spray cleaner directly onto the motor. Use a dry or slightly damp cloth to wipe the exterior. Avoid the shaft and electrical connections. If dust is packed around the base, use compressed air to blow it out. Hold the can upright and use short bursts to prevent moisture discharge.
Clear the Casing Interior
Dust accumulates on the inside of the housing, especially near air intakes. Wipe with a dry cloth or use a soft brush. For tight corners, wrap a cloth around a cotton swab. Ensure no debris remains near wiring or the motor mount.
Dry All Parts Before Reassembly
Moisture is the enemy of electronics. Even small amounts can cause short circuits or corrosion. Taking time to dry components properly prevents permanent damage and ensures safe operation.
Air Dry for at Least 30 Minutes
If any part got wet during cleaning, lay them on a towel in a well-ventilated area. Let them dry completely. This may take 1 to 2 hours depending on humidity. Do not reassemble while damp.
Speed Up Drying with a Dry Cloth
Use a lint-free cloth to pat dry accessible surfaces. For hard-to-reach areas, compressed air can help evaporate trapped moisture. Never use a hairdryer on high heat, as it can warp plastic components.
Reassemble the Fan Correctly
Improper reassembly leads to noise, vibration, or motor failure. Take your time to align parts precisely. A properly reassembled fan will run smoothly and quietly.
Align the Housing Before Closing
For twist-lock models, line up the two alignment marks perfectly. For snap-fit or screw models, ensure the front and back edges match flush. Misalignment stresses the casing and prevents clips from engaging properly.
Secure with the Right Method
For twist-lock models, turn the top section clockwise until it clicks into place. Do not over-tighten. For snap-fit models, press around the edges until all clips snap in. Listen for consistent clicks. For screw models, reinsert all screws and tighten gently. Over-tightening can strip plastic threads.
Reattach the Front Face and Battery
For modular fans, slide or twist the front face back into position until it locks. If you removed the battery, reinsert it now, ensuring the terminals align correctly.
Test the Fan After Reassembly
Before declaring the job done, verify everything works. Proper testing catches problems before they become serious issues.
Power On and Listen
Turn on the fan and observe for 30 seconds. Listen for grinding, rattling, or uneven spinning. These sounds mean something is misaligned or obstructed.
Check for Obstructions
If the fan vibrates or makes noise, turn it off immediately. Reopen and check if the blades are seated properly. Check if any wire or cloth is snagged in the blade path. Verify no dust got caught near the motor shaft.
Confirm Airflow Strength
A properly cleaned fan should blow noticeably stronger. If airflow is still weak, reopen and inspect for missed debris, especially under the blade hub or in rear intake vents.
Troubleshoot Common Opening Issues
Even with care, problems can arise. Here is how to solve them fast. Understanding common issues helps you fix them without frustration.
Fan Won’t Twist Open
If the top will not turn, check for hidden screws under labels or rubber pads. Check if you are twisting in the correct direction, as some models unlock clockwise. Dust buildup may be jamming the mechanism, so tap gently or use compressed air to loosen it.
Broken Plastic Clips
If a clip snaps during opening, you may still be able to continue use if the fan is secure with remaining clips. Use tape temporarily, wrapping electrical tape around the split to keep it closed. Use plastic-safe epoxy as a last resort, avoiding super glue which can spread and damage components.
Fan Makes Noise After Cleaning
Common causes include blades hitting the housing due to misalignment. Check for loose screws or an unseated motor. A wet motor can cause temporary drag, so dry thoroughly before testing again.
Safety Tips and Warnings
Follow these rules to avoid injury or damage. Safety should always be your top priority when working with any electrical device.
Never Work on a Powered Fan
Always unplug USB fans and remove batteries before opening. Even low-voltage motors can short if wet or mishandled. This simple step prevents electrical shock and component damage.
Avoid Water and Harsh Chemicals
Do not submerge the fan. Never use bleach, alcohol, or abrasive cleaners. These can crack plastic or damage motor insulation. Stick to water and mild soap for cleaning.
Use Plastic Tools Only
Metal screwdrivers and knives can scratch casings or cut wires. A plastic pry tool or guitar pick is safer and just as effective for prying open snap-fit joints.
Respect the Warranty
While many fans are user-serviceable, forcing open a sealed unit may void the warranty. If there are no visible screws or alignment lines, the fan may not be designed for disassembly. Consult the manual first.
Key Takeaways for Opening Your Portable Fan
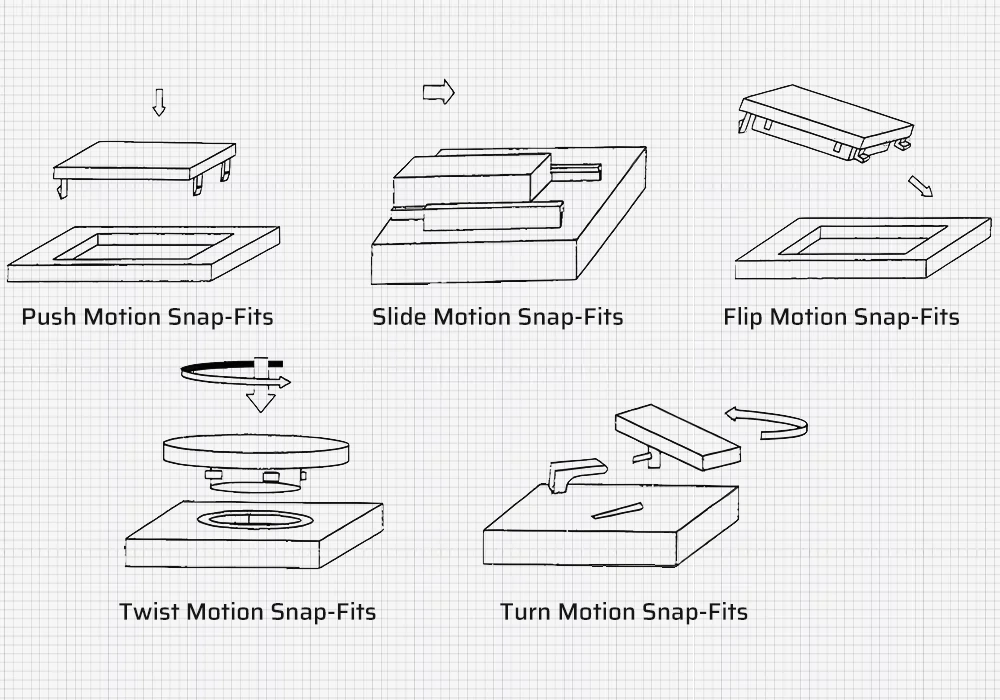
Knowing how to open a portable fan correctly turns a simple cleaning task into a powerful maintenance ritual. Whether your model uses twist-lock, screws, or modular design, the key is identifying the mechanism first and working gently. The three main fastening types are twist-lock with alignment lines, screw-fastened casings, and snap-fit joints, each requiring a different approach. Always dry all components thoroughly before reassembly to prevent short circuits or motor damage. With regular cleaning, your fan will run quieter, last longer, and keep you cool efficiently.
Frequently Asked Questions About Opening Portable Fans
What tools do I need to open a portable fan?
Most modern portable fans require no tools. Twist-lock models open by hand using alignment lines. Screw-fastened models need a small Phillips screwdriver. You will also want a plastic pry tool for snap-fit joints.
Can I open my portable fan without any tools?
Yes, many USB and mini fans use tool-free designs. Twist-lock models like the GAIATOP open with a simple counterclockwise twist. Modular mini fans often have detachable faces that twist off by hand.
How do I know if my fan has a twist-lock mechanism?
Look for two alignment lines on the top housing and base. When these lines match, the fan is locked. When they are offset, the fan is unlocked. This design is common in USB desk fans and rechargeable mini models.
What should I do if the plastic clips break during opening?
If a clip breaks but the fan still holds together with other clips or screws, you can continue using it. For temporary fixes, wrap electrical tape around the seam. For permanent repairs, use plastic-safe epoxy.
How often should I clean my portable fan?
Clean your portable fan every 2 to 4 weeks, especially if used daily. Regular cleaning prevents dust buildup, maintains airflow, and extends the fan’s lifespan.
Why is my fan still weak after cleaning and reassembling?
The fan may still have debris in hard-to-reach areas like the blade hub or rear intake vents. Reopen and inspect these areas. Also check for misalignment during reassembly or a wet motor causing temporary drag.