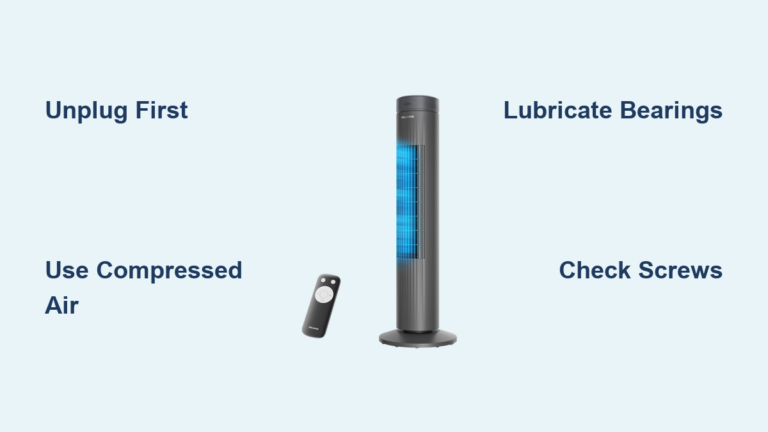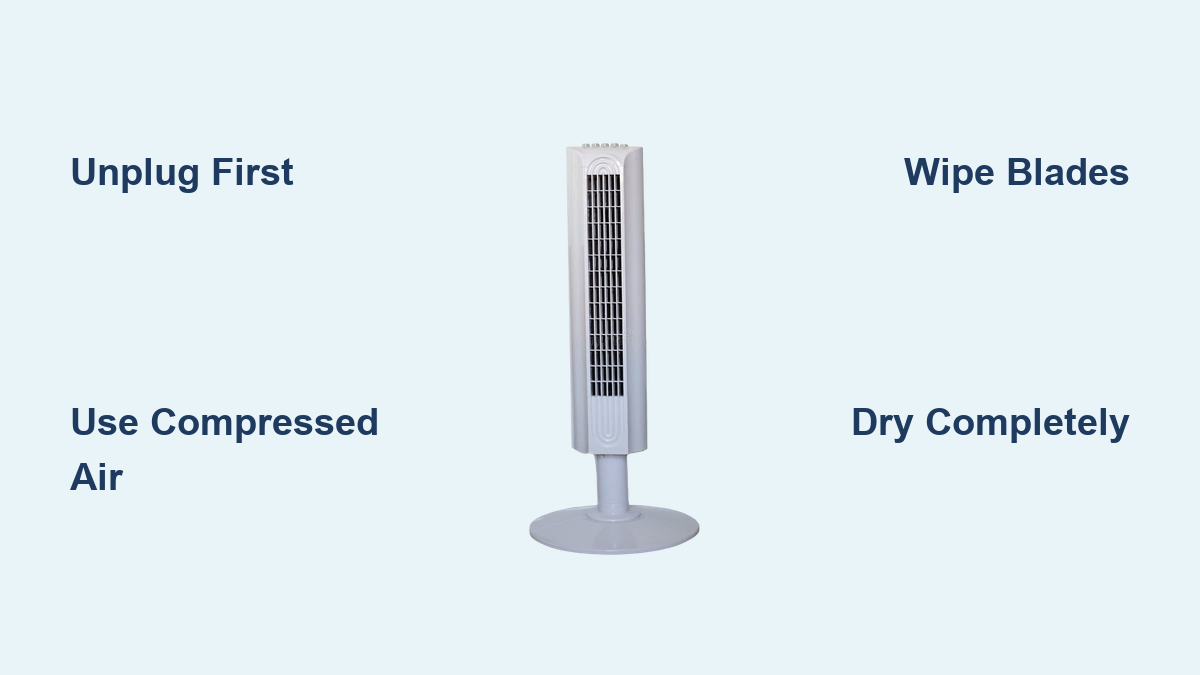
How to Clean Tower Fan Dust
Dust buildup in your tower fan isn’t just unsightly. It’s a silent drain on performance and air quality. Over time, fine particles, pet hair, and grime accumulate in the narrow slats and internal components, restricting airflow and forcing the motor to work harder. This leads to reduced cooling efficiency, louder operation, and even premature wear. If you’ve noticed your fan blowing weaker air or making a loud whirring noise, it’s likely overdue for cleaning. This guide covers everything from essential safety steps to model-specific tips, so you can breathe easier and keep your fan running smoothly.
Essential Safety Steps Before Cleaning
Before touching any part of your tower fan, safety must come first. Electrical appliances and moisture or metal tools do not mix unless handled correctly.
Unplug the Fan Completely
Always disconnect the fan from the power source. Never attempt to clean a plugged-in unit, even if it’s turned off. Residual current can pose a shock risk, especially during disassembly.
Check Your Warranty Status
Consult your user manual before proceeding. Many manufacturers void warranties if the housing is opened or non-user-serviceable screws are removed. If your fan is under warranty, stick to non-invasive cleaning methods only.
Handle Tools with Care
Use only the correct screwdriver type to avoid stripping screws. Phillips, Torx, and flat-head drivers each serve different models. If prying is required, do so gently with a plastic pry tool or wrapped flathead to minimize cosmetic damage.
Use Compressed Air Safely
Never tilt or shake the can. Tilting releases liquid propellant that can damage motor windings or leave residue. Hold the can upright and use short bursts from 2-3 inches away from the fan vents.
Required Cleaning Tools and Supplies
Gather these items before starting to ensure a smooth, efficient cleaning session.
Basic Supplies for All Models
You will need a microfiber cloth that is lint-free and soft. A vacuum cleaner with a hose and brush attachment is essential. Compressed air duster is needed for blowing out tight spaces. Have a well-wrung damp cloth ready for wiping.
Optional Items for Deep Cleaning
Mild dish soap helps with greasy buildup on removable grilles. A hairdryer on cool setting speeds drying of internal components. Small screwdrivers in Phillips, Torx, or flat-head varieties are needed for opening certain models.
Most tools are household staples. Total cost is under $10 if you need to buy compressed air or a basic screwdriver set.
Quick Clean: Dust Without Disassembly

Ideal for routine maintenance, this method keeps your fan functional without opening the housing. Perform this every two weeks or before seasonal use.
Wipe Down Exterior Surfaces
Use a dry microfiber cloth to wipe the front and back grilles, control panel, and base. For sticky spots, lightly dampen the cloth with water. Never spray water directly onto the unit.
Blast Vents with Compressed Air
Hold the can 2-3 inches from the slats. Spray in short bursts, angling the nozzle to reach deep into the vents. This loosens trapped dust from blades and motor housing.
Vacuum Loosened Debris
Immediately follow with a vacuum using the brush attachment. Move slowly across all slats to capture dislodged particles. If no brush is available, use a clean paintbrush to agitate dust before vacuuming.
Clean Base and Intake
Flip the fan upright and check the bottom intake. Wipe away visible dust with a dry cloth. Ensure no debris blocks airflow into the motor chamber.
Time required is 10-15 minutes.
Deep Clean: Open and Refresh Internals

When airflow drops or noise increases, it is time for a deep clean. This is especially important on models designed for easy access.
Remove Tower from Base
Flip the fan over. Check if the tower connects via screw, snap tabs, or PVC fitting. Unscrew or gently twist to detach. This gives better access to internal components.
Open the Housing
Locate screws on the top or bottom of the rear grille. Remove them with the correct screwdriver. On models like the DREO Pilot Max or Nomad One, the grille lifts off easily. On others, carefully pry along seams with a flathead. Avoid excessive force to prevent cracking.
Extract the Rear Grille
Once screws are out, gently separate the housing. Set aside the rear grille for cleaning. Be mindful of internal wiring. Do not tug or disconnect any cables.
Clean Fan Blades and Motor
Use compressed air to blow dust off the blades and motor housing. Follow with a vacuum hose. For stubborn grime, wrap a microfiber cloth around a butter knife and gently wipe each blade.
Wash the Grille
Rinse the removed grille under lukewarm water. Use mild soap for greasy buildup. Do not use harsh chemicals. Scrub with a soft brush, then rinse and air dry completely.
Dry All Components
Let washed parts dry for at least 1-2 hours. If moisture entered the interior, use a hairdryer on cool setting to speed drying. Never use heat, as this can warp plastic or damage wiring.
Reassemble and Test
Snap the housing back together. Reinsert and tighten screws. Reattach the tower to the base. Plug in and test all speed settings and oscillation.
Time required is 30-45 minutes. Perform this deep clean every 3-4 months.
Model-Specific Cleaning Tips

Not all tower fans clean the same. Design impacts how easy or risky deep cleaning is.
DREO Pilot Max S and Pilot Models
These feature tool-free removable grilles. Simply press the release button and slide the grille off. No prying or screw removal is needed. This is ideal for safe, frequent deep cleaning.
Cruiser Pro T2 and Nomad One
These models are engineered for maintenance. The rear grille comes off with minimal effort after removing one or two screws. They are designed to encourage user cleaning without damage.
Standard Sealed Models
Many budget fans use hidden clips and no screws. Opening requires prying, which risks cracked plastic. For these, rely on compressed air and vacuum only. Avoid disassembly.
Screw-Fastened Bases
Some models use screws to attach the tower to the base. Check the bottom plate. If present, remove screws before lifting the tower. Otherwise, you risk breaking the connector.
Prevent Dust Buildup: Long-Term Maintenance

Regular care prevents the need for aggressive cleaning and extends fan life significantly.
Stick to a Cleaning Schedule
Perform quick wipe and air blast every two weeks. Do a full quick clean at the start of cooling season. Complete a deep clean with disassembly every 3-4 months.
Keep the Area Clean
Place the fan in a low-dust zone. Vacuum the floor around it regularly. Use an air purifier to reduce airborne particles in the room.
Use Compressed Air Monthly
Even without visible dust, blow out internal debris once a month. This prevents gradual buildup that impacts performance over time.
Avoid Harsh Chemicals
Never use bleach, ammonia, or abrasive cleaners. These degrade plastic and leave fumes that get blown into the room.
Troubleshoot Common Cleaning Issues
Even careful cleaning can lead to problems. Here is how to fix them.
Fan Will Not Turn On After Cleaning
Moisture in the motor or incomplete reassembly is usually the cause. Unplug and let sit for 2-3 hours. Check that all screws and clips are secure. Ensure the tower is properly seated on the base.
Increased Noise After Cleaning
Imbalanced blades or debris still trapped causes this. Reopen and inspect blades. Wipe each one evenly. Confirm no cloth fibers or dust bunnies are caught in the housing.
Persistent Dust Smell
Mold or grime in hard-to-reach areas causes odor. Disassemble fully and wipe interior with a vinegar-dampened cloth. Let dry completely before use.
Stripped Screw or Broken Clip
Over-tightening or aggressive prying causes this. Replace screws with identical size. For broken clips, use a small zip tie to secure the housing temporarily.
When to Stop: Risks and Limits
Cleaning helps, but not all problems are dust-related. Know when to stop.
Warranty Void Warning
If your fan is under warranty, disassembly may invalidate it. Stick to external cleaning unless the manufacturer explicitly supports internal access.
Motor Failure Signs
If the fan still runs poorly after a deep clean, the issue may be mechanical. Worn bearings or capacitor failure require professional service. Do not attempt further disassembly.
Avoid Water Exposure
Never immerse the fan or spray water inside. Moisture causes short circuits and rust. Only use damp cloths on exteriors or removable grilles.
Skip Deep Cleaning on Older Models
Fans over 3-5 years old may have brittle plastic. Prying can crack the housing. Use air and vacuum instead of attempting to open the unit.
Frequently Asked Questions About Cleaning Tower Fan Dust
How often should I clean my tower fan?
Perform a quick surface clean every two weeks. Do a deep clean with disassembly every 3-4 months or when you notice reduced airflow or increased noise.
Can I use water to clean the inside of my tower fan?
No. Never spray water inside the fan or immerse any part in water. Use a well-wrung damp cloth only on removable external grilles. Keep all electrical components dry.
Why is my tower fan making a loud whirring noise after cleaning?
This usually means the blades are imbalanced or debris is still trapped inside. Reopen the housing and check that all dust is removed. Ensure blades are wiped evenly on both sides.
Does cleaning my tower fan improve air quality?
Yes. A clean fan circulates air without blowing accumulated dust, pollen, and allergens back into the room. Regular cleaning improves both performance and air quality.
What should I do if my fan still does not work after cleaning?
Check that all components are completely dry. Ensure the tower is properly seated on the base and all screws are tightened. If the fan still does not operate, contact a professional or consider replacement.
Key Takeaways for Cleaning Tower Fan Dust

Cleaning tower fan dust is not just about appearance. It is critical for performance, air quality, and longevity. A quick 10-minute wipe and air blast every two weeks prevents the need for deep cleaning. For models like DREO or Nomad with removable grilles, take advantage of user-friendly design for thorough internal maintenance. Always prioritize safety by unplugging first, avoiding water near electronics, and letting everything dry completely before reassembly. With this routine, your tower fan will deliver strong, quiet airflow for years, keeping your space cool and your air clean.