How to Clean Dyson Tower Fan Filter
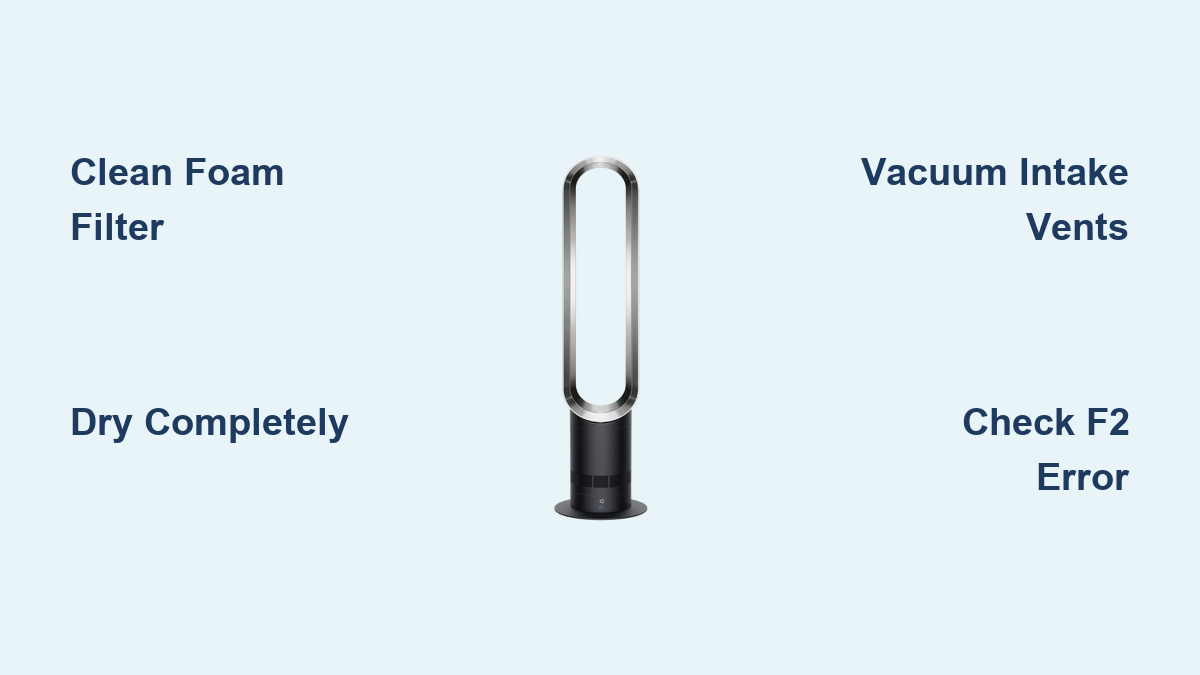
If your Dyson tower fan isn’t blowing as hard as it used to or you’ve seen an F2 error code, a clogged filter could be the culprit. For models like the Dyson AM07, cleaning the internal foam filter and intake vents is essential to maintain strong airflow and prevent performance issues. Unlike Dyson air purifiers, most cooling tower fans don’t have HEPA filters, but they do rely on washable foam filters and clear air pathways to function properly.
This guide walks you through every step: from identifying when cleaning is needed, to removing and drying the foam filter, cleaning intake vents, and reassembling with precision. You’ll also learn low-risk alternatives if you’d rather avoid disassembly, plus troubleshooting tips if airflow remains weak after cleaning.
When Your Dyson Fan Needs Cleaning
Signs It’s Time for a Deep Clean
Don’t disassemble your fan unless necessary. Only proceed if you notice one or more of these clear indicators:
- F2 error code appears on the display
- Airflow feels noticeably weaker than usual
- Fan runs but lacks power, even on high speed
- Oscillation is sluggish or makes grinding noises
- Used frequently in dusty environments or homes with pets
If your fan still performs well, skip internal cleaning. Routine maintenance like wiping the exterior and vacuuming vents is enough. Unnecessary disassembly risks breaking clips, stripping screws, or damaging internal wiring.
Confirm Your Model Has a Filter
Not all Dyson tower fans have cleanable filters. Only certain models like the AM07 include internal foam filters. Others rely solely on open airflow design.
To verify your model:
- Check the model number on the bottom or back of the unit
- Look for a serial number like 123-LB-A12345
- Search your model on Dyson’s official website or app
Key distinction: Cooling fans like the AM07 have washable foam filters with no HEPA. Air purifier models like the Pure Cool have replaceable HEPA and carbon filters.
Tools Required for Filter Maintenance
Essential Tools and Supplies
Before starting, gather everything to avoid interruptions mid-process.
Screwdrivers needed:
- Torx T9: Removes top cap screw, back cover, and front panel screws
- Torx T15: For inner housing side screws
Using the correct size prevents stripping. A magnetic tip helps with small screws.
Cleaning equipment:
- Vacuum with soft brush attachment
- Microfiber cloths (dry and slightly damp)
- Soft-bristled brush (clean toothbrush works)
- Feather duster or compressed air canister
Drying tools:
- Hairdryer (low heat setting) or access to sunlight for natural drying
Never rush drying. A damp filter can damage the motor or encourage mold.
Set Up Your Workspace
- Work on a flat, stable surface to prevent tipping
- Use good lighting. A headlamp or flashlight helps spot clips and screws
- Place screws in a small container by type (T9/T15) to avoid mix-ups
- Consider having a helper hold the base during reassembly to protect wiring
Avoid carpets or cluttered areas where small parts can be lost.
Safely Disassembling Your Dyson Tower Fan
Power Down and Prepare
Always start with safety:
- Unplug the fan completely
- Let it sit for 2 minutes to discharge residual power
- Wipe the exterior with a dry cloth to remove loose dust
Never attempt cleaning while plugged in.
Remove the Top Cap
The top cap hides the first screw.
- Hold the base firmly with one hand
- With the other, twist the cap counterclockwise about 1 to 2 cm
- It may resist. Apply steady pressure until it loosens
- Lift straight off to expose a single Torx T9 screw
Set the cap aside carefully. The Air Multiplier Technology label should face forward when reinstalling.
Open the Back Cover
Now access internal components.
- Use the T9 screwdriver to remove the exposed screw
- Take a plastic prying tool (not metal)
- Gently work around the edges of the back cover
- There are three plastic clips. Release them slowly and evenly
If you hear snapping, stop. Uneven pressure can break clips. Once loose, lift the cover off to reveal the motor and wiring.
Cleaning the Base Foam Filter

Locate and Remove the Foam Filter
This is the main washable filter.
- Reach into the base cavity near the motor
- Feel for a gray foam ring. This is the filter
- Pull it straight out and note its orientation
The filter sits under a black plastic ring. Reinstall it the same way.
Dry or Wash the Foam Filter
Choose based on dirt level.
Dry cleaning for light dust:
- Shake off debris
- Vacuum with brush attachment
- Use a soft toothbrush for stuck particles
Wet cleaning for heavy buildup:
- Rinse under warm (not hot) water
- Gently squeeze to flush out dust. Do not scrub
- Never soak or use detergent. This breaks down foam
Rinse until water runs clear.
Dry Completely Before Reinstalling
Moisture is the number one cause of post-cleaning failure.
- Squeeze gently to remove excess water
- Air dry in sunlight or well-ventilated area for at least 24 hours
- Or use a hairdryer on low heat, keeping it 12 inches away
Never reinstall a damp filter. It can short the motor or grow mold.
Access and Clean the Front Intake Area
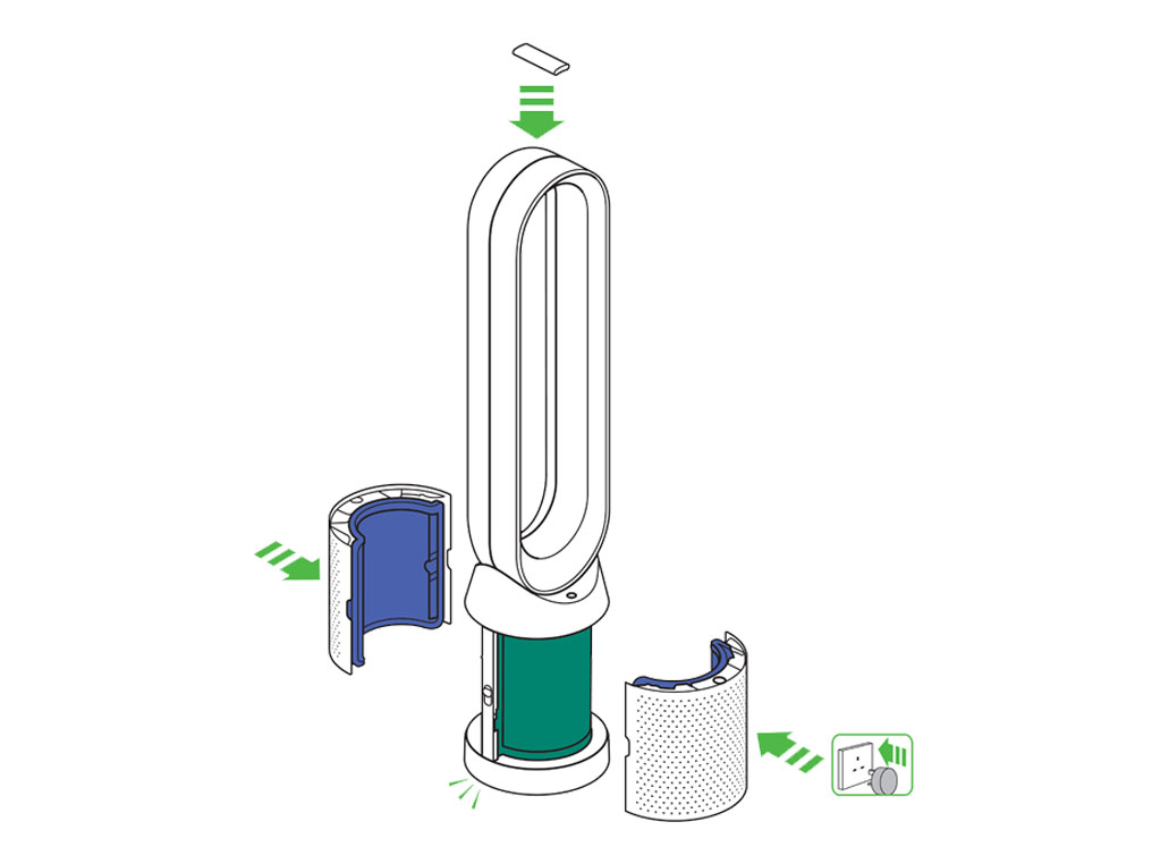
Remove Front Panel and Inner Housing
This exposes the second dust collection zone.
- Lay the fan on its side gently
- Use T9 screwdriver to remove four long screws along the top edge of the front panel
- Lift the panel off. Wires remain attached
- Now use T15 screwdriver to remove four screws on the sides of the inner housing
- Lift the housing out to expose intake holes and blades
Work slowly. Plastic tabs can snap if forced.
Wipe and Vacuum Hidden Dust
Dust hides behind the front grill and in intake holes.
- Use a slightly damp microfiber cloth (wrung out well) to wipe:
- Inside of front panel
- Air intake holes
- Fan blades (both sides)
- Outer housing
- Use a soft brush for tight crevices
- Avoid the circuit board at the base. Keep all moisture away
For stubborn dust:
- Use compressed air to blow out intake holes
- Follow with vacuum to remove dislodged particles
Never spray water directly into the fan.
Reassembling Your Fan Correctly
Reinstall Inner Housing
- Place the inner housing back in position
- Ensure wire cutouts align. It only fits one way
- Secure with four T15 screws
Tighten evenly to avoid warping.
Test Before Closing Up
Critical step to catch issues early.
- Plug in the fan briefly
- Turn on and confirm:
– Blades spin freely
– No grinding or scraping noises
– Oscillation moves smoothly - Unplug again before continuing
This prevents damage from misalignment.
Replace Front Panel and Filter
- Insert the completely dry foam filter into the base
- Tuck edges under the black ring. Center must sit flat
- Align front panel wires and place it back on
- Secure with four T9 screws along the top edge
Double-check wire paths aren’t pinched.
Snap Back Cover and Top Cap
- Align three spring clips on the back cover with pins on the housing
- Use a flashlight to guide alignment if needed
- Press gently until all clips snap into place
- Reattach the top cap, aligning the logo with the Dyson emblem
- Twist clockwise until it clicks
- Replace the T9 screw under the cap
If the cap won’t twist, the cover isn’t seated properly.
Quick Cleaning Methods Without Disassembly

Vacuum Intake Vents Weekly
Best for routine maintenance.
- Use soft brush attachment
- Vacuum bottom intake grille and back vents
- Focus on corners where dust accumulates
- Do this every 1 to 2 weeks, or weekly in dusty homes
Takes less than 5 minutes and prevents clogs.
Use Compressed Air for Stubborn Dust
For deep-seated particles:
- Insert nozzle into intake holes
- Short bursts to blow out dust
- Follow with vacuum to remove debris
Ideal for pet owners or high-dust environments.
Wipe Exterior With Damp Cloth
Keeps surfaces clean and improves airflow.
- Use dry or barely damp microfiber cloth
- Wipe:
- Air outlet ring
- Base crevices
- Front grill
- Avoid saturating. No dripping
Do this weekly to prevent dust lines.
Water and Brush Method
Use only if intake is heavily caked and you accept the risk.
- Unplug fan
- Lightly spray water into intake holes. Do not soak
- Use soft toothbrush to loosen buildup
- Let sit for 5 minutes
- Wipe dry and air dry for 24 to 48 hours before plugging in
Not recommended for beginners. Risk of water damage is high.
Troubleshooting After Cleaning
Test Airflow and Function
After reassembly, verify success.
- Plug in and power on
- Set to maximum speed
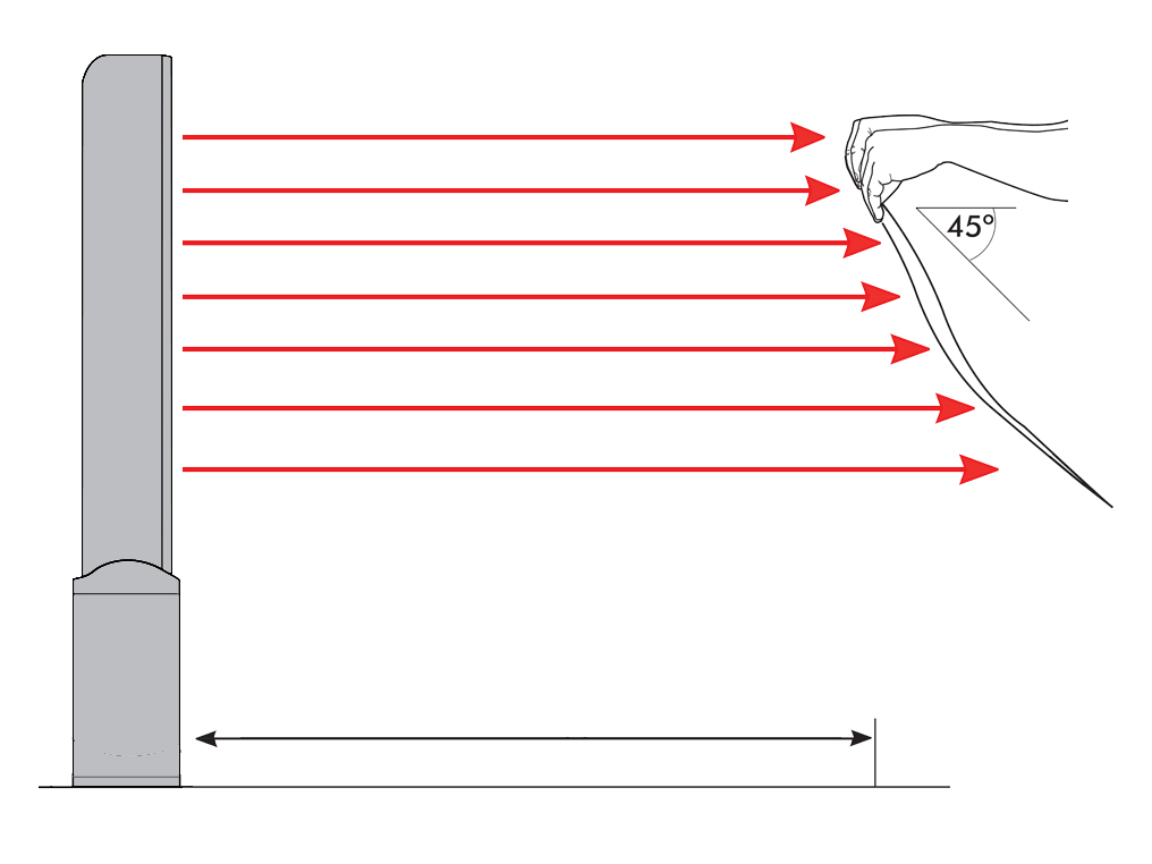
- Hold tissue paper near intake. Should stick firmly
- Confirm oscillation works without noise
- Check that F2 error does not return
If all pass, cleaning was successful.
Fix Low Airflow After Cleaning
If performance is still weak:
- Check clearance. Fan needs 30cm (12 inches) from walls and furniture
- Verify settings. Not in night mode or low speed
- Inspect for obstructions. Look inside for leftover tools or debris
- Ensure filter is dry. A damp filter restricts airflow
- Confirm proper reassembly. Misaligned housing blocks air path
If issues persist, contact Dyson support.
Maintaining Your Dyson Fan Long-Term
Follow a Cleaning Schedule
- Daily: Wipe exterior with dry cloth
- Weekly: Vacuum intake vents and wipe surfaces
- Every 6 to 12 months: Deep clean only if needed (F2 code, low airflow)
- Filter replacement: Every 6 to 12 months if foam is torn or won’t clean
Over-cleaning risks damage. Only disassemble when necessary.
Prevent Dust Buildup
- Place upright in open area
- Avoid direct sunlight and high humidity (bathrooms)
- Keep away from pet bedding or carpets that shed
- Use vacuum method weekly in homes with shedding pets
Proper placement prevents 80% of clogging issues.
Handle With Care
- Foam is fragile. Never scrub or twist aggressively
- Plastic clips wear out. Open slowly, don’t force
- Screws strip easily. Use correct Torx size and steady pressure
Gentle handling extends your fan’s life by years.
Frequently Asked Questions About Dyson Fan Filter Cleaning
How do I know if my Dyson tower fan has a filter?
Not all Dyson tower fans have filters. Check your model number on the bottom or back of the unit. Models like the AM07 have washable foam filters. Air purifiers like the Pure Cool have replaceable HEPA filters.
Why does my Dyson fan show an F2 error code?
The F2 error code indicates a filter blockage or airflow obstruction. This means dust has built up in the foam filter or intake vents, preventing proper air circulation. Clean the filter and intake vents to resolve this.
Can I use my Dyson fan while the filter is drying?
Never run the fan with a damp filter. Moisture can damage the motor, cause electrical issues, or lead to mold growth. Allow at least 24 hours for complete drying before reinstalling the filter.
Will cleaning my filter void the warranty?
Cleaning the filter does not void the warranty if done correctly. However, damage from improper disassembly (broken clips, stripped screws, water damage) may not be covered. Follow the steps carefully and contact Dyson if unsure.
How often should I deep clean my Dyson tower fan?
Deep internal cleaning is only necessary when performance degrades or every 6 to 12 months, depending on your environment. Weekly vacuuming of intake vents is usually sufficient to prevent major buildup.
What should I do if airflow remains weak after cleaning?
Check that the fan has 30cm clearance from walls, verify it’s not in night mode, ensure the filter is completely dry, and confirm all components are properly aligned. If problems persist, contact Dyson support.
Key Takeaways for Cleaning Your Dyson Tower Fan Filter
Cleaning your Dyson tower fan filter is straightforward when you follow the right steps. Focus on the foam filter in the base and the intake vents behind the front panel. Always dry components completely before reassembly. For most users, weekly vacuuming of intake vents prevents the need for deep cleaning entirely.
The most common mistake is reinstalling a damp filter, which causes performance issues or mold. Be patient with drying. Use the non-disassembly methods (vacuum and compressed air) for routine maintenance to extend the time between deep cleans.
By following this guide, you’ll keep your Dyson tower fan running strong, quiet, and efficient for years to come.