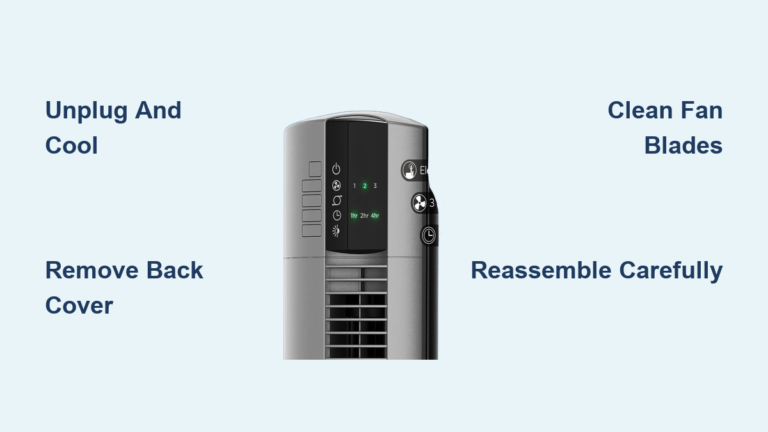
How to Take Apart a Vornado Tower Fan
If your Vornado tower fan has stopped working or is making unusual noises, taking it apart may be the only way to diagnose the issue or clean internal components. While Vornado advises against disassembling tower fans, doing so is sometimes necessary for repairs or deep cleaning. This guide walks you through the safe, step-by-step disassembly of a Vornado tower fan, based on real repair data and technical insights. You will learn how to open the casing, identify key components, test for common failures, and reassemble without damage.
Note that disassembling your fan may void the warranty, so proceed only if the unit is out of warranty or already malfunctioning.
Essential Safety Steps Before Taking Apart Your Vornado Tower Fan
Before touching any screws or components, prioritize safety to prevent electrical shock and physical injury.
Unplug and Prepare Your Workspace
Always unplug the fan from the wall before beginning any work. Working on a live electrical device risks shock or short-circuiting internal components. Place the fan on a clean, well-lit surface, preferably with a soft towel underneath to prevent scratches during the disassembly process.
Gather the Required Tools
You will need specific tools to safely take apart and repair your Vornado tower fan. Gather these items before starting.
A small Phillips screwdriver is essential for removing the casing screws. A multimeter is required for diagnosing electrical issues. Labels or small containers help sort screws by location during removal. Protective gloves and a mask are recommended if you plan to blow out dust with compressed air.
Wear safety glasses and a mask when using compressed air, as dust buildup inside older units can be significant.
Finding and Removing the Casing Screws on a Vornado Tower Fan

The outer shell of a Vornado tower fan is held together by hidden screws that must be removed carefully to avoid damaging the housing.
Identifying Screw Locations
Flip the fan upright and inspect the base and seams carefully. Screws are typically located along the bottom edge of the housing, near control panels, or along seams on the back. Some may be concealed under rubber feet or labels.
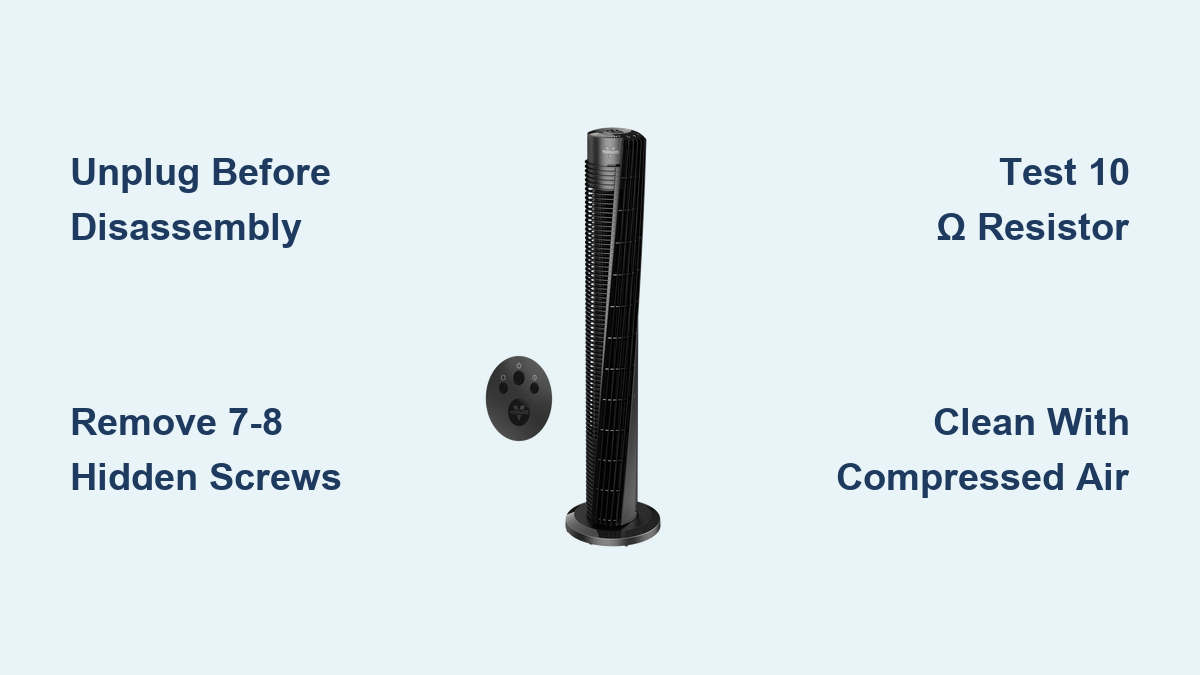
For Model 184 fans, expect to find seven to eight screws of varying lengths. Label each screw by its location during removal, as mixing them up can lead to cracked plastic during reassembly.
Removing Screws Without Stripping
Use a snug-fitting Phillips screwdriver to avoid stripping the screw heads. Gently loosen and remove all screws, setting them aside in labeled containers by location.
Do not fully remove captive screws. Simply loosen them enough to separate the casing. This prevents losing small parts and makes reassembly easier.
Safely Separating the Plastic Housing on a Vornado Tower Fan
Once all screws are removed, the casing must be opened gently to avoid cracking the brittle plastic.
Applying Even Pressure to Release Clips
Start at the base and work upward along the seam where the two halves meet. Use your thumbs to press along the seam and apply light, even pressure. The plastic housing on Vornado tower fans is notably brittle and cracks easily if force is applied incorrectly.
If the casing resists separation, try wiggling slightly side to side to release the clips. Never use metal tools such as screwdrivers or pry bars to force the housing open.
Lifting and Separating the Two Halves
When the clips release, carefully pull the two halves apart. One side will house the motor and wiring, while the other contains the outer grill and airflow path.
Once open, you should clearly see the motor at the base, the circuit board at the top, and a long internal cable connecting them.
What You Will Find Inside: Vornado Tower Fan Internal Components
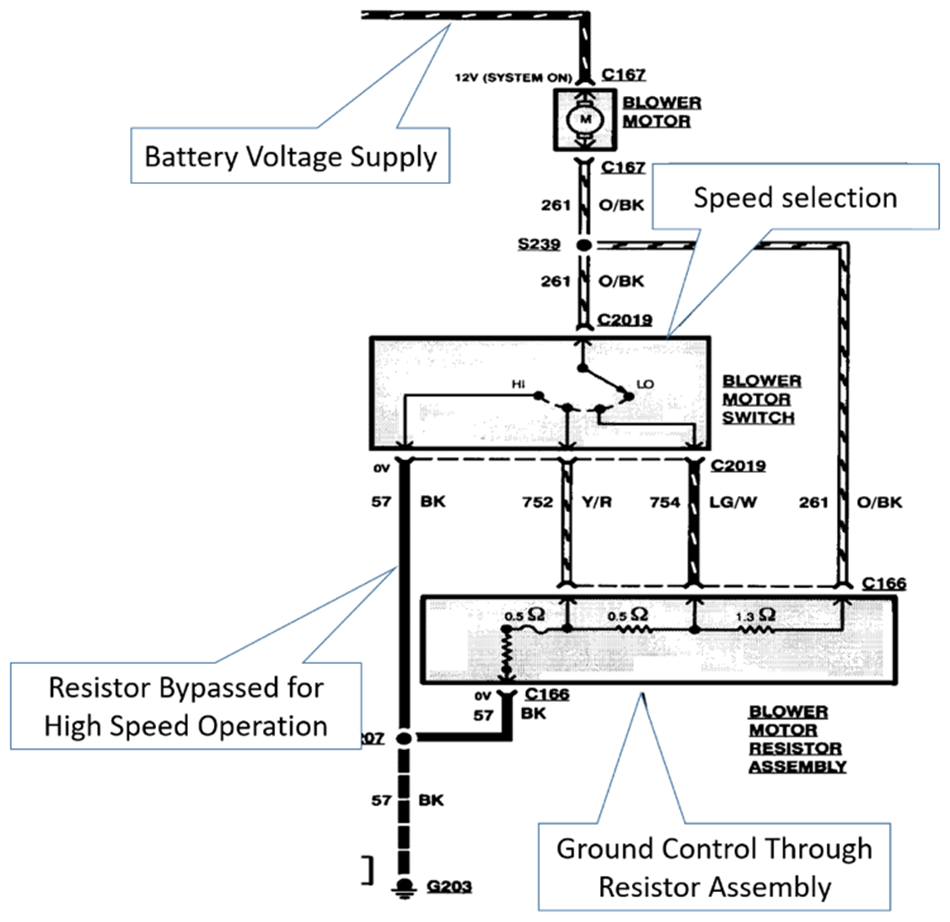
Knowing the internal layout helps with both cleaning and troubleshooting. Understanding the power flow path is essential for effective diagnostics.
Tracing the Power Path
Power flows through the fan in a specific sequence. The power cord enters the base first, then carries electricity to the circuit board, which processes input and controls settings. From there, power distributes to the motor that drives the fan blades.
This means no power reaches the motor directly. A failure at the circuit board can kill the entire unit.
Key Component Locations
Use this reference guide to identify critical components during disassembly.
The 10 Ω, 2-watt resistor is located at the base of the circuit board near the live and neutral wires. This is a common failure point that blocks power if degraded. The thermal fuse sits in a white sleeve near the motor and serves as a safety cut-off if overheating occurs. Capacitors on the circuit board include a 1000 µF and approximately 10 µF component that stabilize power and degrade over time. The IC chip sits centrally on the board and controls fan operation. The interconnecting cable runs from the base to the top and carries signals between the motor and controls.
Diagnosing Power Issues in Your Vornado Tower Fan
If your fan will not turn on, disassembly allows you to test each component systematically to identify the failure.
Checking the Plug Fuse First
Some Vornado models include a small fuse, typically 3 to 4 mm, located in the plug base behind a sliding door. Use a multimeter to test for continuity and replace the fuse if it is blown.
Testing the 10 Ω Resistor
This tiny resistor is the most frequent failure point in Model 184 fans due to heat stress and aging. To test it properly, set your multimeter to resistance mode and place the probes on both leads of the 10 Ω resistor. The expected reading is approximately 10 Ω.
If the reading shows in the megohm range, such as 12 MΩ, the resistor has failed open and needs replacement.
For accurate readings, desolder one lead of the resistor before testing, as in-circuit readings can be misleading due to parallel components.
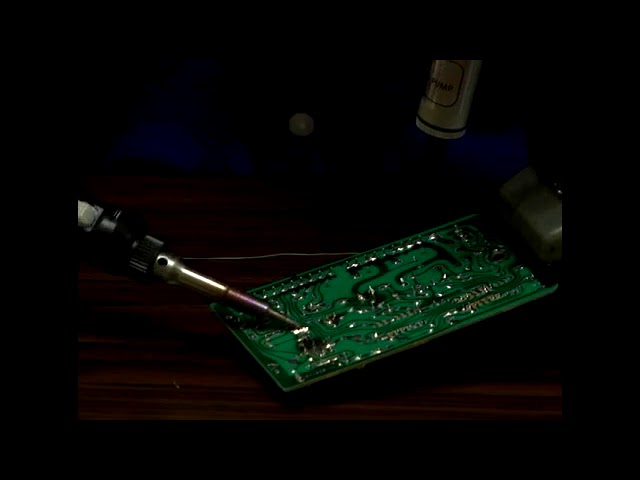
To complete the repair, solder in a new 10 Ω, 2-watt resistor. This single fix has revived many dead Vornado tower fans at a cost of less than one dollar.
Testing Key Components in Your Vornado Tower Fan
Follow the power flow to systematically rule out other potential failures beyond the resistor.
Testing the Thermal Fuse
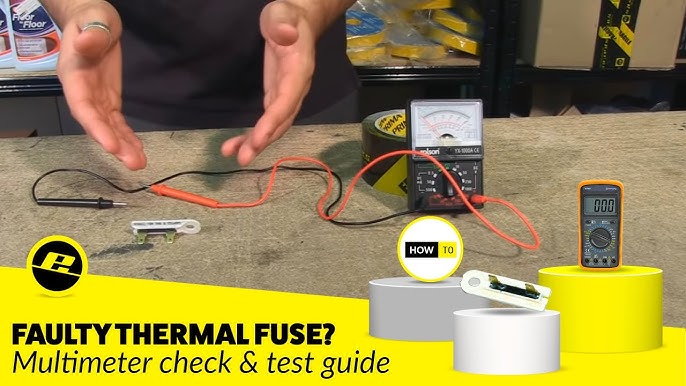
Locate the thermal fuse near the motor in its white sleeve. Use your multimeter in continuity mode. No beep indicates an open fuse that requires replacement.
Checking Capacitors
Use a multimeter with capacitance setting to test the capacitors. The 1000 µF capacitor should read close to 1000 µF. Readings below 800 µF indicate significant degradation and the capacitor should be replaced.
Warning: Capacitors can hold a dangerous charge even when the fan is unplugged. Discharge them safely by shorting the leads with a insulated tool before handling.
Diagnosing the IC Chip
Place the multimeter black probe on Pin 5, which is the power pin. Test other pins, which should read approximately 0.5V. A direct short or 0V on multiple pins indicates a failed IC chip that requires replacement.
Cleaning the Internal Components of Your Vornado Tower Fan
With the fan open, this is the ideal time to remove dust buildup that reduces airflow and increases operational noise.
Using Compressed Air Safely
Blow out dust from blade surfaces, motor housing, and ventilation grills using compressed air. Perform this task outdoors while wearing a mask and goggles, as dust can be fine and irritating.
Wiping Down Surfaces
Use a dry or slightly damp cloth to clean the inside of the casing, the back of the blade assembly, and the motor housing. Never wash the motor or circuit board with water, as moisture can cause short circuits or damage components permanently.
Reassembling Your Vornado Tower Fan Without Cracking the Housing
Putting the fan back together correctly prevents cracks and ensures smooth operation.
Aligning the Casing Properly
Match the grooves and clips on both halves of the housing. Start at the base and press gently upward until the clips engage.
Reattaching Screws by Hand
Screw in each fastener by hand first until snug. Over-tightening strips plastic threads or cracks the housing. Use your labeled screws to match original positions, as longer screws typically go in the base.
Post-Reassembly Troubleshooting for Your Vornado Tower Fan
Before plugging in, verify that all wires are connected securely, the circuit board is seated properly, no tools or debris are left inside, and the casing is fully closed and latched.
Plug in and test whether indicator lights turn on and whether the fan starts at all speed settings. If the fan fails to operate, recheck the 10 Ω resistor and capacitors, as these are the most likely culprits.
Preventing Future Issues: Vornado Tower Fan Maintenance Tips
Regular maintenance extends the life of your Vornado tower fan without requiring full disassembly.
Cleaning Externally Every Season
Use these non-invasive methods to avoid voiding warranties. Vacuum the grills with a brush attachment. Blow out dust with compressed air from a can or compressor. Wipe the exterior with a dry cloth.
Scheduling Deep Cleaning Annually
For units in dusty environments or used daily, consider disassembling every 12 to 18 months. Focus on blade edges and motor housing, and check for early signs of component wear.
When to Consider Replacement Instead of Repair
Despite the feasibility of repairs, some fans are not worth saving.
Consider replacement if the cost of parts exceeds the price of a new fan, which typically ranges from $50 to $100. Also consider replacement if the housing has severe cracks or broken clips that cannot be properly sealed, or if multiple board issues exist rather than a single component failure.
A single component repair costs less than a dollar and takes 1 to 3 hours, making it worthwhile in most cases. However, a burned circuit board or extensively cracked housing suggests that replacement is the more practical choice.
Key Takeaways for Taking Apart Your Vornado Tower Fan
Taking apart a Vornado tower fan is doable but carries risks. The brittle plastic housing and warranty implications mean this is not a casual task. However, for fans that will not power on, replacing the 10 Ω resistor or cleaning internal dust can restore full performance for pennies.
You now know how to safely open the casing by locating and removing the 7 to 8 screws, how to identify and test critical components including the resistor, thermal fuse, capacitors, and IC chip, how to clean and reassemble without cracking the housing, and when to walk away and purchase a new fan instead.
With care and the right tools, you can extend the life of your Vornado tower fan long after others have thrown it away.
Frequently Asked Questions About Taking Apart a Vornado Tower Fan
Can I take apart my Vornado tower fan without voiding the warranty?
Vornado advises against disassembling tower fans, as this typically voids the warranty. Only proceed if the unit is out of warranty or already malfunctioning.
How many screws hold together a Vornado tower fan?
Most Vornado tower fans have 7 to 8 screws securing the outer casing, with some concealed under rubber feet or labels.
What is the most common failure in Vornado tower fans?
The 10 Ω, 2-watt resistor at the base of the circuit board is the most common failure point, often caused by heat stress and aging.
Can I clean my Vornado tower fan without full disassembly?
Yes, you can vacuum the exterior grills, use compressed air to blow out vents, and wipe the exterior with a dry cloth without voiding the warranty.
How do I test a Vornado fan resistor without accurate readings?
Desolder one lead of the resistor before testing with a multimeter. In-circuit readings can be misleading due to parallel components on the board.
Is it worth repairing a Vornado tower fan myself?
Yes, component replacement such as the 10 Ω resistor costs less than $1 and can restore full functionality to a seemingly dead fan.